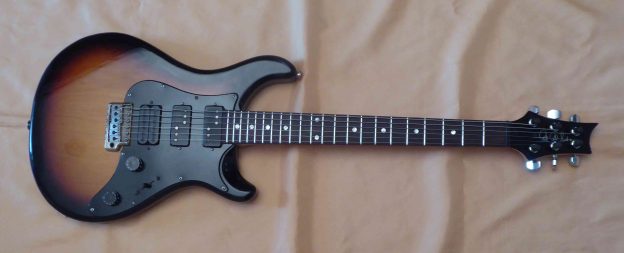
I don’t quite know why, but PRS have never really done it for me. This one has bits I rather like though, and some that are truly awful!
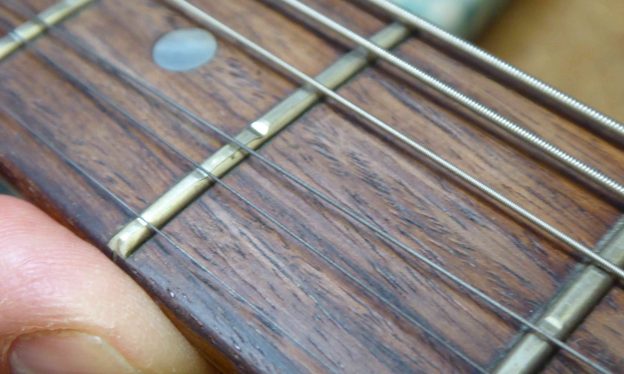
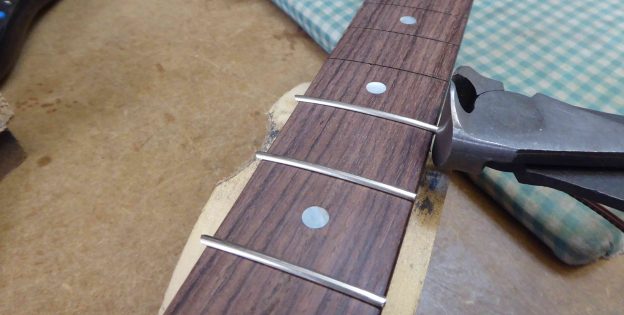
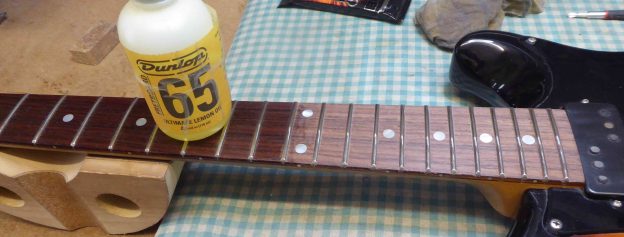
Here’s the problem though, probably the most worn frets I’ve ever come across.
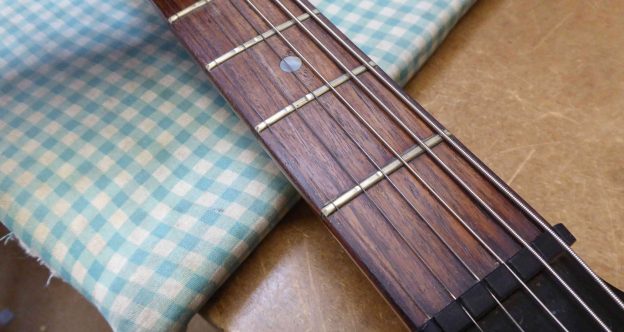
They’re beyond a fret-dress, they need to be replaced. A little bit of heat helps to loosen any old glue and dirt.
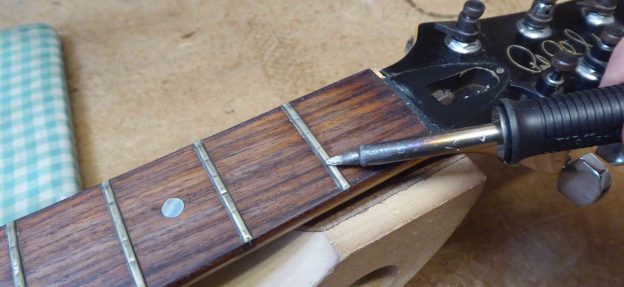
and ease the old frets out.
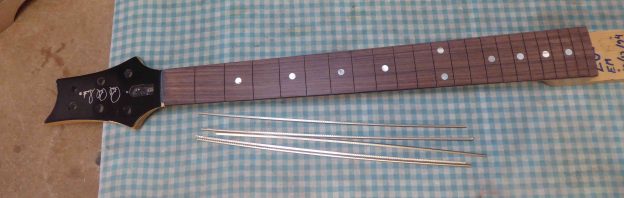
Once they’re all out I sanded down the fretboard a little, just to take out any marks and dings.
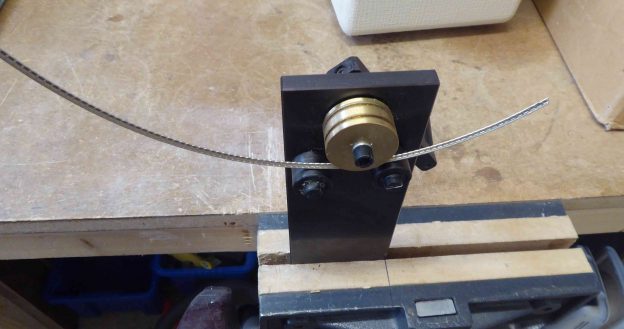
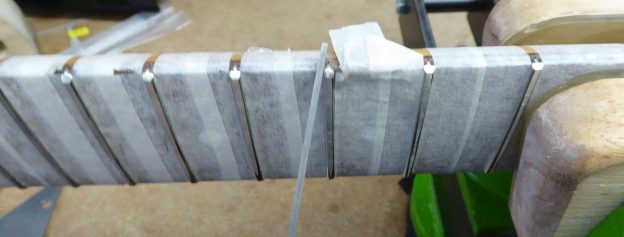
The first thing to do is to put a gentle bend into the fret-wire.
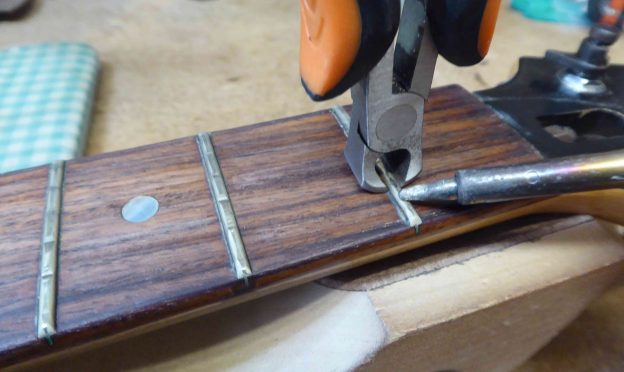
that was, when you tap it into place the ends don’t stick up.

and snip the excess ends off.
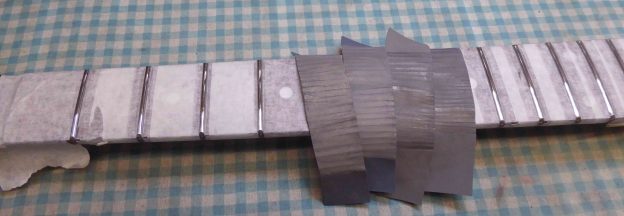
Once the new frets are all in place roughly file the ends down and put a 45 degree angle on them.
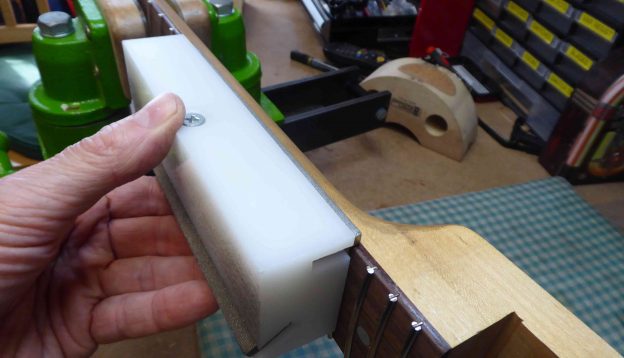
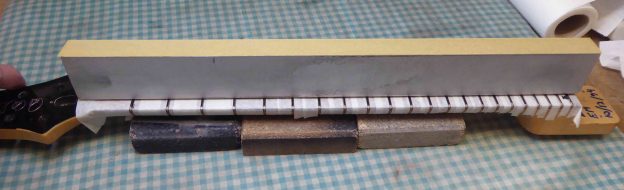
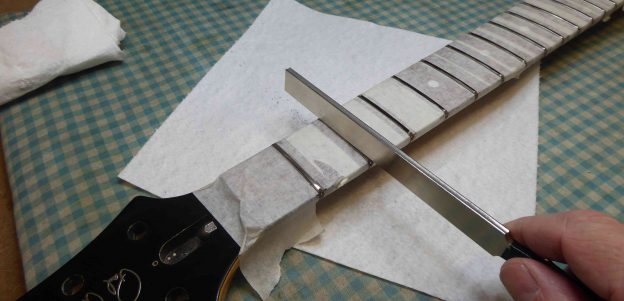
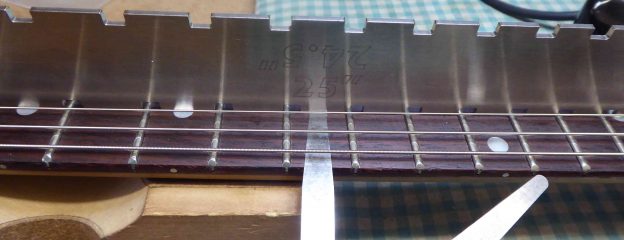
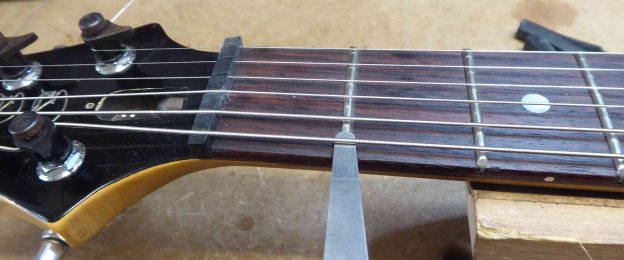
The next step is to level the fret tops. It’s impossible to tap them all in perfectly so they need to be dressed to achieve a level.
Next I finished off the fret ends. The rough finish was exactly that, a rough shape. Each fret end needs to be finished off individually, to sooth them off, level with the edge of the fretboard.
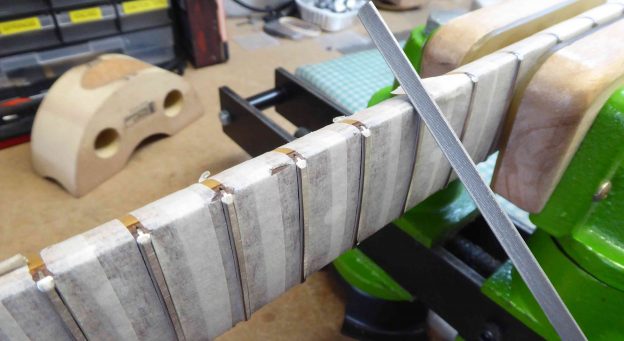
and take off any sharp edges.
With the ends sorted It’s back to the top of the frets, they need to be rounded off.
and re-polished.
So that’s the neck done, ready to go back on the guitar.
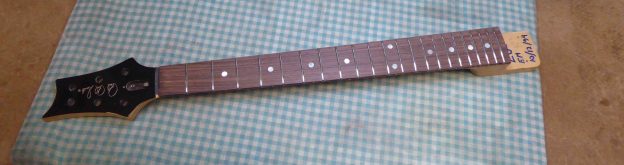
Before the strings go back, it’s a good time to add a little Lemon-Oil, to bring a little life to the wood.
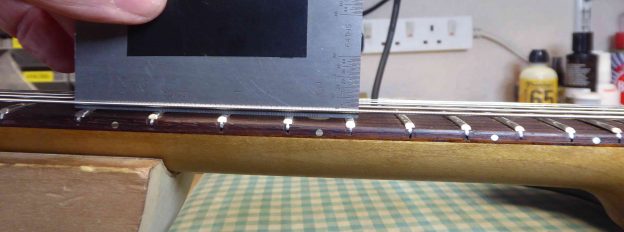
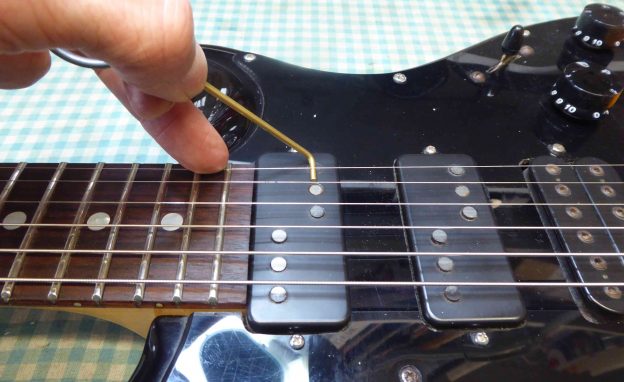
All it needs then is a full setup, starting with the neck relief.
Then the action at the 12th Fret….
starting with the outside strings….
and then the others, to match the fretboard radius.
The action at the 1st fret….
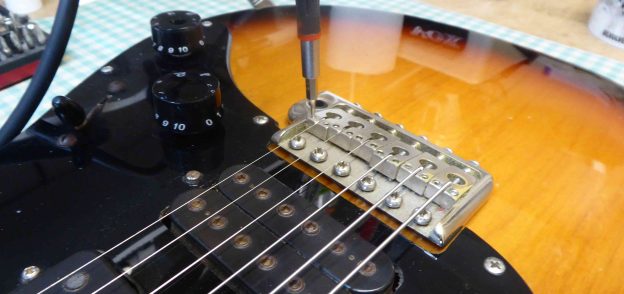
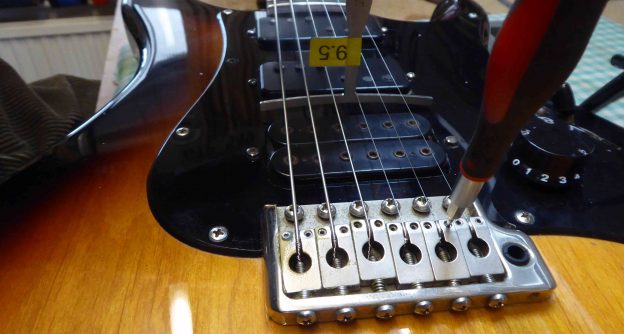
The intonation…
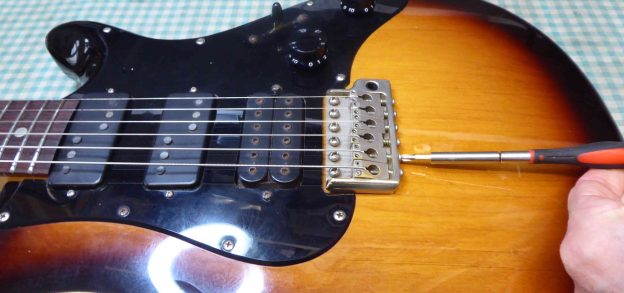
and pickup heights.
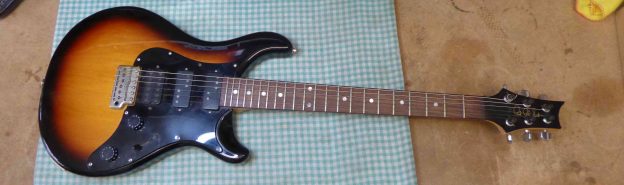
So there it is, all set to rock again….

For anything else you may need just check out http://guitar-george.co.uk