
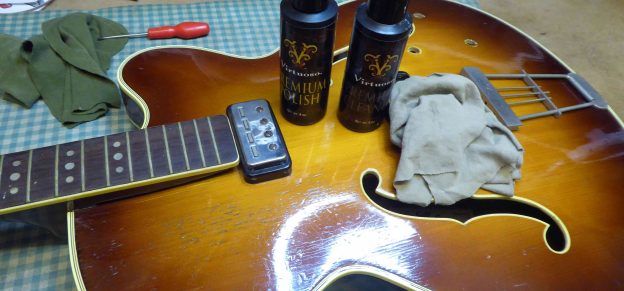
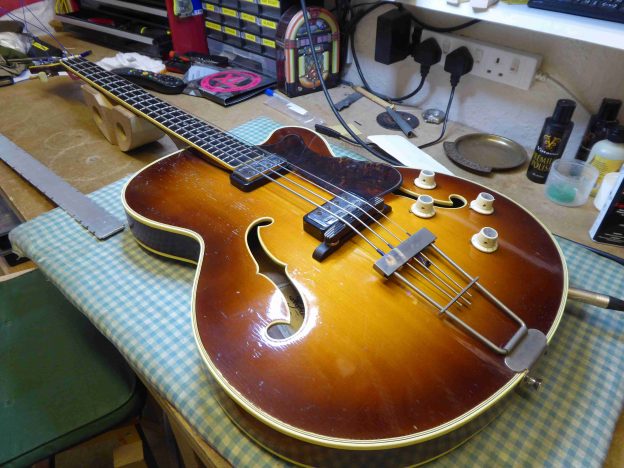
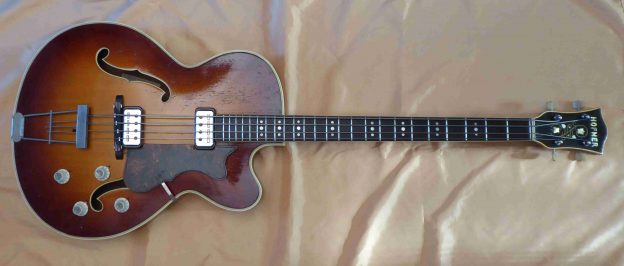
What a lovely old guitar. I don’t quite know how old it is but it’s a beauty. Sadly I don’t think it’s been out of its case for quite some time and is in need of a little TLC.
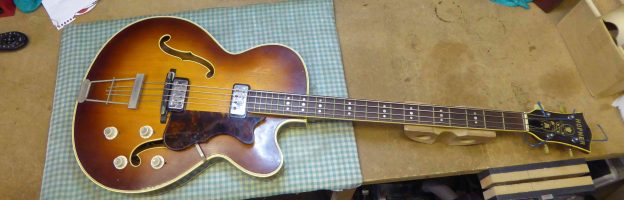
None of the electrics are working for a start.

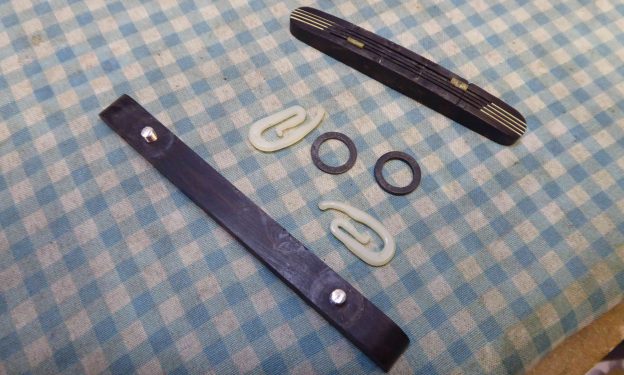
The bridge is missing a couple of its saddles….
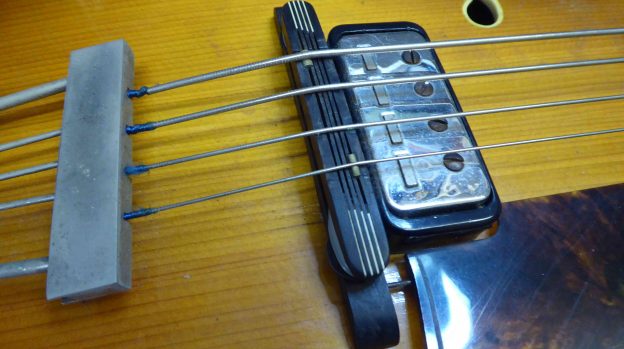
along with the height adjustment wheels. There were a couple of washers and curtain hooks holding it up?
There are a couple of other minor bits and pieces, the arm has come adrift of the scratch-plate and the screw hole is a little slack.

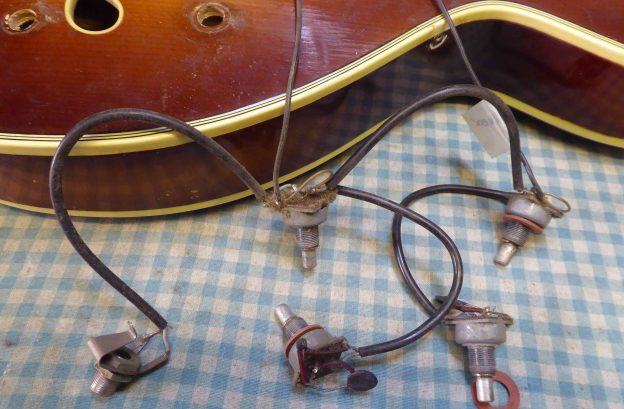
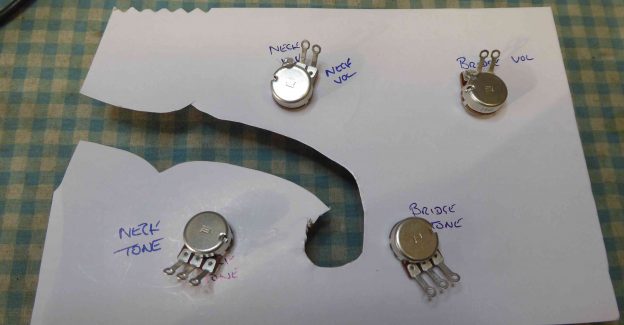
Rather than try and clean the existing volume and tone pots’ I replaced them all.
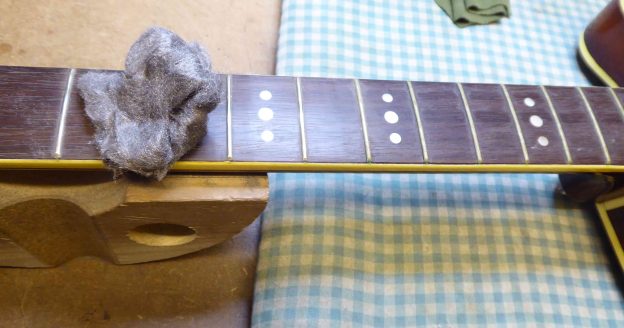
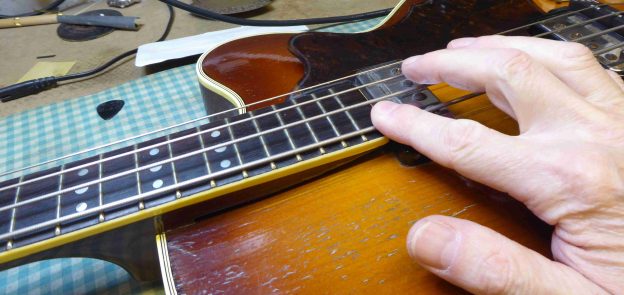
Before all that, I gave the body a good clean and polish.
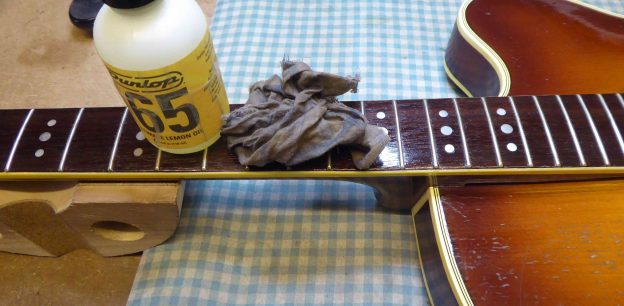
including the fret-board.
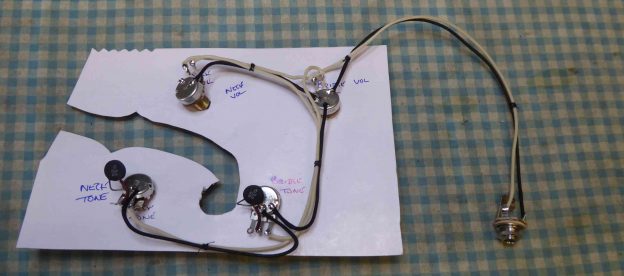
Since the pots were replaced I used all new wire. The template was to give me the layout so none of the wires went immediately behind the sound hole.
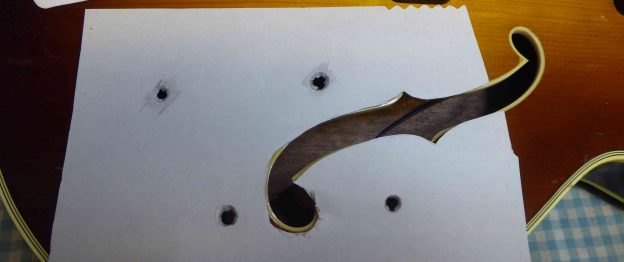
There was another problem mind you, standard size pots’ were too large to fit via the sound hole.
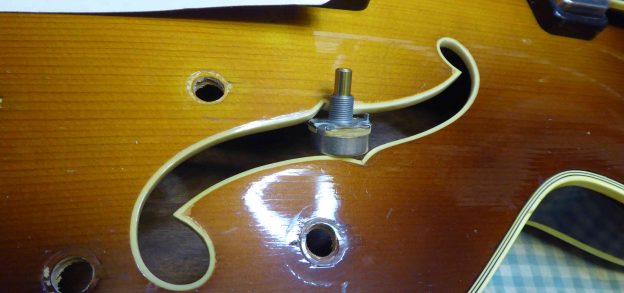
No only that, the shaft is too wide to fit the control knobs.
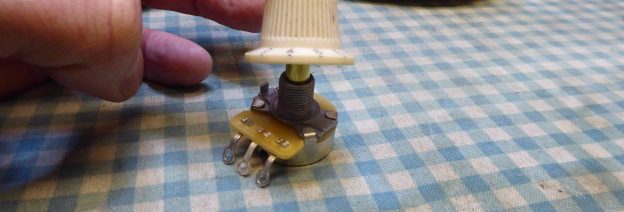
With a new set of mini-pots that’s where they all need to go.
Just like that.
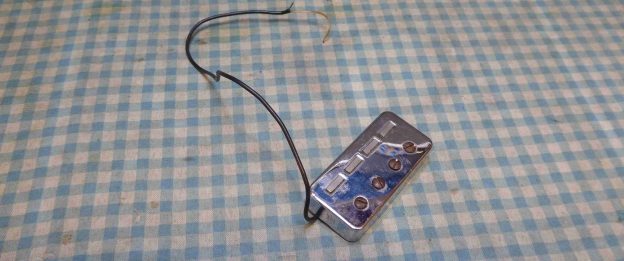
I had to wait a while to fit it all though. One of the pickups didn’t work at all so I sent it off to Radioshop Pickups to have it sorted out. Follow the link here to check out Radioshop pickups. They really do a fantastic job.
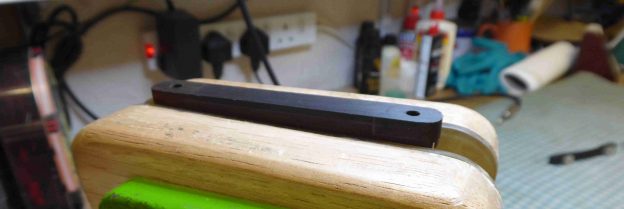
While I was waiting for the pickup to come back (unfortunately the Post Office took just about a month to get the pickup to South Wales, I could have walked and got it there quicker!) I turned my attention to the rest of the guitar. First then the bridge.
The pictures are a little fuzzy, but the bottom part of the bridge doesn’t follow the curve of the top.
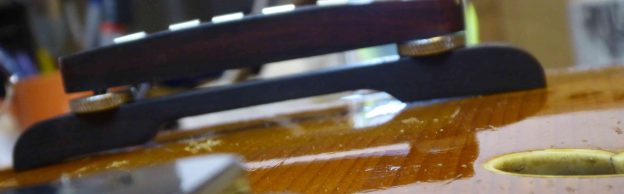
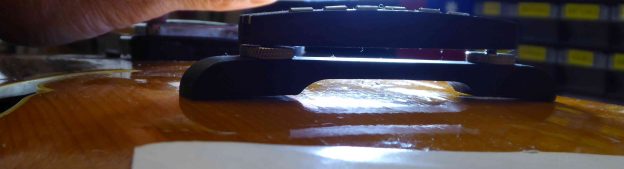
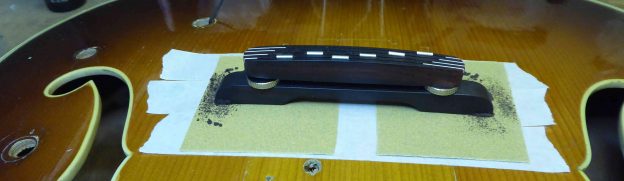
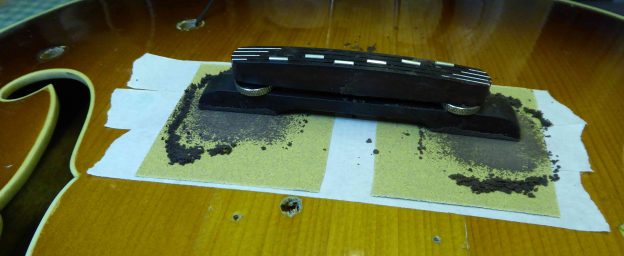
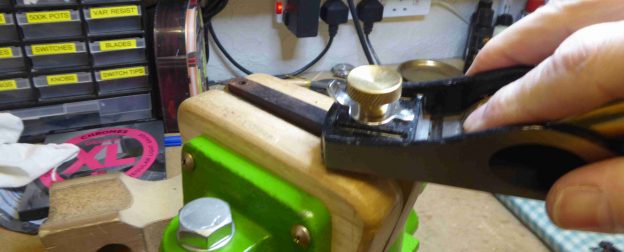
With some low-tac drafting tape and sticky backed sand-paper it’s a fairly simple task to sand the bottom down to match the top.
Before..
After…
With the refurbished pickup back, time now to put it all back together.
To make it a little easier I extended the earth wire a little
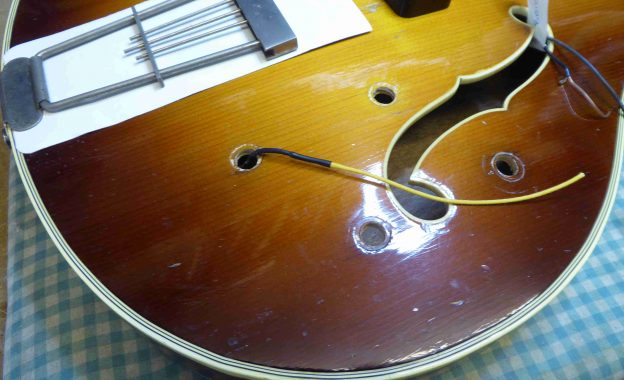
Always a fiddly job, working through the sound hole but that’s the wiring back together.
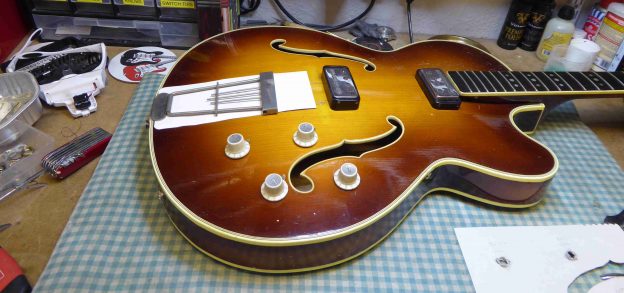
A new set of strings and it’s looking good. All it needs now is a standard setup.
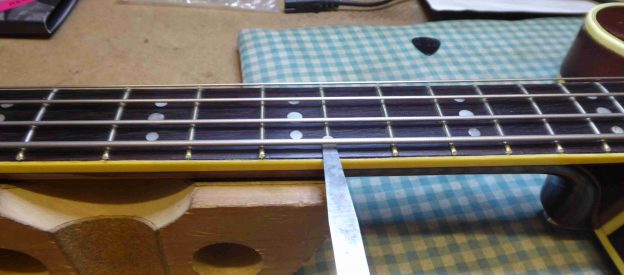
The zero-fret and scale length made it impossible to use my straight edge to measure the neck relief. So put a capo at the first fret…. 
Press down at the last…
and measure the gap between the fret and the string half way up the neck. Way too much curve so I tightened up the truss-rod.
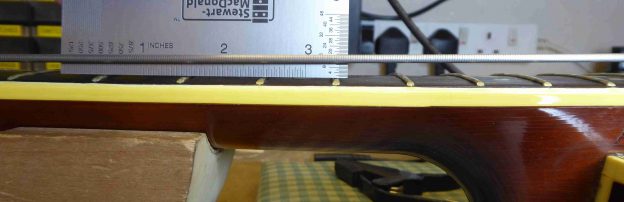
Next the action at the 12th fret. It was way too high so I needed to bring the bridge down by quite a bit.
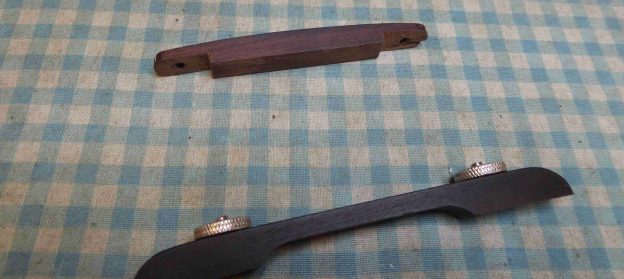
Unfortunately the new bridge was already at its lowest..

So I took a lump off the bottom, you can just about see the pencil marks that I aimed for…
Rather than just keep the flat bottom I took a little more off at each end, to make a space for the thumb-wheels.
So there it is, working nicely now. The rest of the setup was easy, the action at the 1st fret was just fine and with the bridge back in it’s original position the intonation was fine.

Lastly, back to that support arm for the scratch-plate.
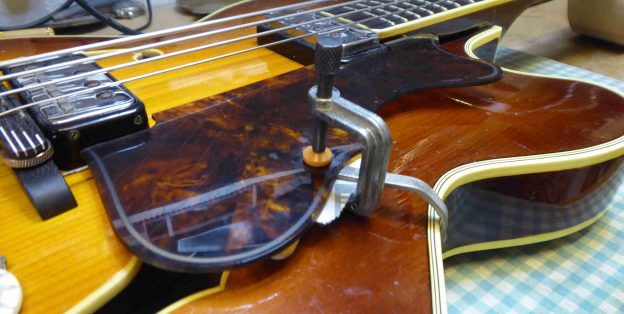
And there it is, ready for another 50 years or so.
For any other services, just follow the link to http://guitar-george.co.uk
Hello i have a vintage Hofner President bass its all original but its missing a pick guard i was wondering if theres anyway i can purchase one of you can you please let me know regards Ronny
Hi there,
Sorry I’m much too small a business to have a stock of old parts like that and can’t really help out with anywhere to look apart from good old Google.
Kindest regards,
“George”
Hi!
Excelent job.
Is it possible to get the wiring diagram?
Best regards
Eduardo Fonseca
Hi there,
Just Google it, I don’t have it drawn out.
“George”