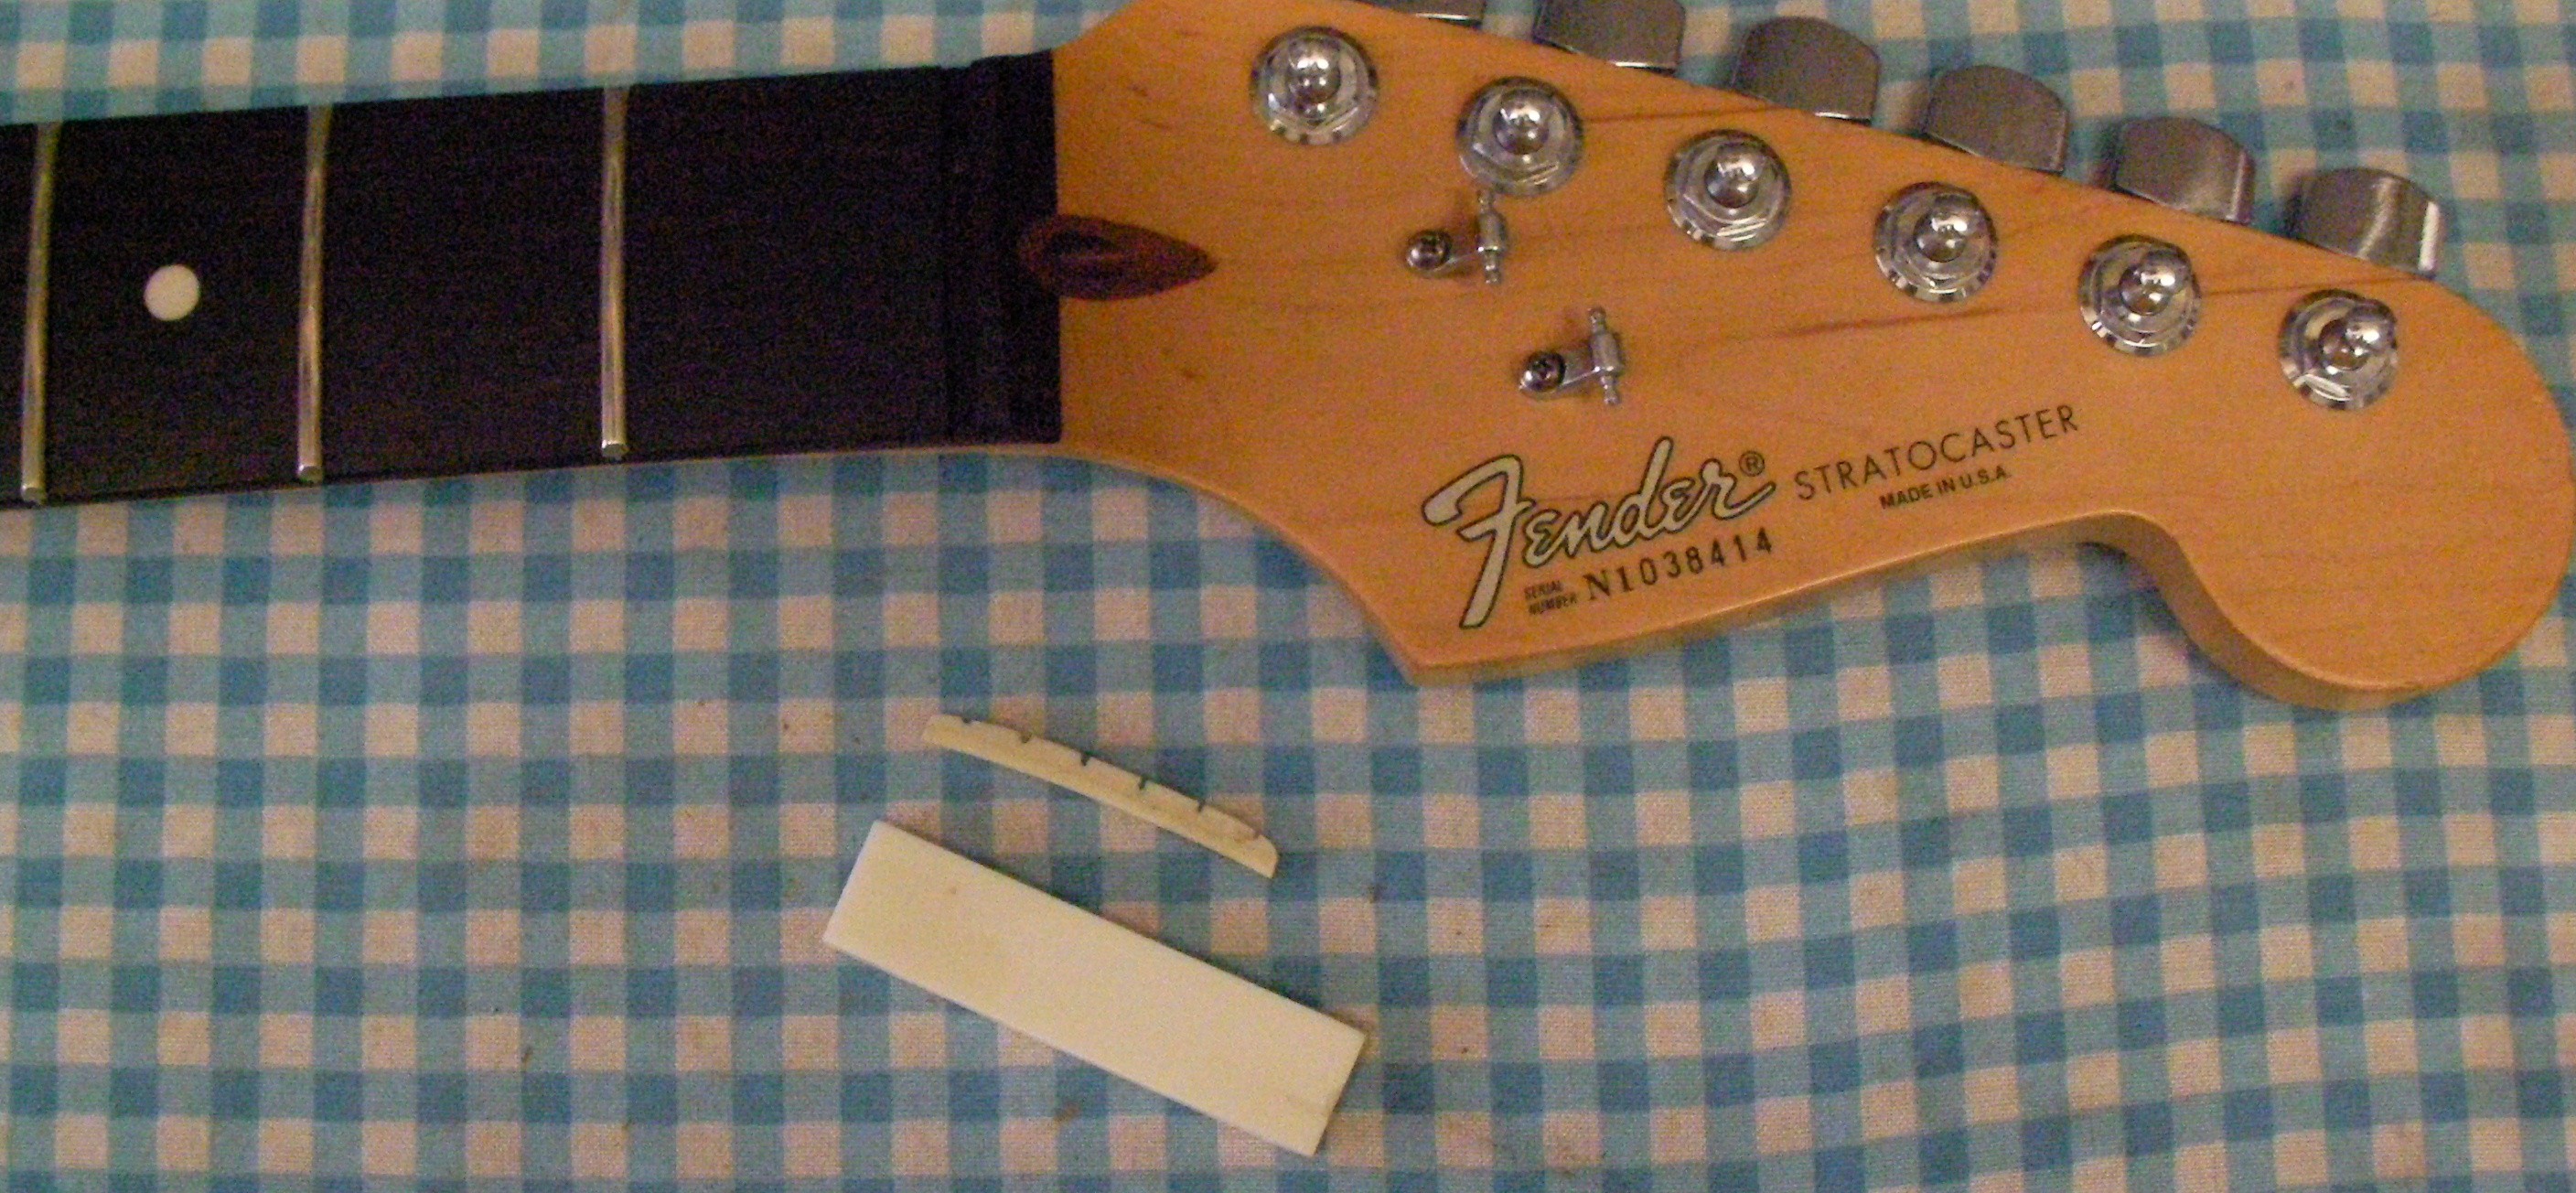
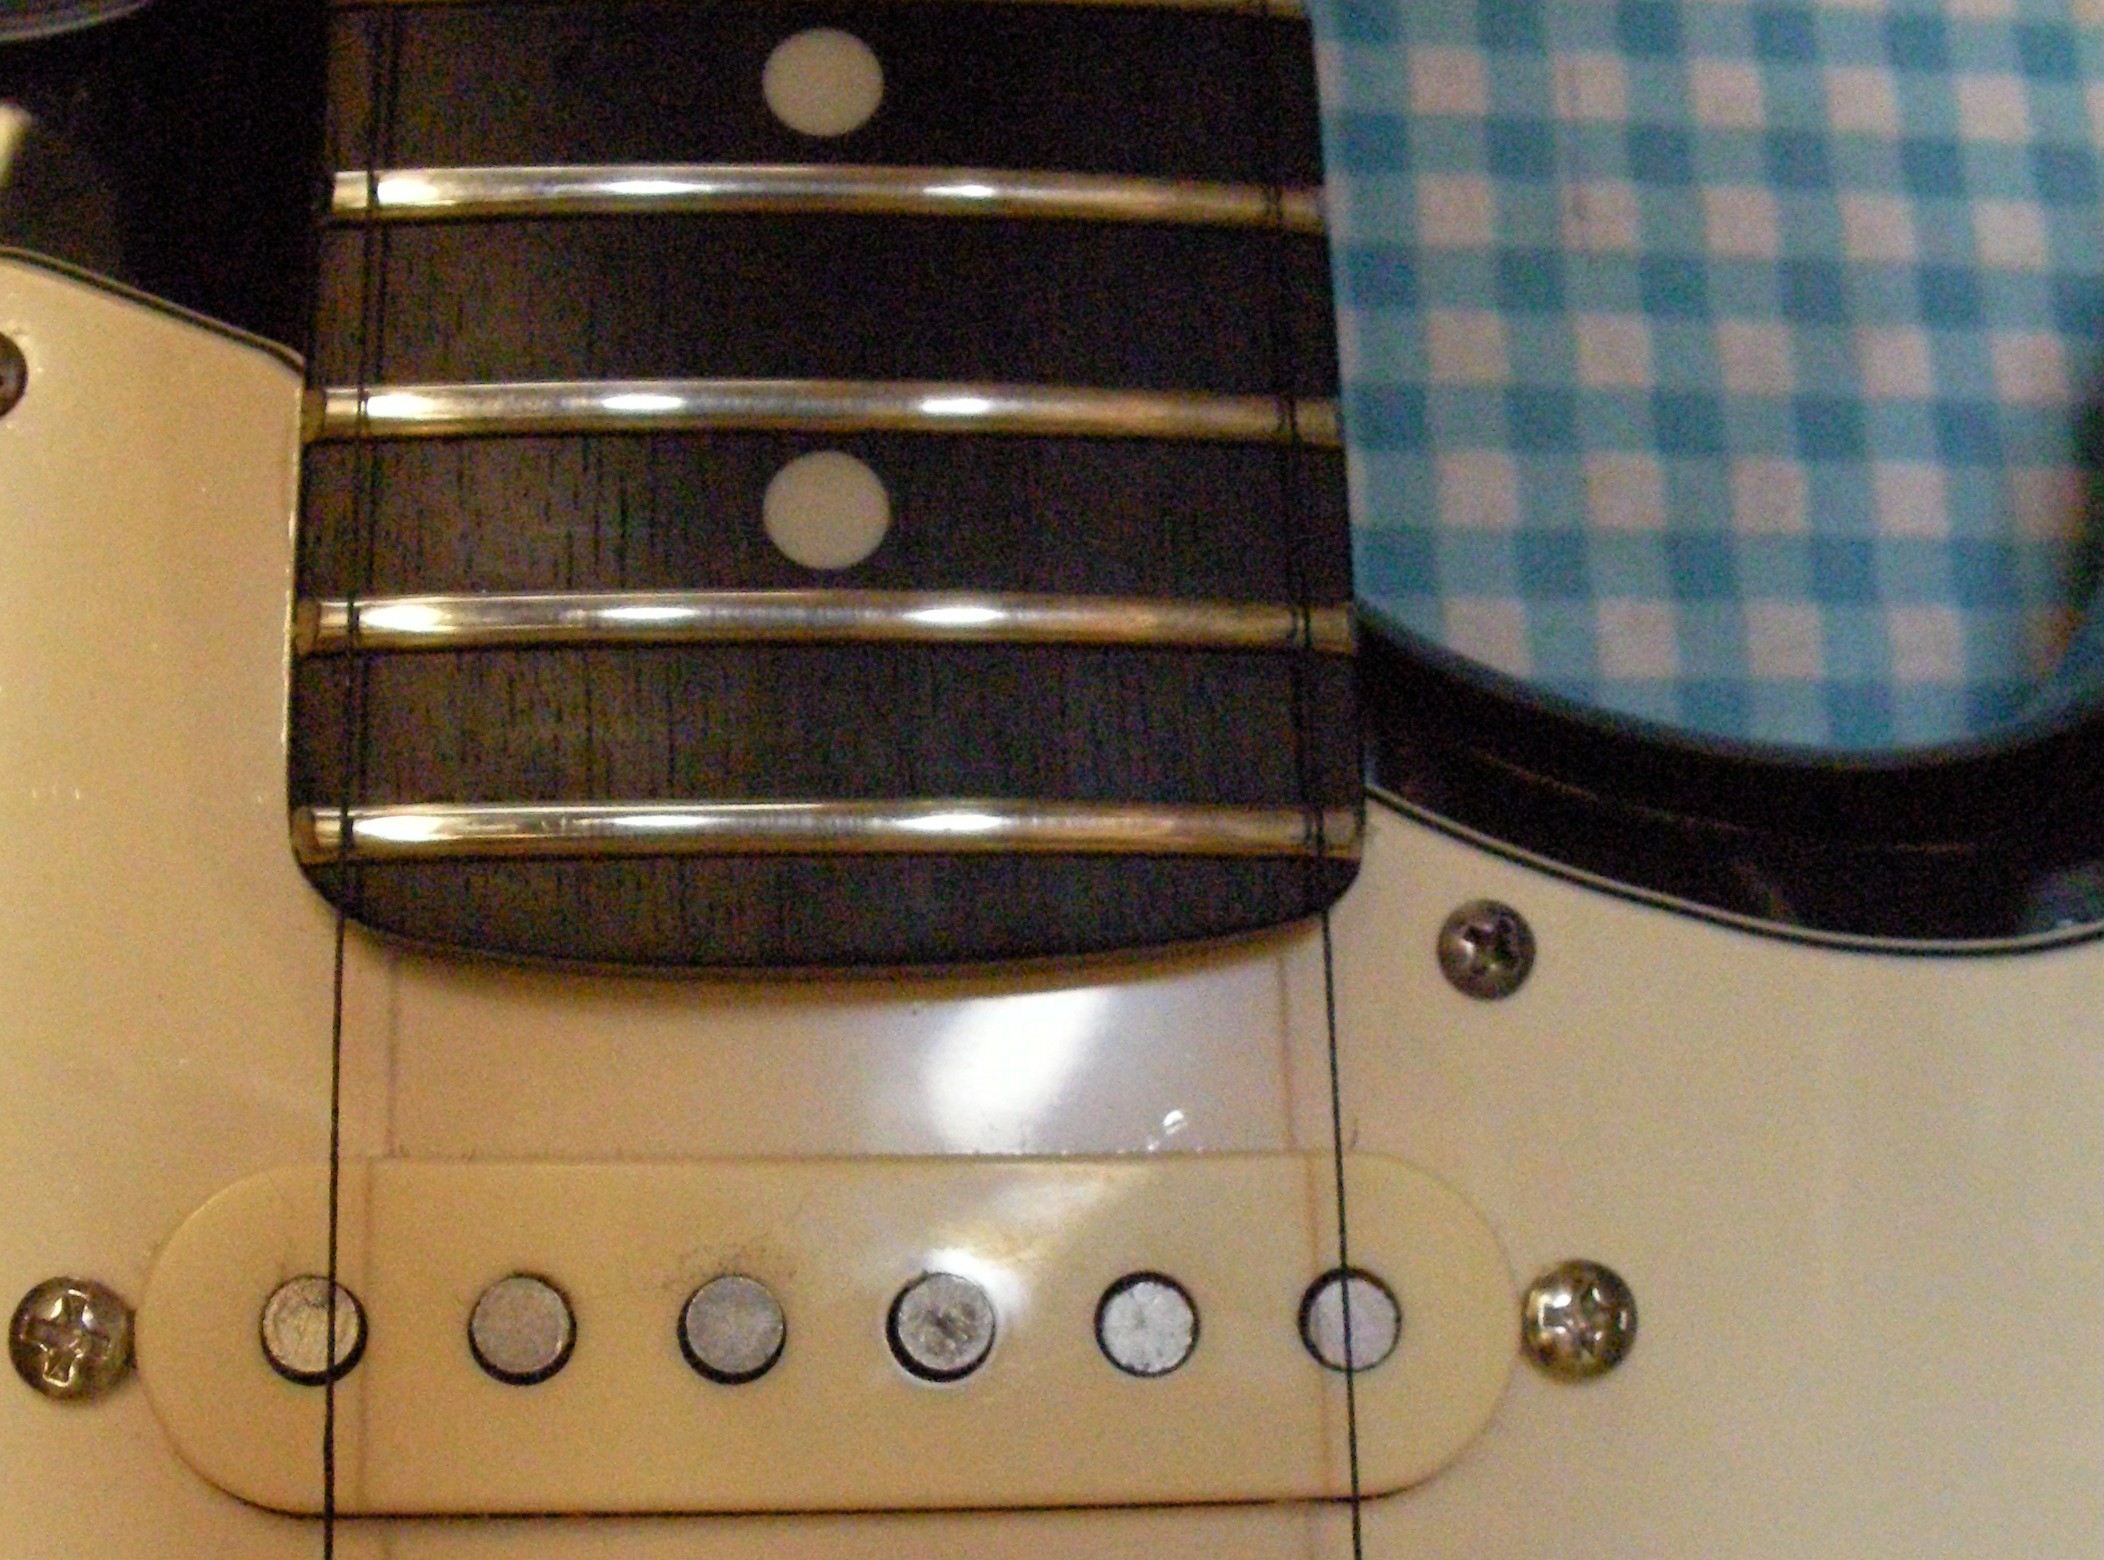
Just now and again something really nice comes across the bench. In this case an early 90s US Stratocaster. What’s nice, and almost a little odd is the condition. The frets are badly worn, it really has seen some use. However it’s also been well kept and is in fantastic condition, this guitar really has been loved.
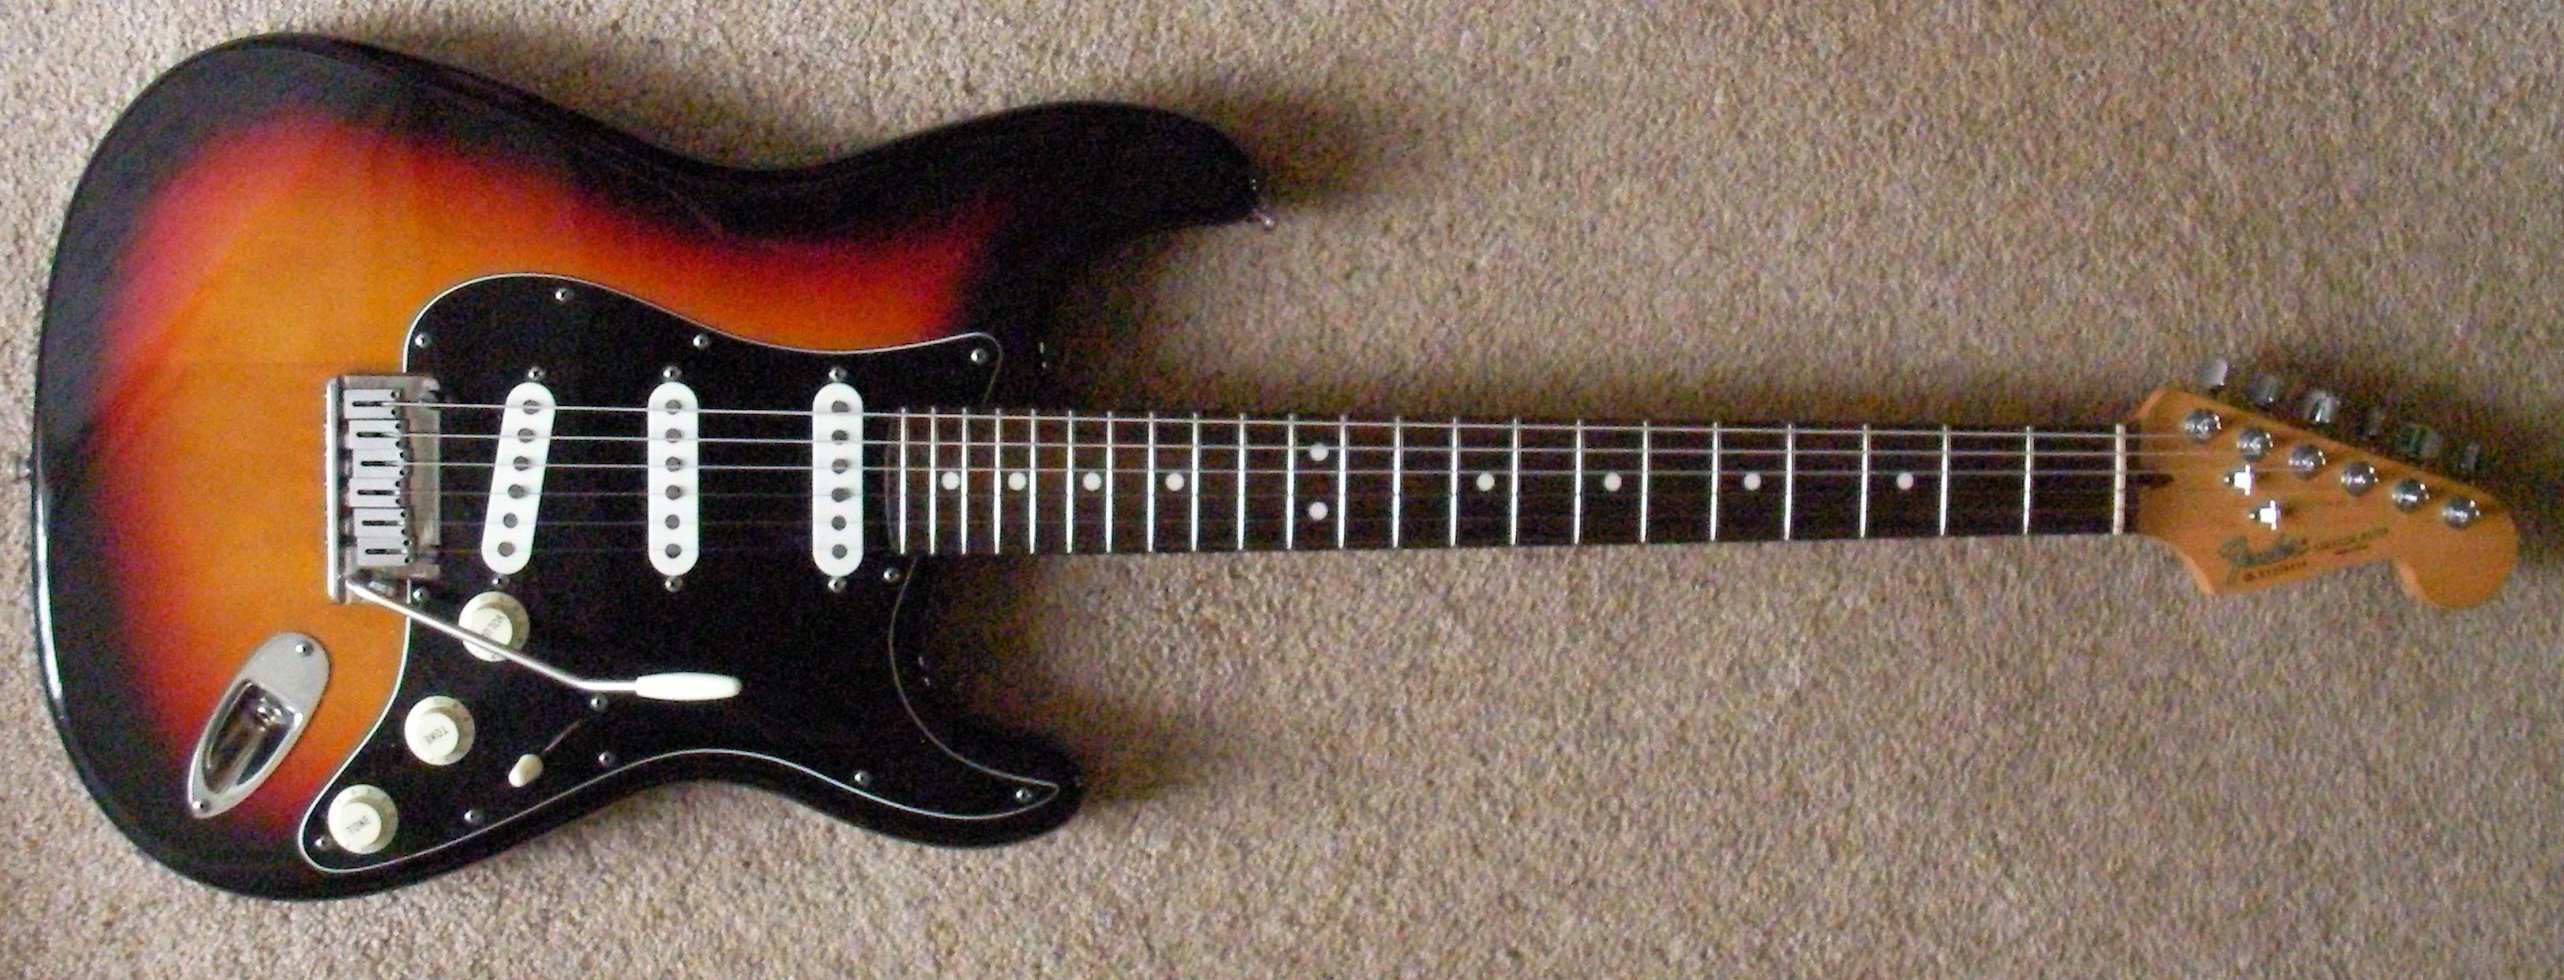
Really nice, but worn..
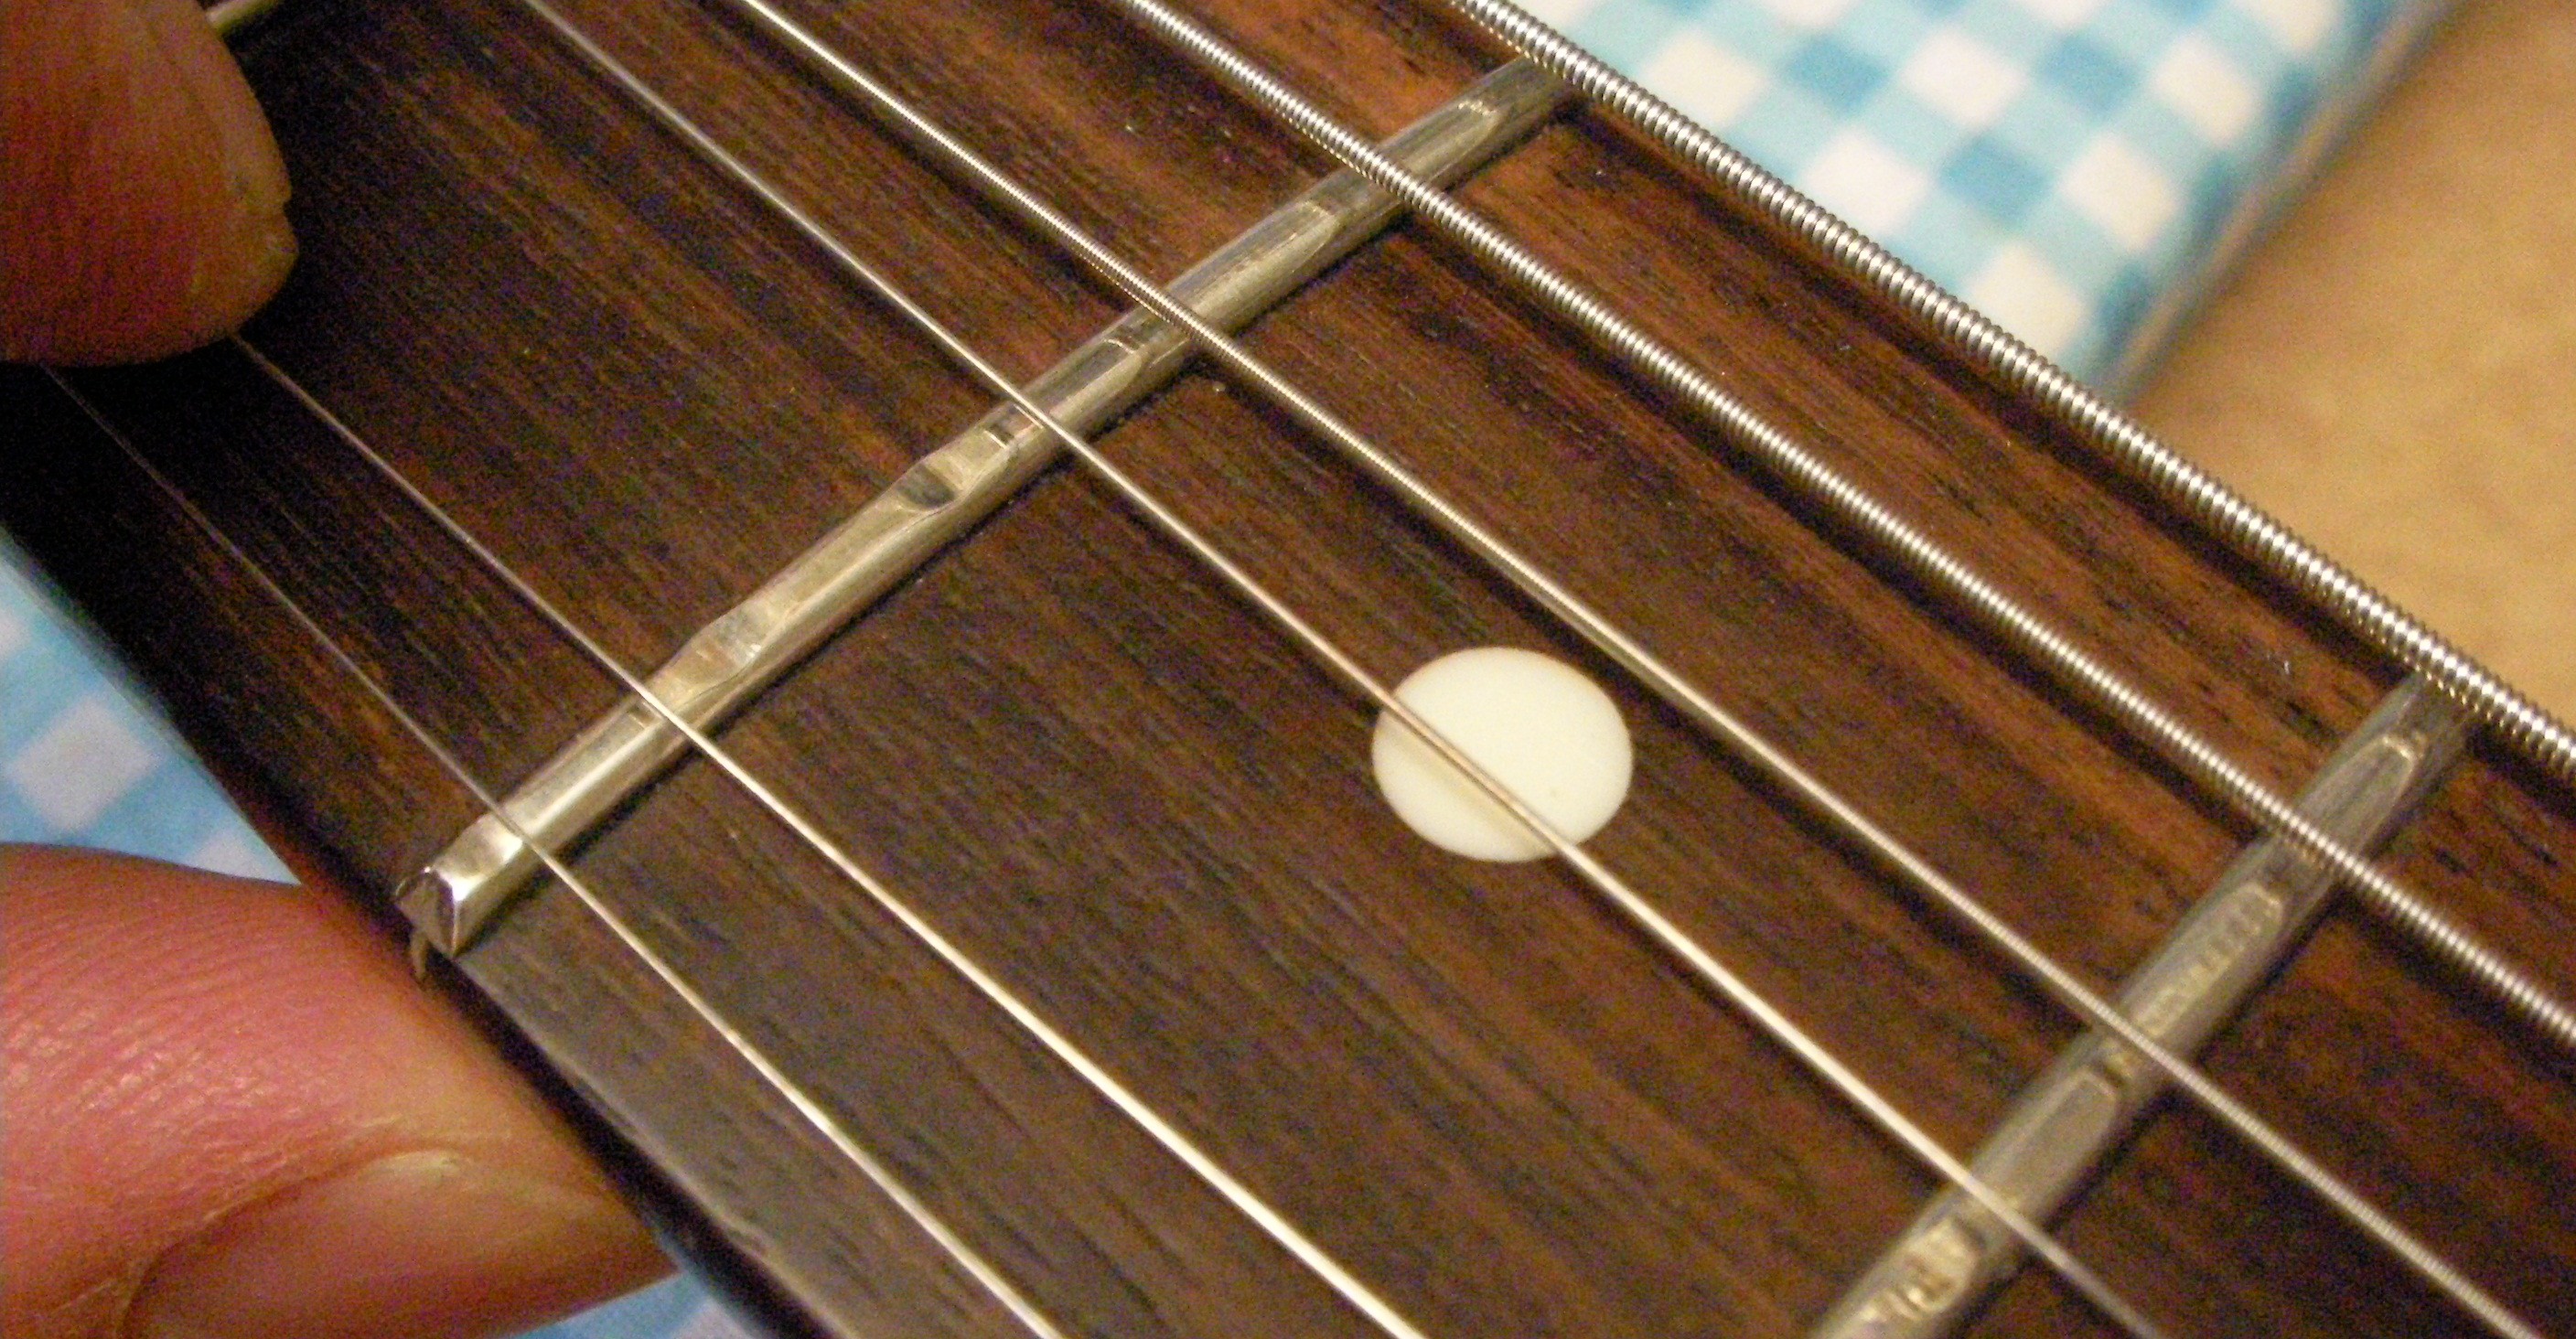
I could dress them down, but they would be very low and I’d probably have to change them again in 12 months time anyway so the customer wants them replacing now.
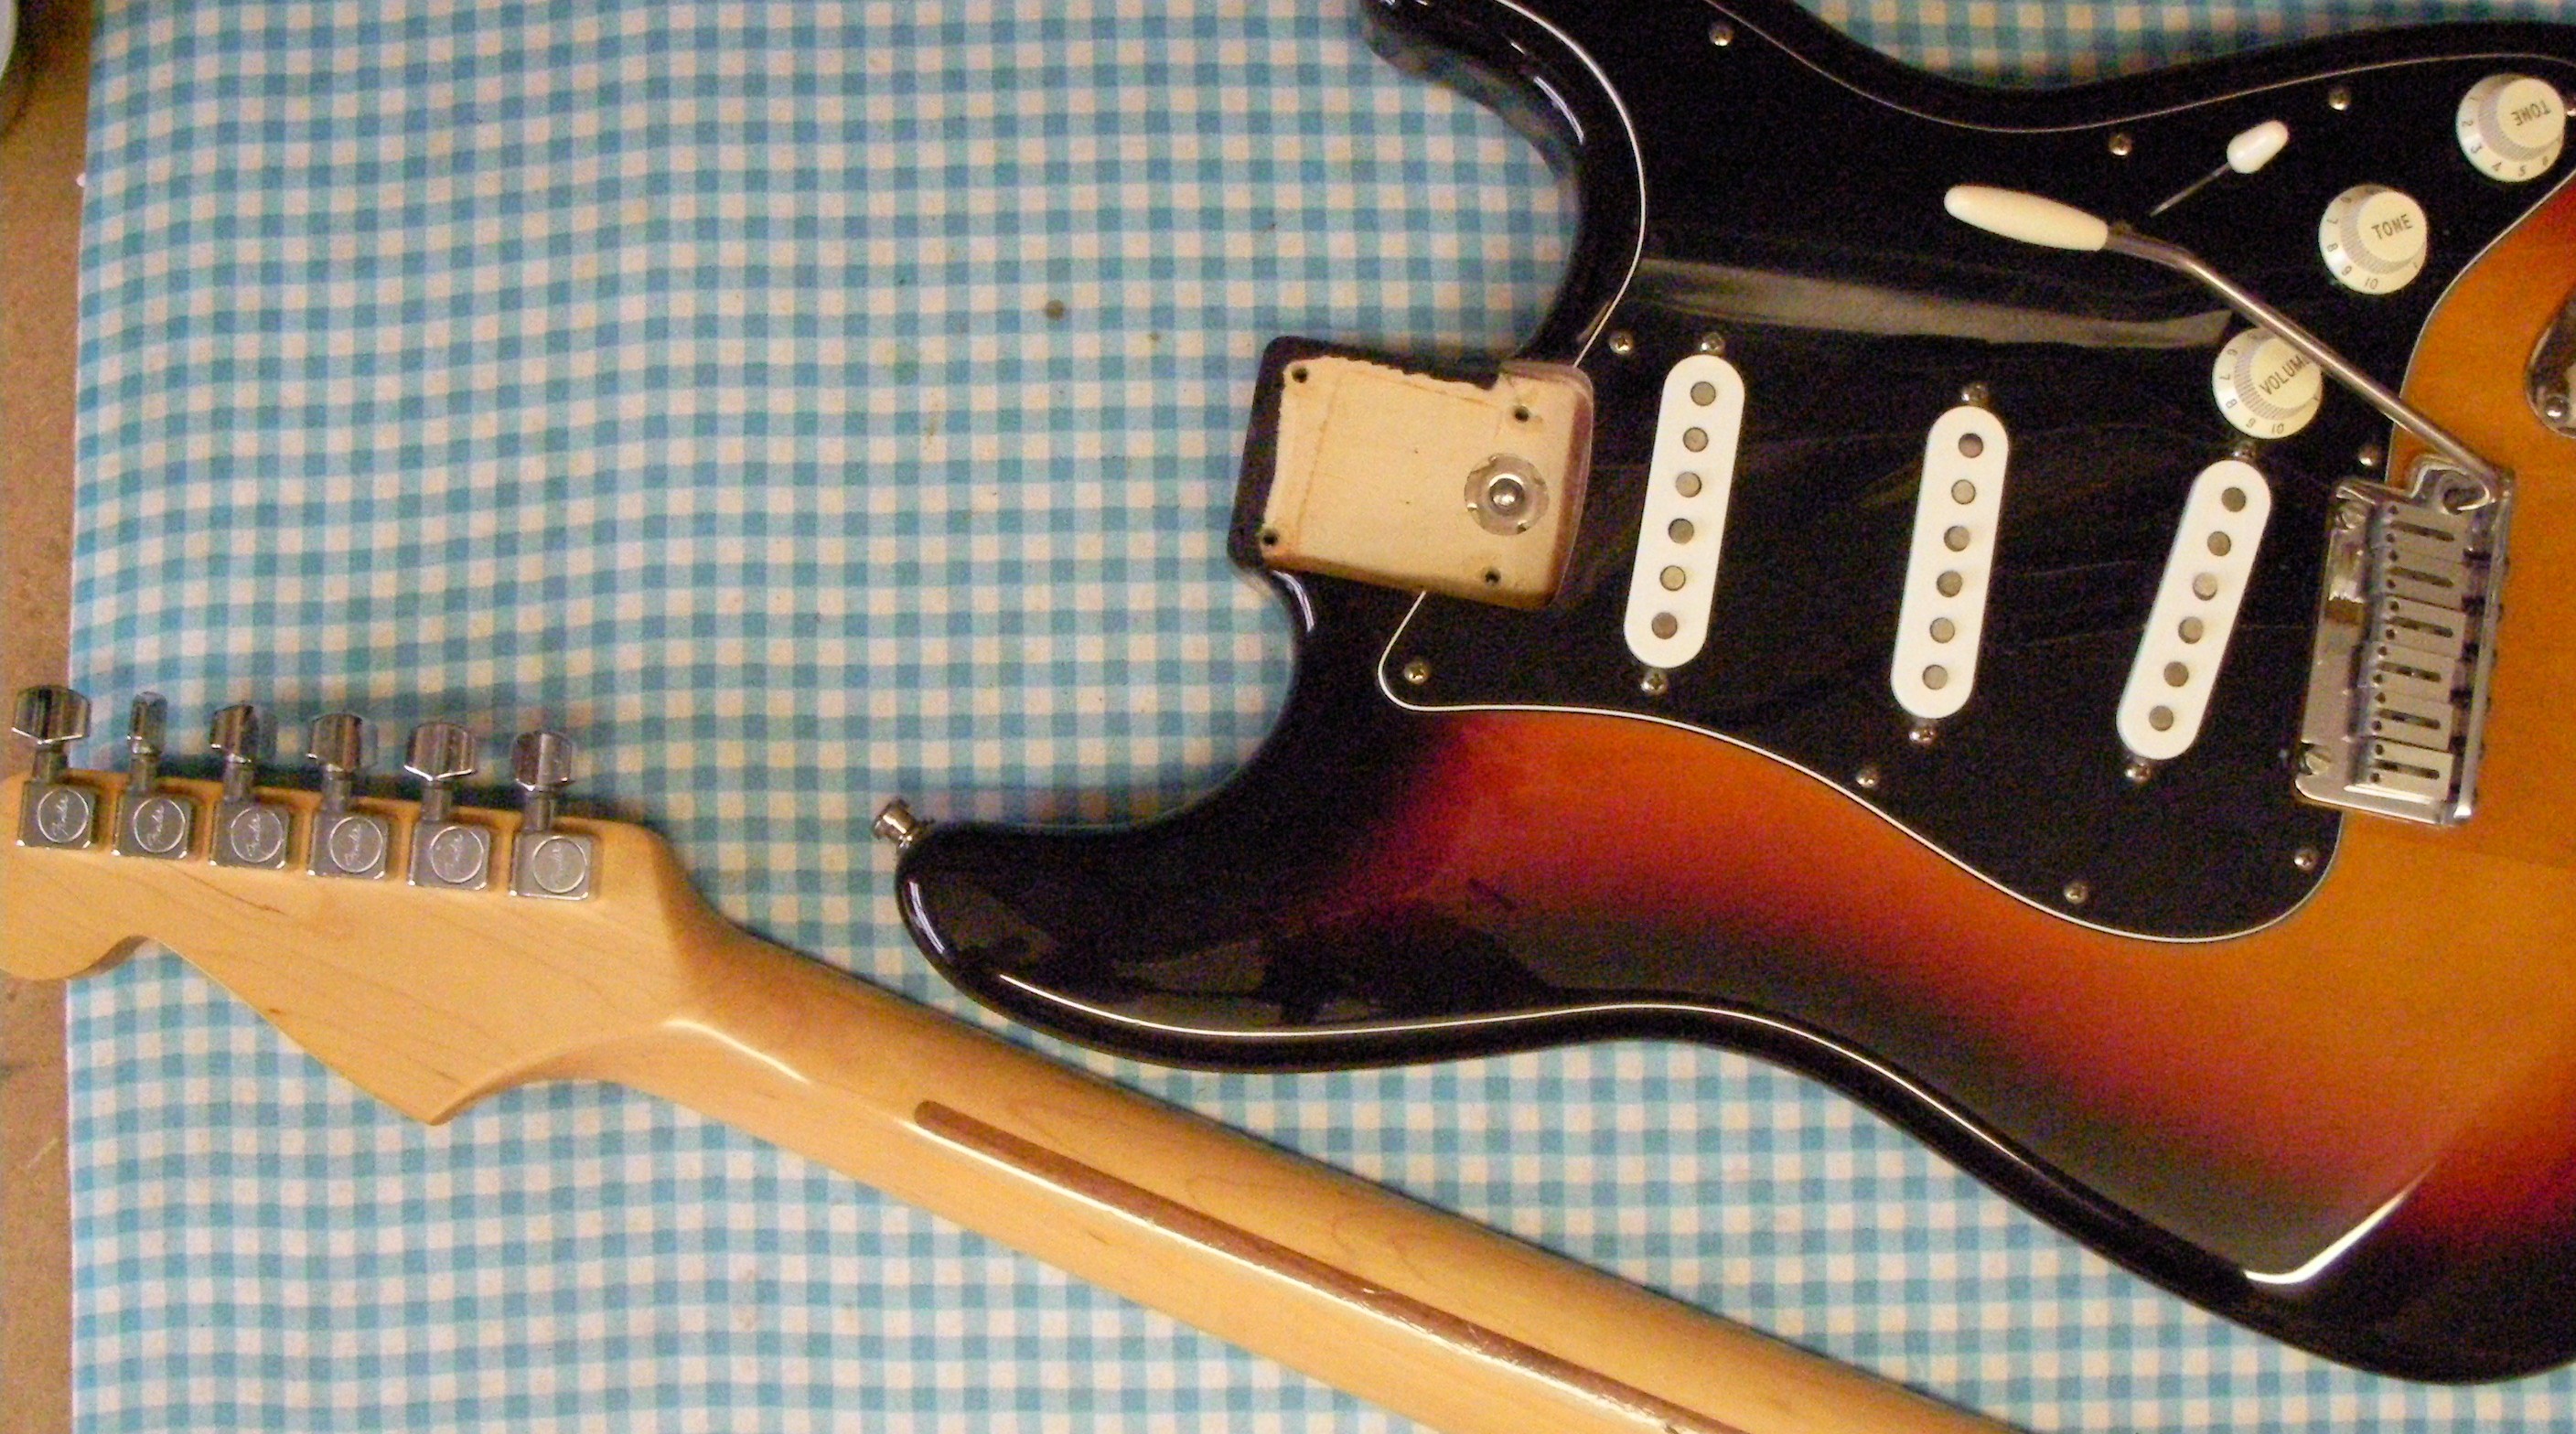
The first thing then is to separate the neck from the body. With such a gorgeous body I want to tuck it in a safe place so it can’t get damaged.
The next stage then, pull all the old frets, carefully! There will always be some slight damage to the face of the fretboard as the old frets come out but I want to reduce it as much as possible.
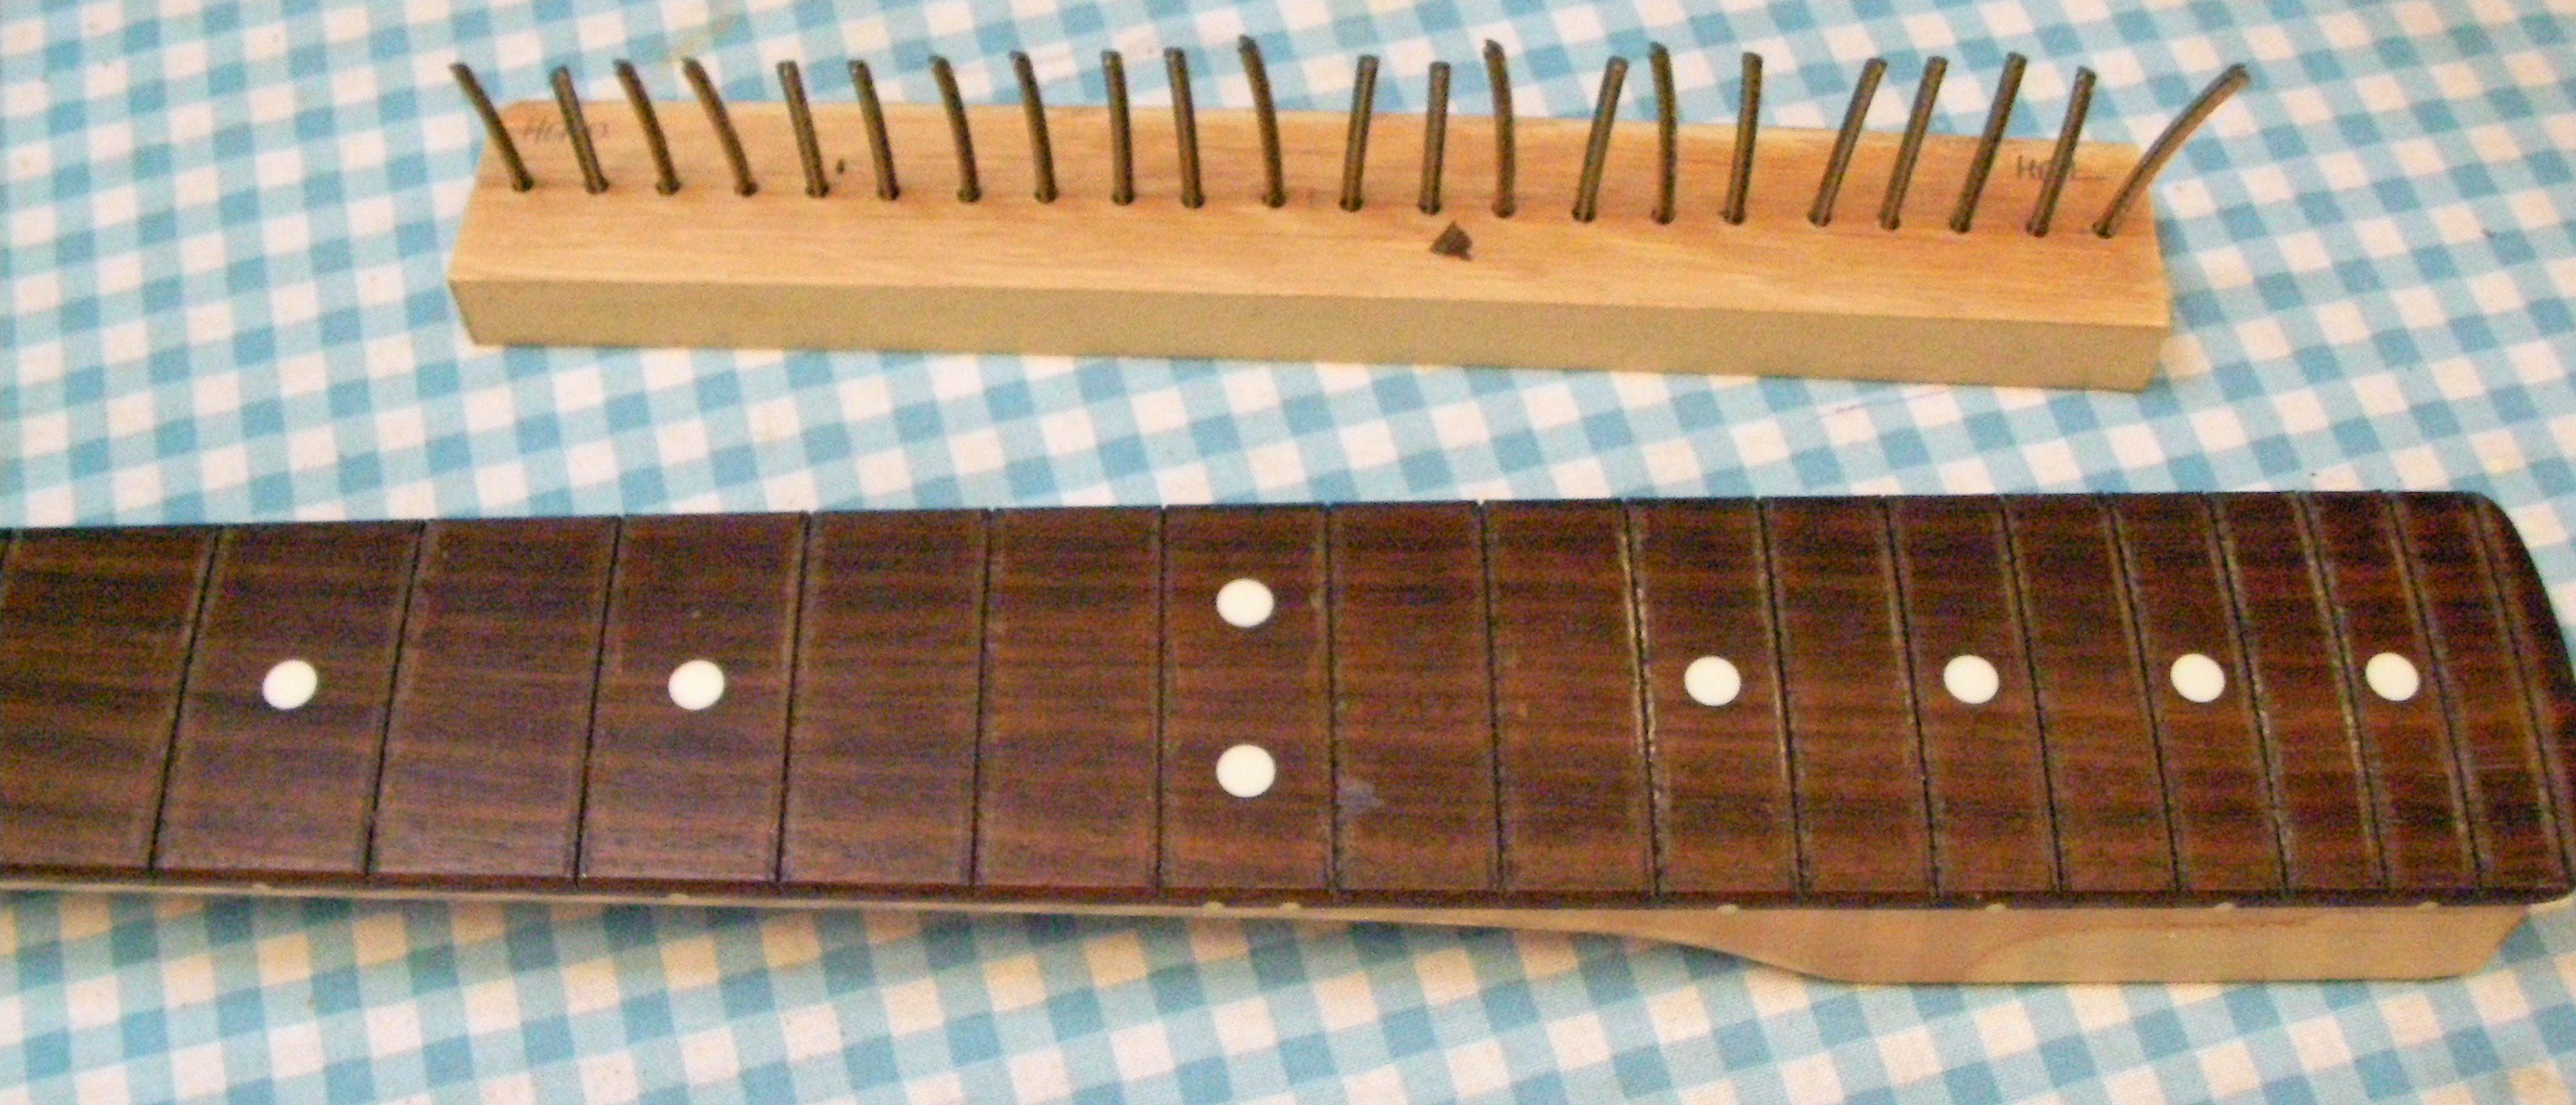
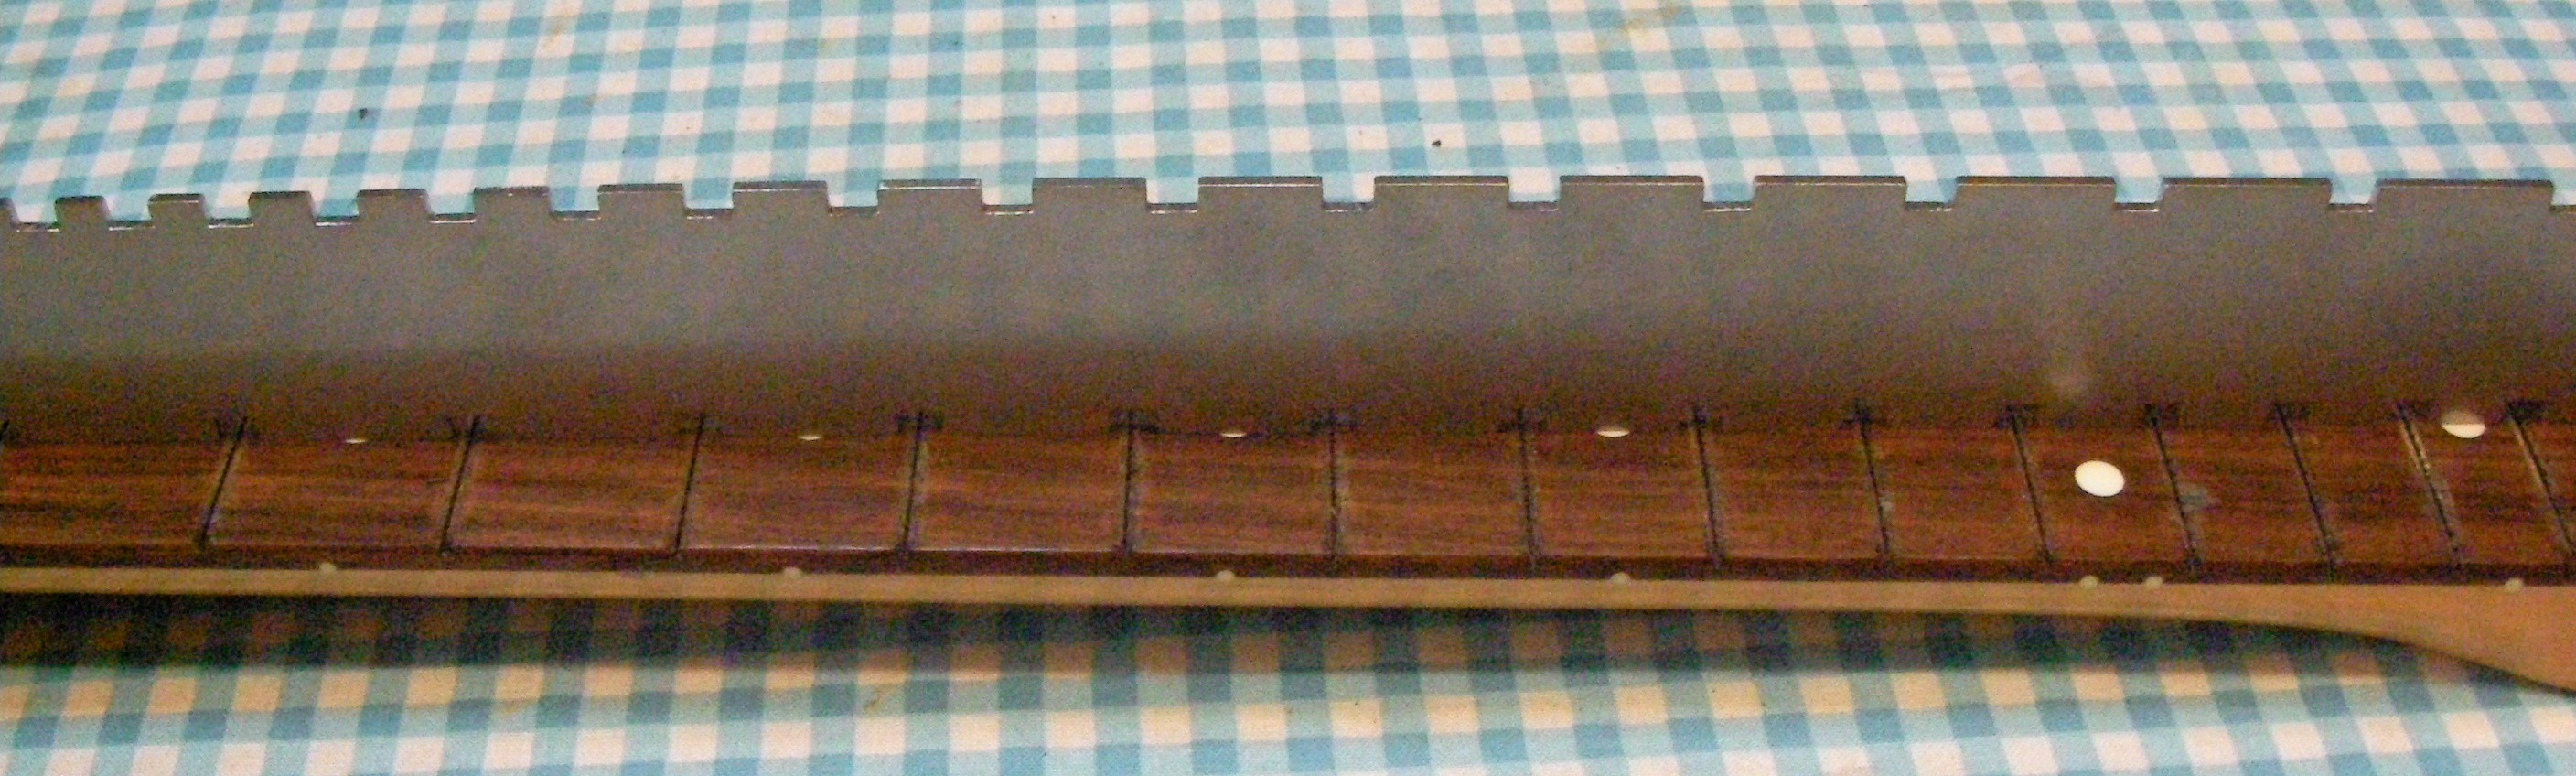
One small piece of wood came off, just below the 12th fret. You can see the splinter on the block with the old frets. I’m going to glue that back into place before sanding down the fretboard to take out as many of the marks as I can without taking too much off.
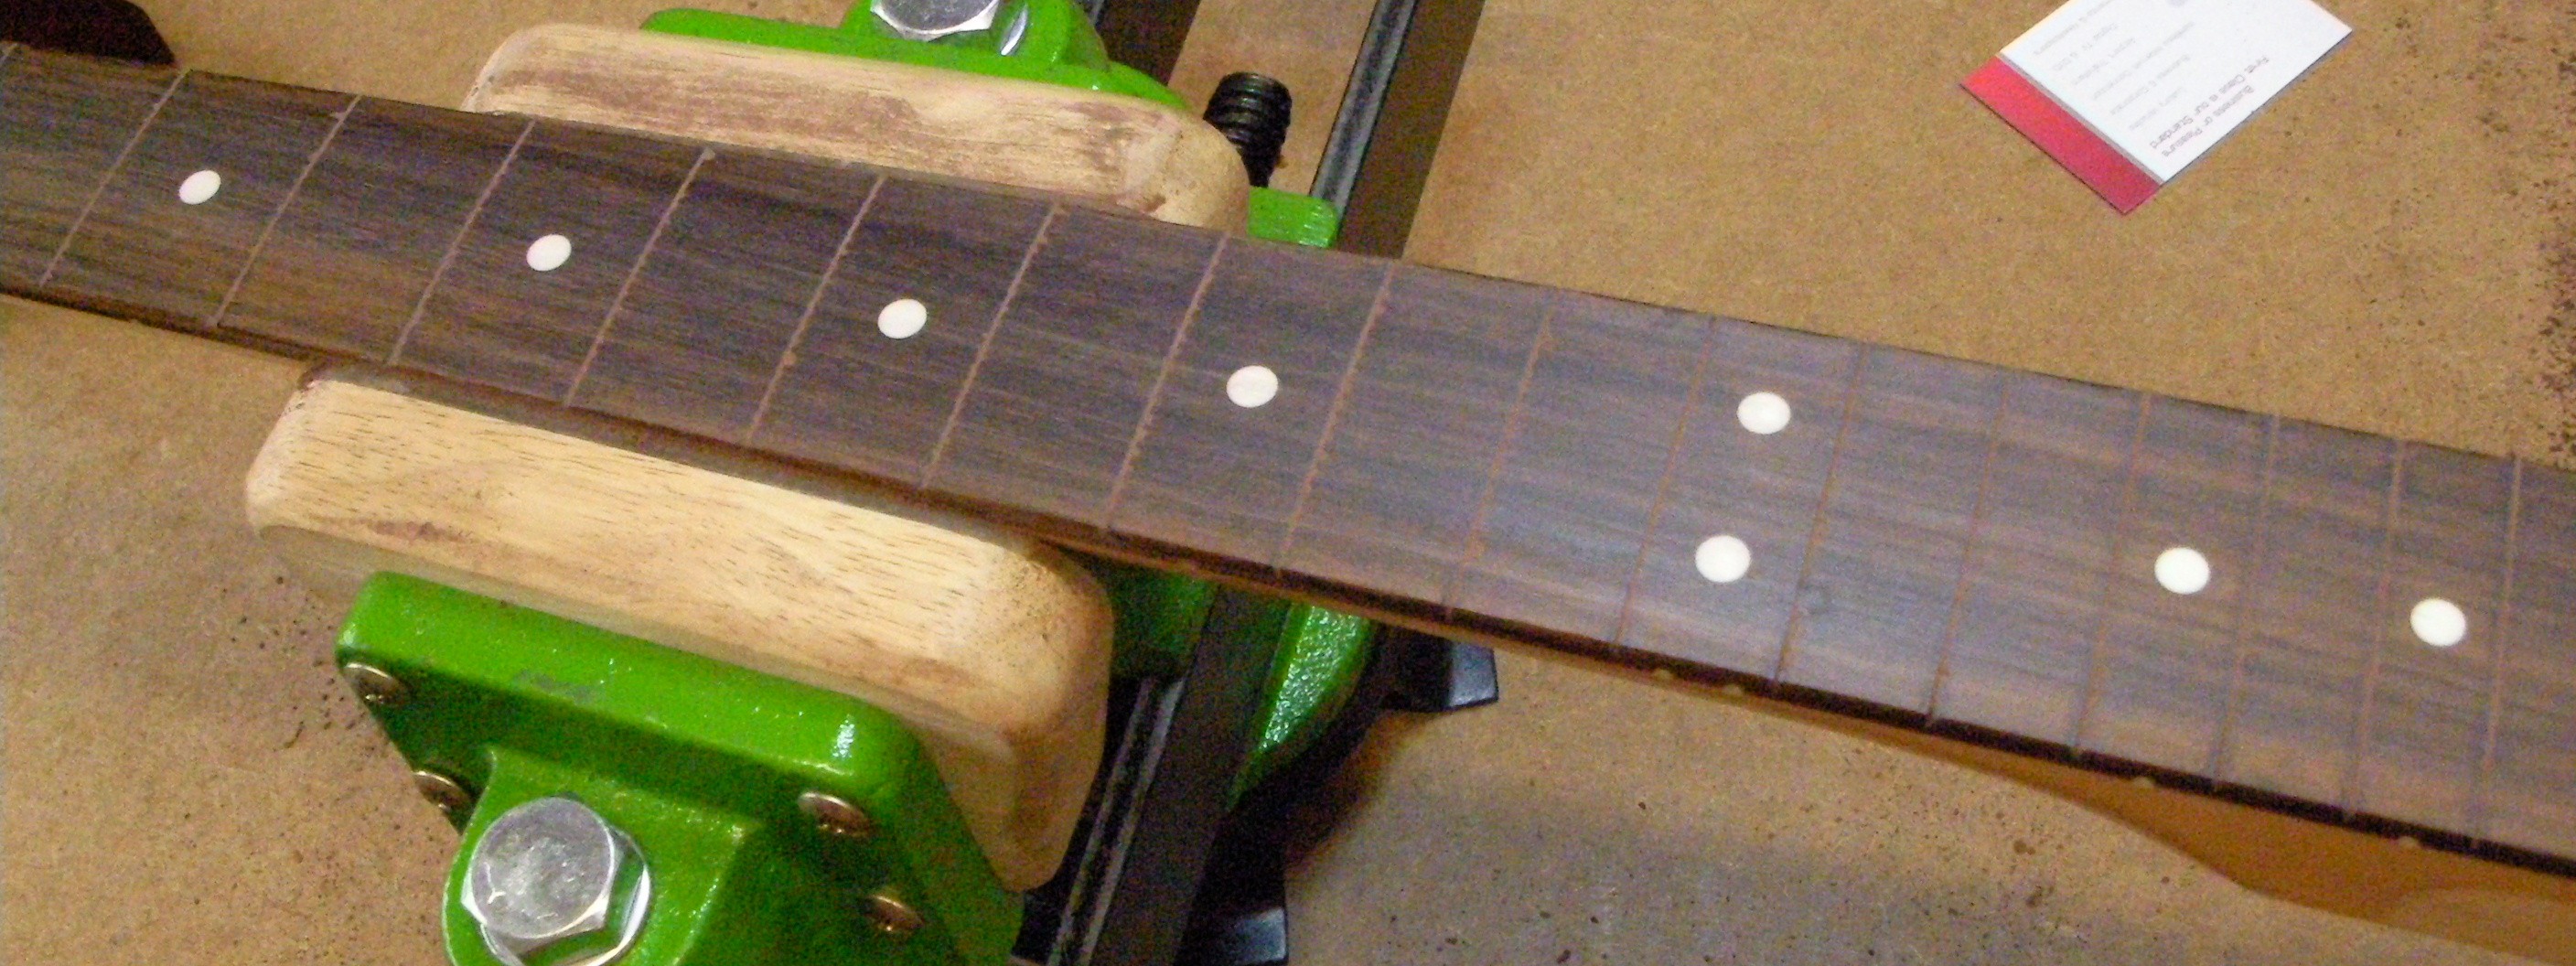
Luckily the board is perfectly flat so I don’t need to put the neck on the jig.
After getting a really nice level to the fretboard it’s just a case of finer and finer abrasive to get a really nice finish, then add a little lemon oil.
Clean out the slots and make sure they’re deep enough and put in the new frets..

The boring bit now. File down the ends of all the frets to the edge of the neck.
Once the ends are level I need to dress the top of the frets. No matter how hard you try, fitting frets by hand means they won’t all be perfectly level.

I’ve put on low adhesive paper to protect the nicely polished fretboard.
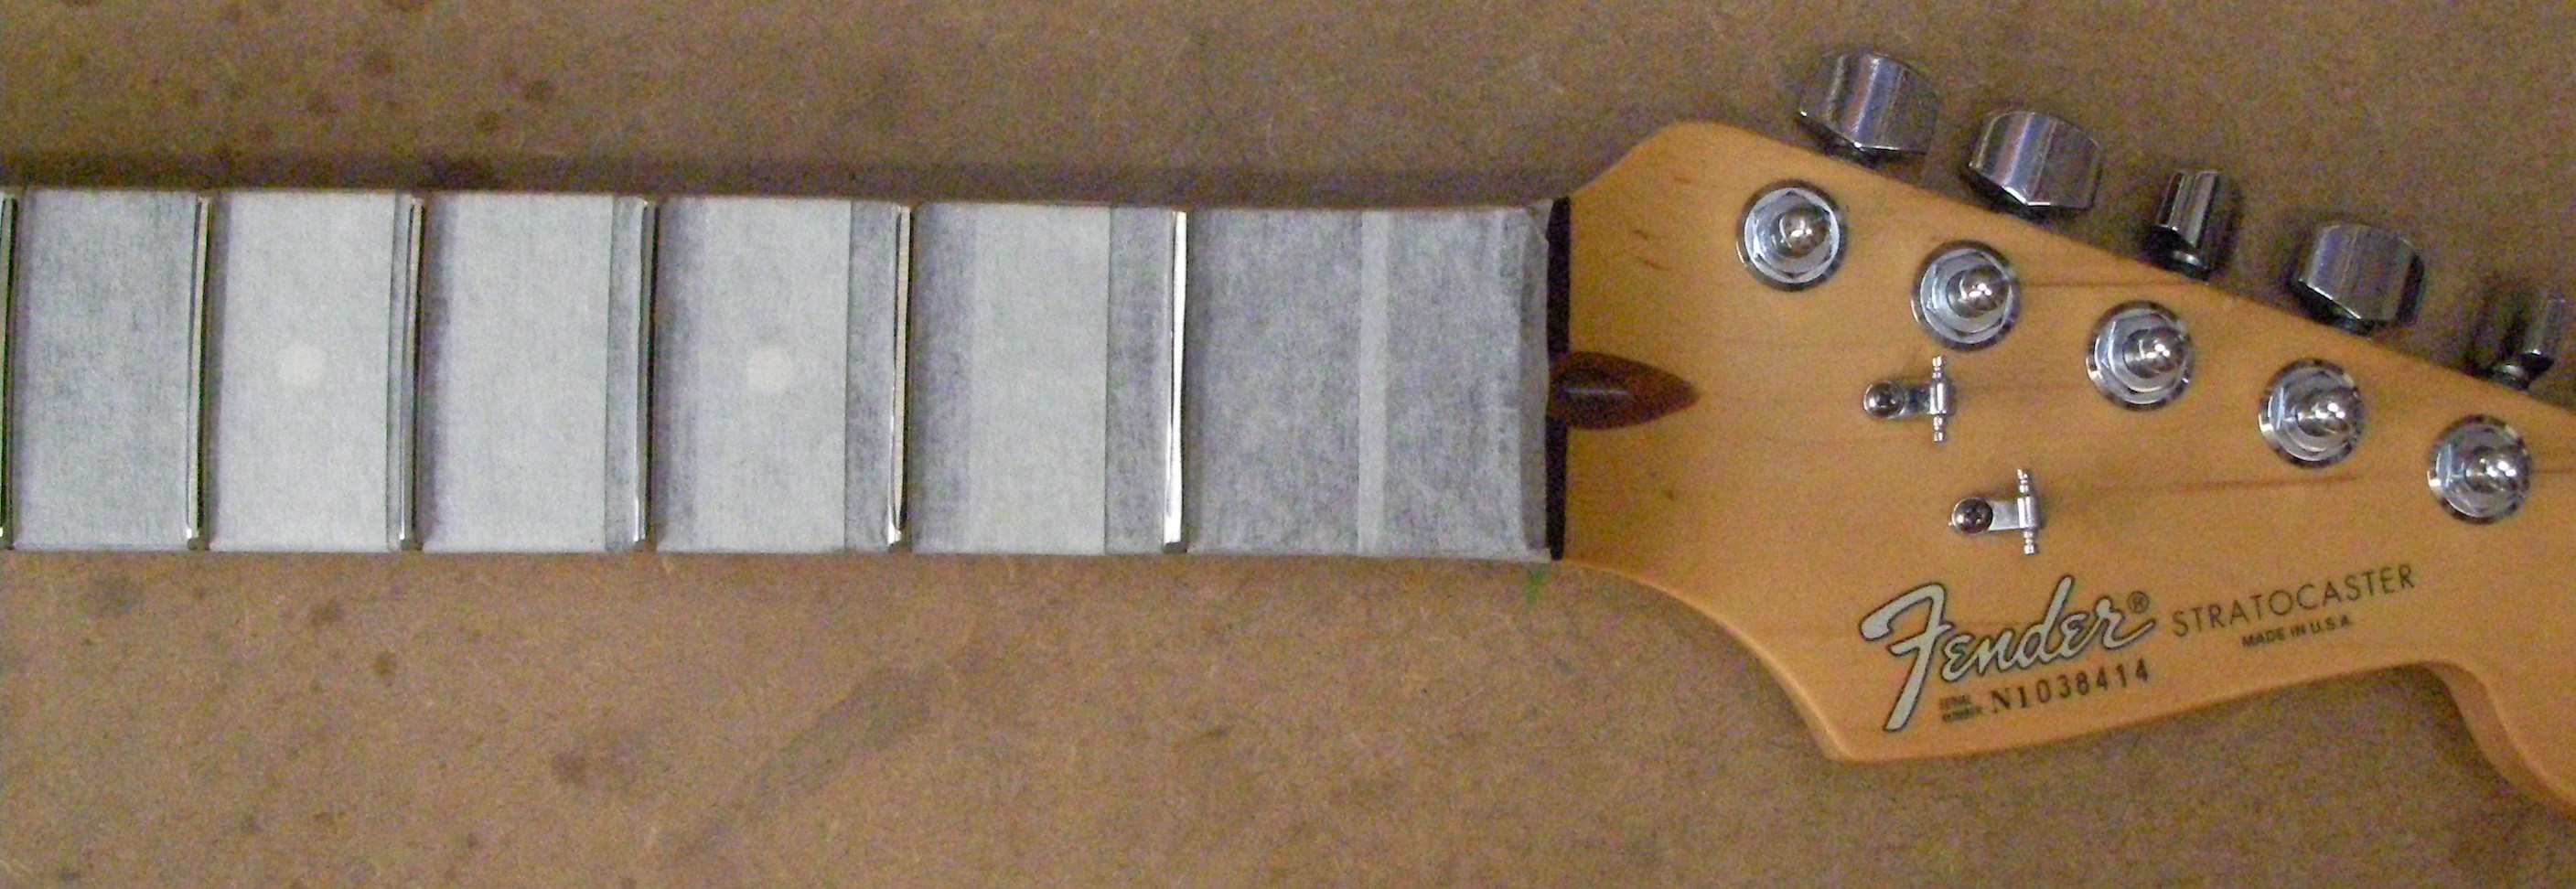
Now the tops are level the next job is to re-shape the top of each fret. It’s a rather time-consuming process but will be worth it.
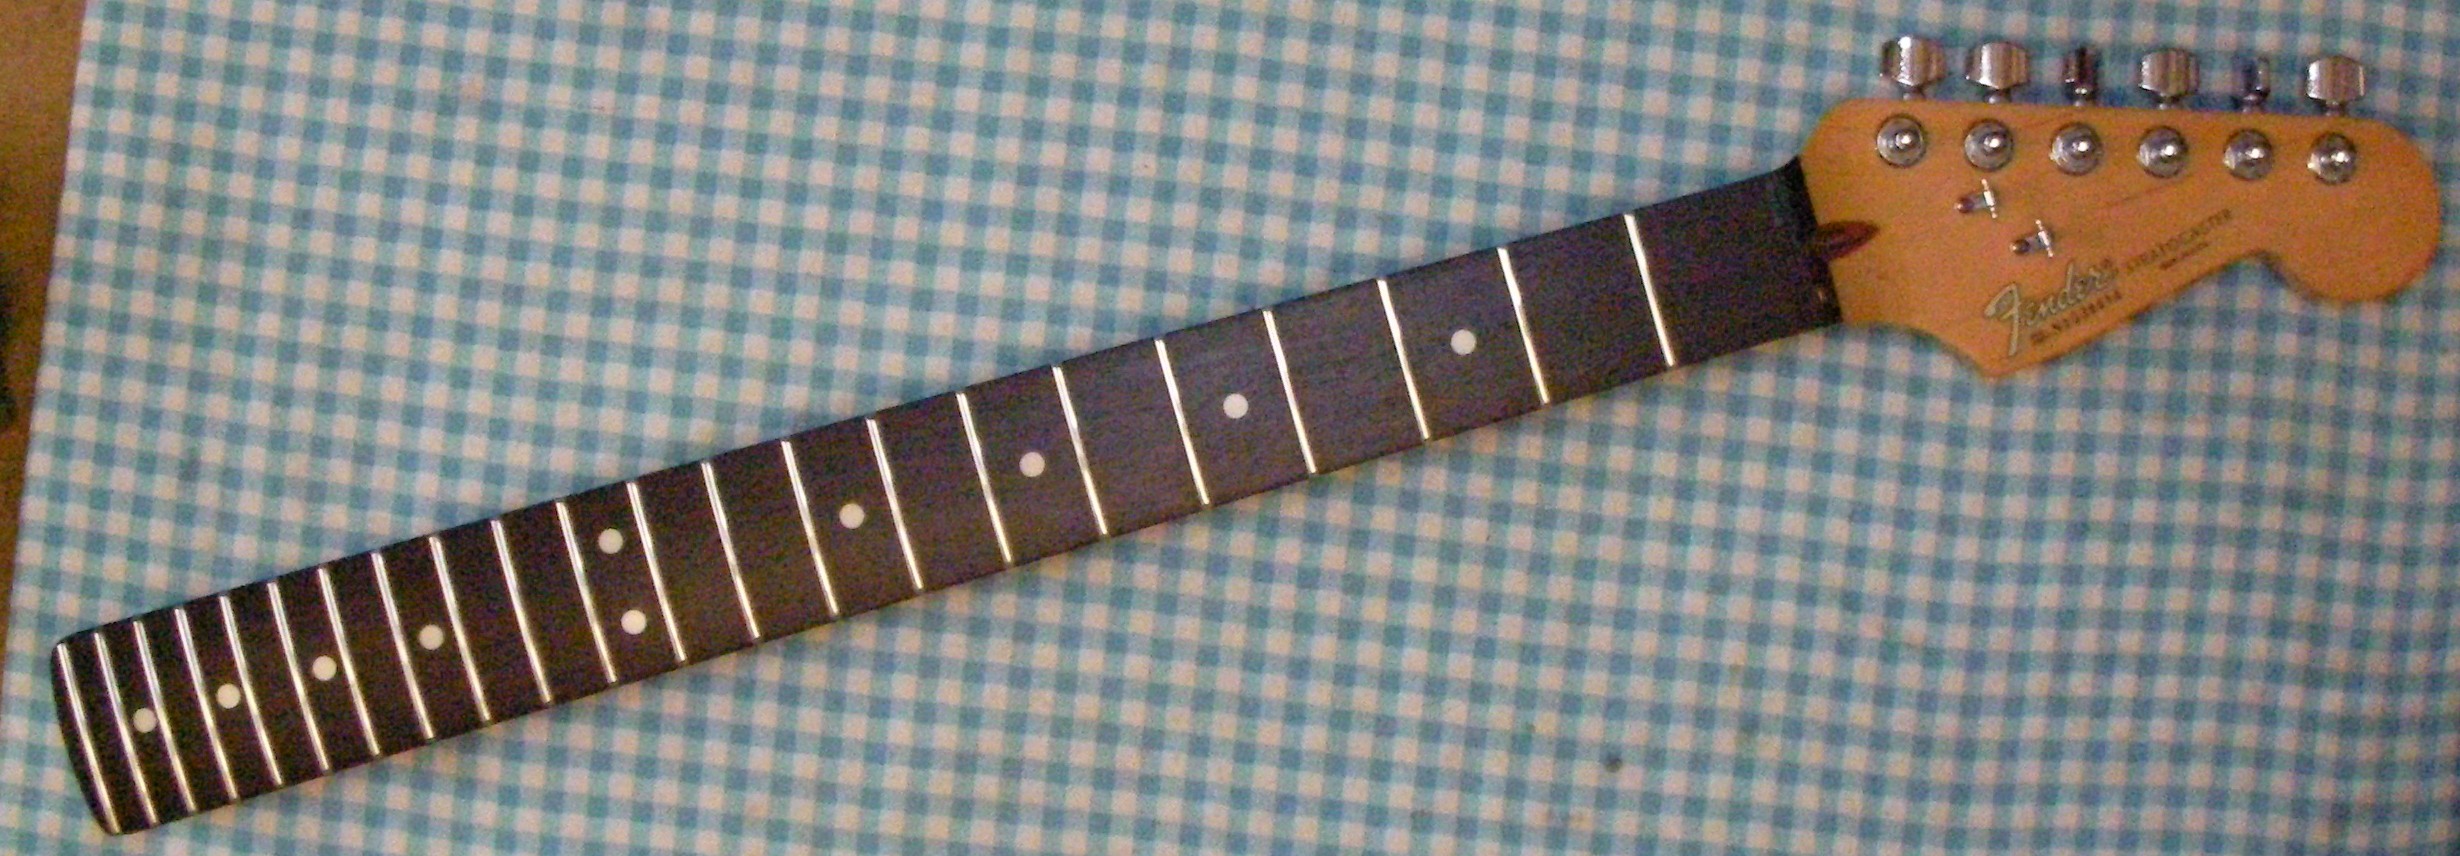
Neck done, just need to cut a new bone nut. I’ve got a few pre-shaped ones but, alas, none that would fit. The only other blanks I’ve got are a little large and will therefore need a little more work to make one fit.
Once I’ve cut it roughly down to size (I’ll get at least 2 nuts from that blank) I’ll use the sanding disk to get the thickness right.
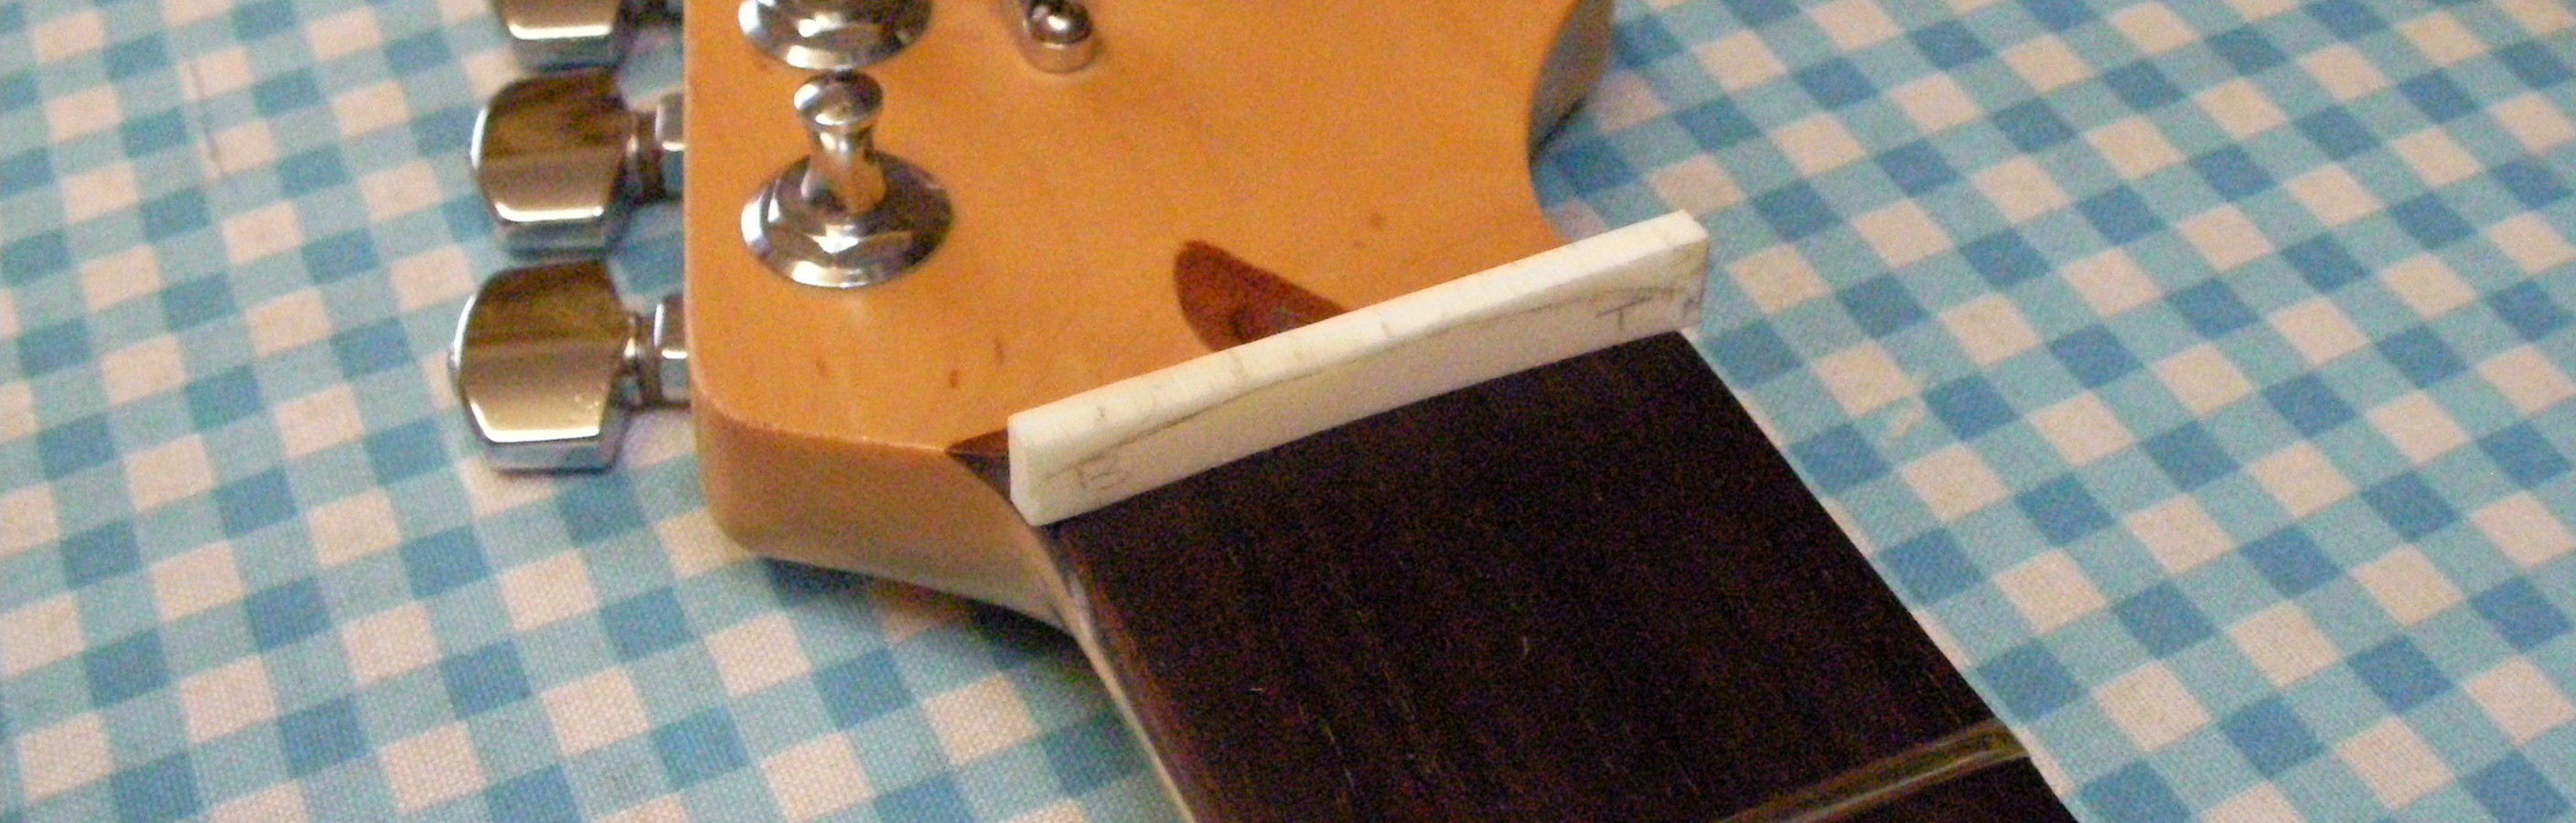
Once it fits in the slot, grind it to the right shape and cut the string slots.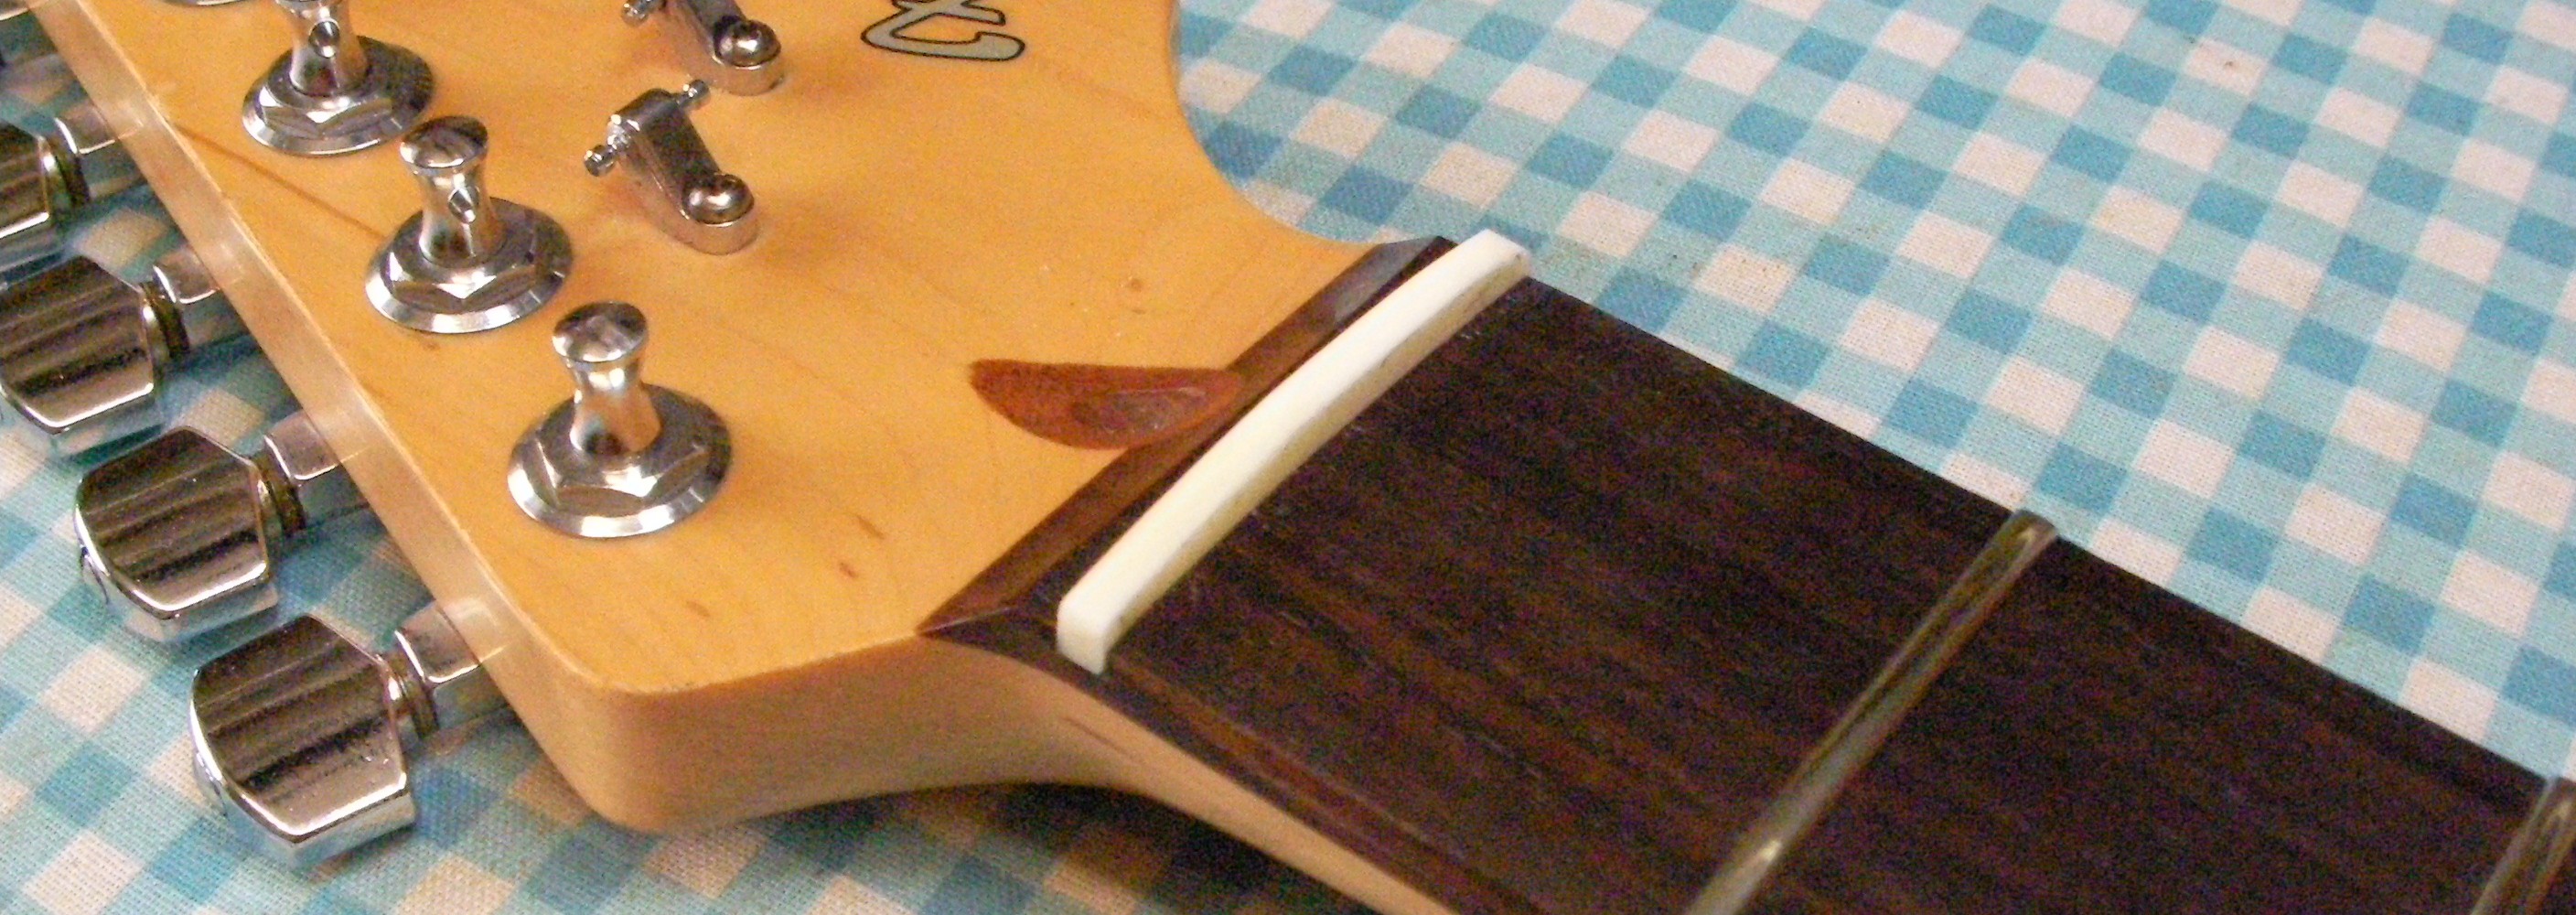
The depth of the slots is obviously a critical part of the setup so I’ll do those once the neck is back on the body.
At first glance the neck looked good but looking more closely at the last fret the strings are a little off, the gap between the string and the end of the fret on the Bass side is about 1mm but about 3mm on the Treble side. There is a little play in the neck so I’ll loosen off the neck bolts and see if I can move it slightly.
That’s better.
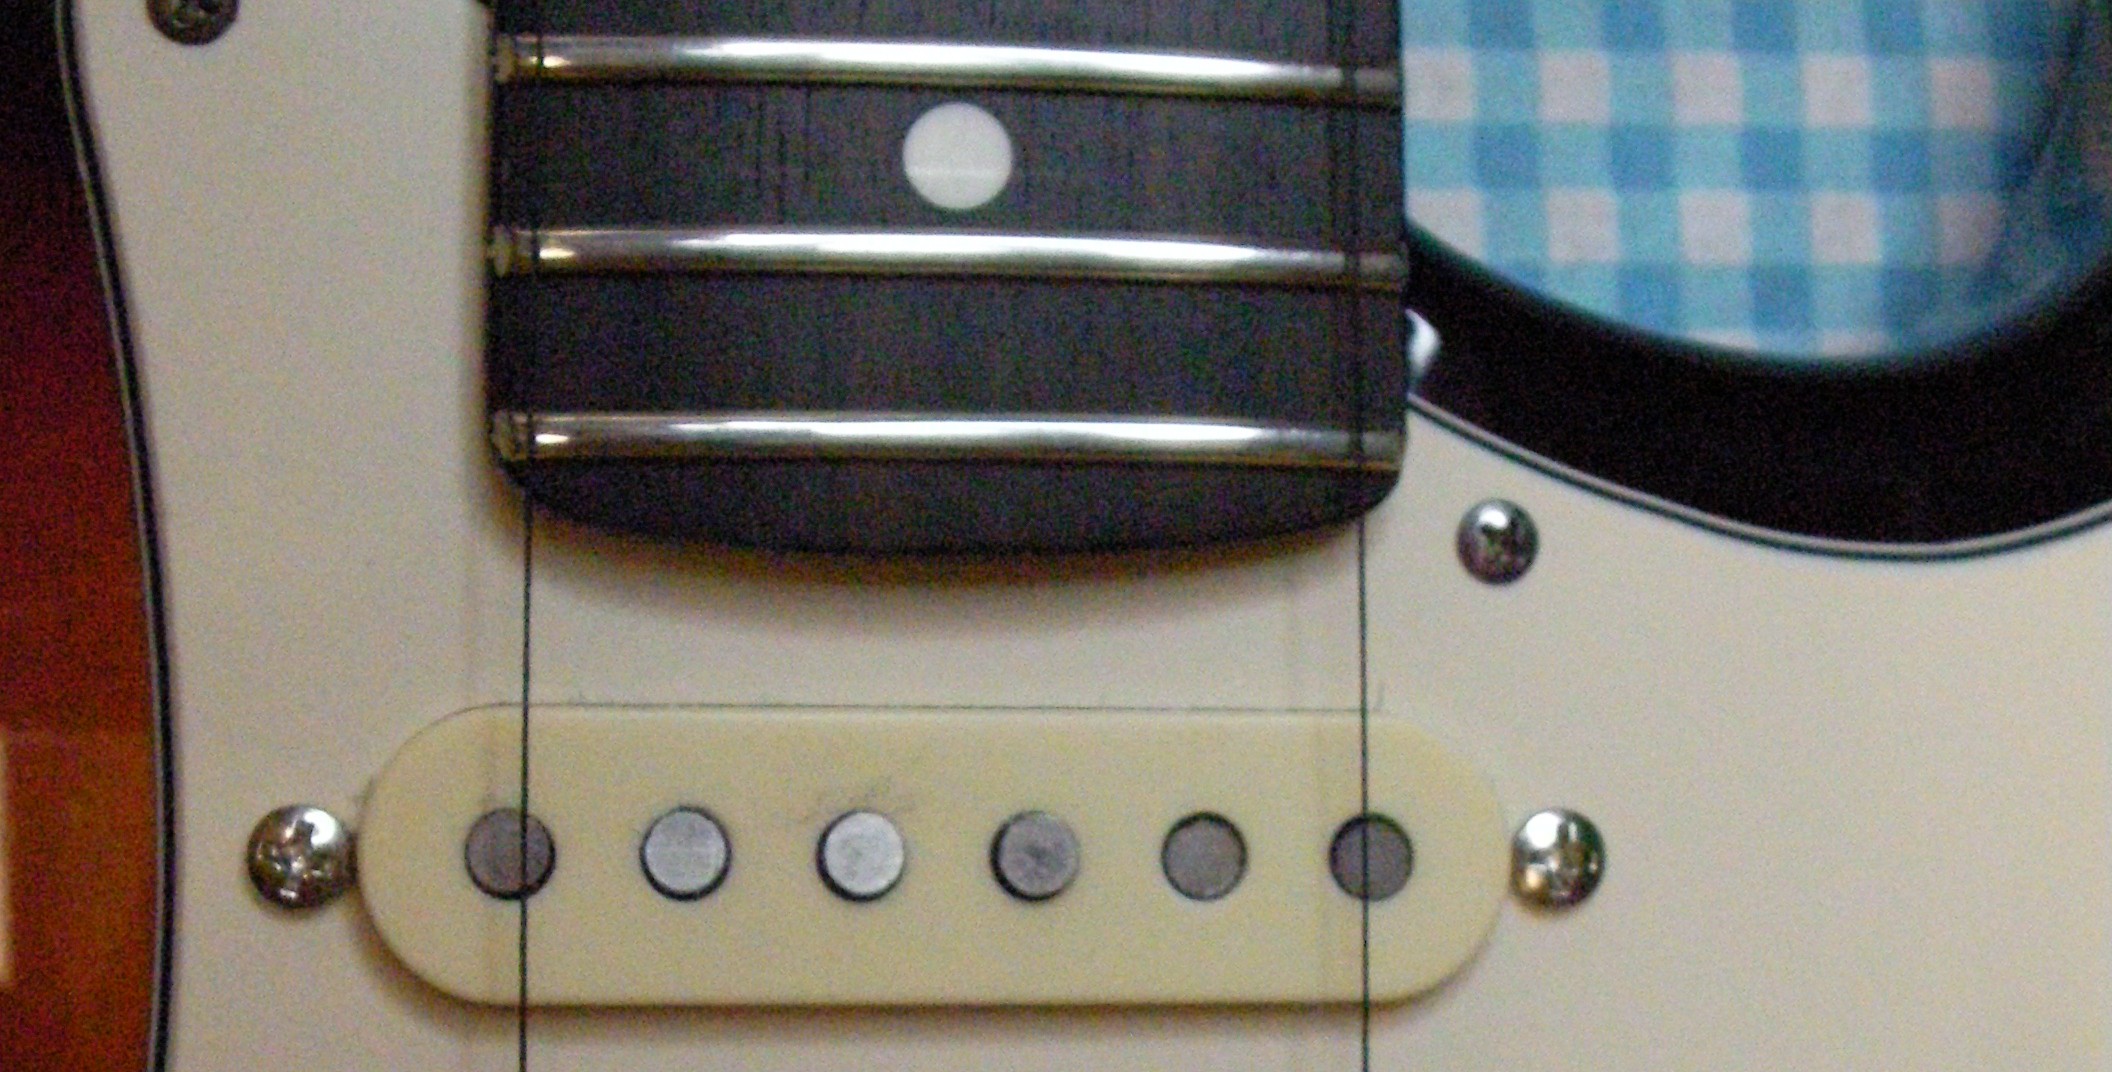
Looking like a Guitar again.
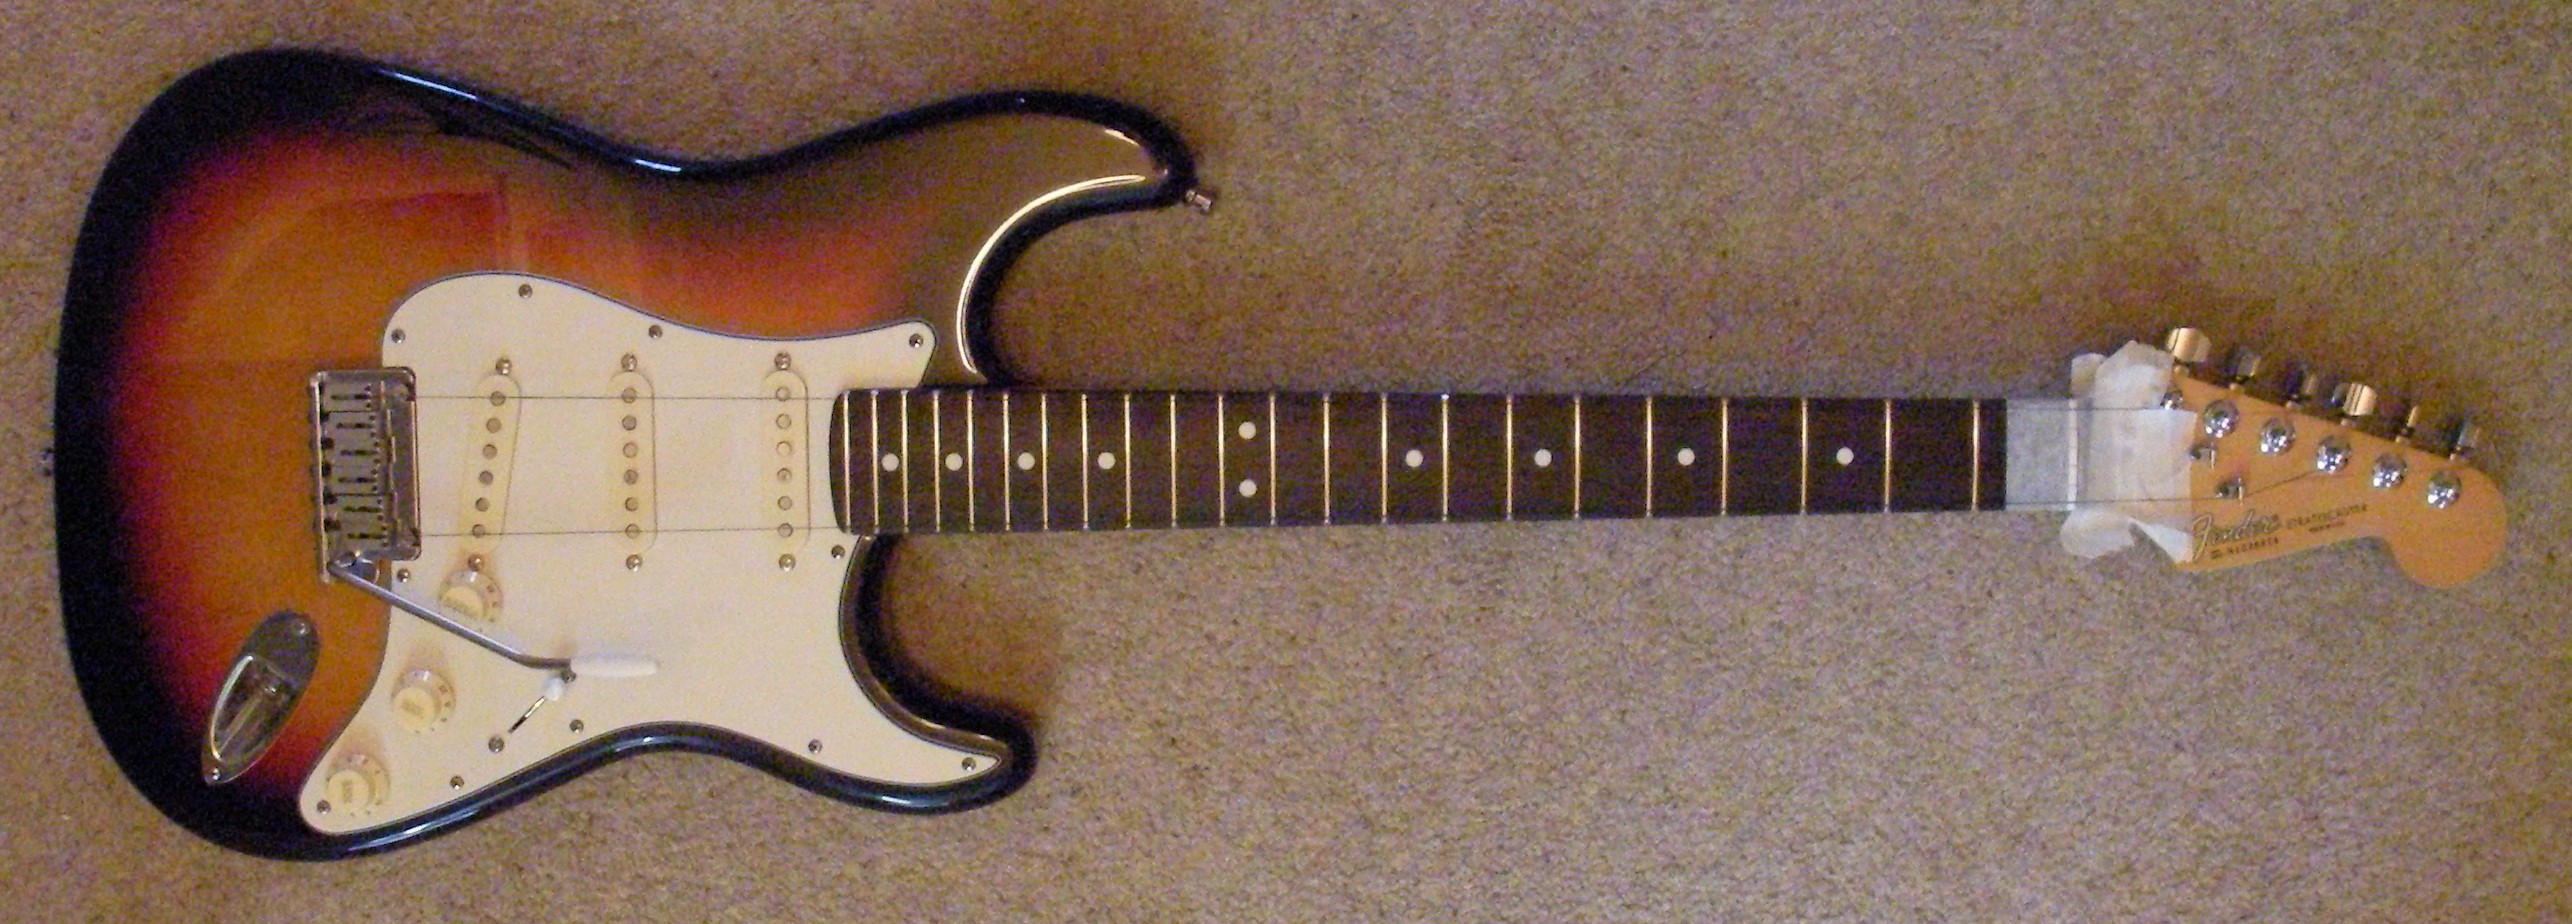
As you can see I’ve also changed the Pickguard and Pickups. It came as a fully loaded item with just the jack socket to wire in. And an earth wire to the two tone controls, that threw me for a while and caused some very odd effects.
Finally add the strings, cut the slots in the new nut and complete a full setup.
Looks even better with strings attached!
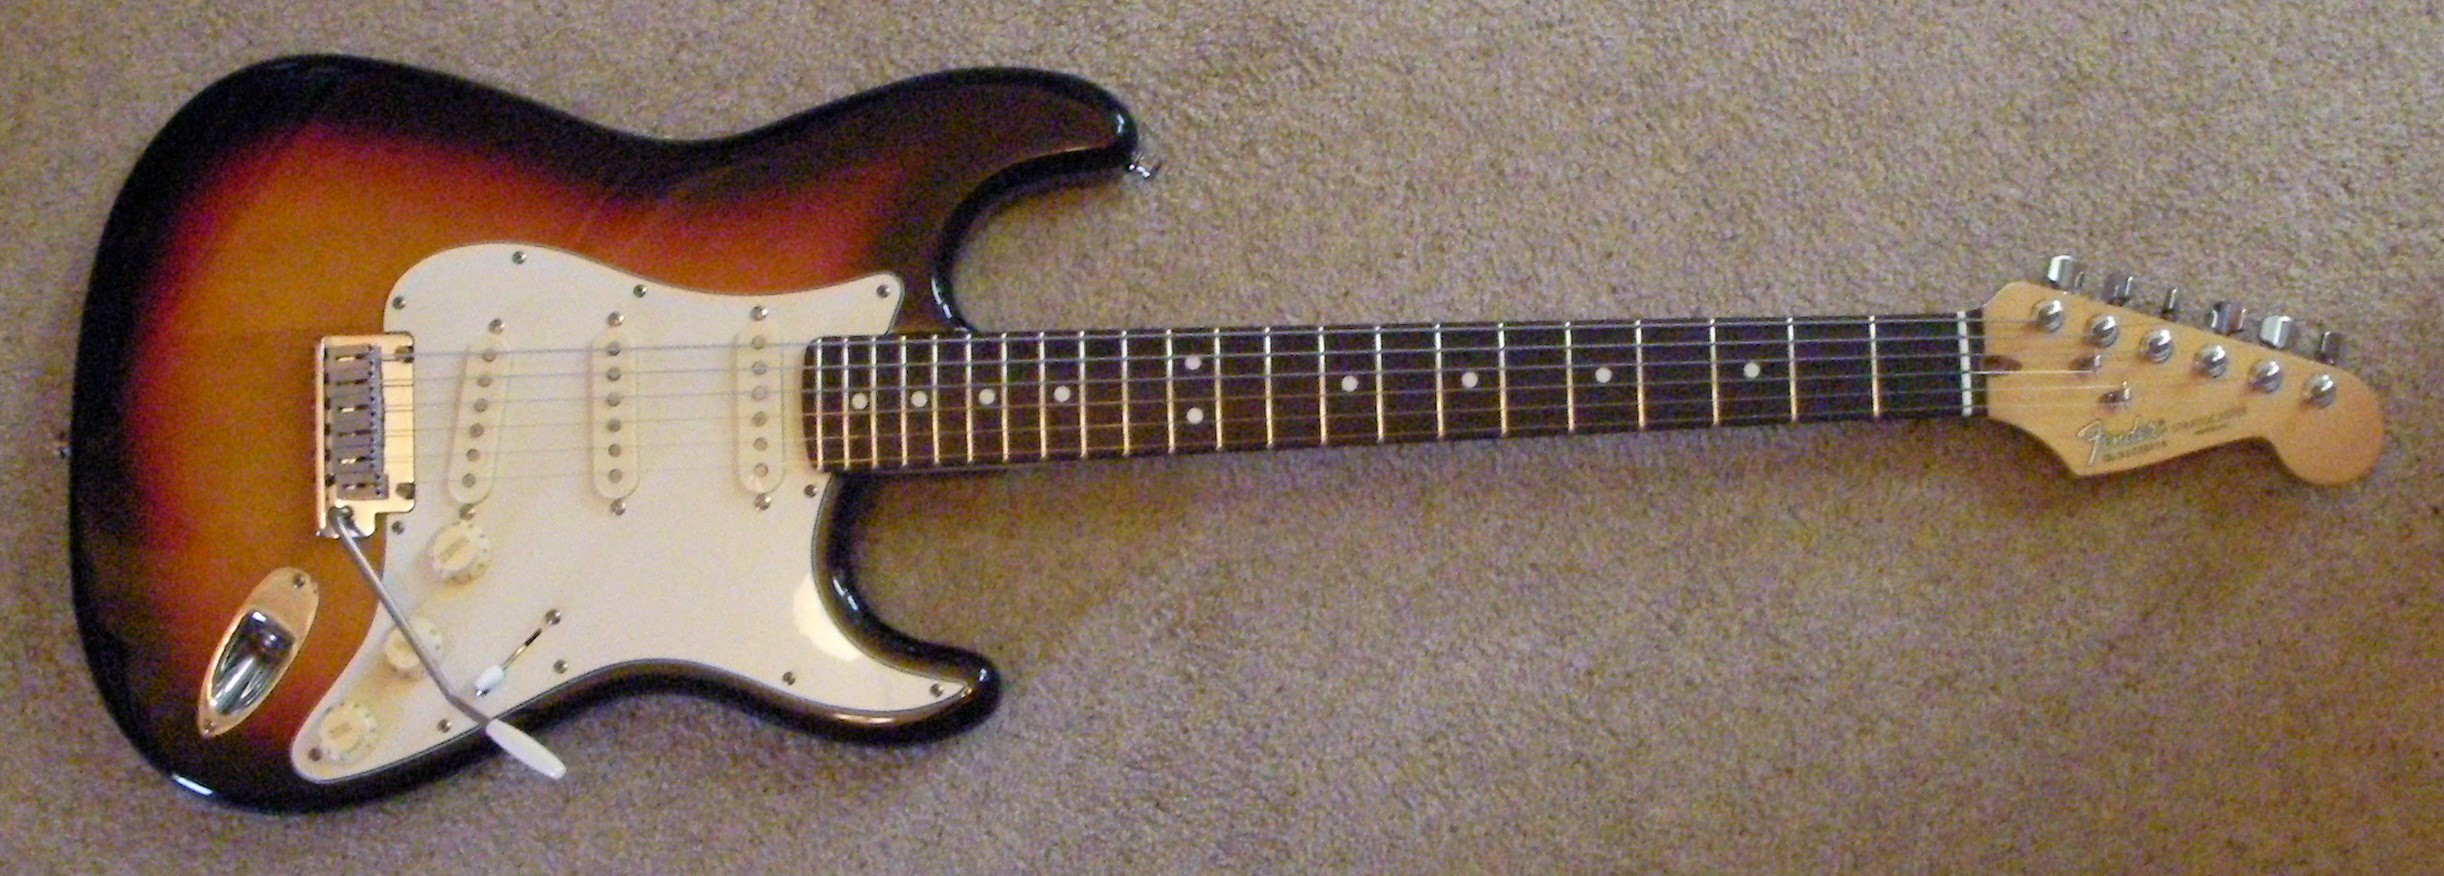
Good for another 20 years…
A word from the owner:
“Picked her up and took her straight to a gig, where she performed Brilliantly and sounded fantastic. Thanks George.”