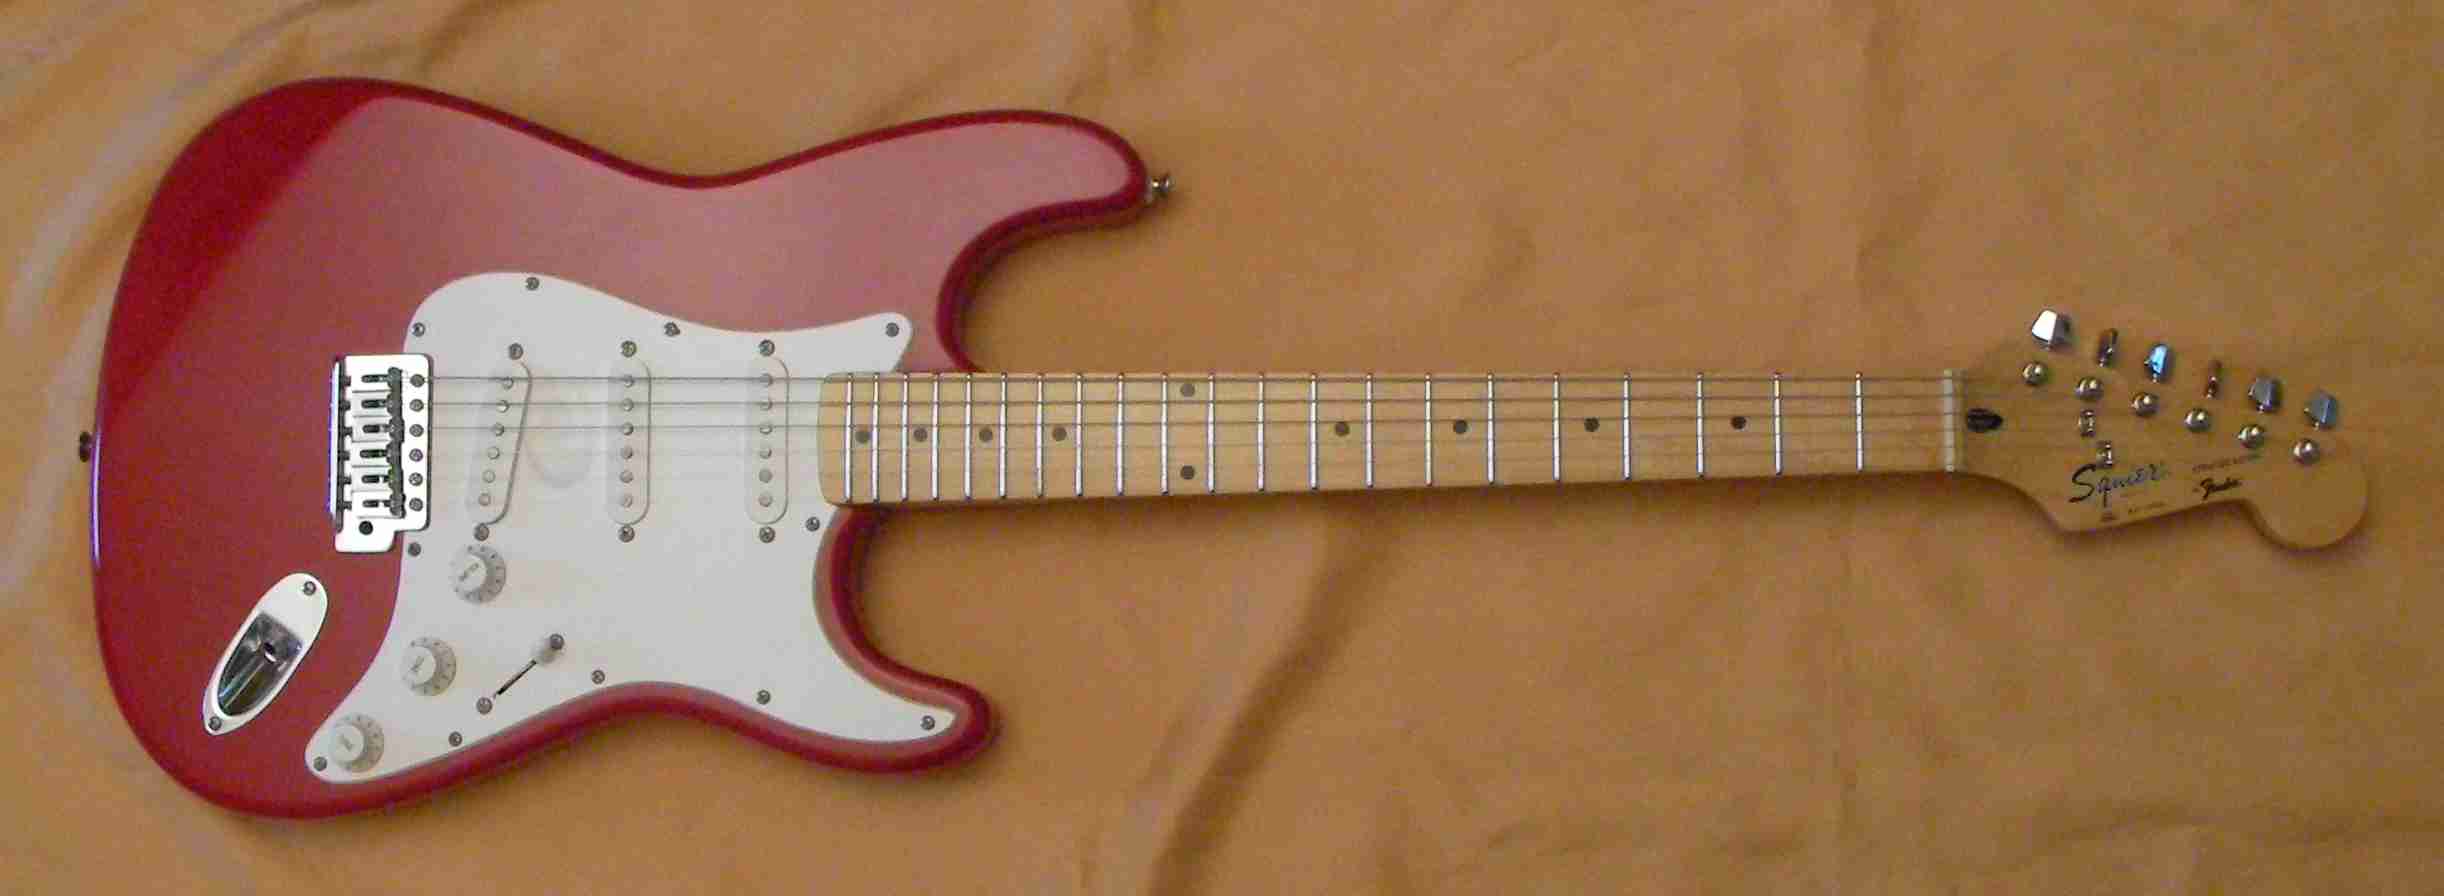
I know this is a budget guitar but it should have been better than this. However a little bit of work and I’ll get it playing nicely….
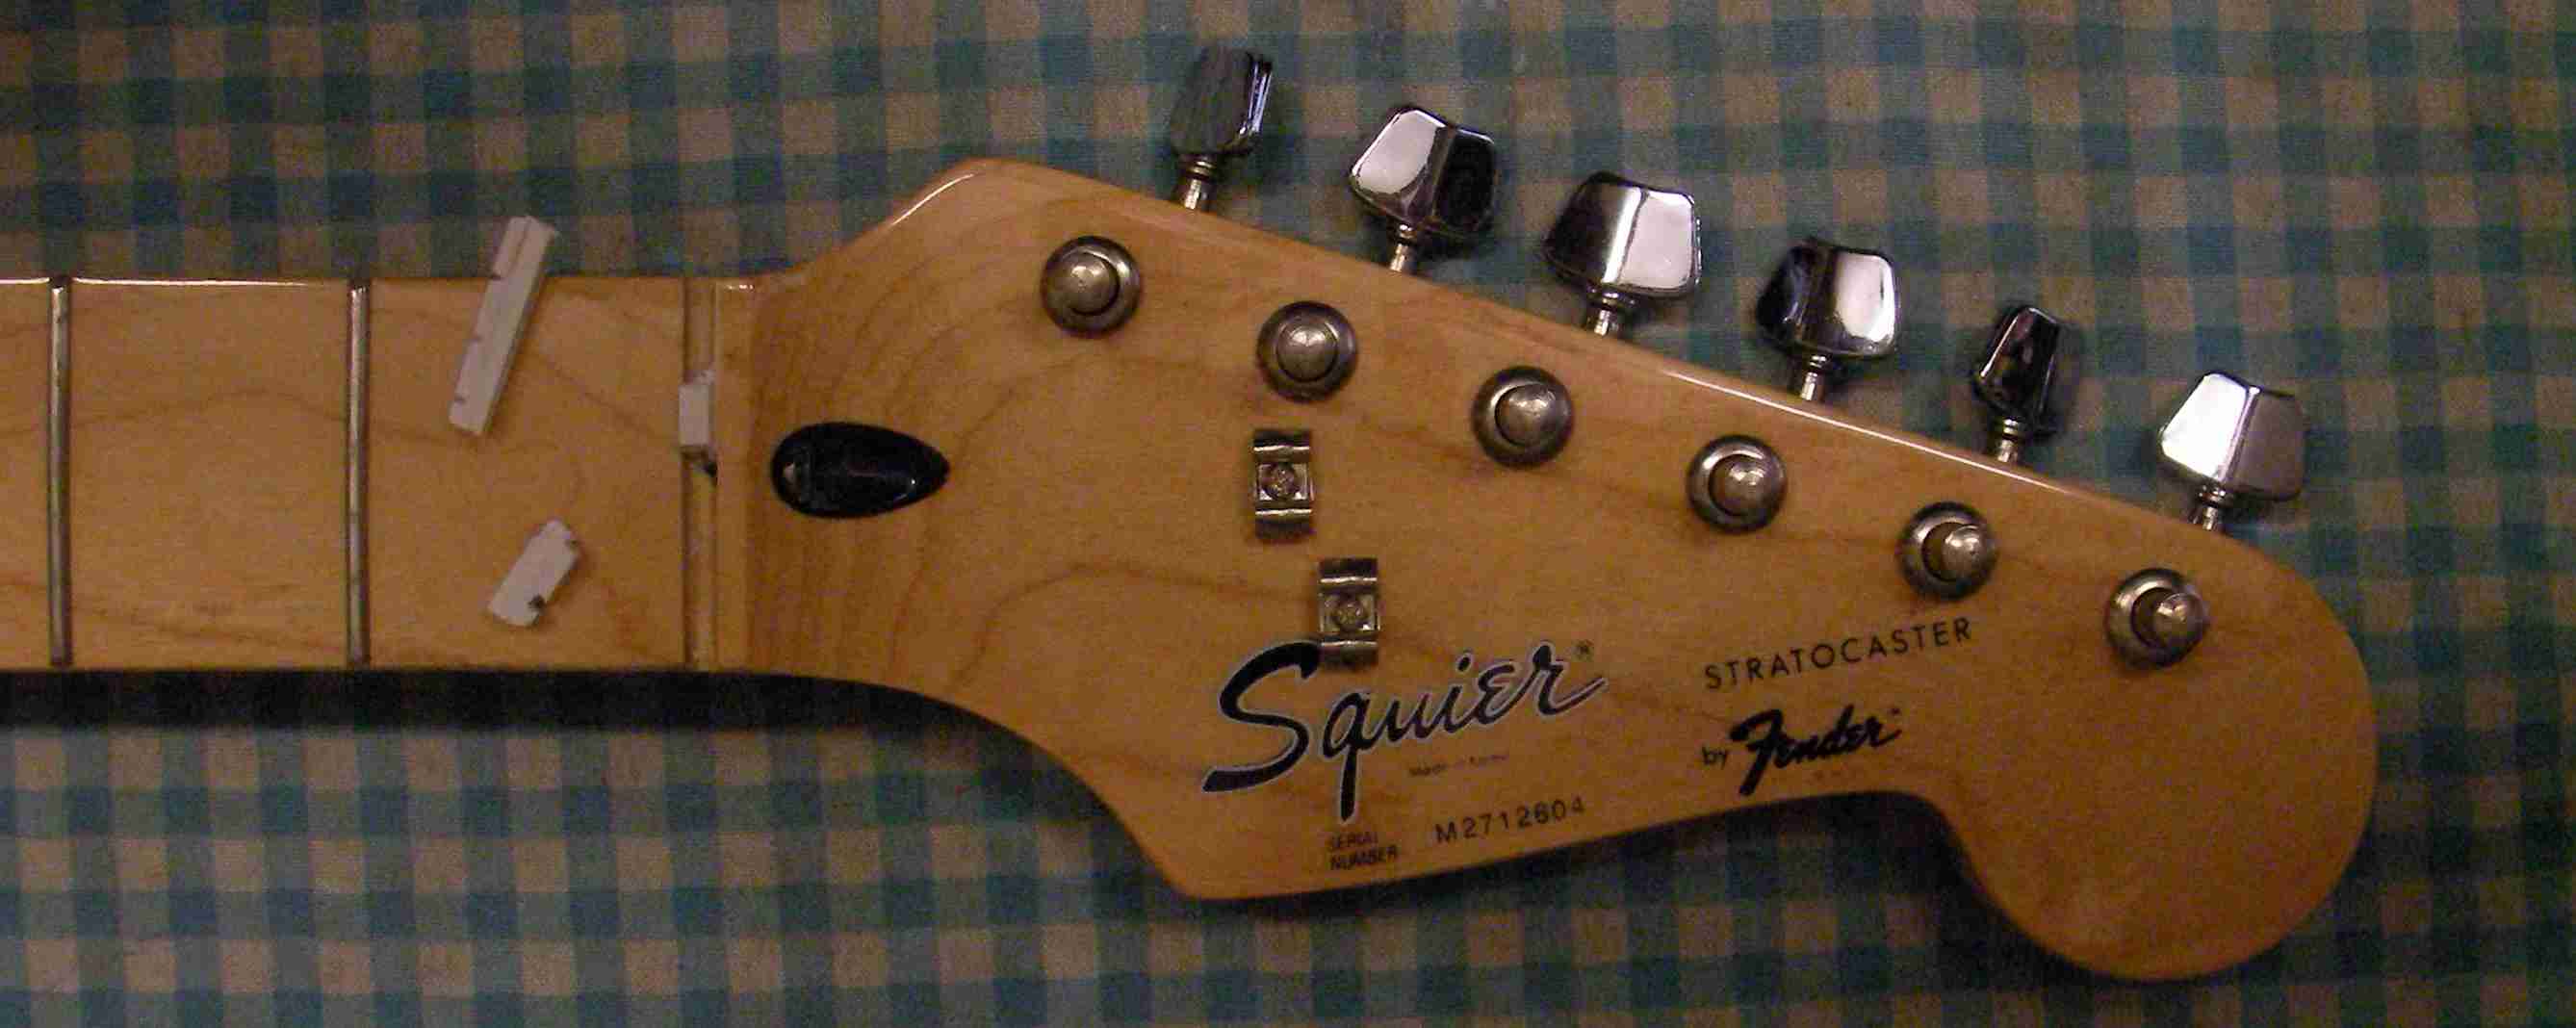
The first thing I did was to remove the nut. It’s a good job I was planning to replace it as the old one came out in bits…..
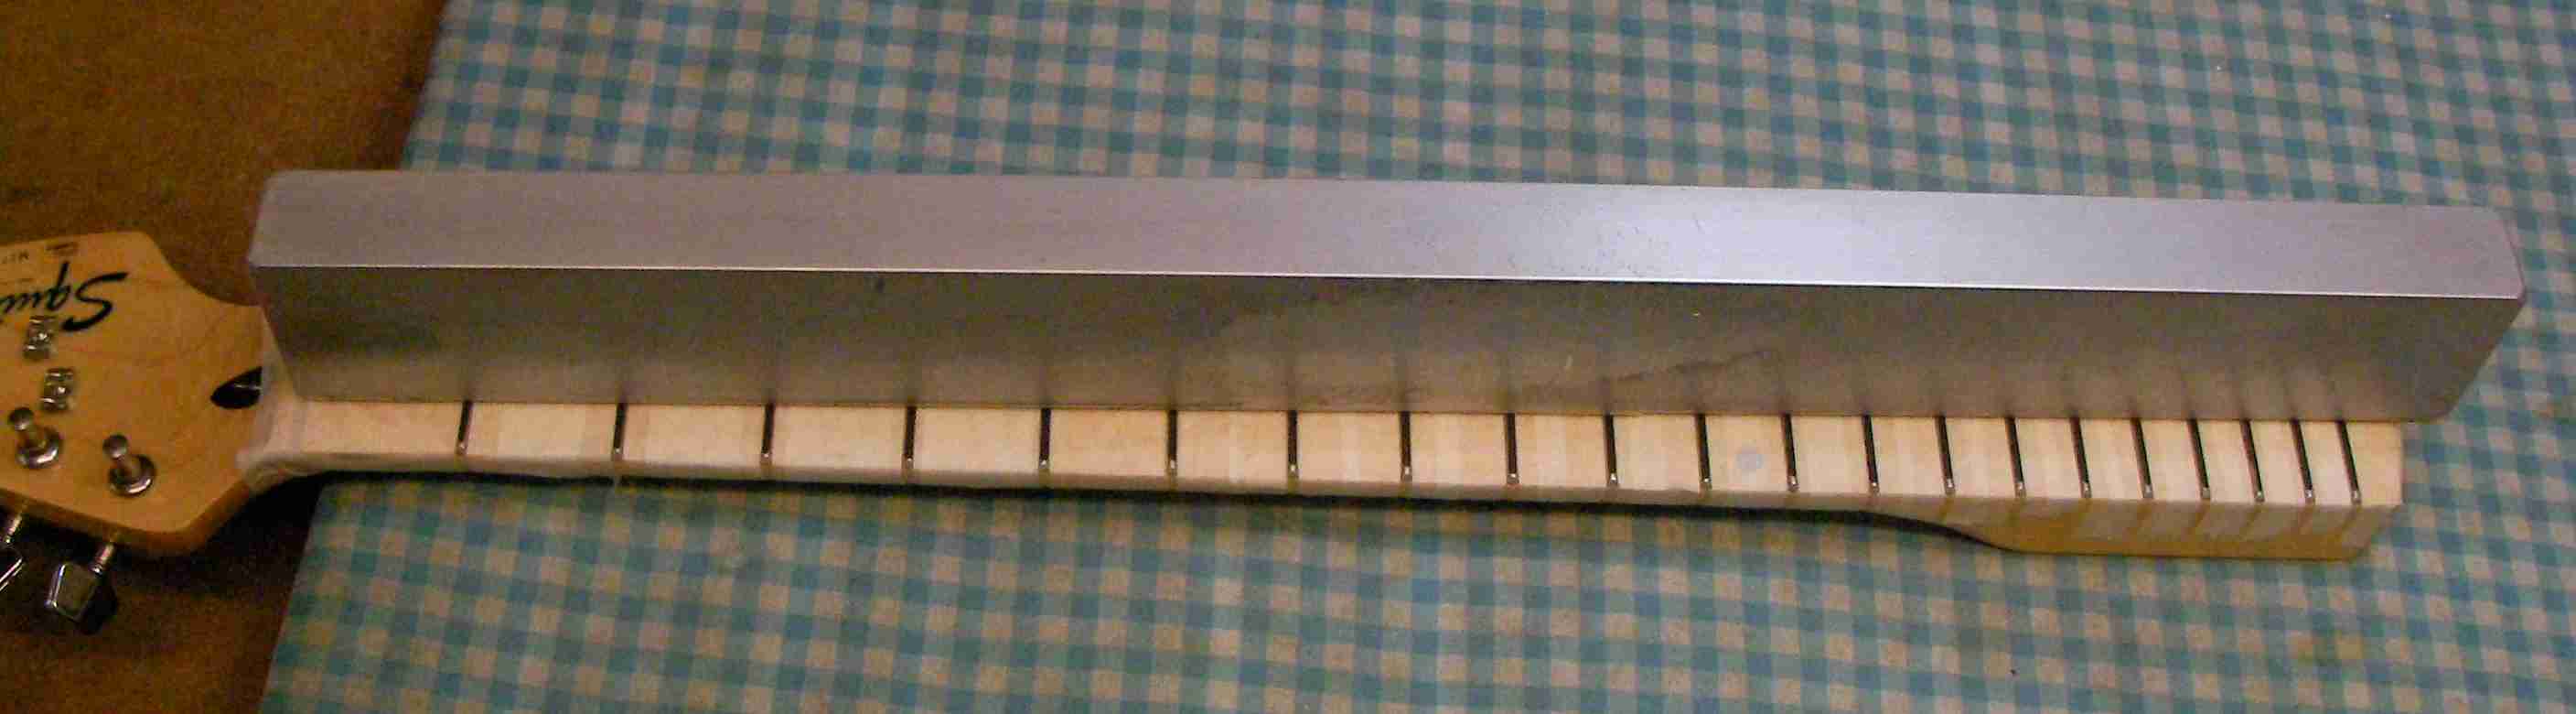
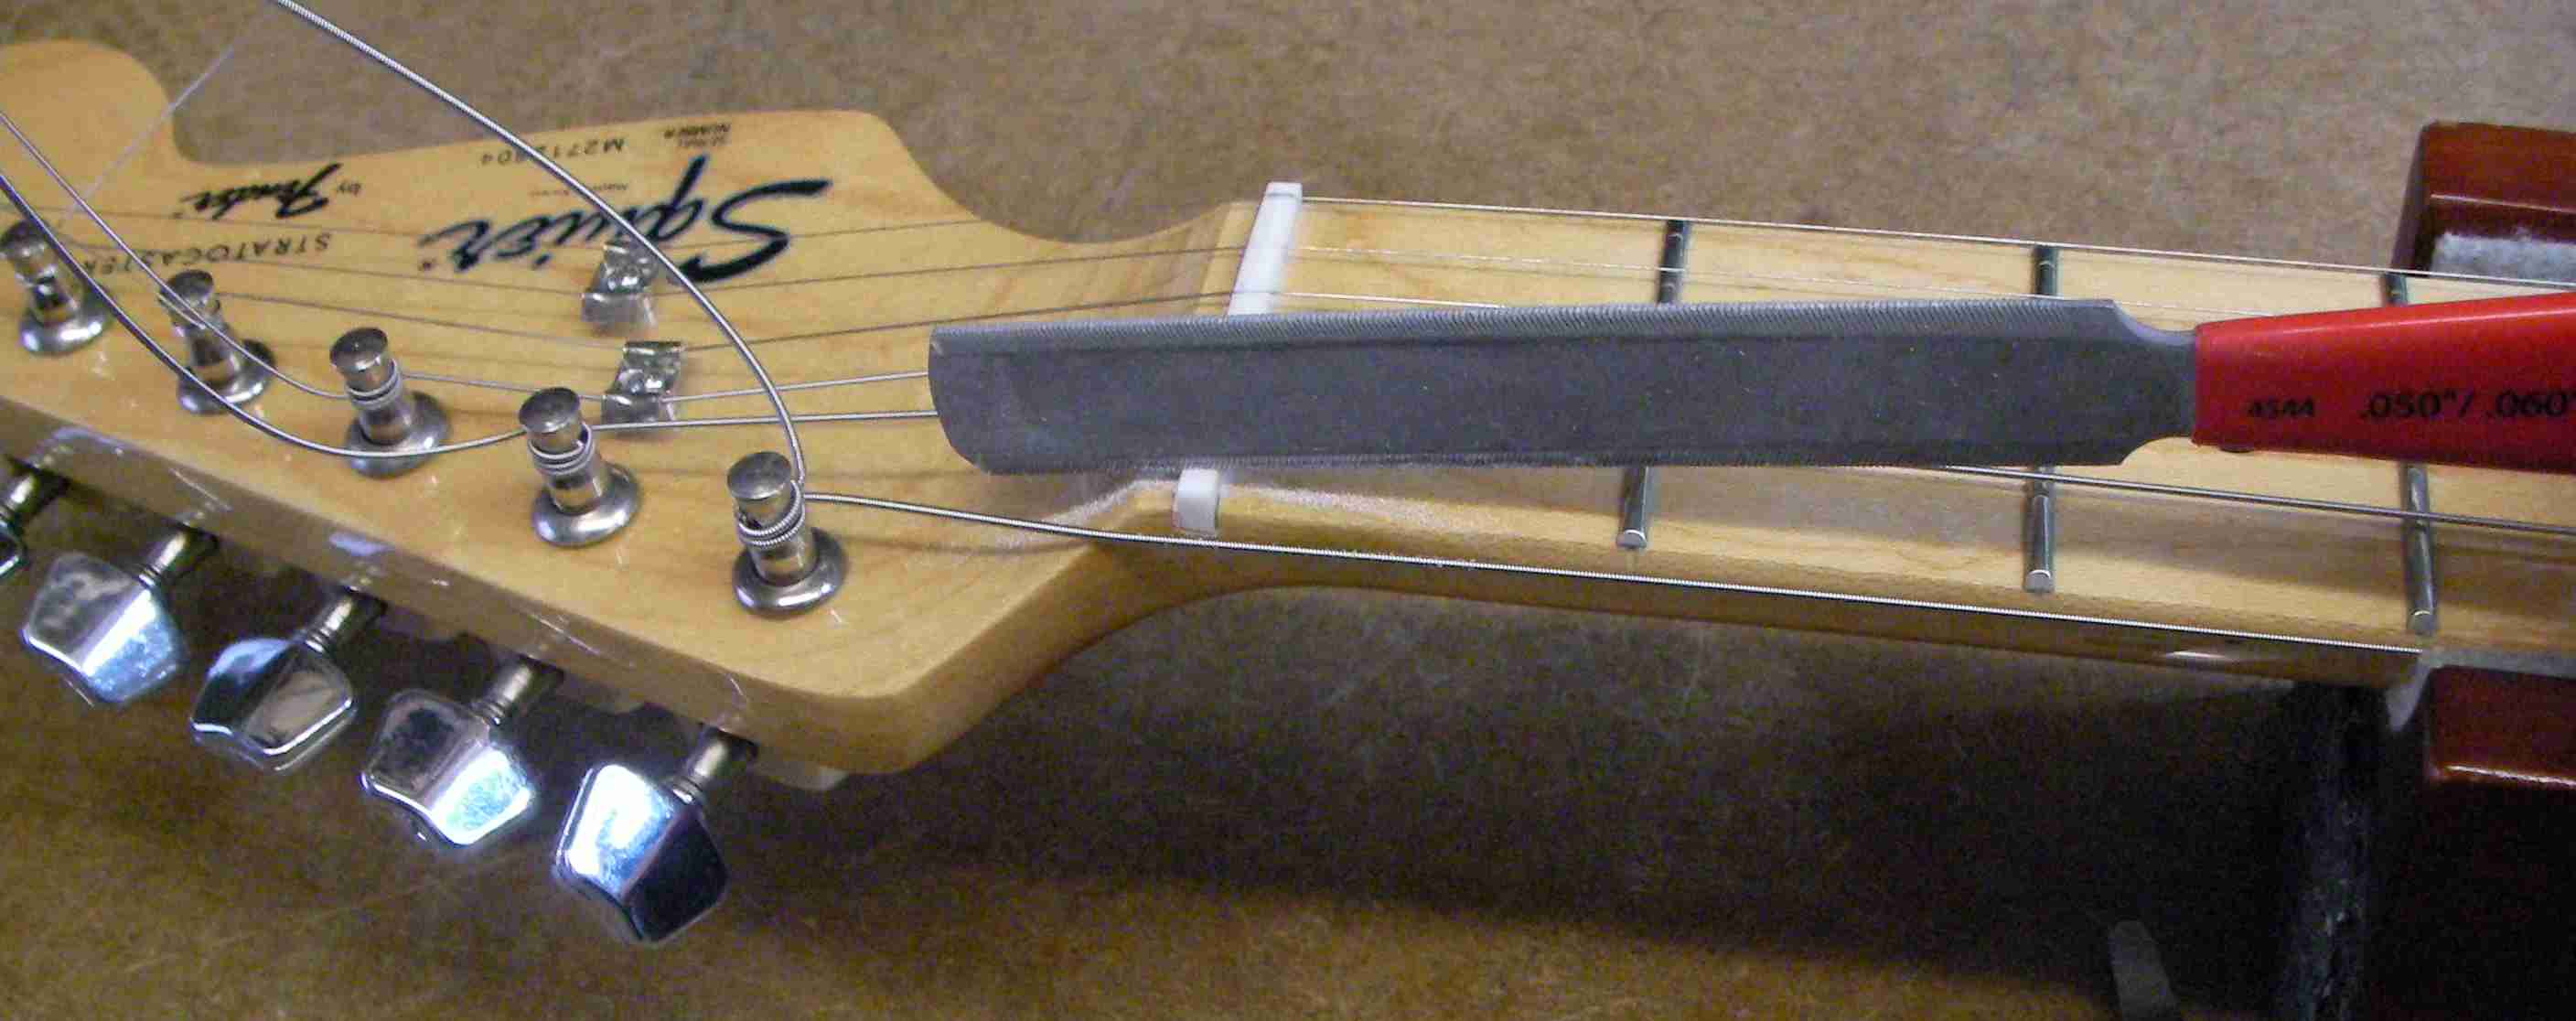
I’m going to dress the frets as there are some very high ones. It’s important before that to get the neck completely flat.
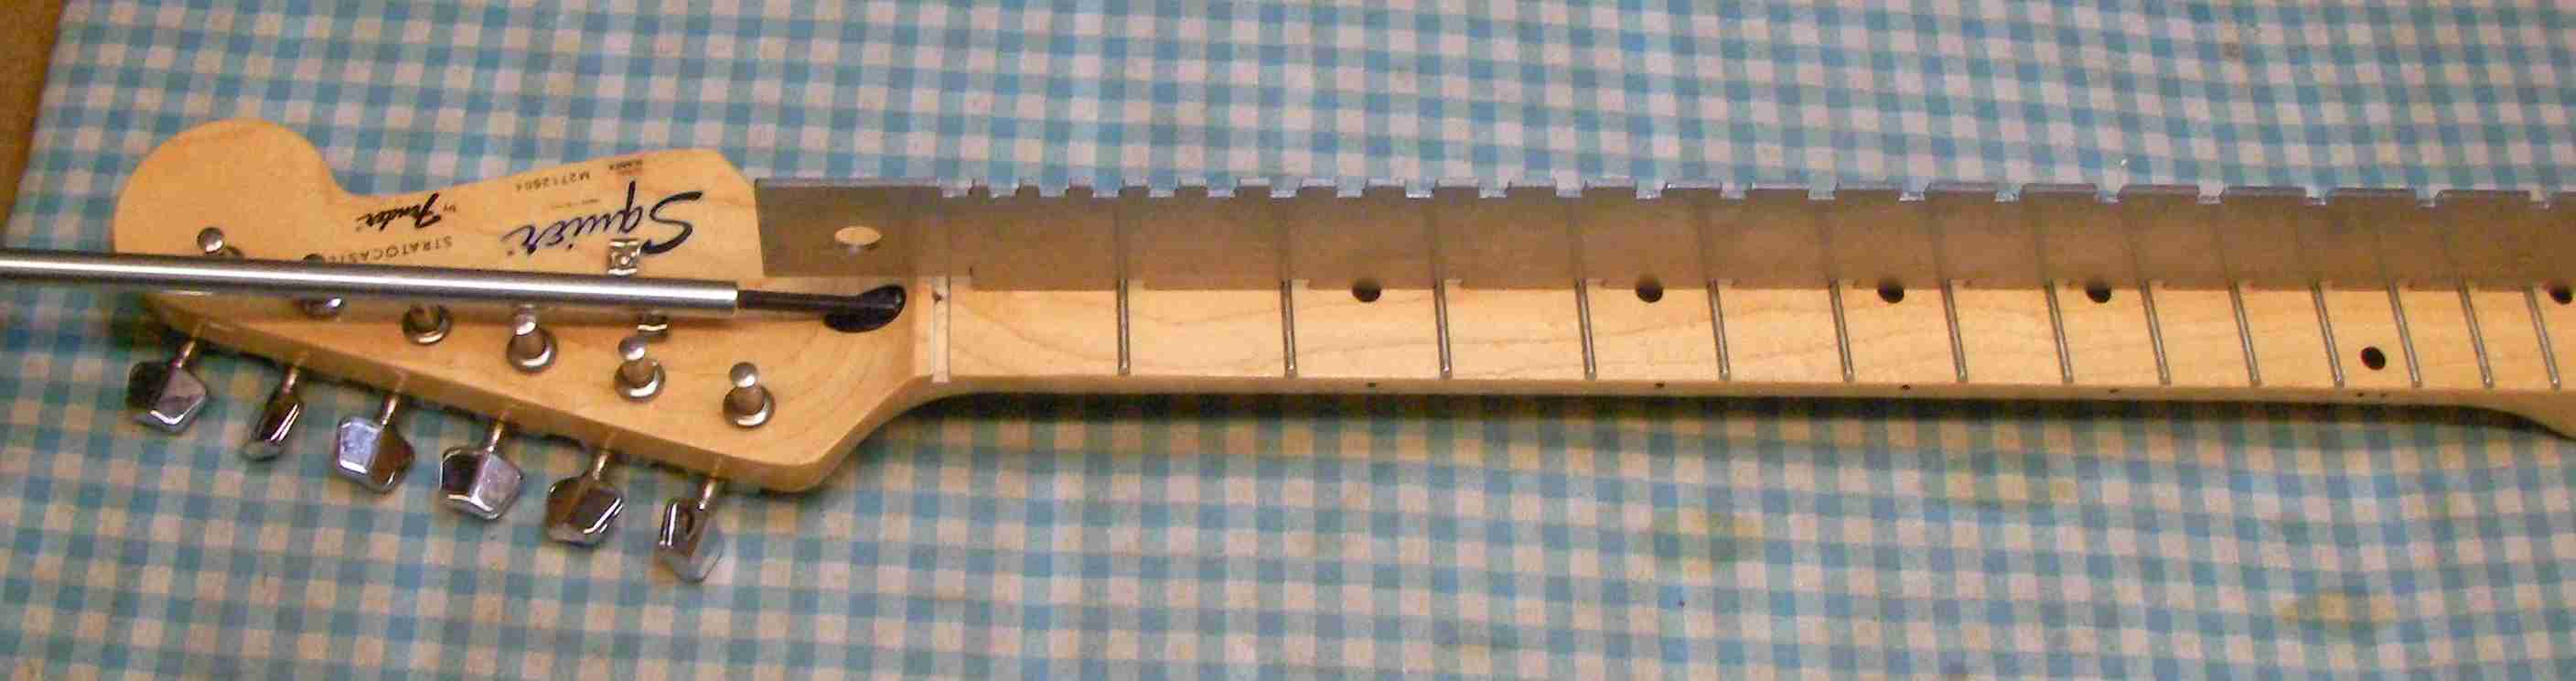
To protect the surface I always tape it up with low-tac drafting tape. I also mark the fret tops with a marker pen.
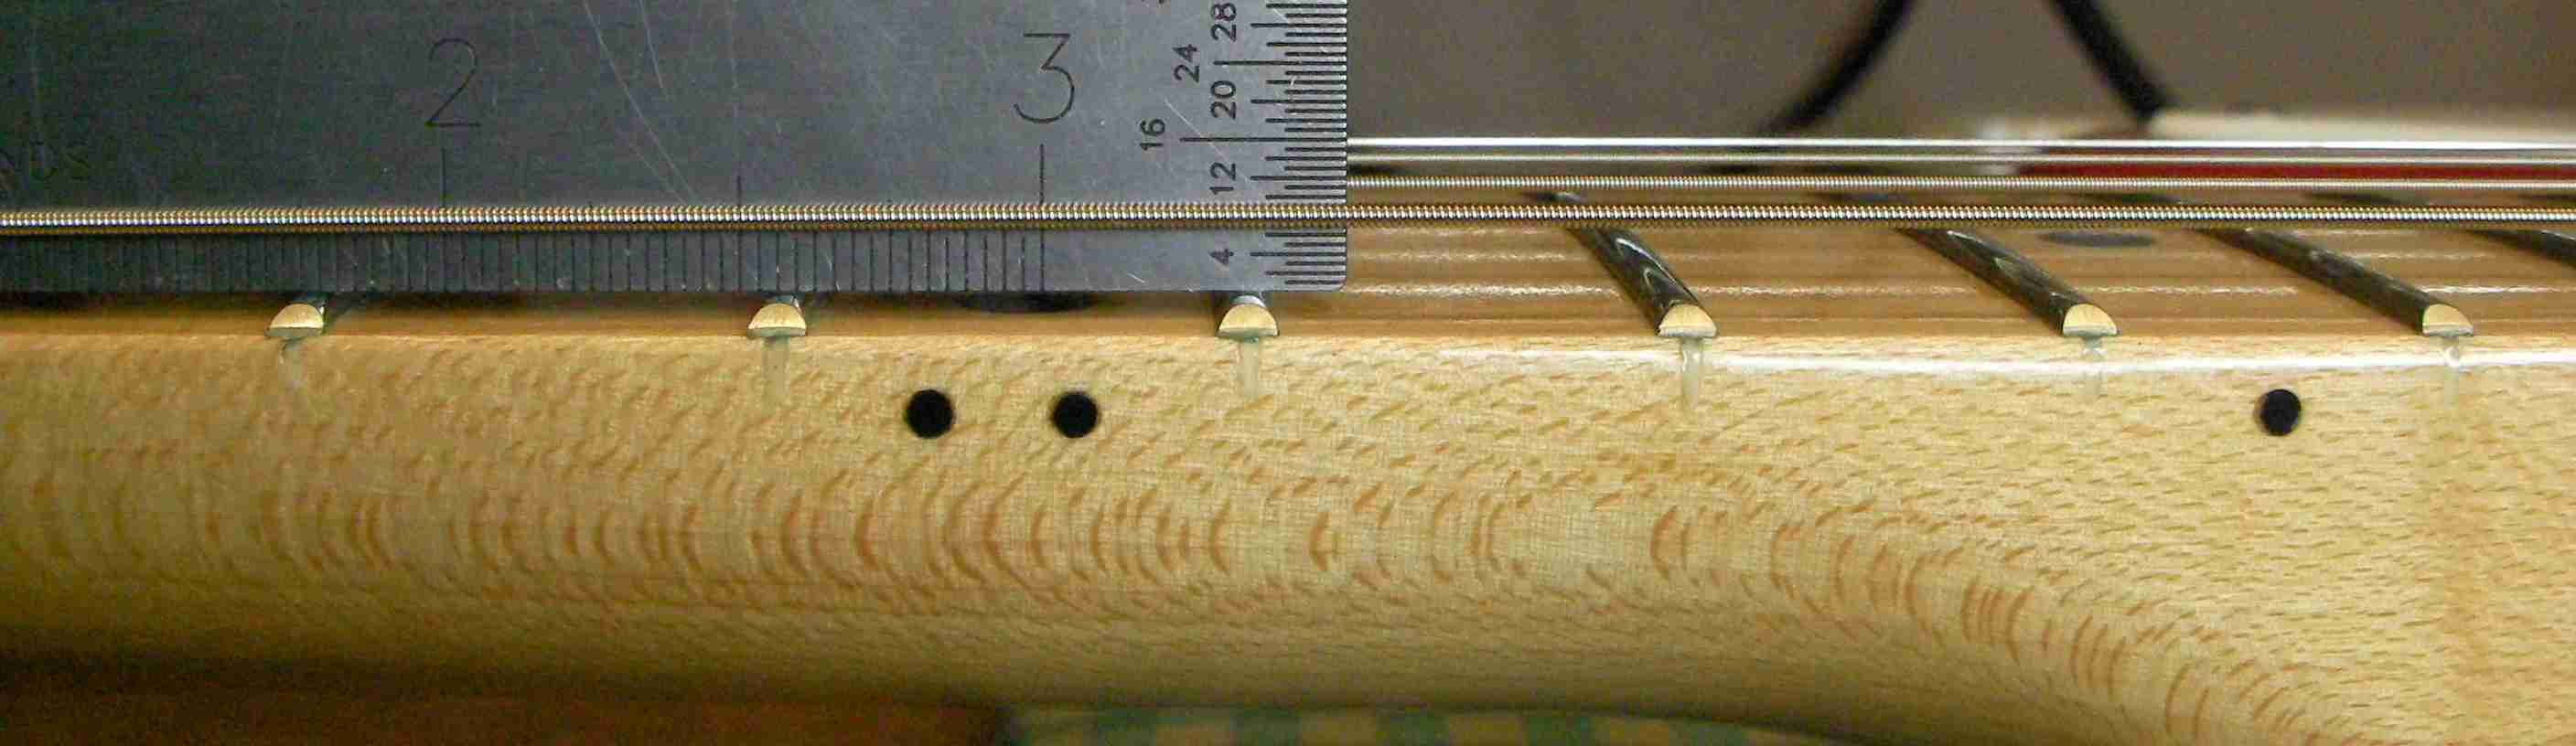
Using the levelling beam it’s just a case of grinding down everything until I get to the lowest common point.
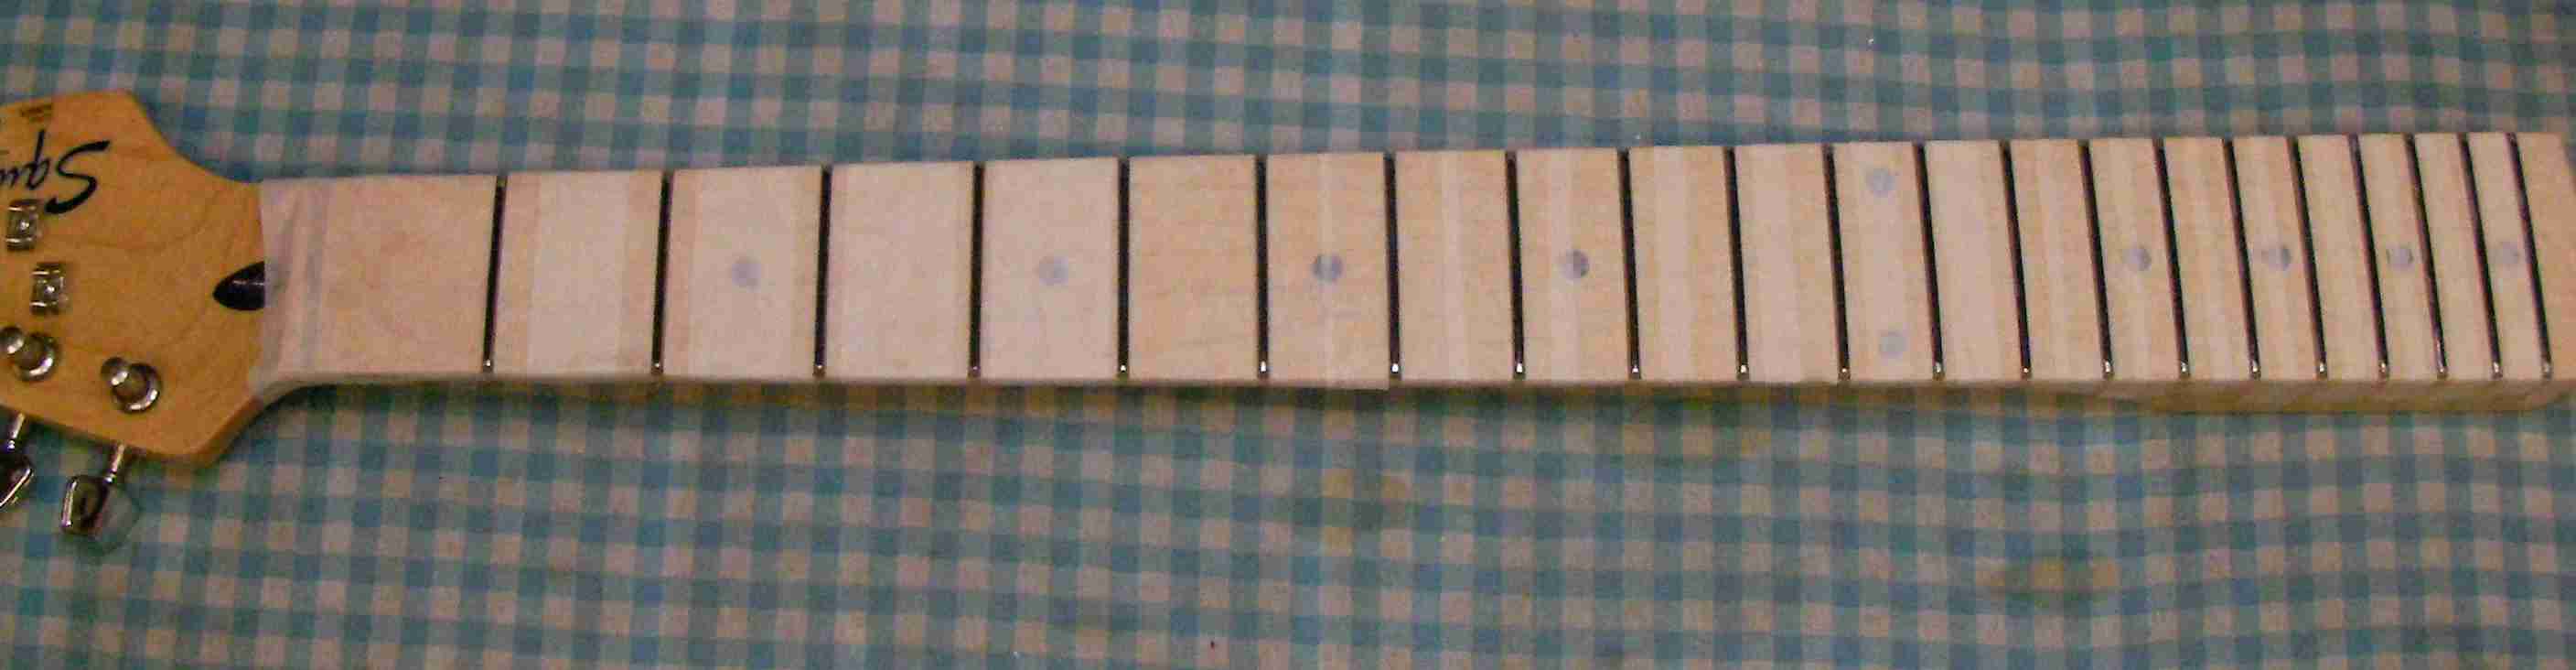
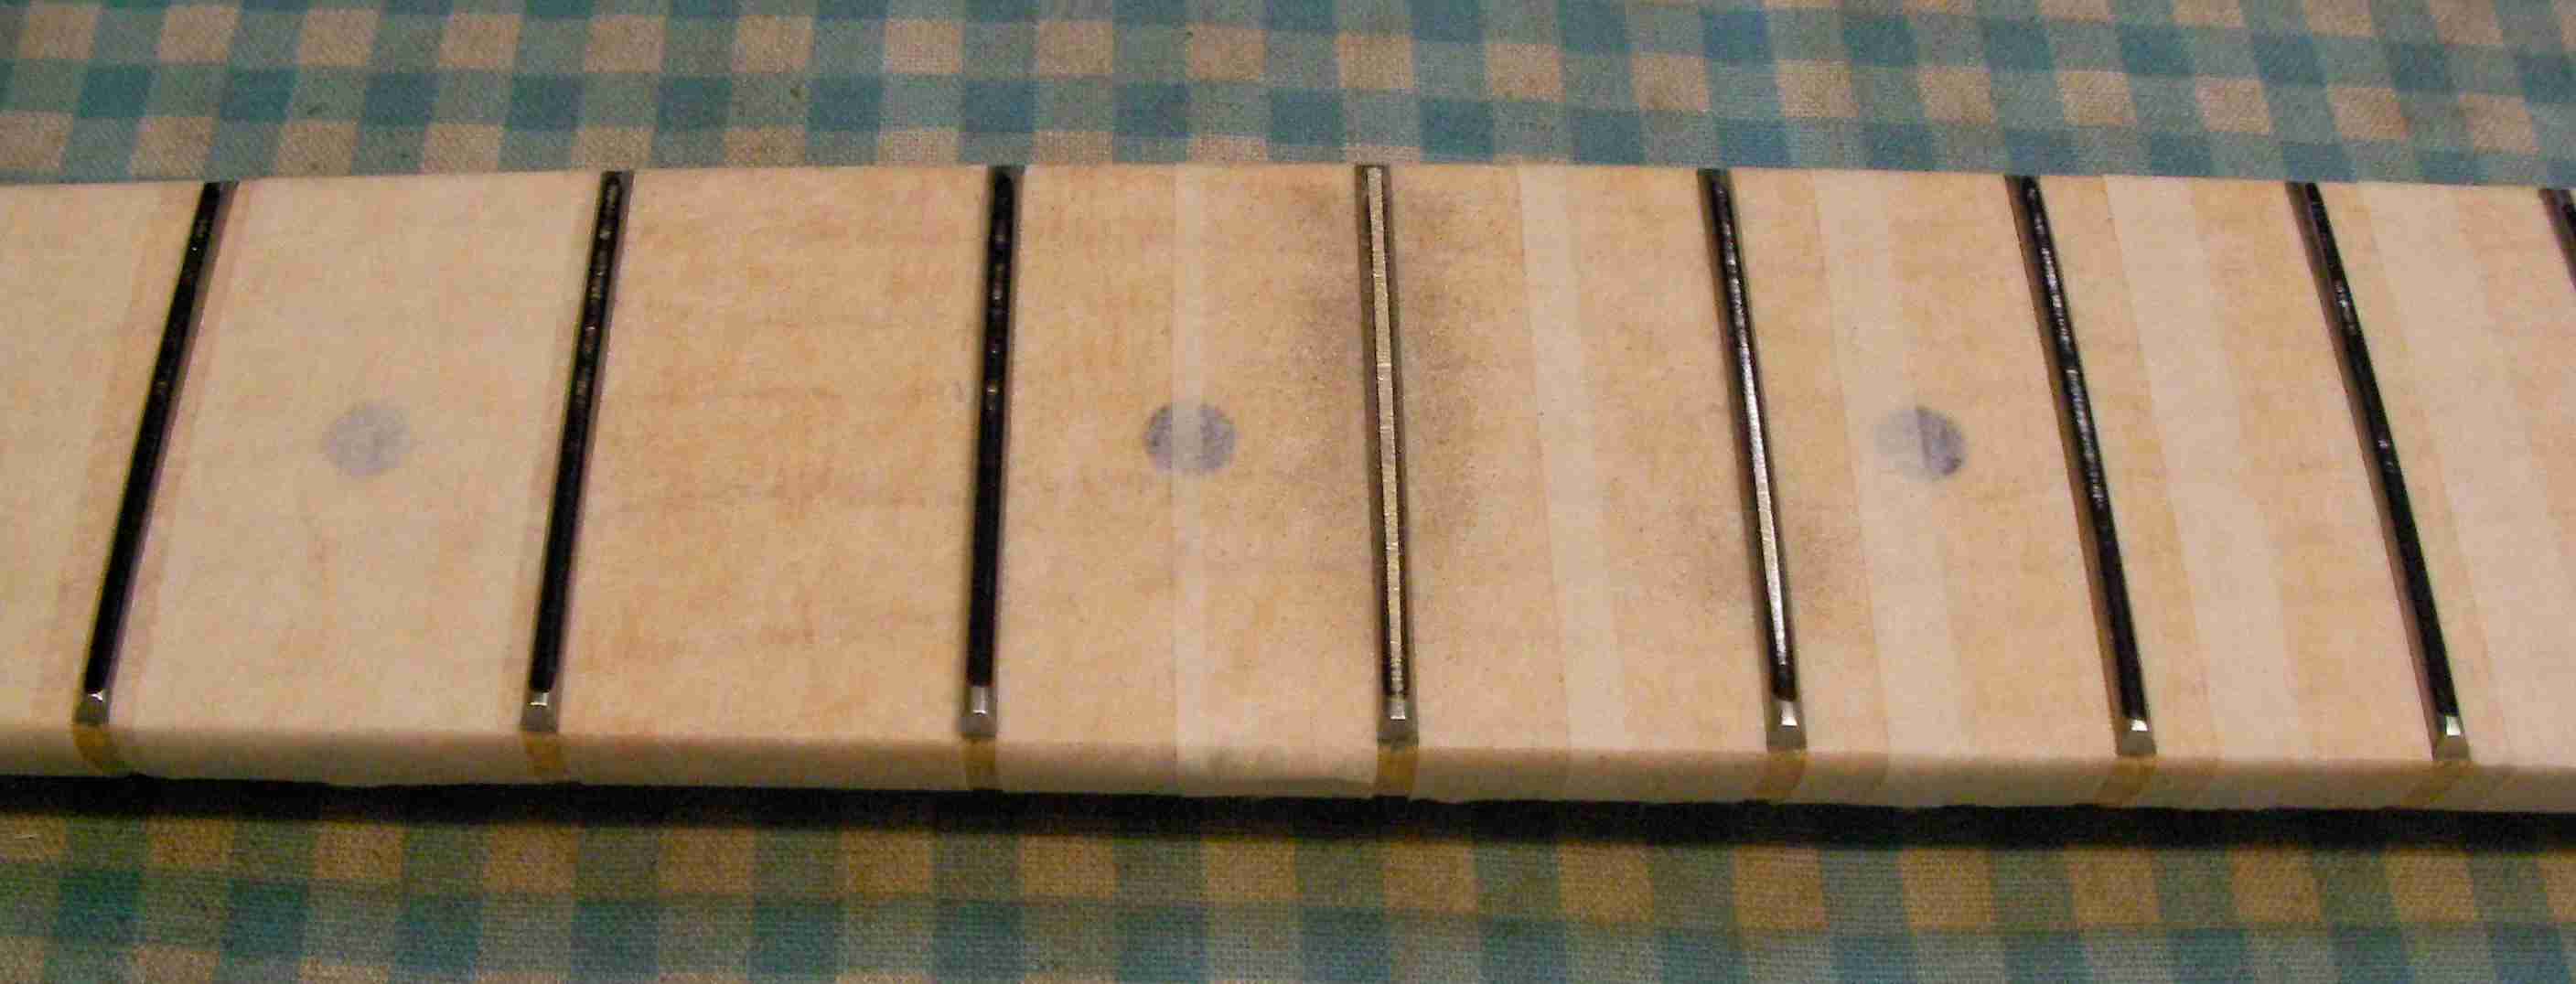
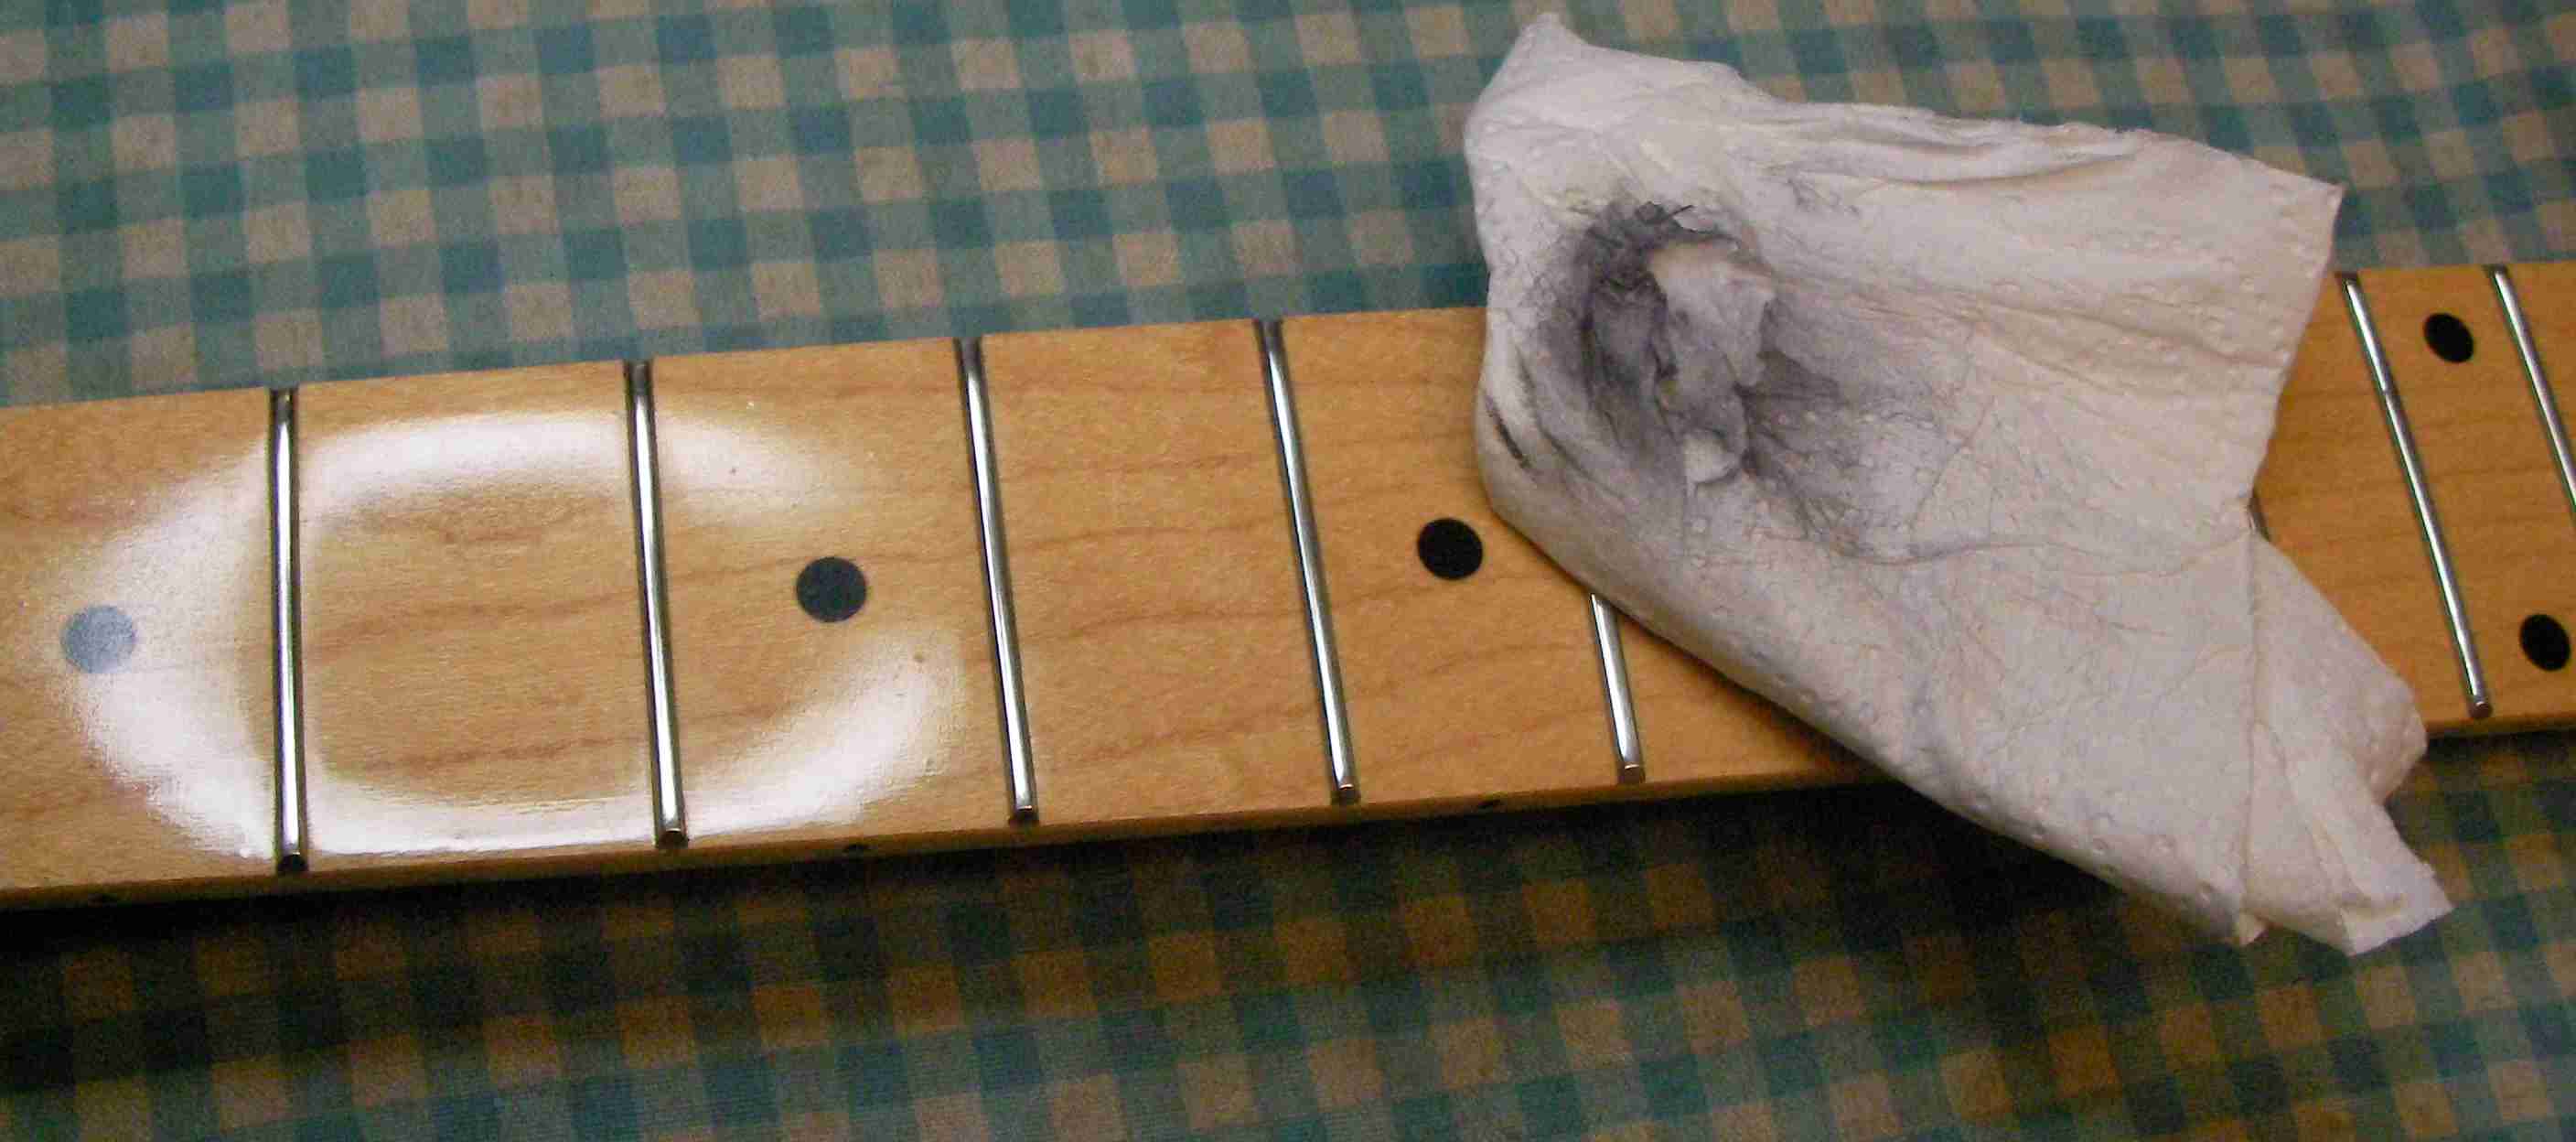
You can see here the fret in the middle was very high, it’s been filed down quite a bit yet the frets either side have hardly been touched. I need to carry on until each fret top is being gently filed.
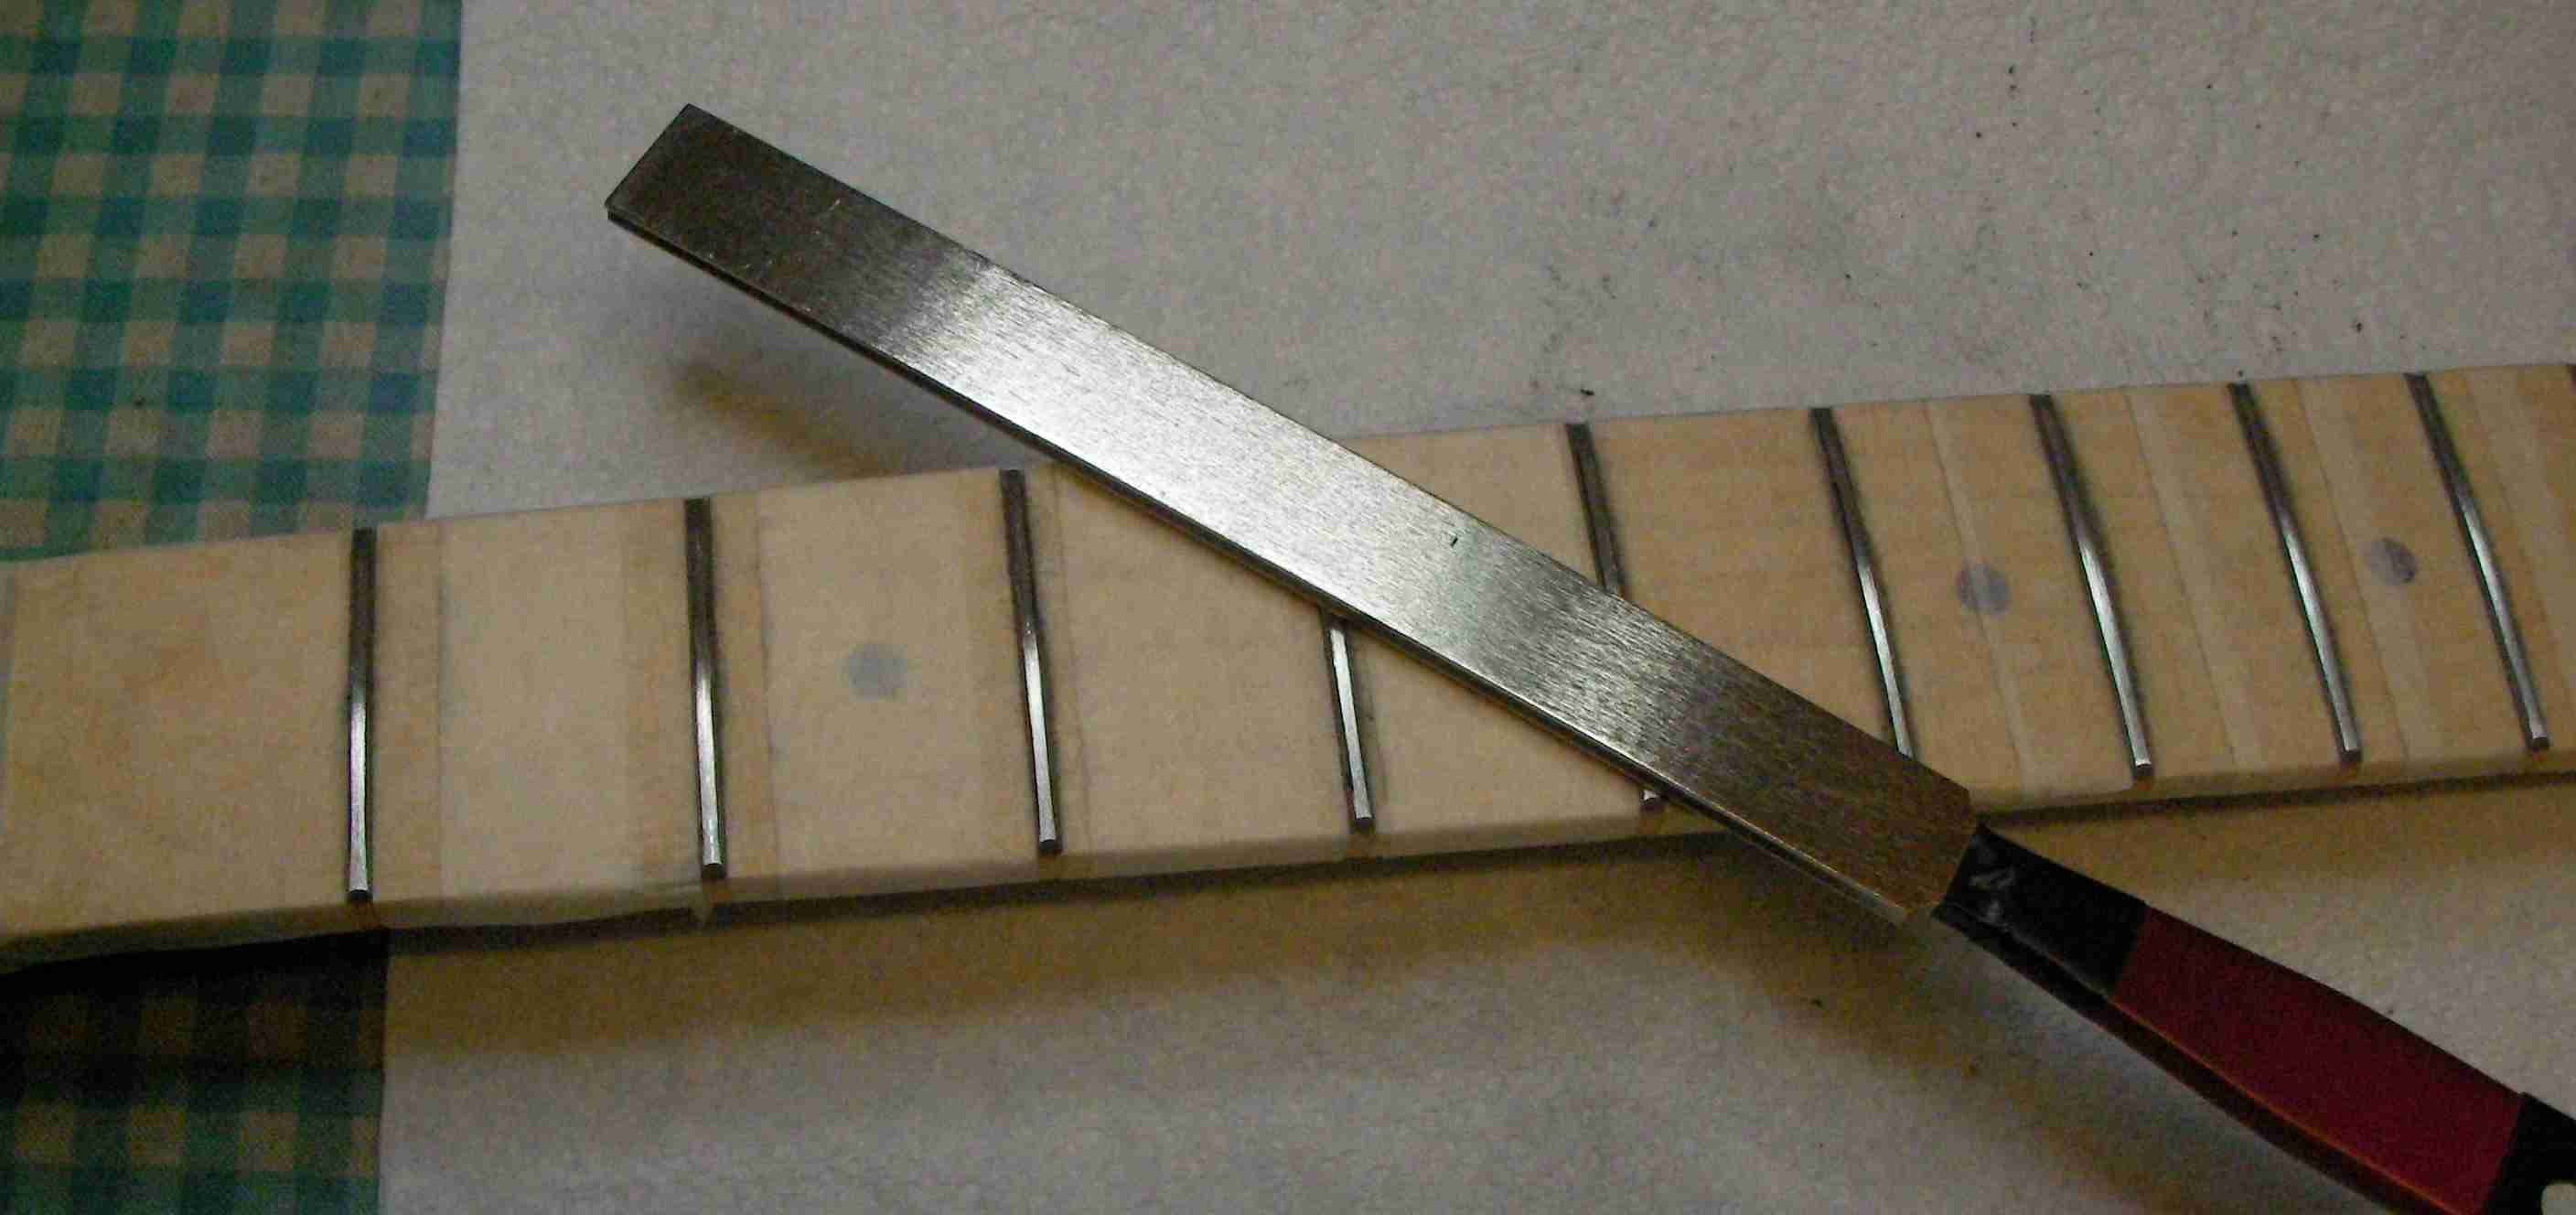
Once the fret tops are all a the same level each one needs to be rounded off again. I like to use a rounded fret crowning file..
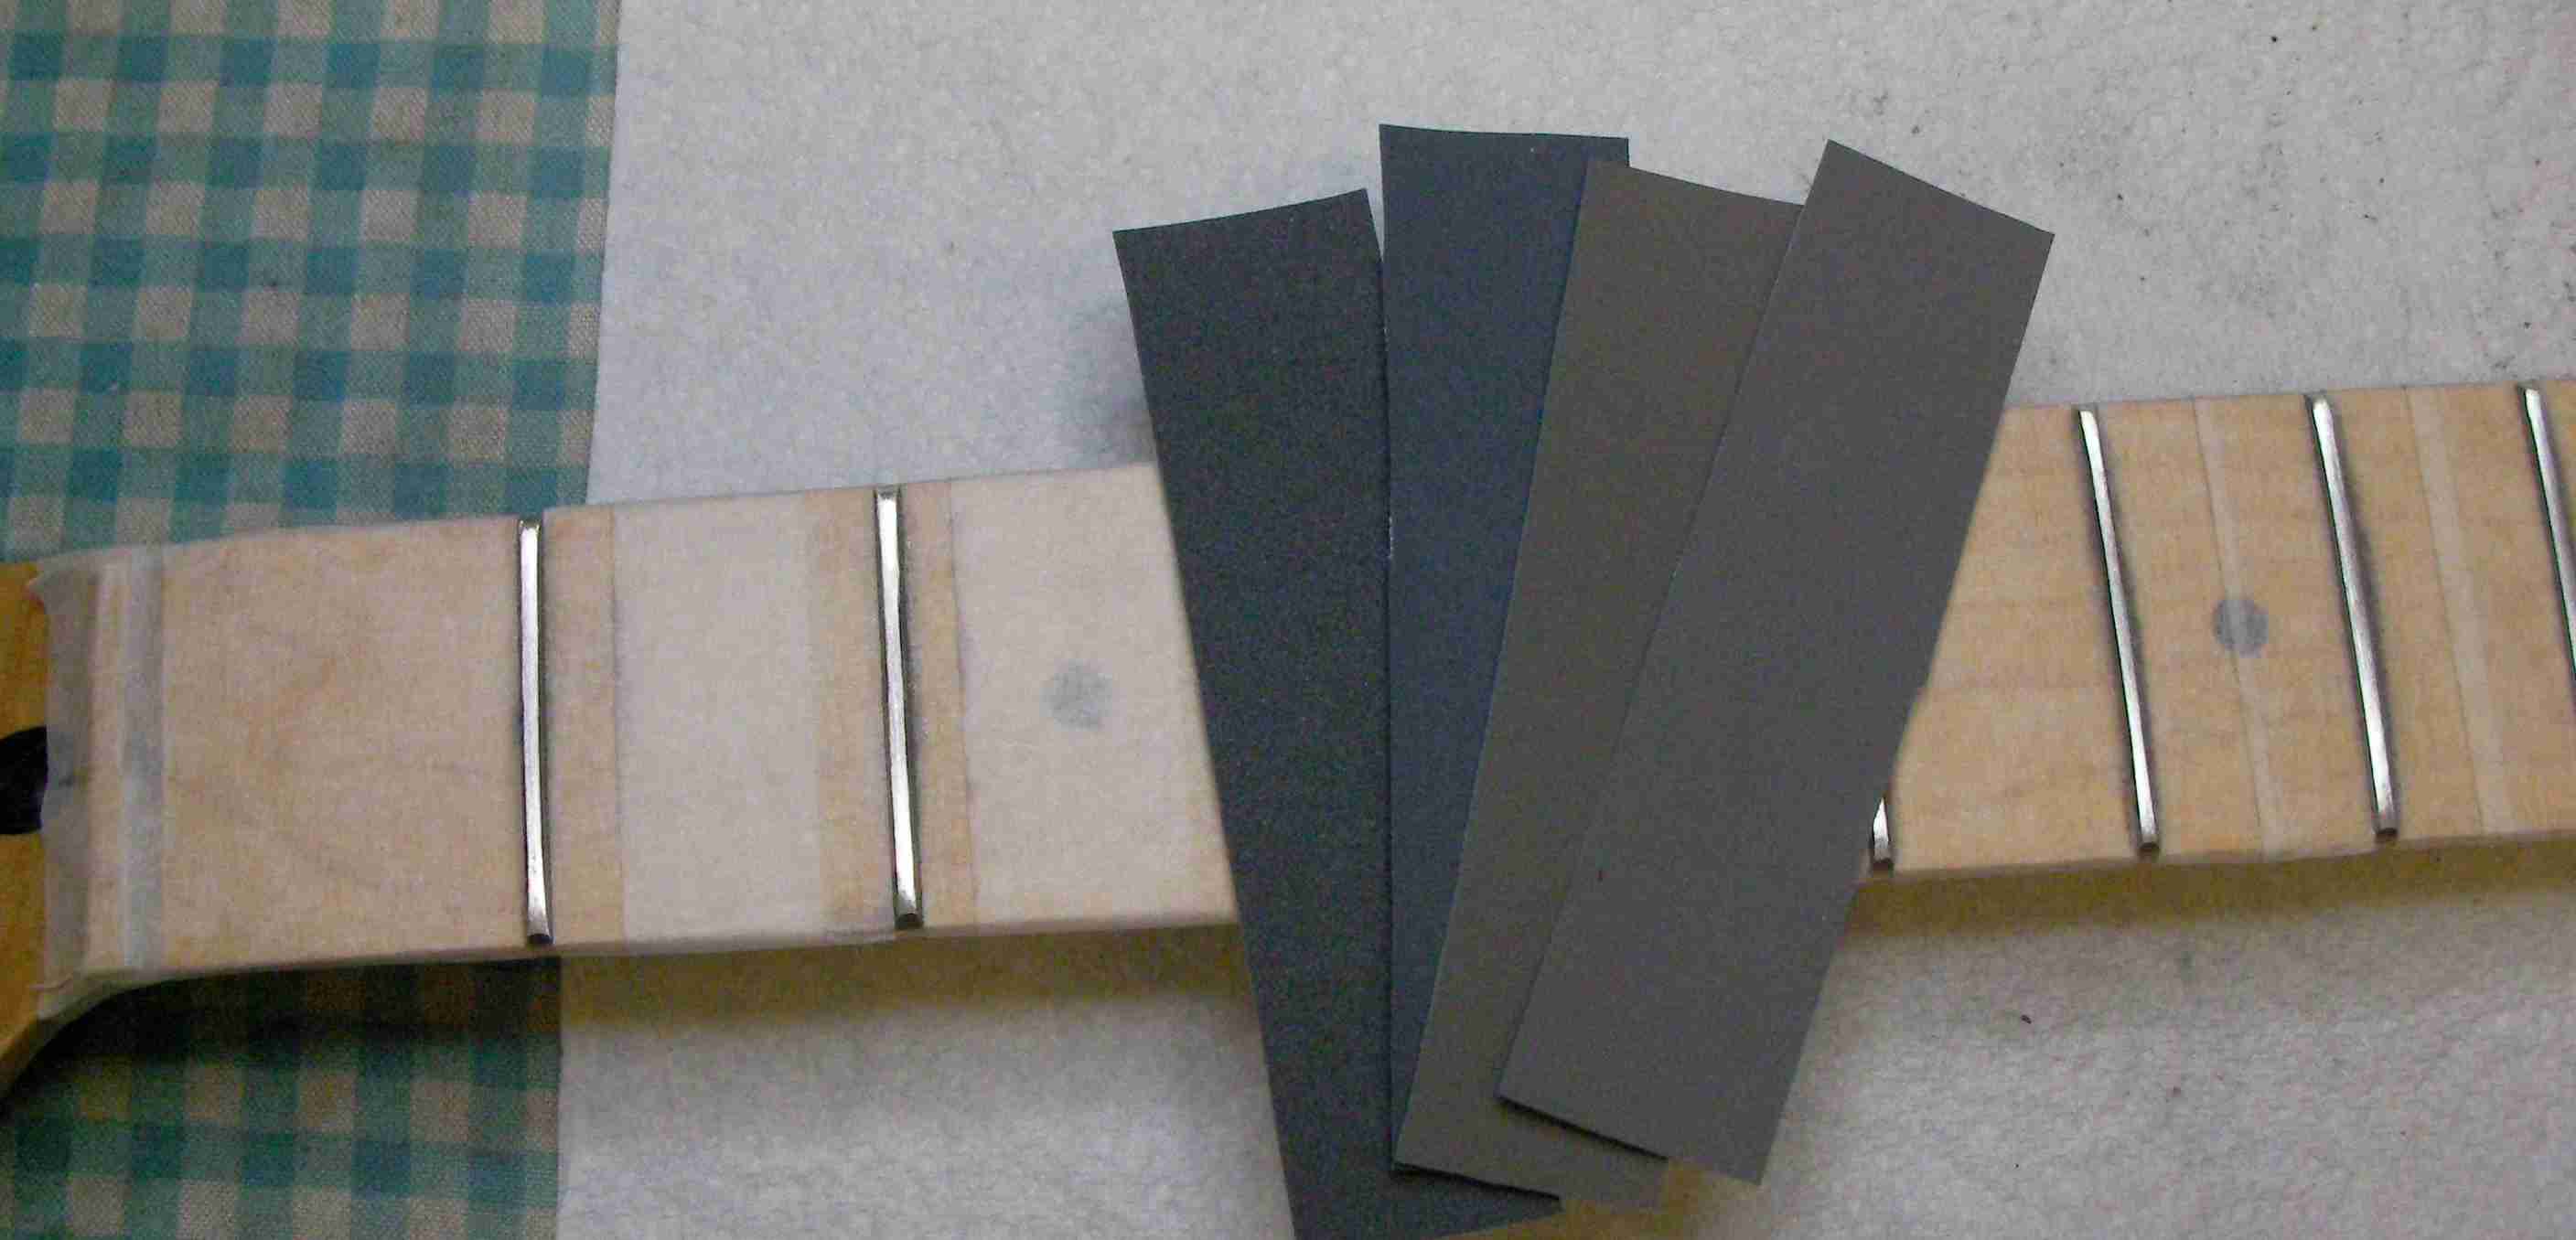
With that done each fret needs to be re-polished using 4 different grades of micromesh cloth.
I also gave the fretboard a good clean.
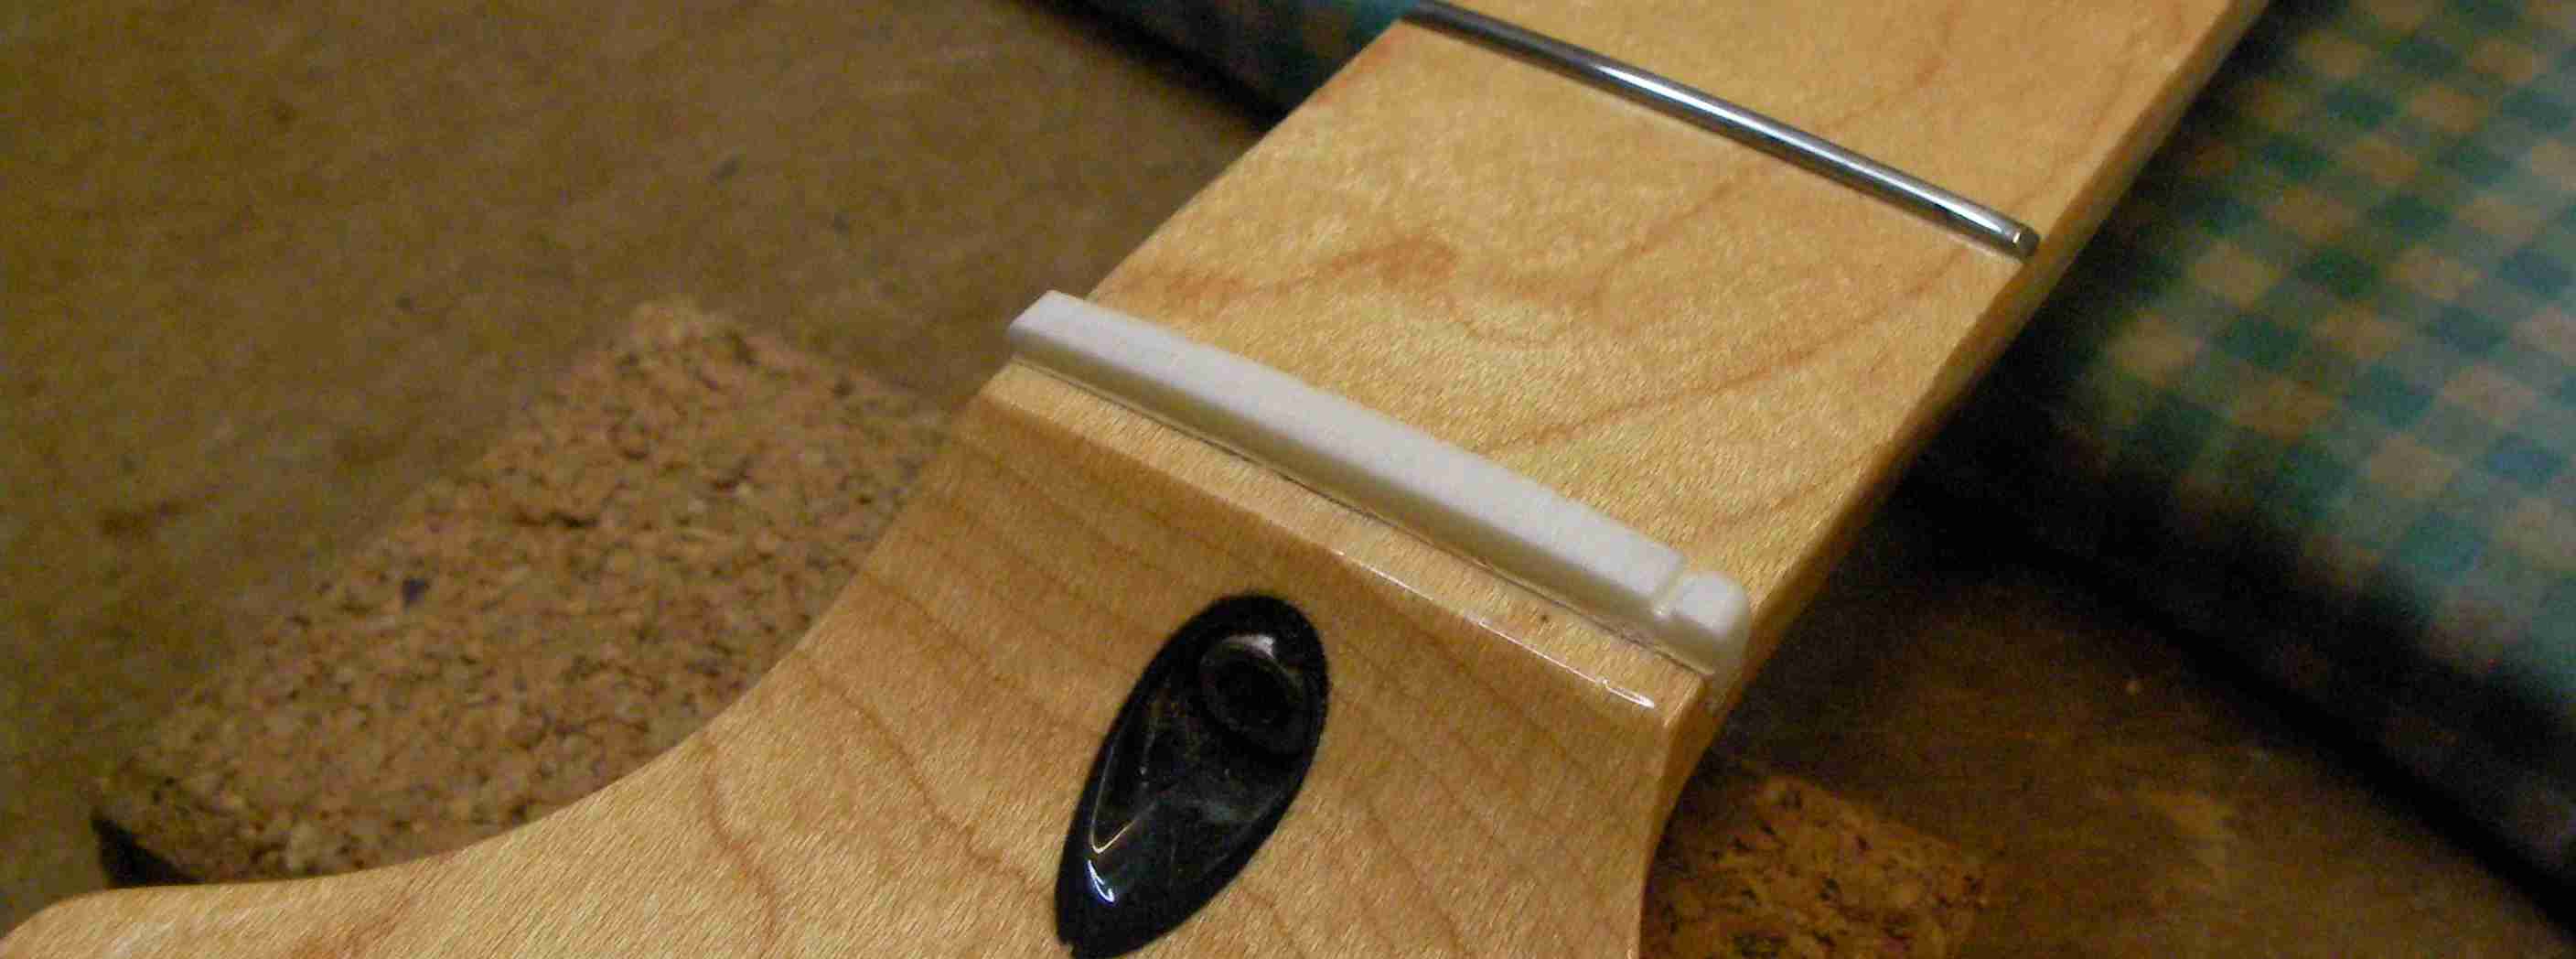
With the frets done it’s back to that nut. Unfortunately when the original was fitted someone made mess of the slot, it’s too wide and been packed out with a thin piece of plastic..
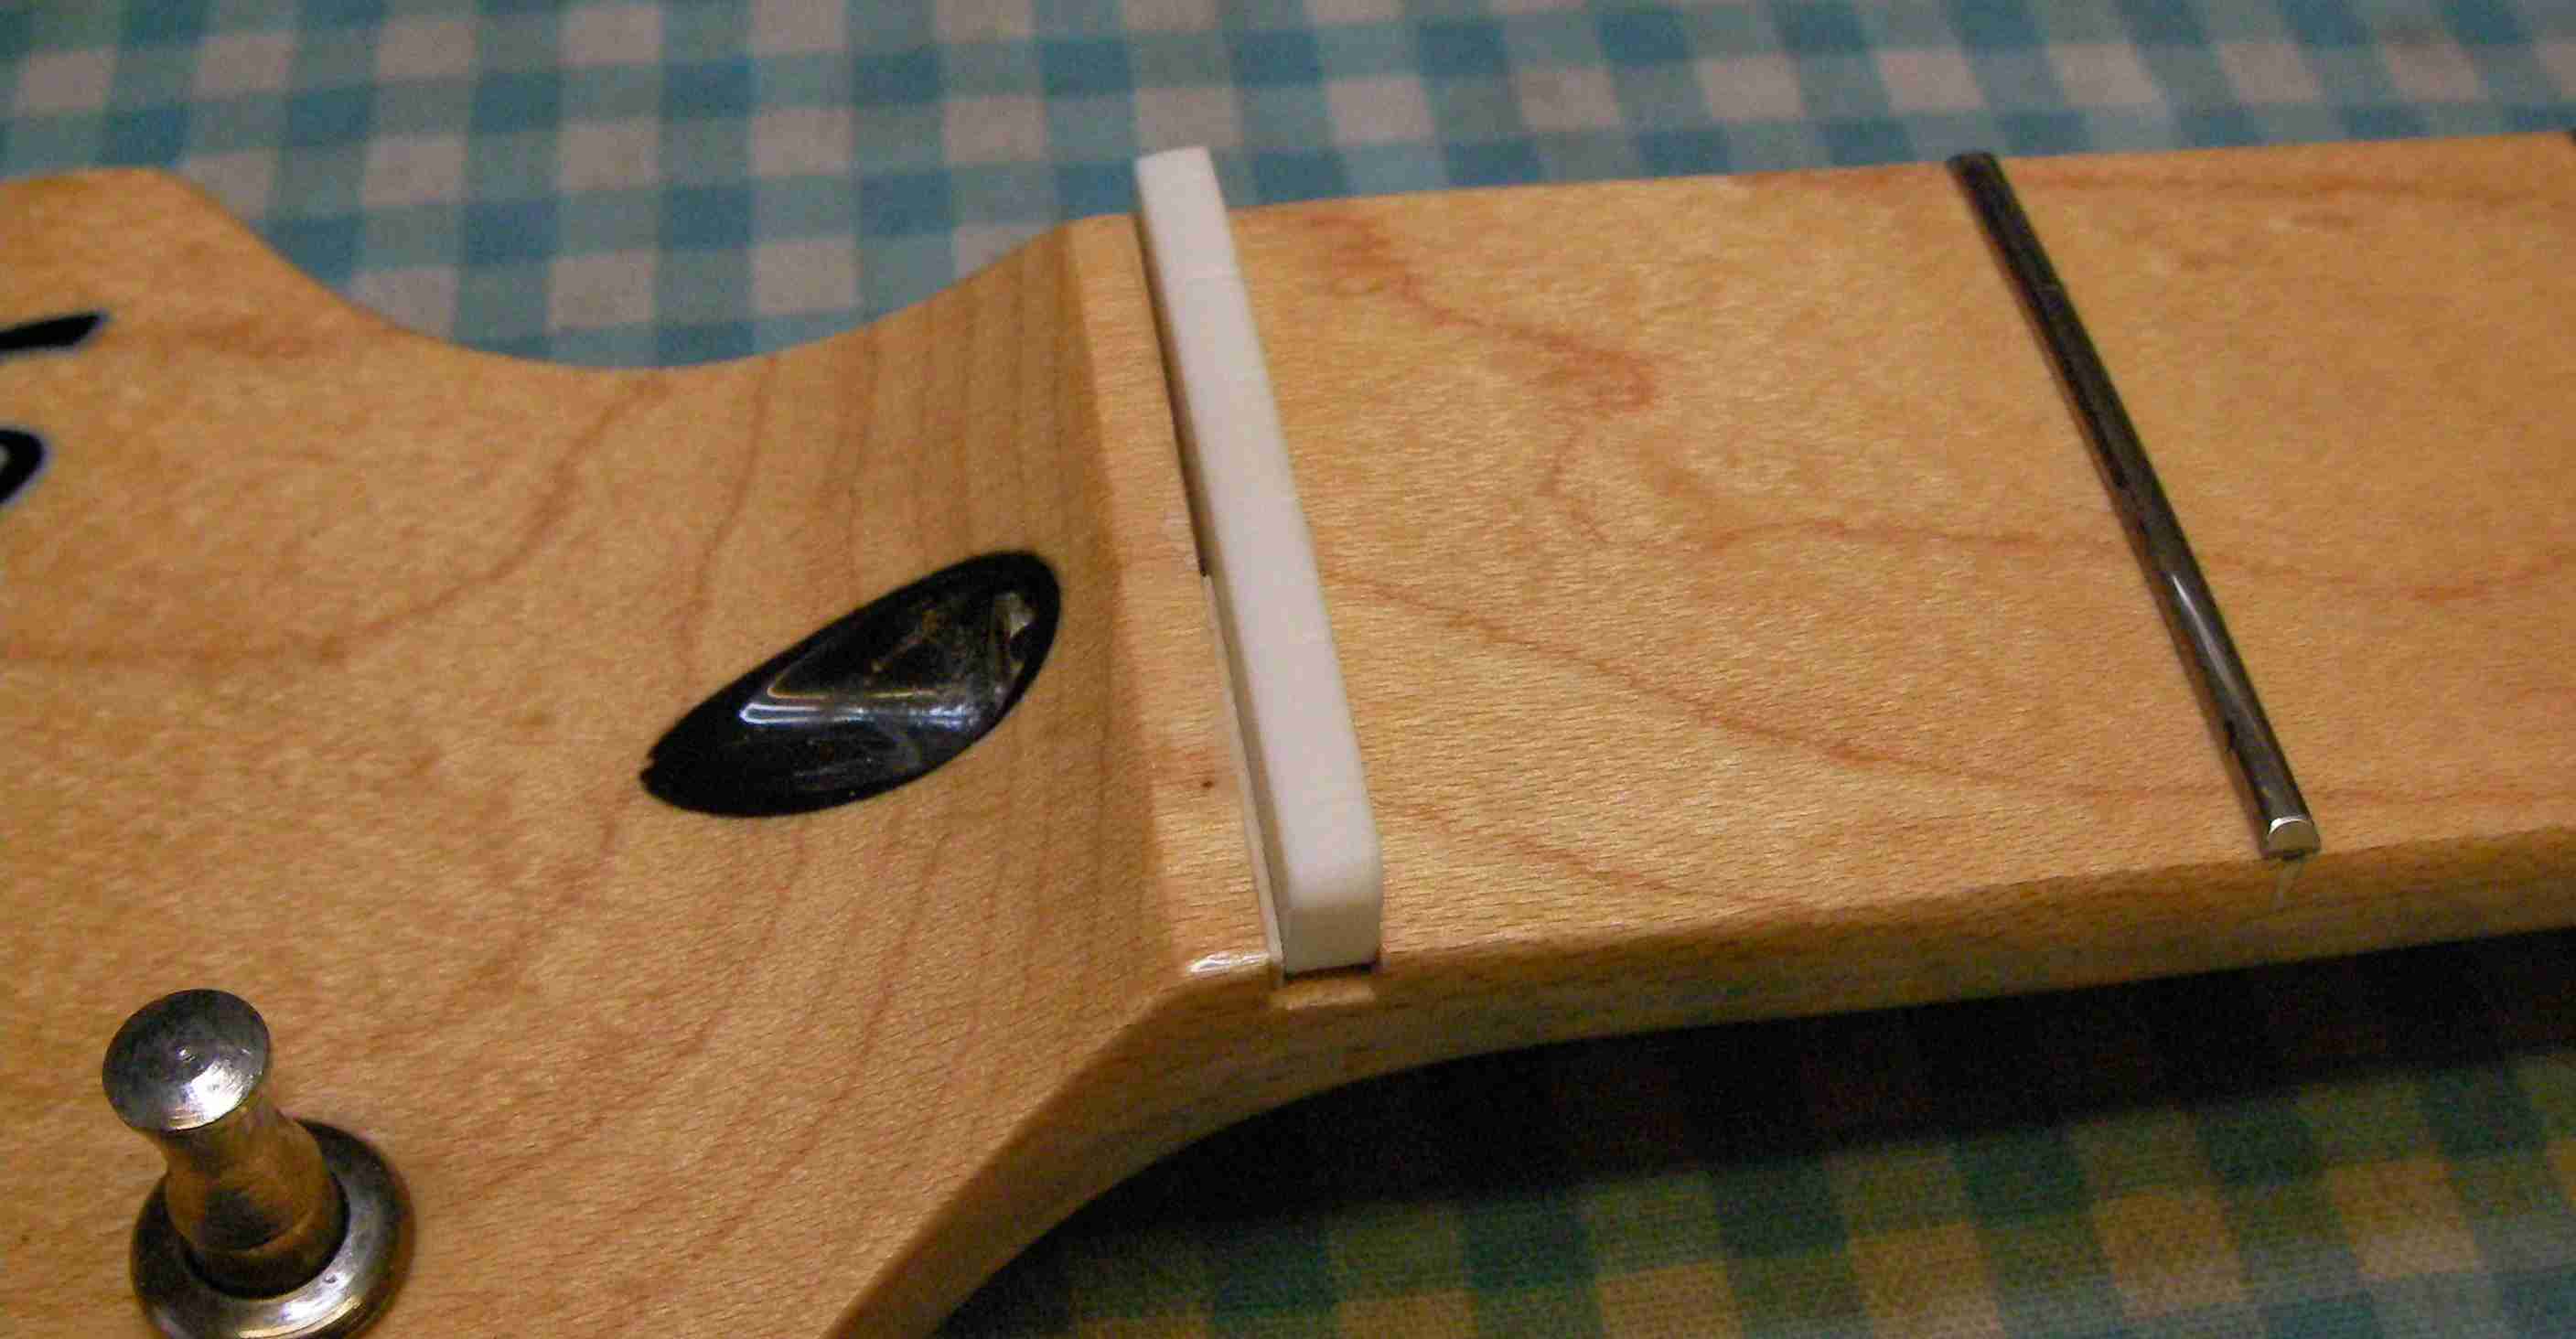
I think I need to get rid of it and start again..
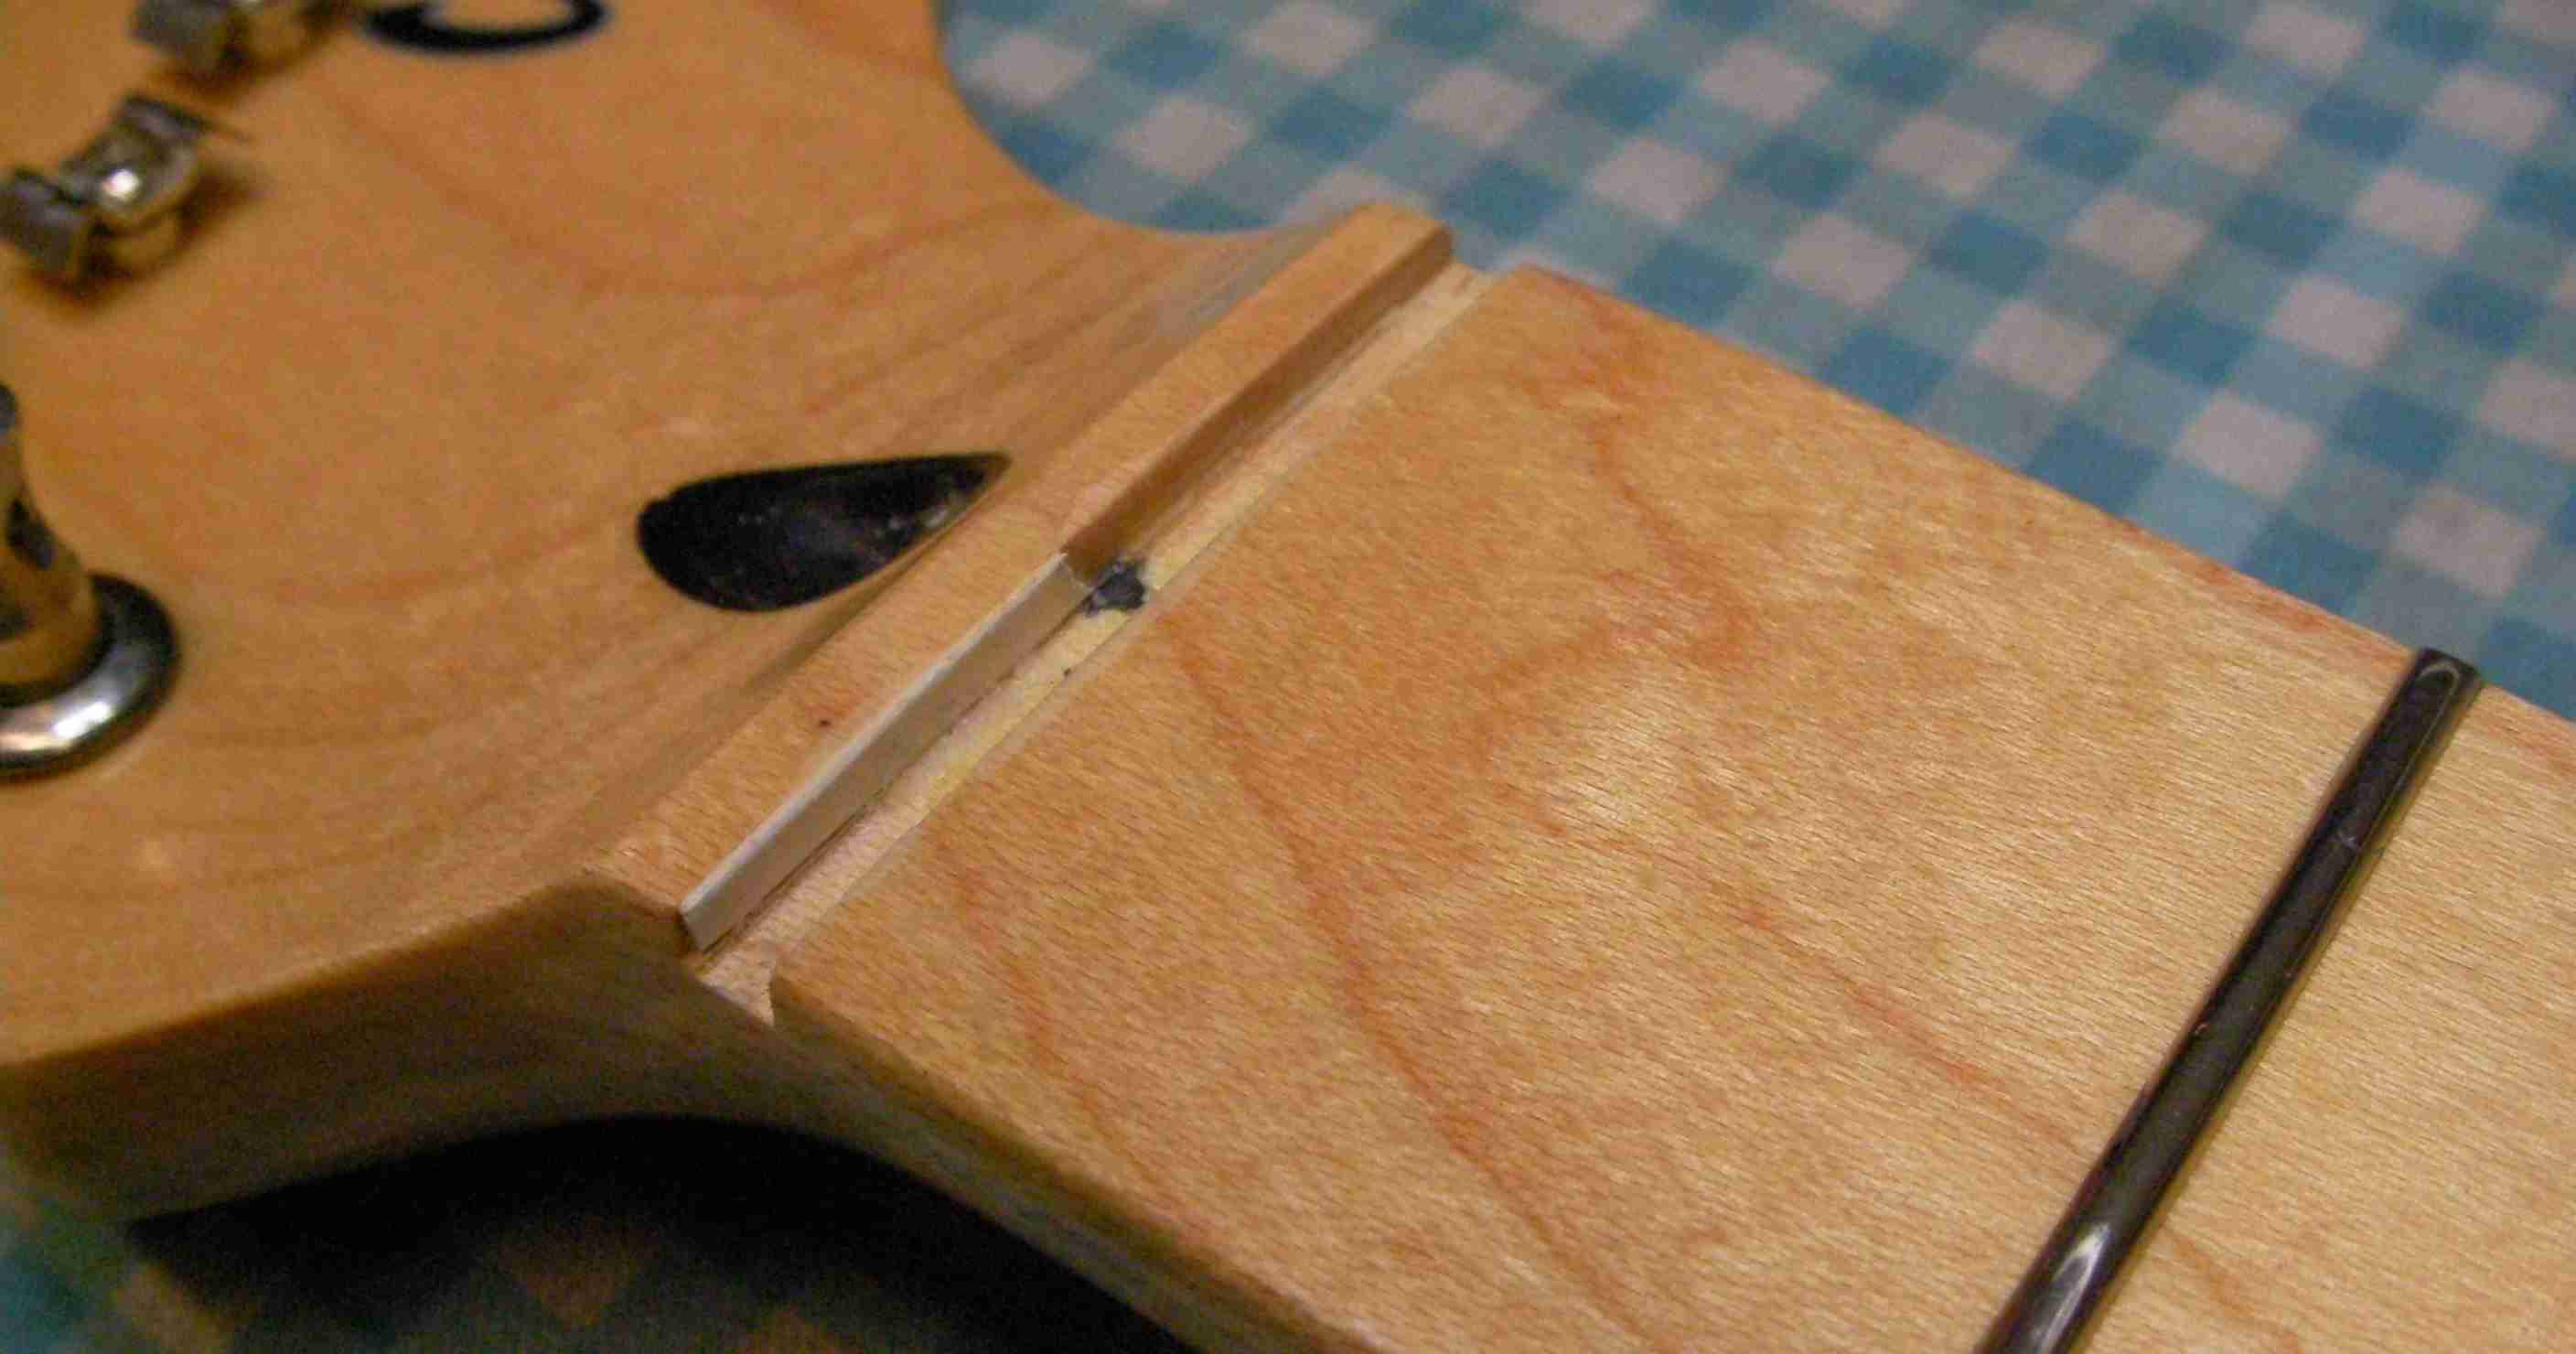
A thin piece of wood veneer should do the job…

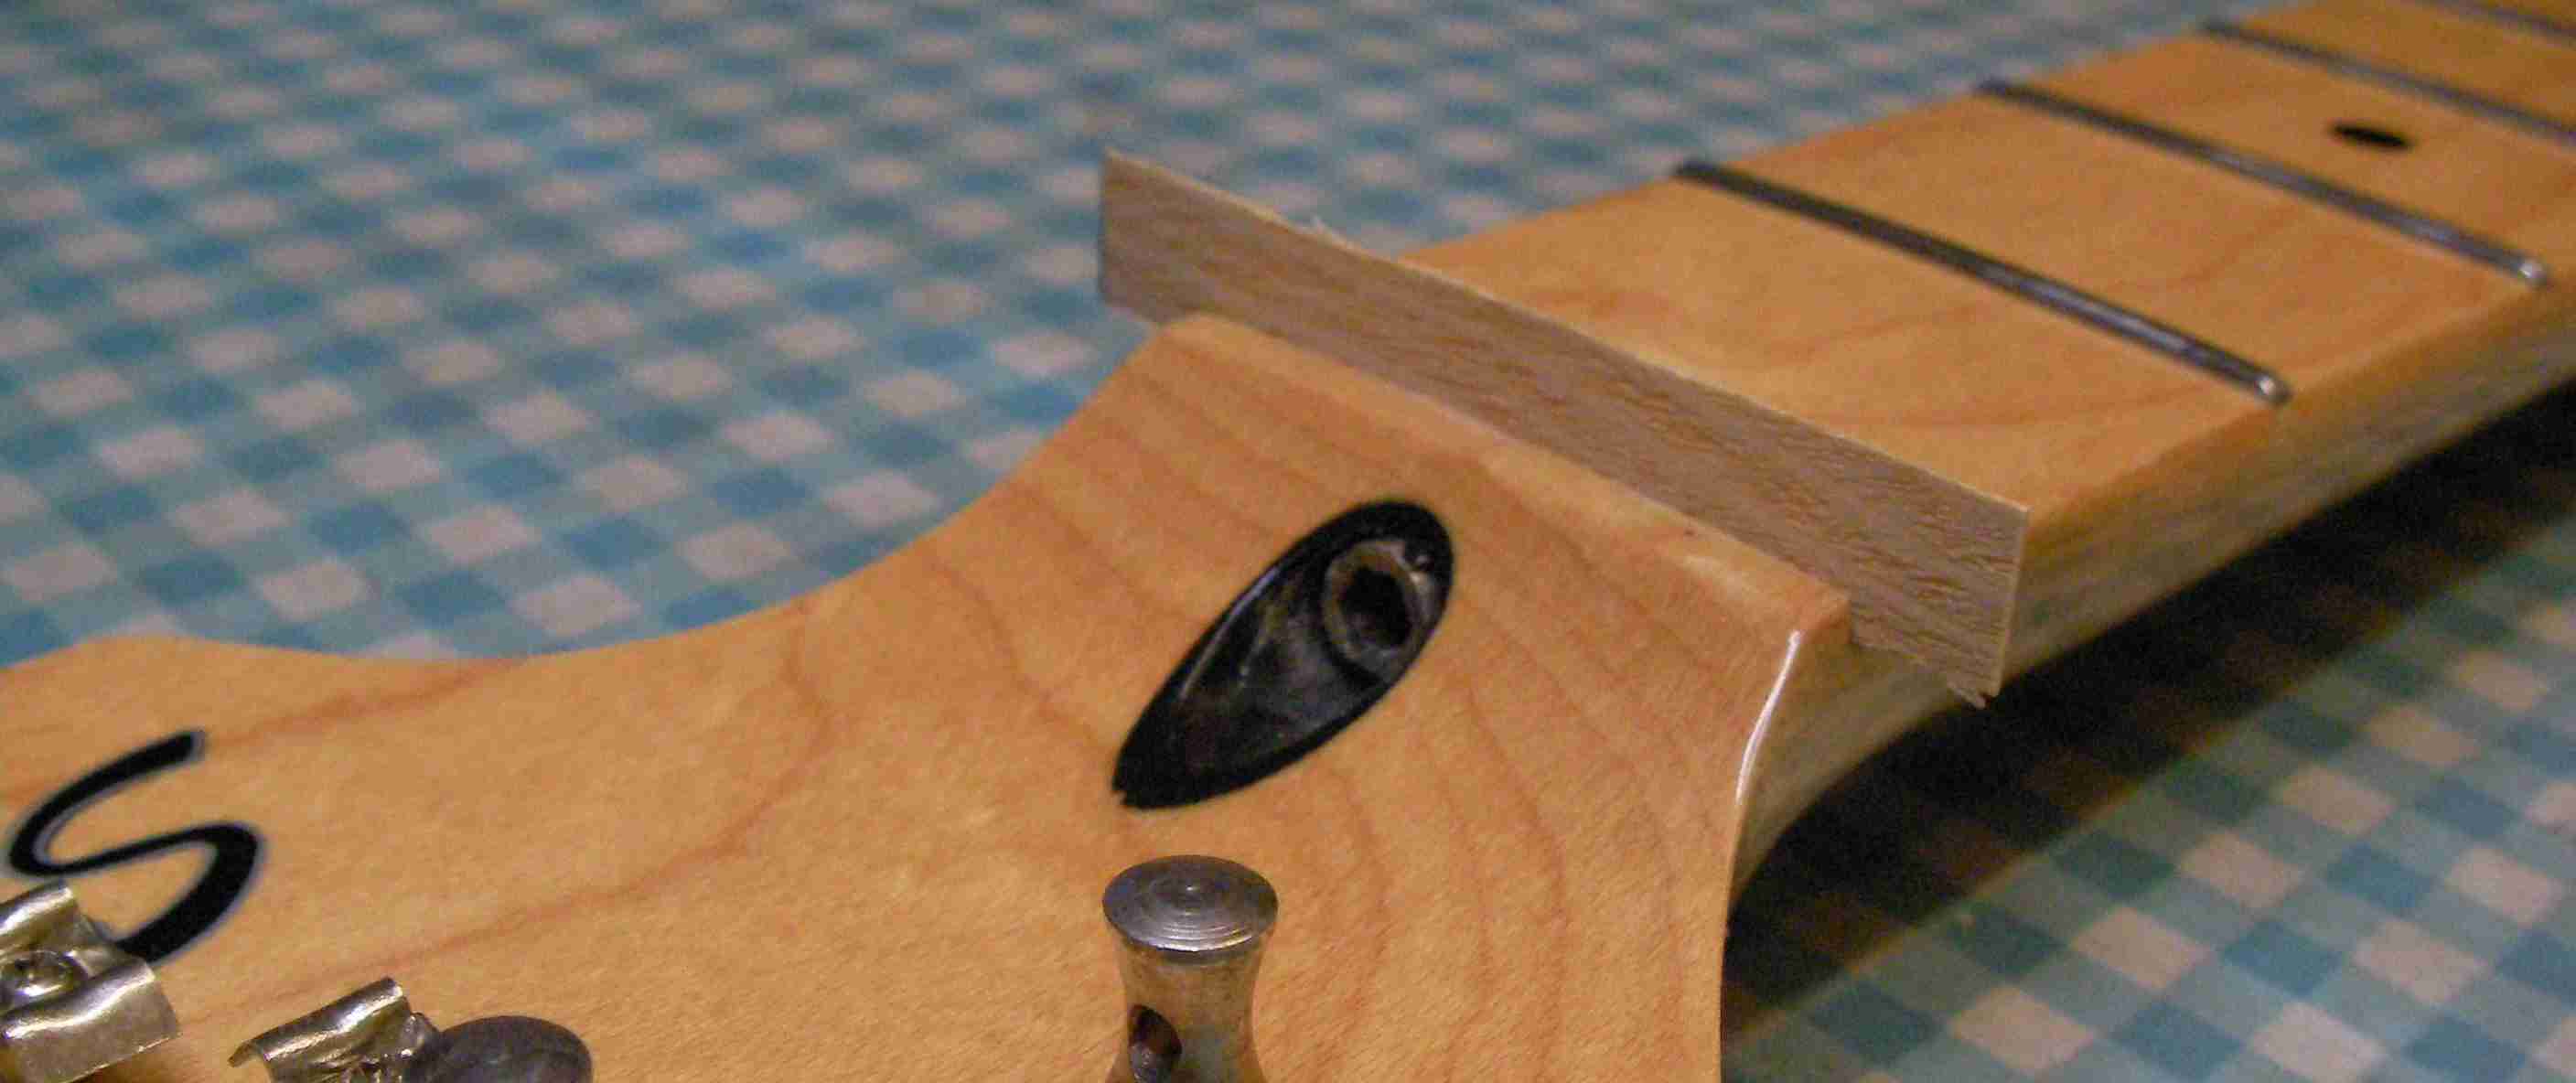
It needs to be blended in with the neck to hid it though.
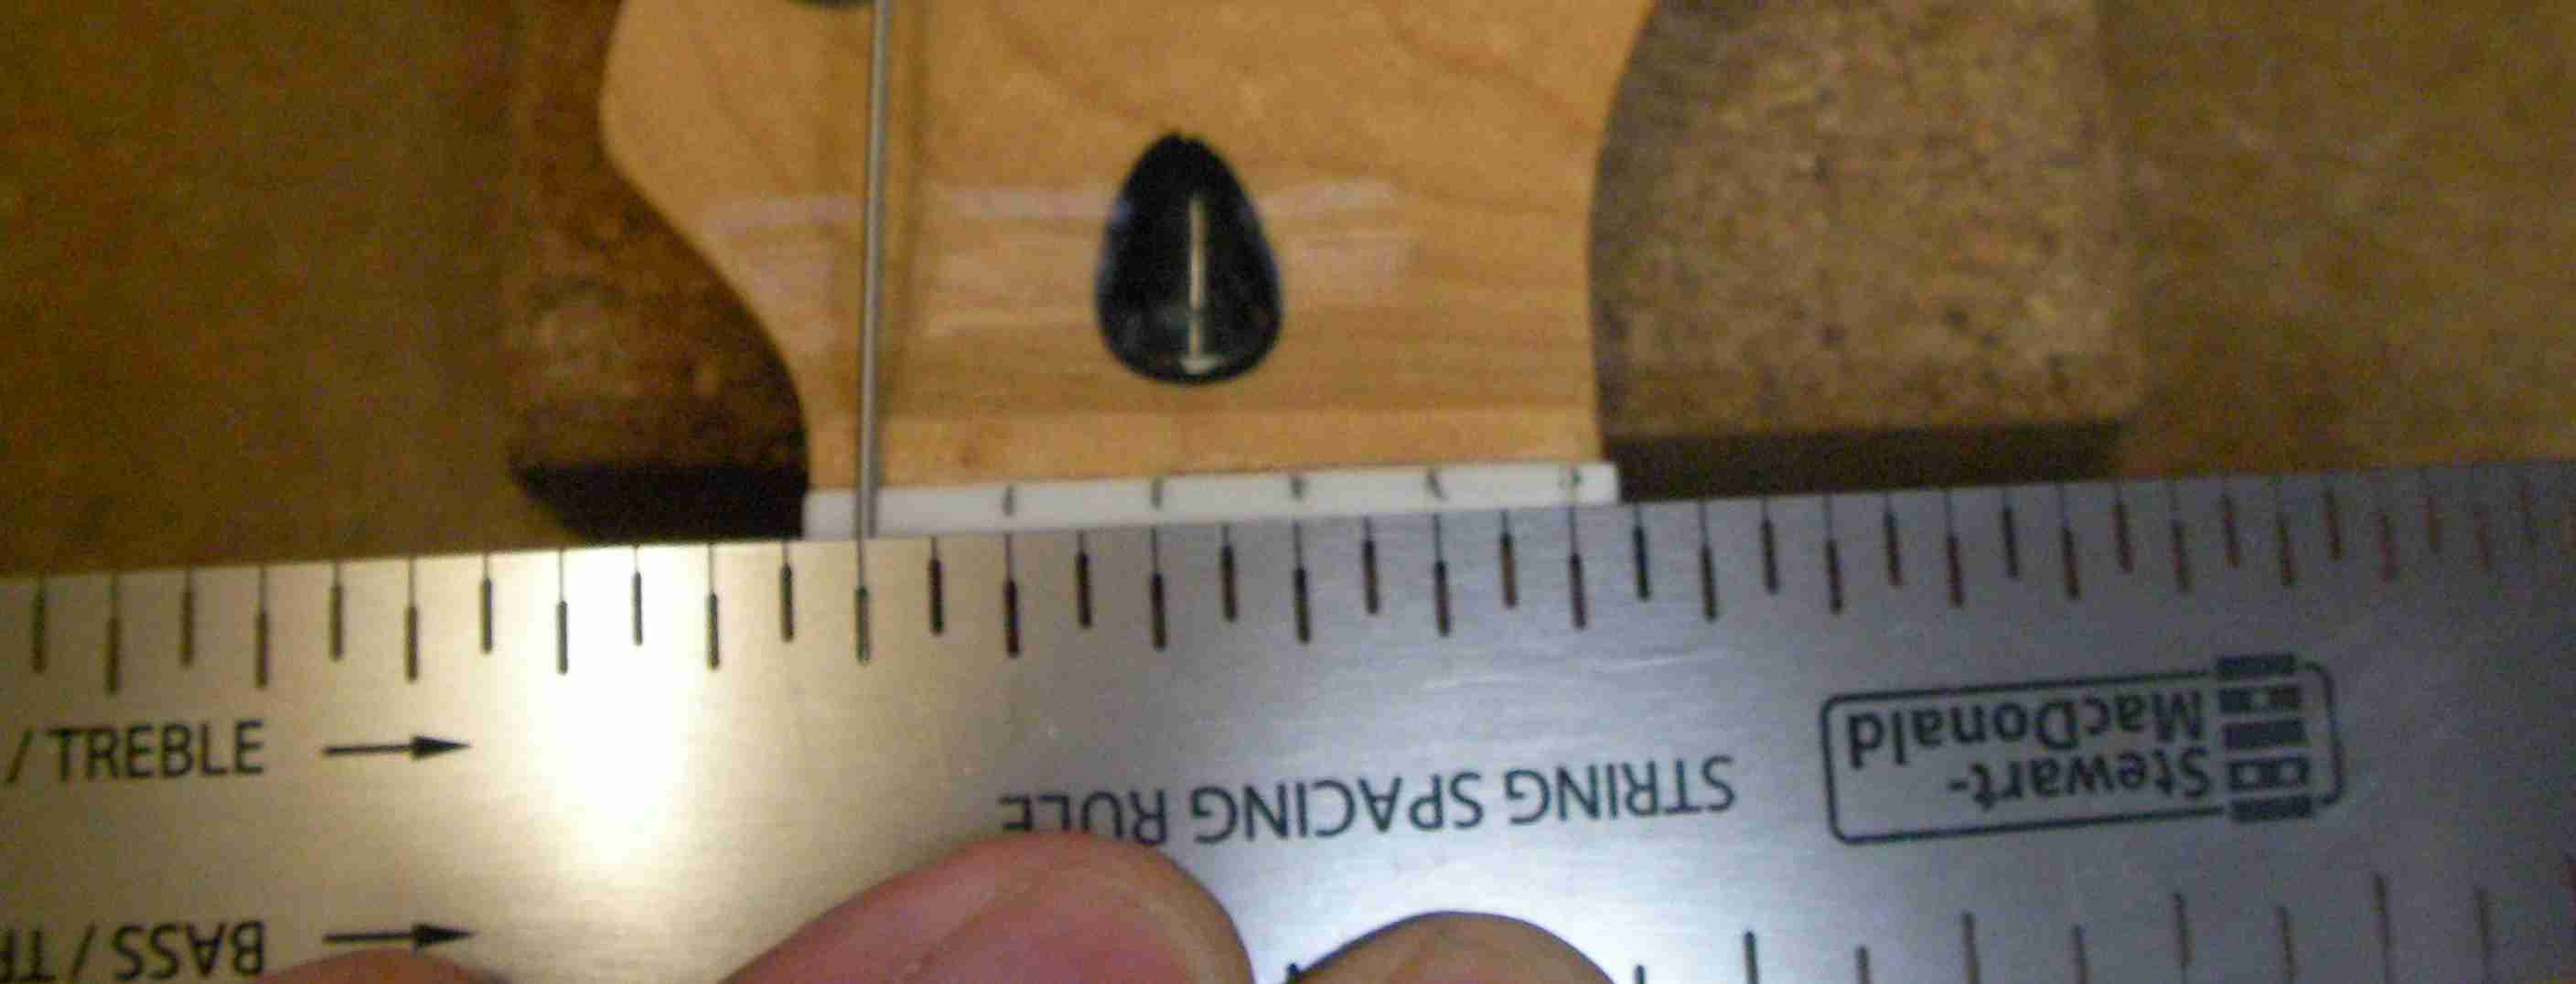
With the new nut fitted now I need to work out the string positions.
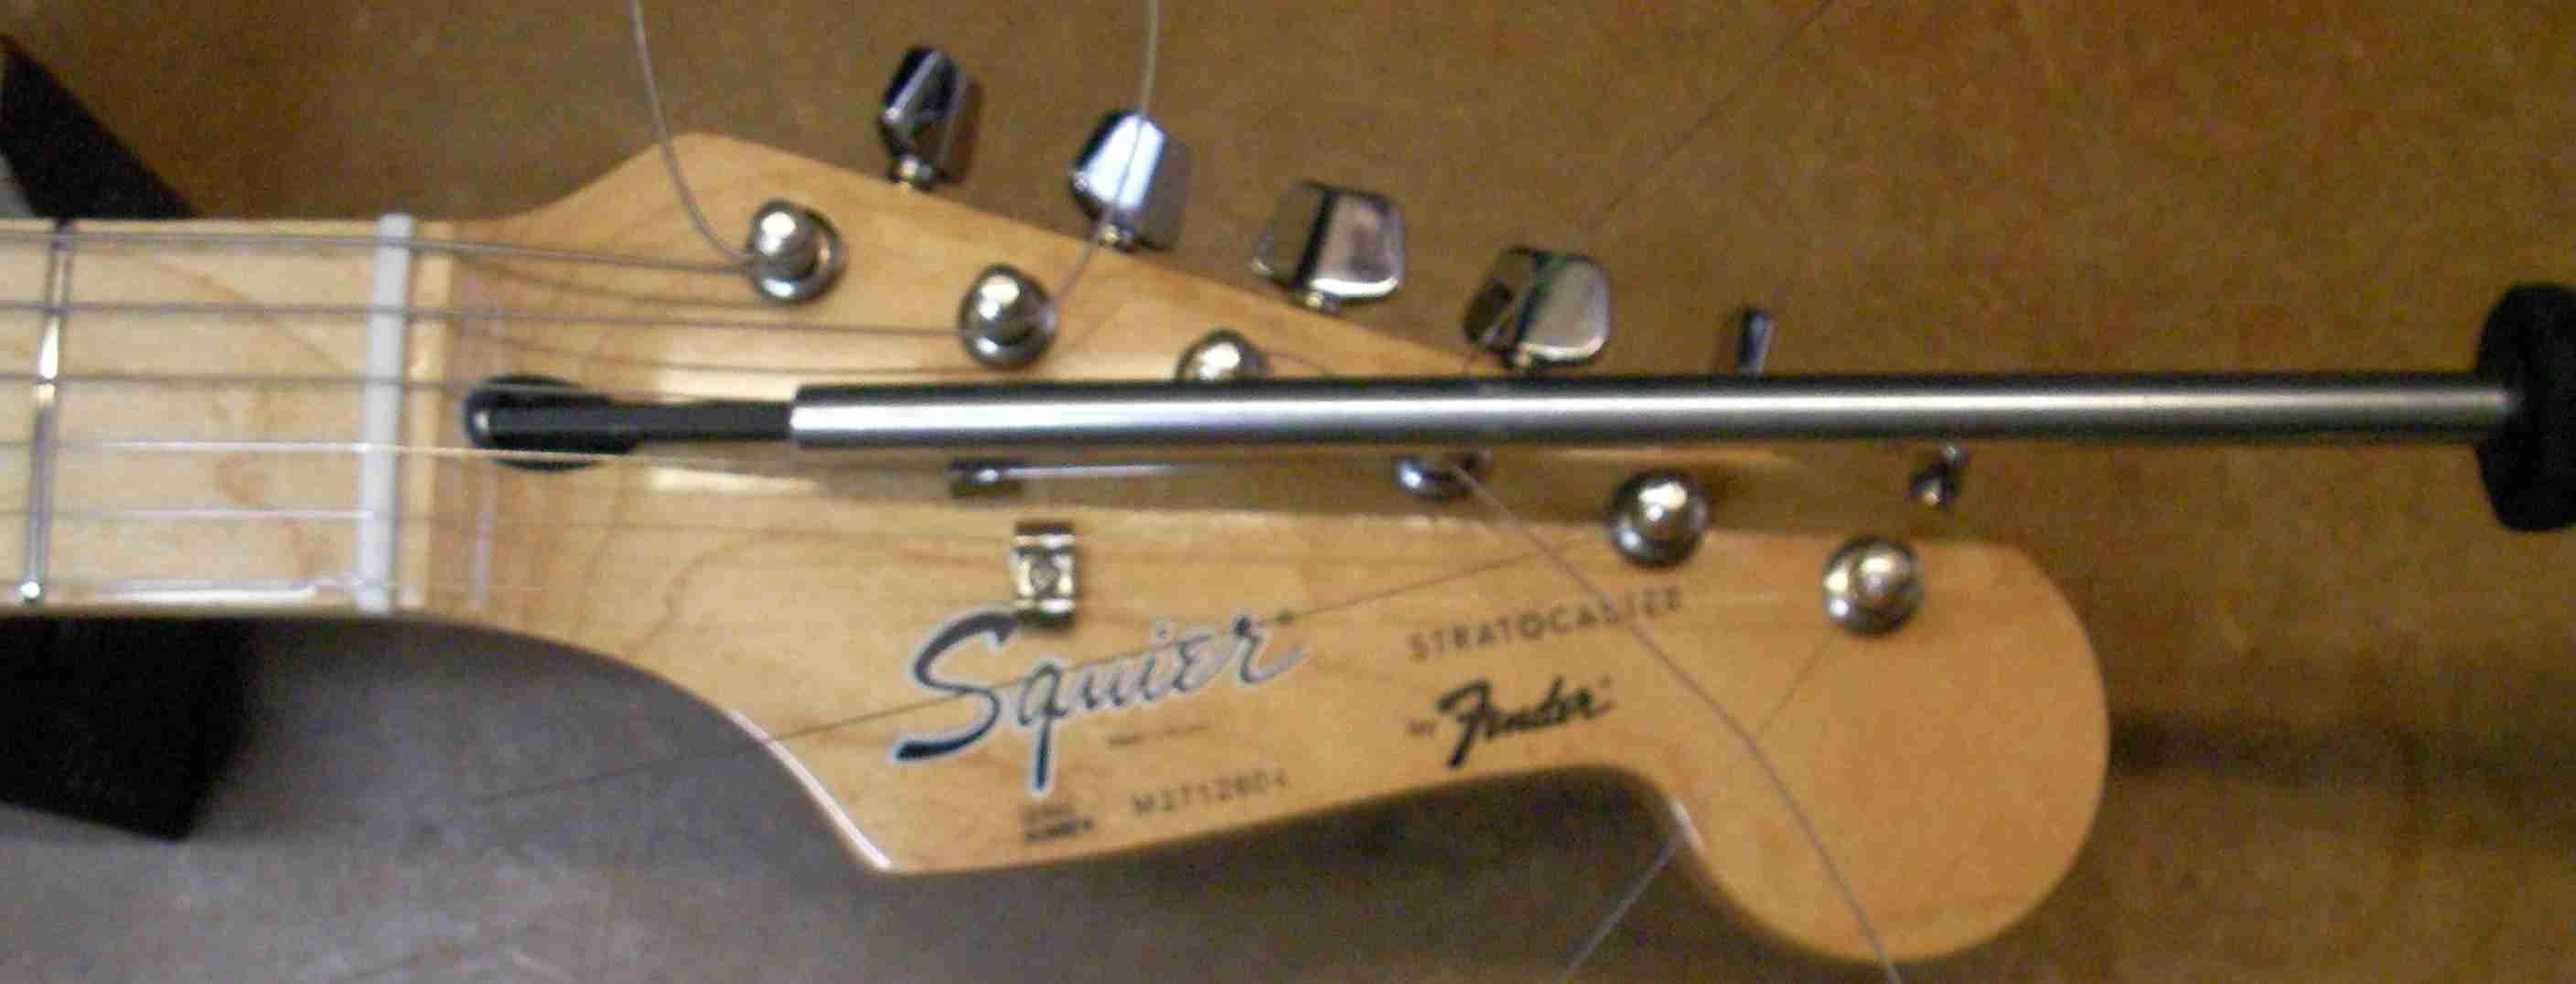
With the neck sorted out it’s time to put it back on the guitar and carry out a standard 5 point setup..
No.1 The neck set…
It was a little high so a small turn on the truss-rod.
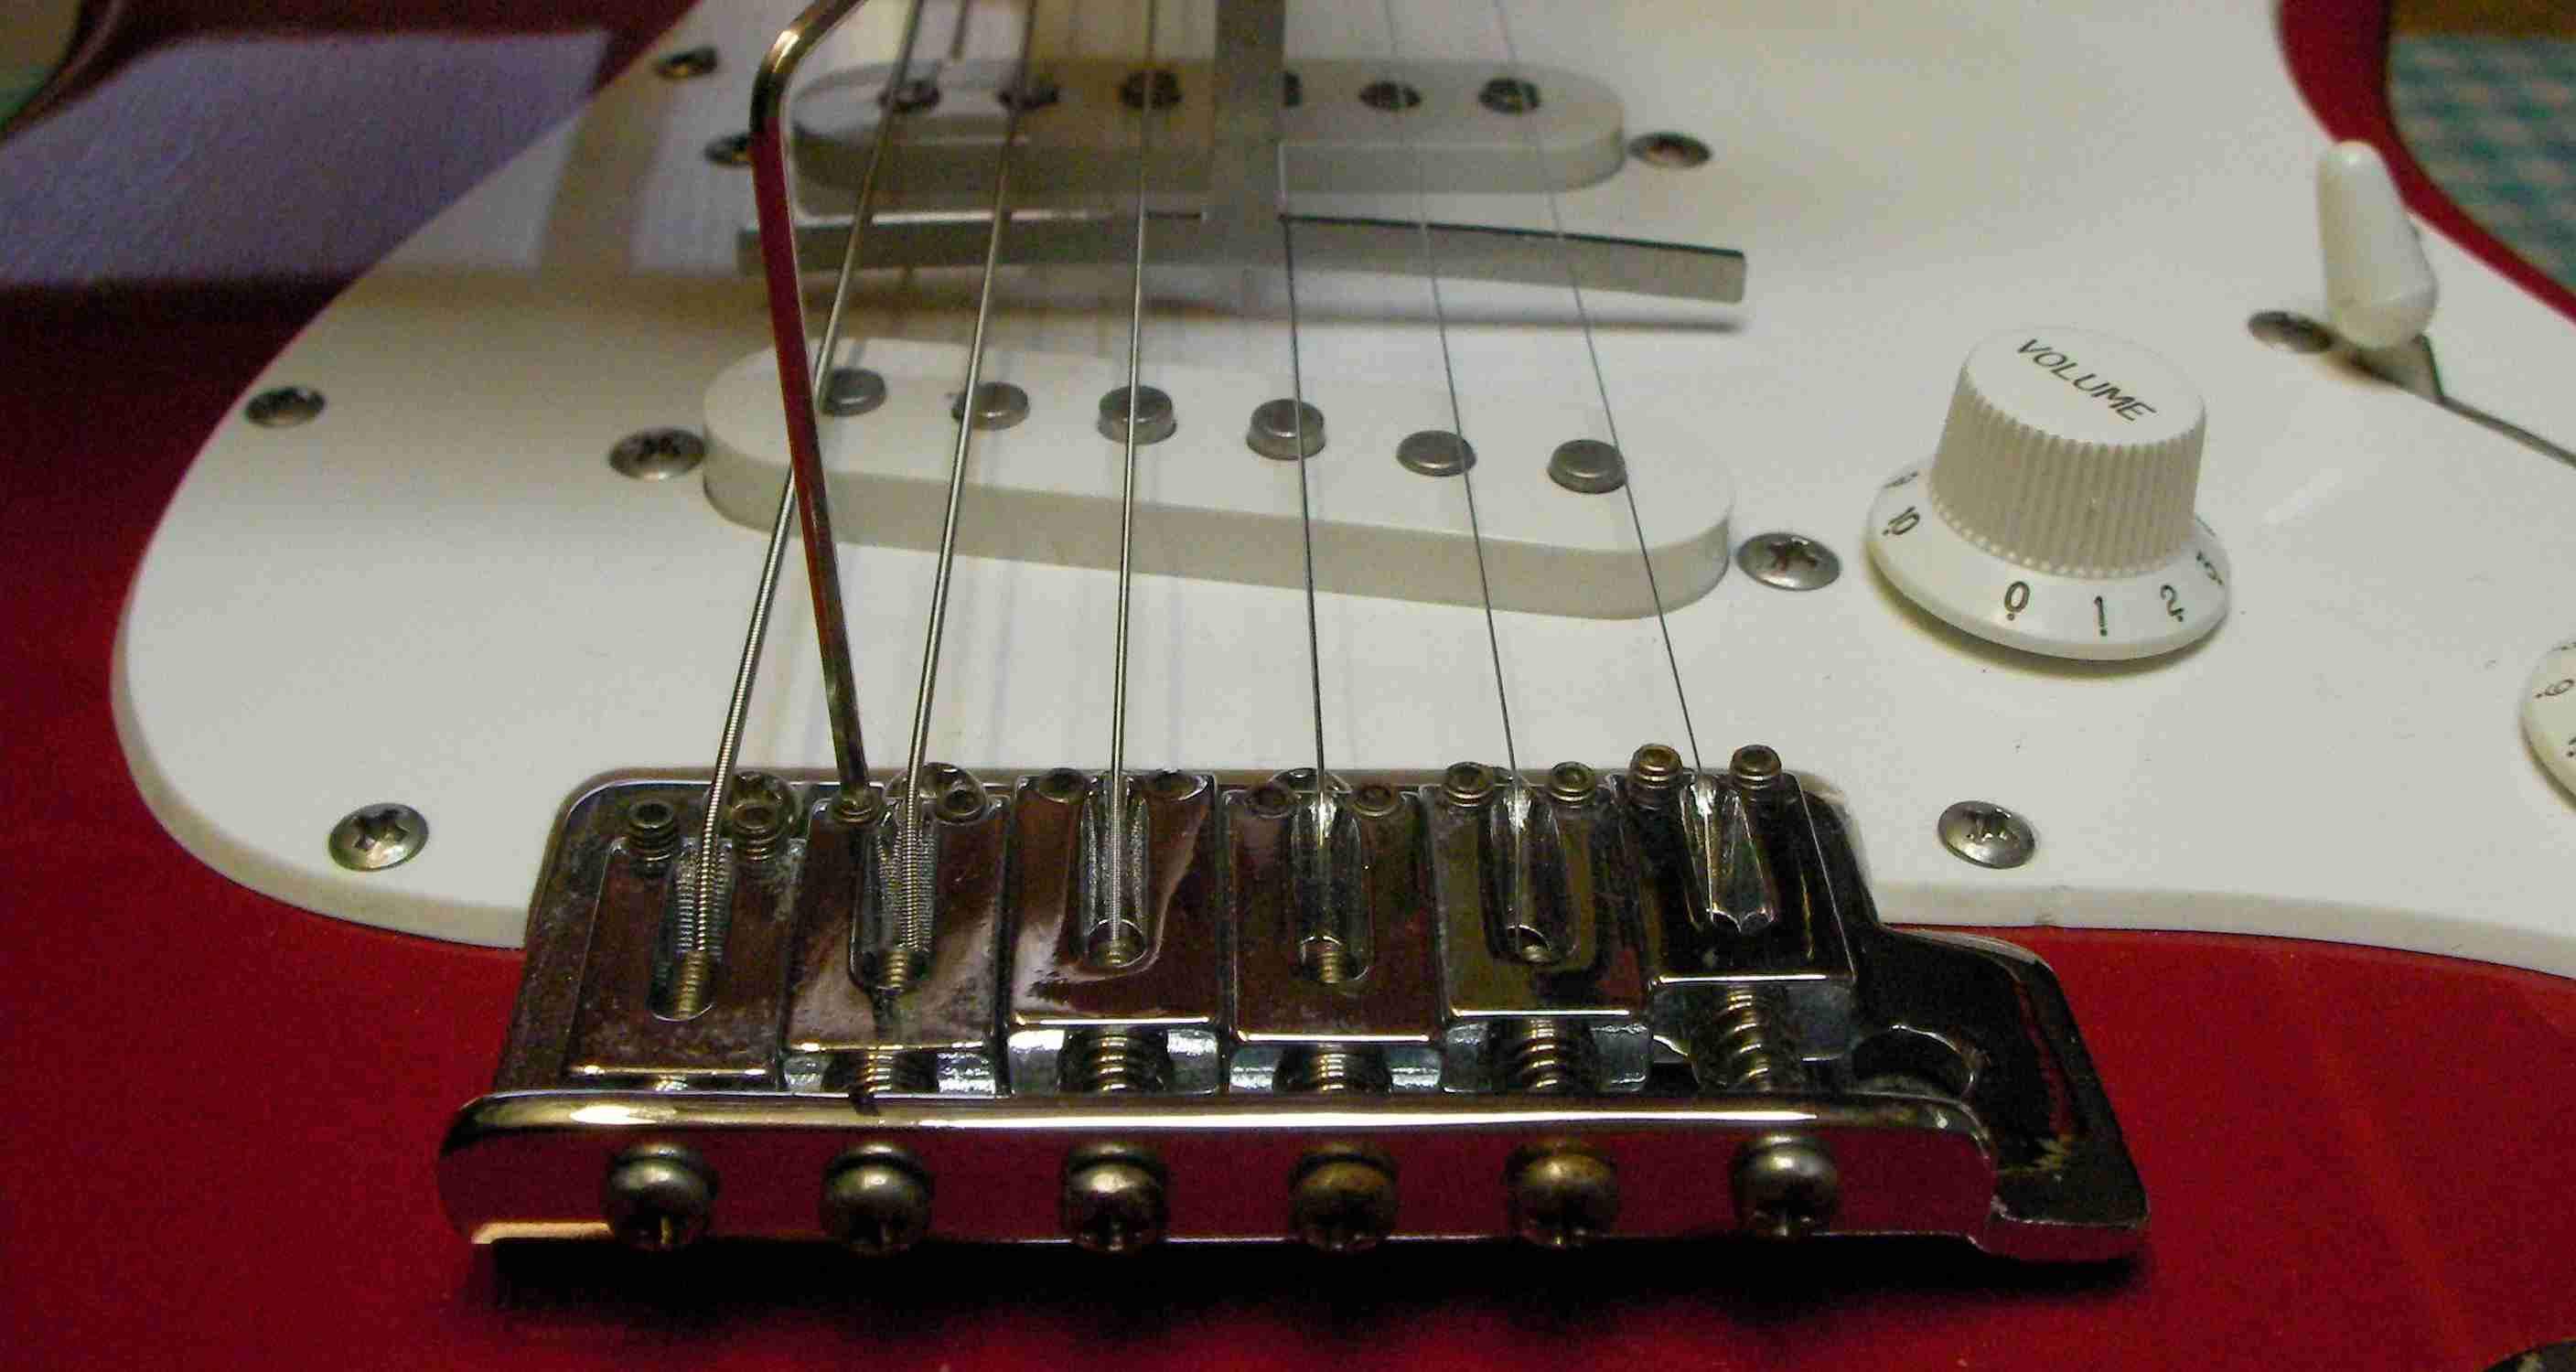
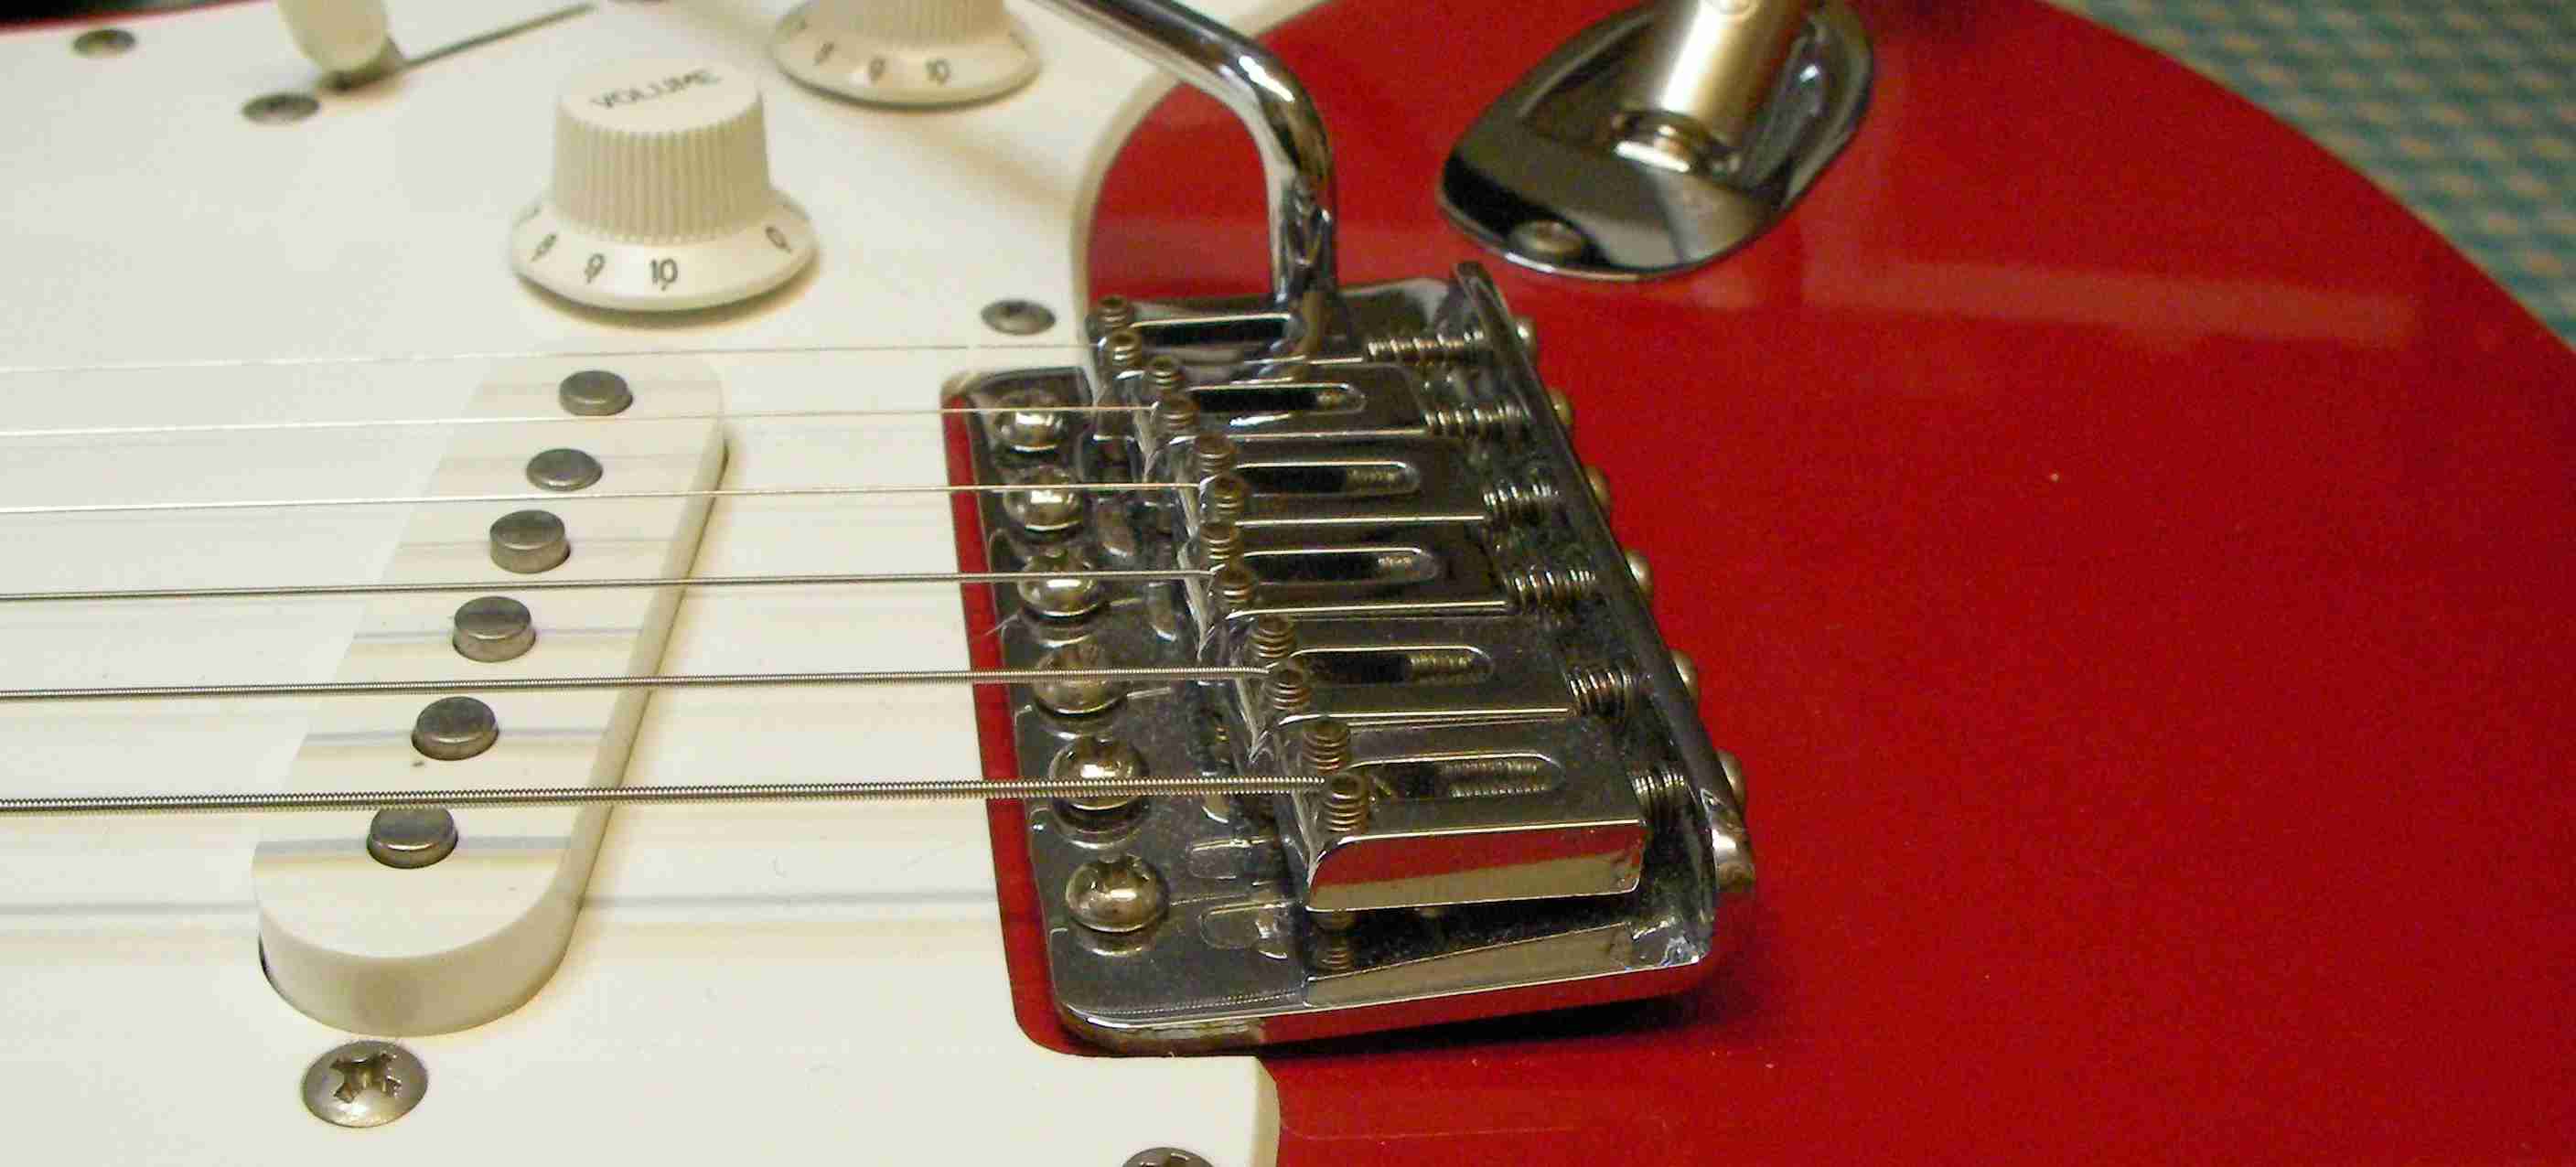
No.2 The action at the 12th fret.
Again rather high so lower the bridge saddles, starting with the outside “E” strings.
Since each saddle is individually adjustable the others need to be set so that the radius of the bridge matches that of the fretboard.
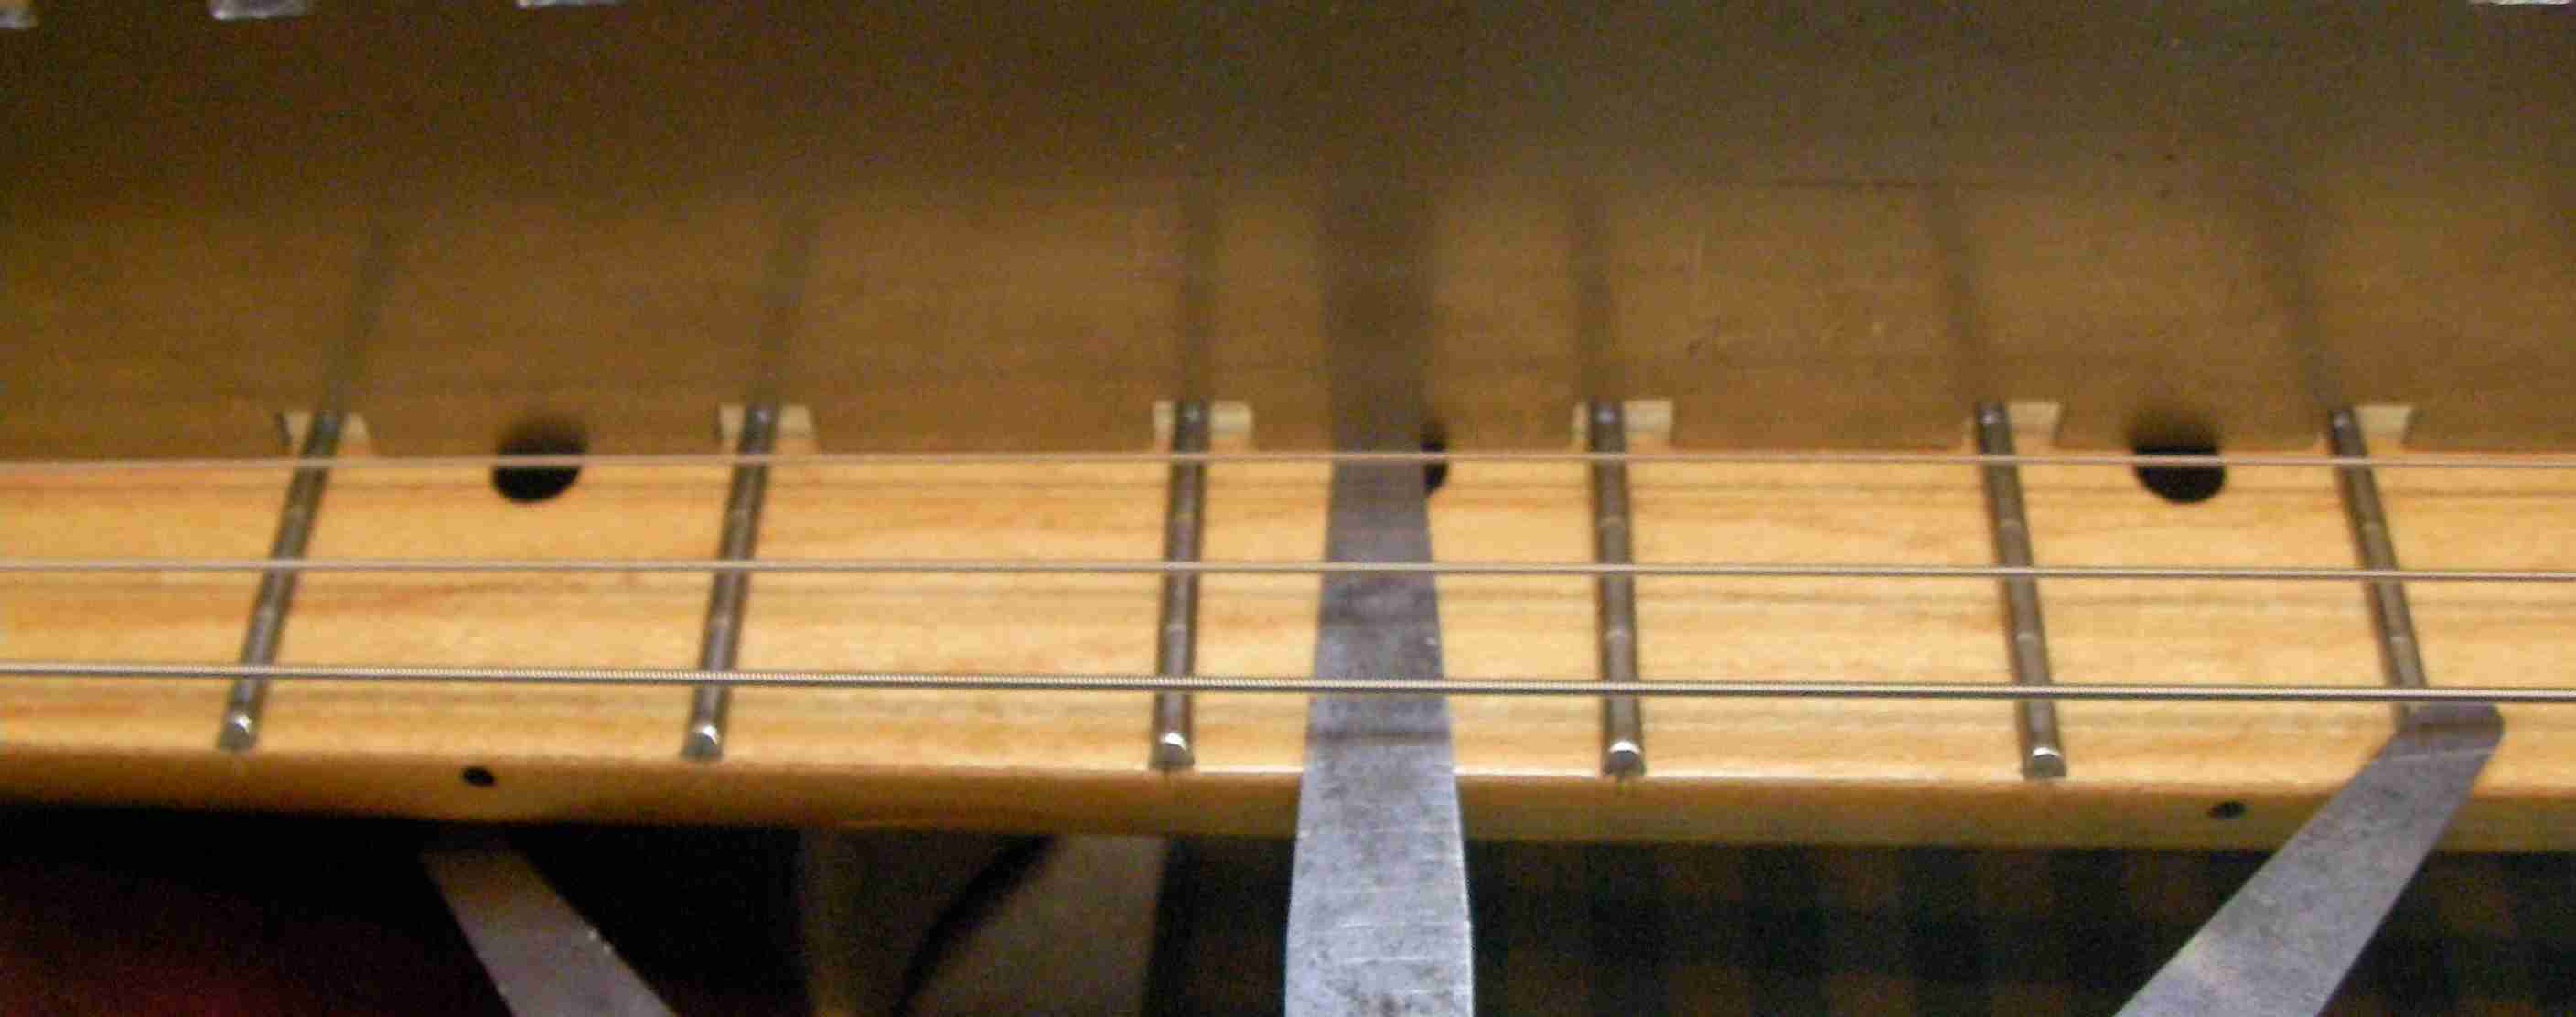
No.3 Back to that new nut. Now it’s time to cut the slots to get the right action at the first fret.
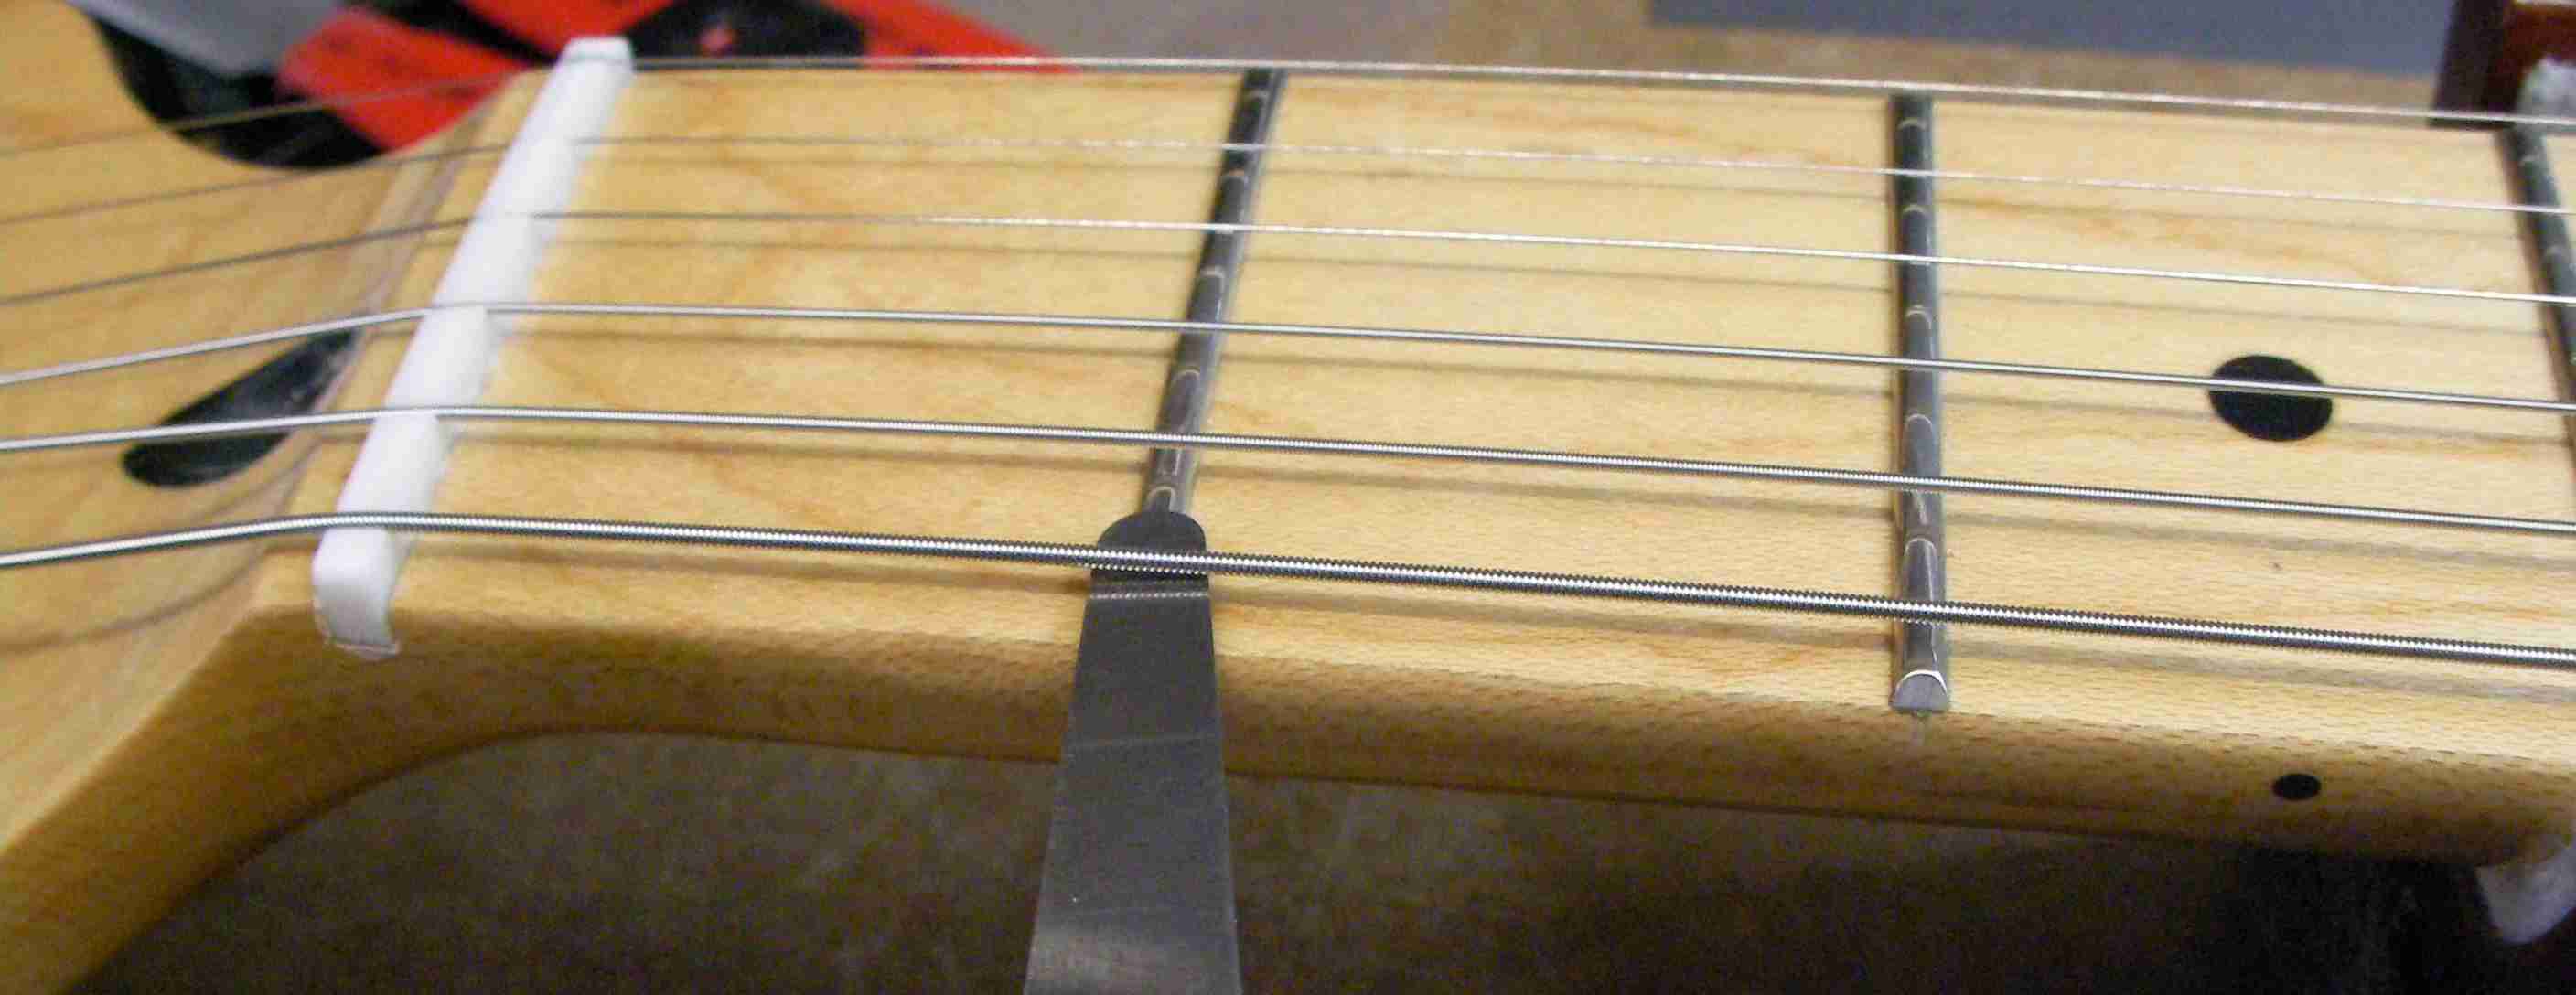
Since it’s brand new the action is much too high. so cut each slot a little deeper.
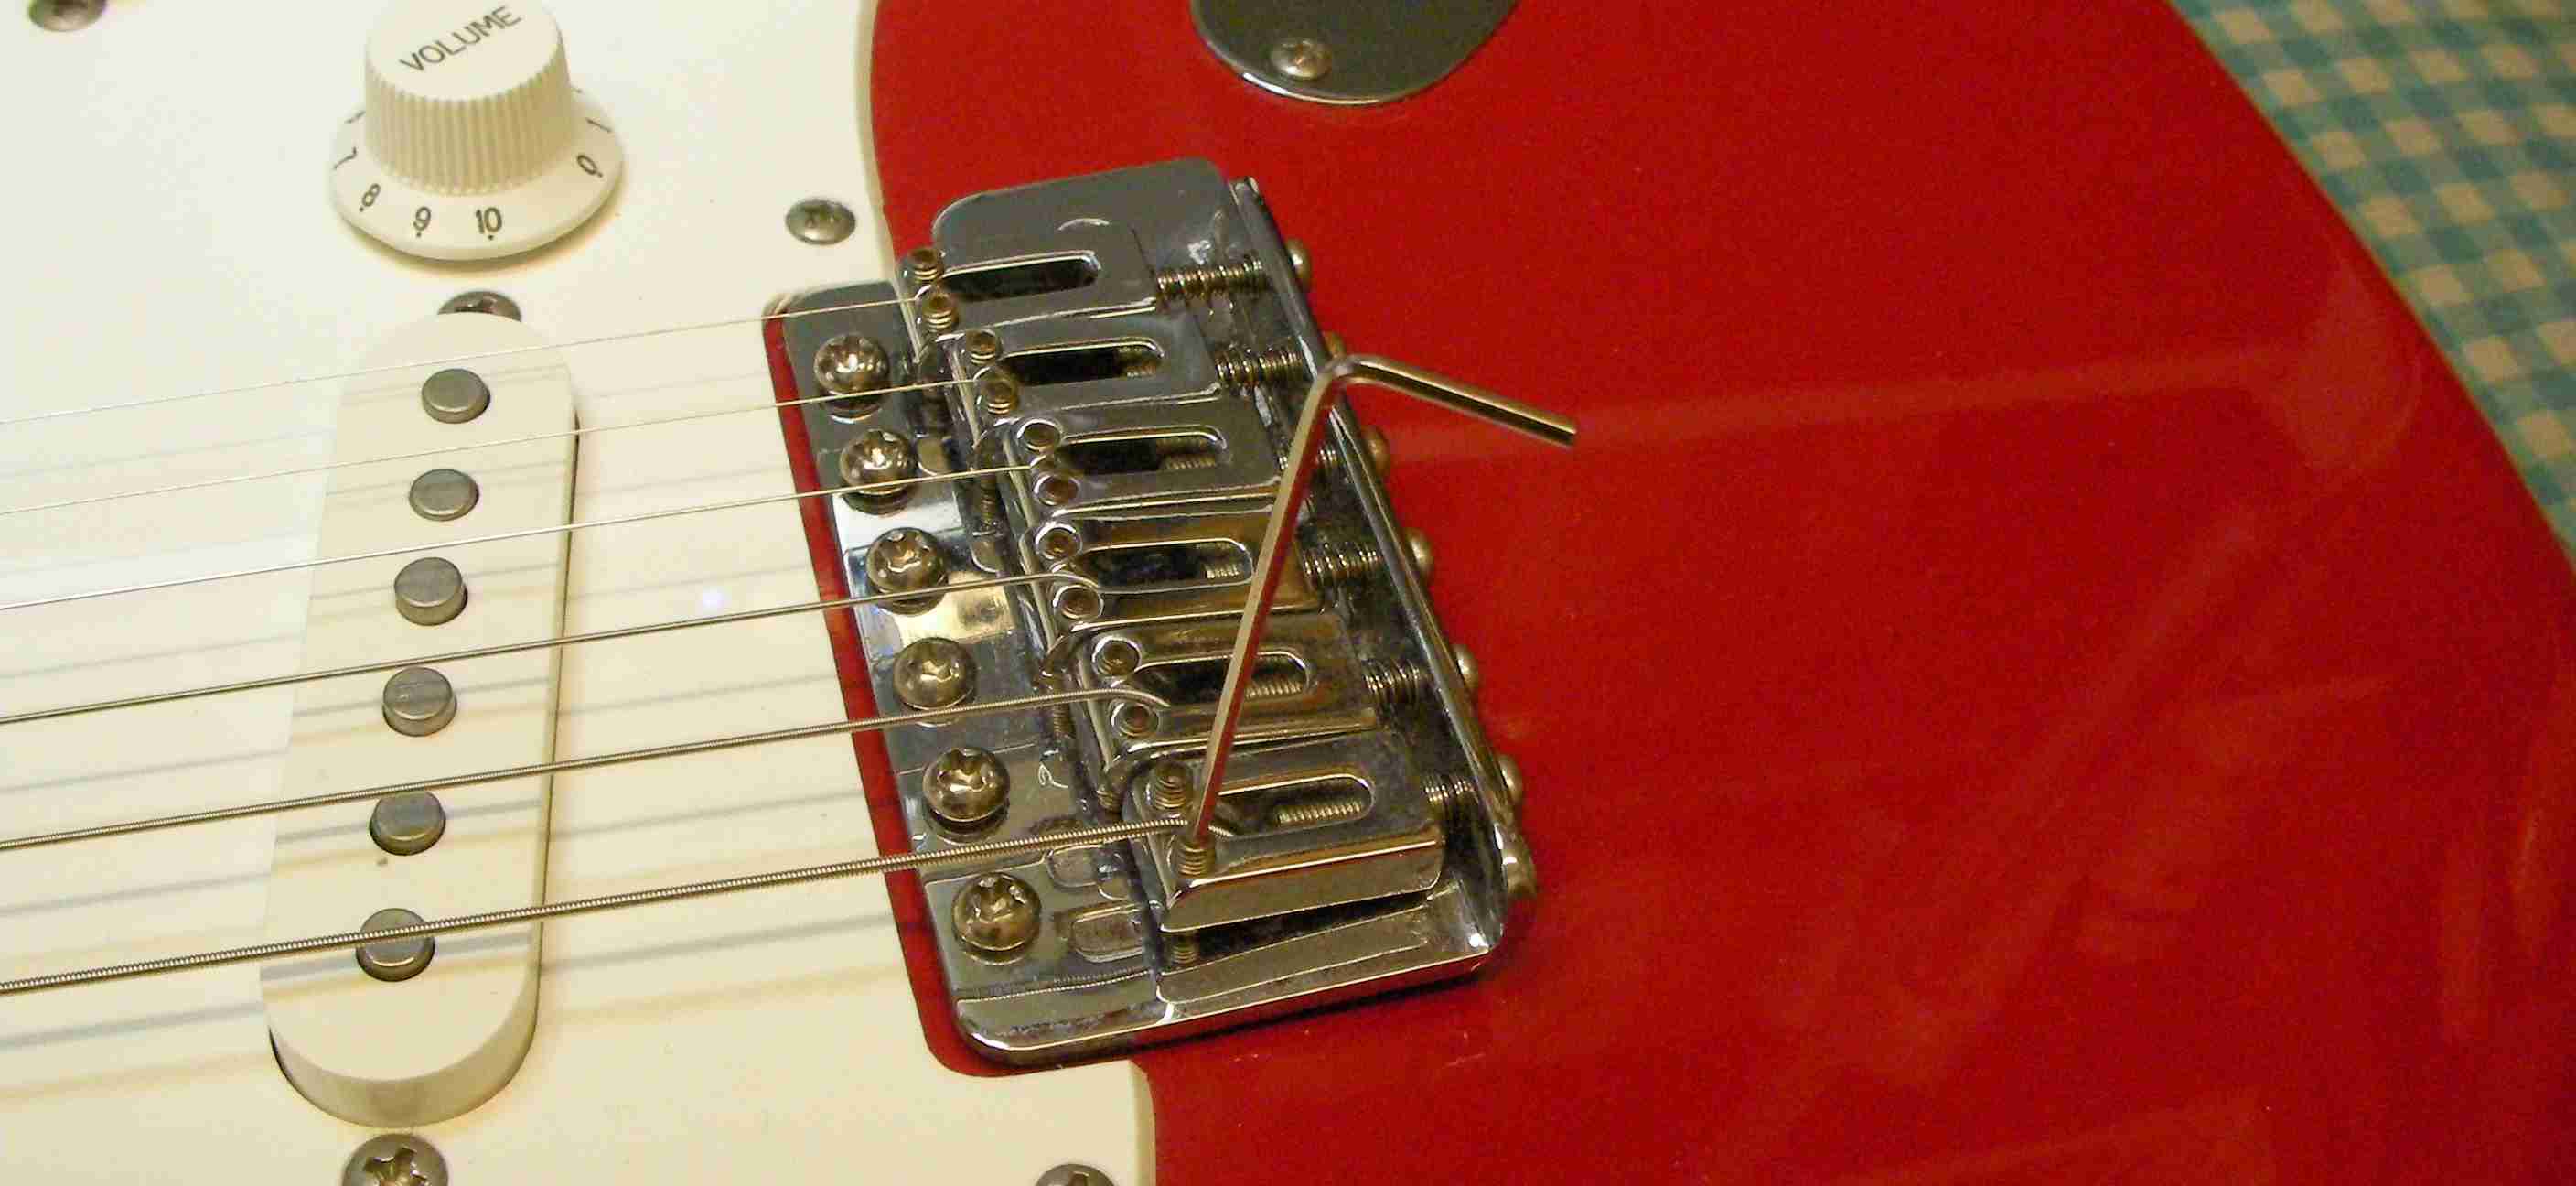
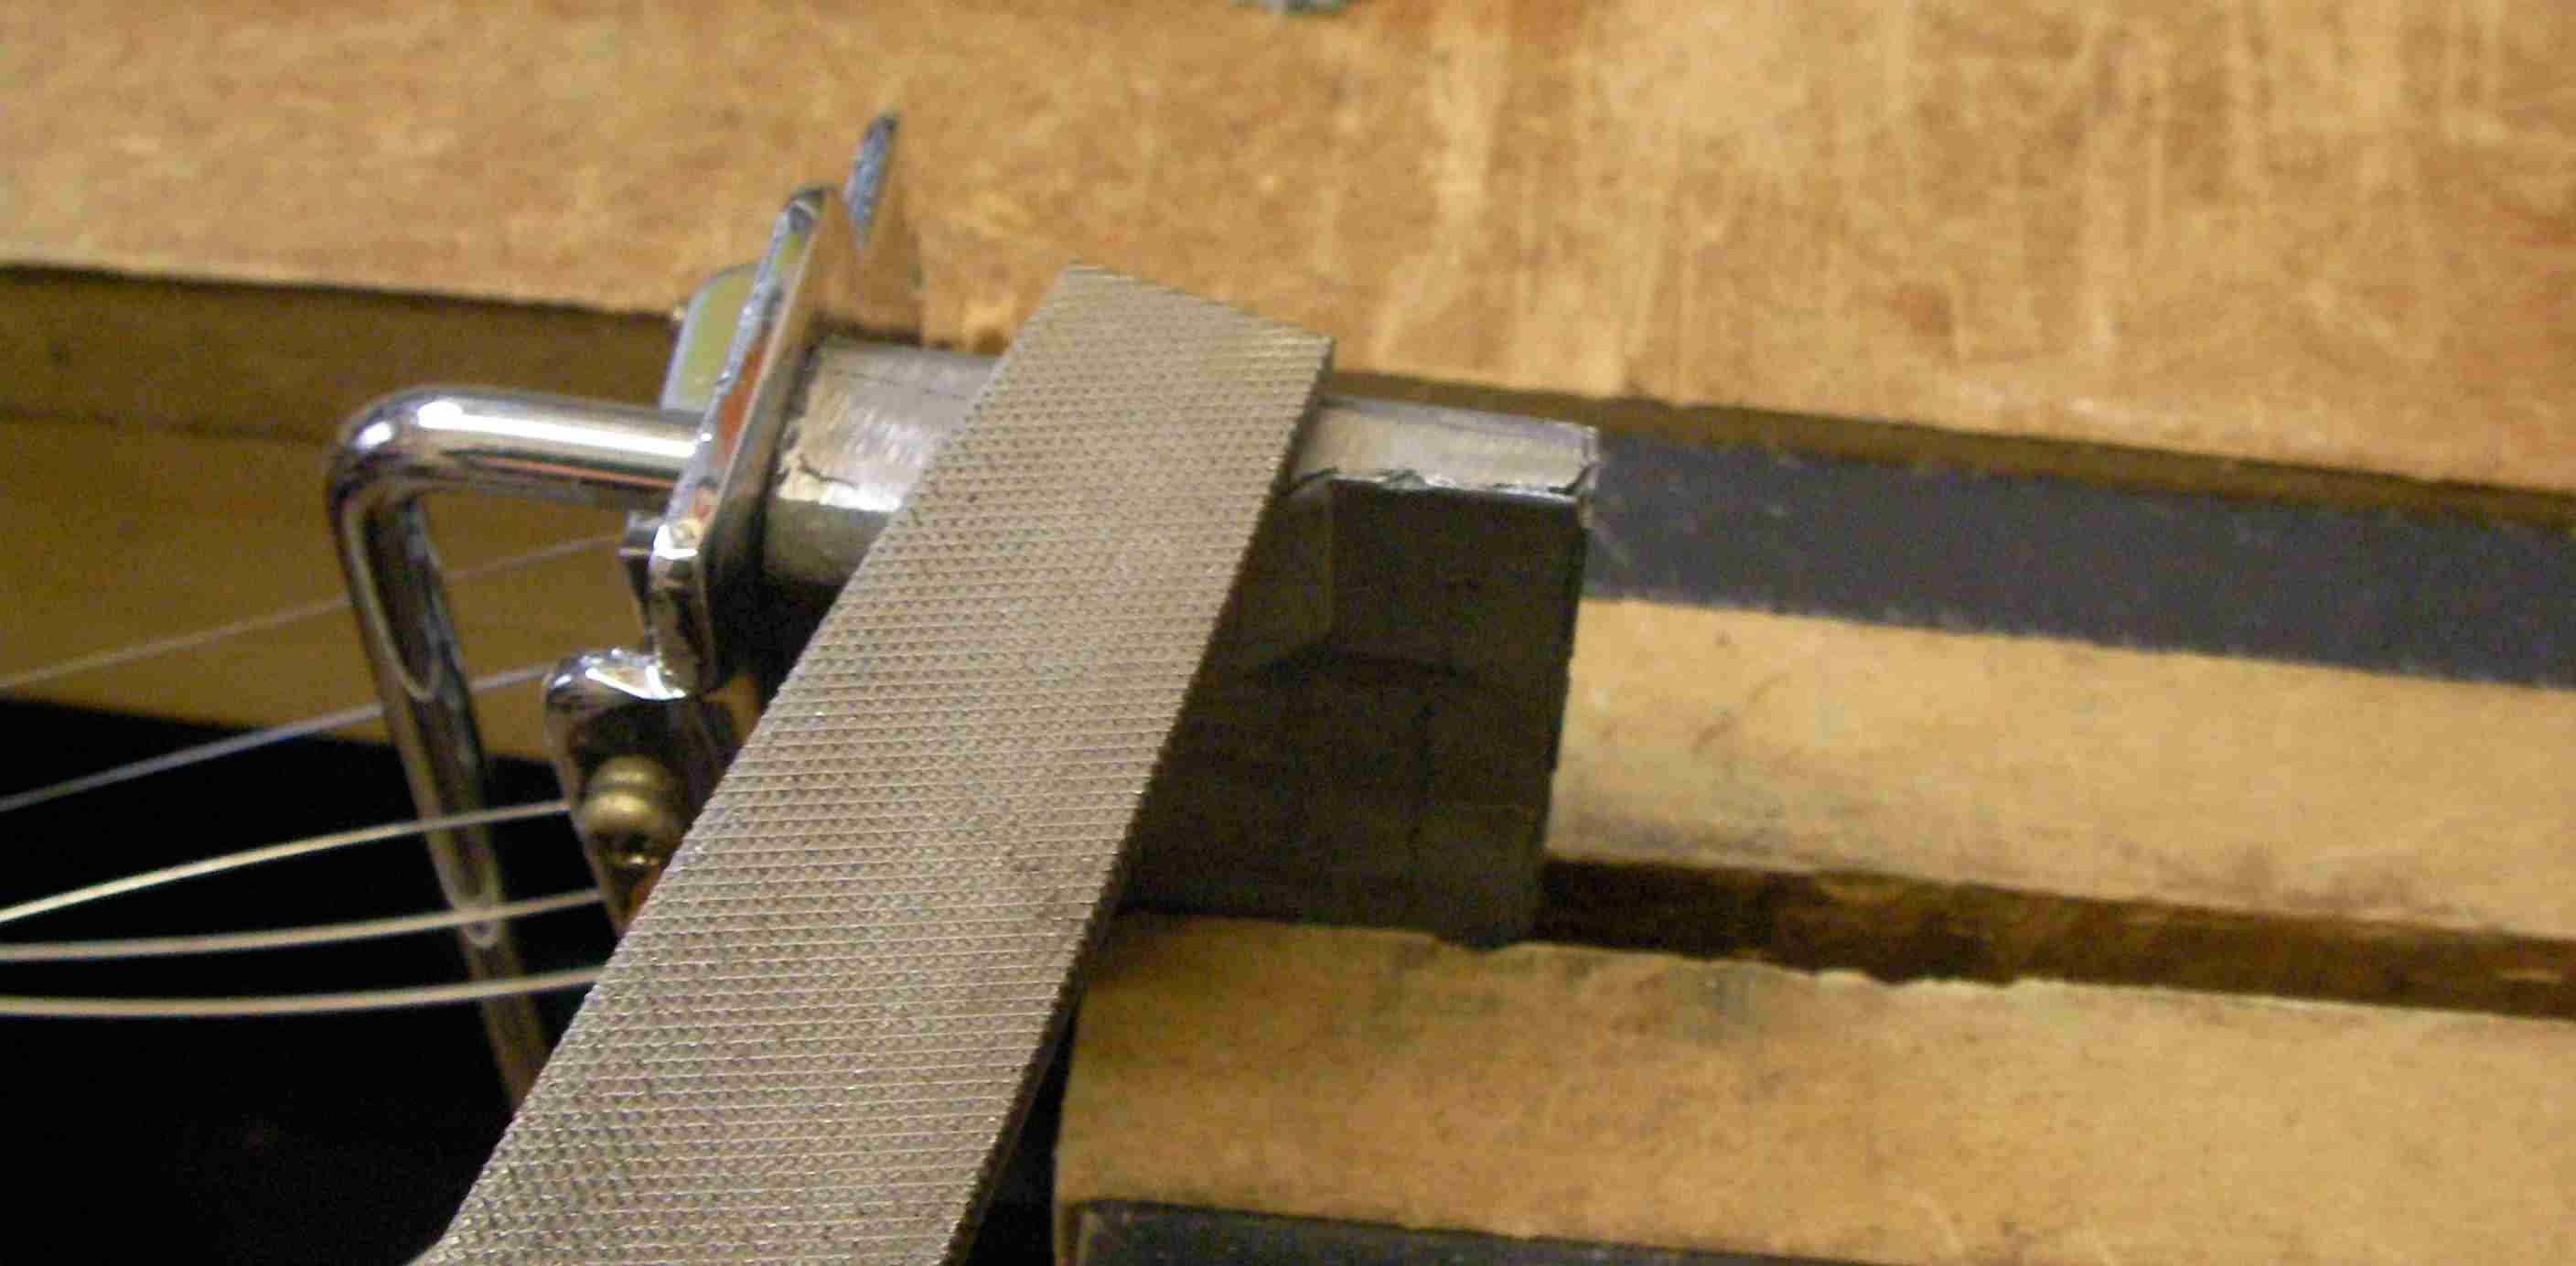
No.4 The intonation. I also had a lot of problem with the trem’. It was sticking quite badly.
The trem’ block was catching on the side of the slot…
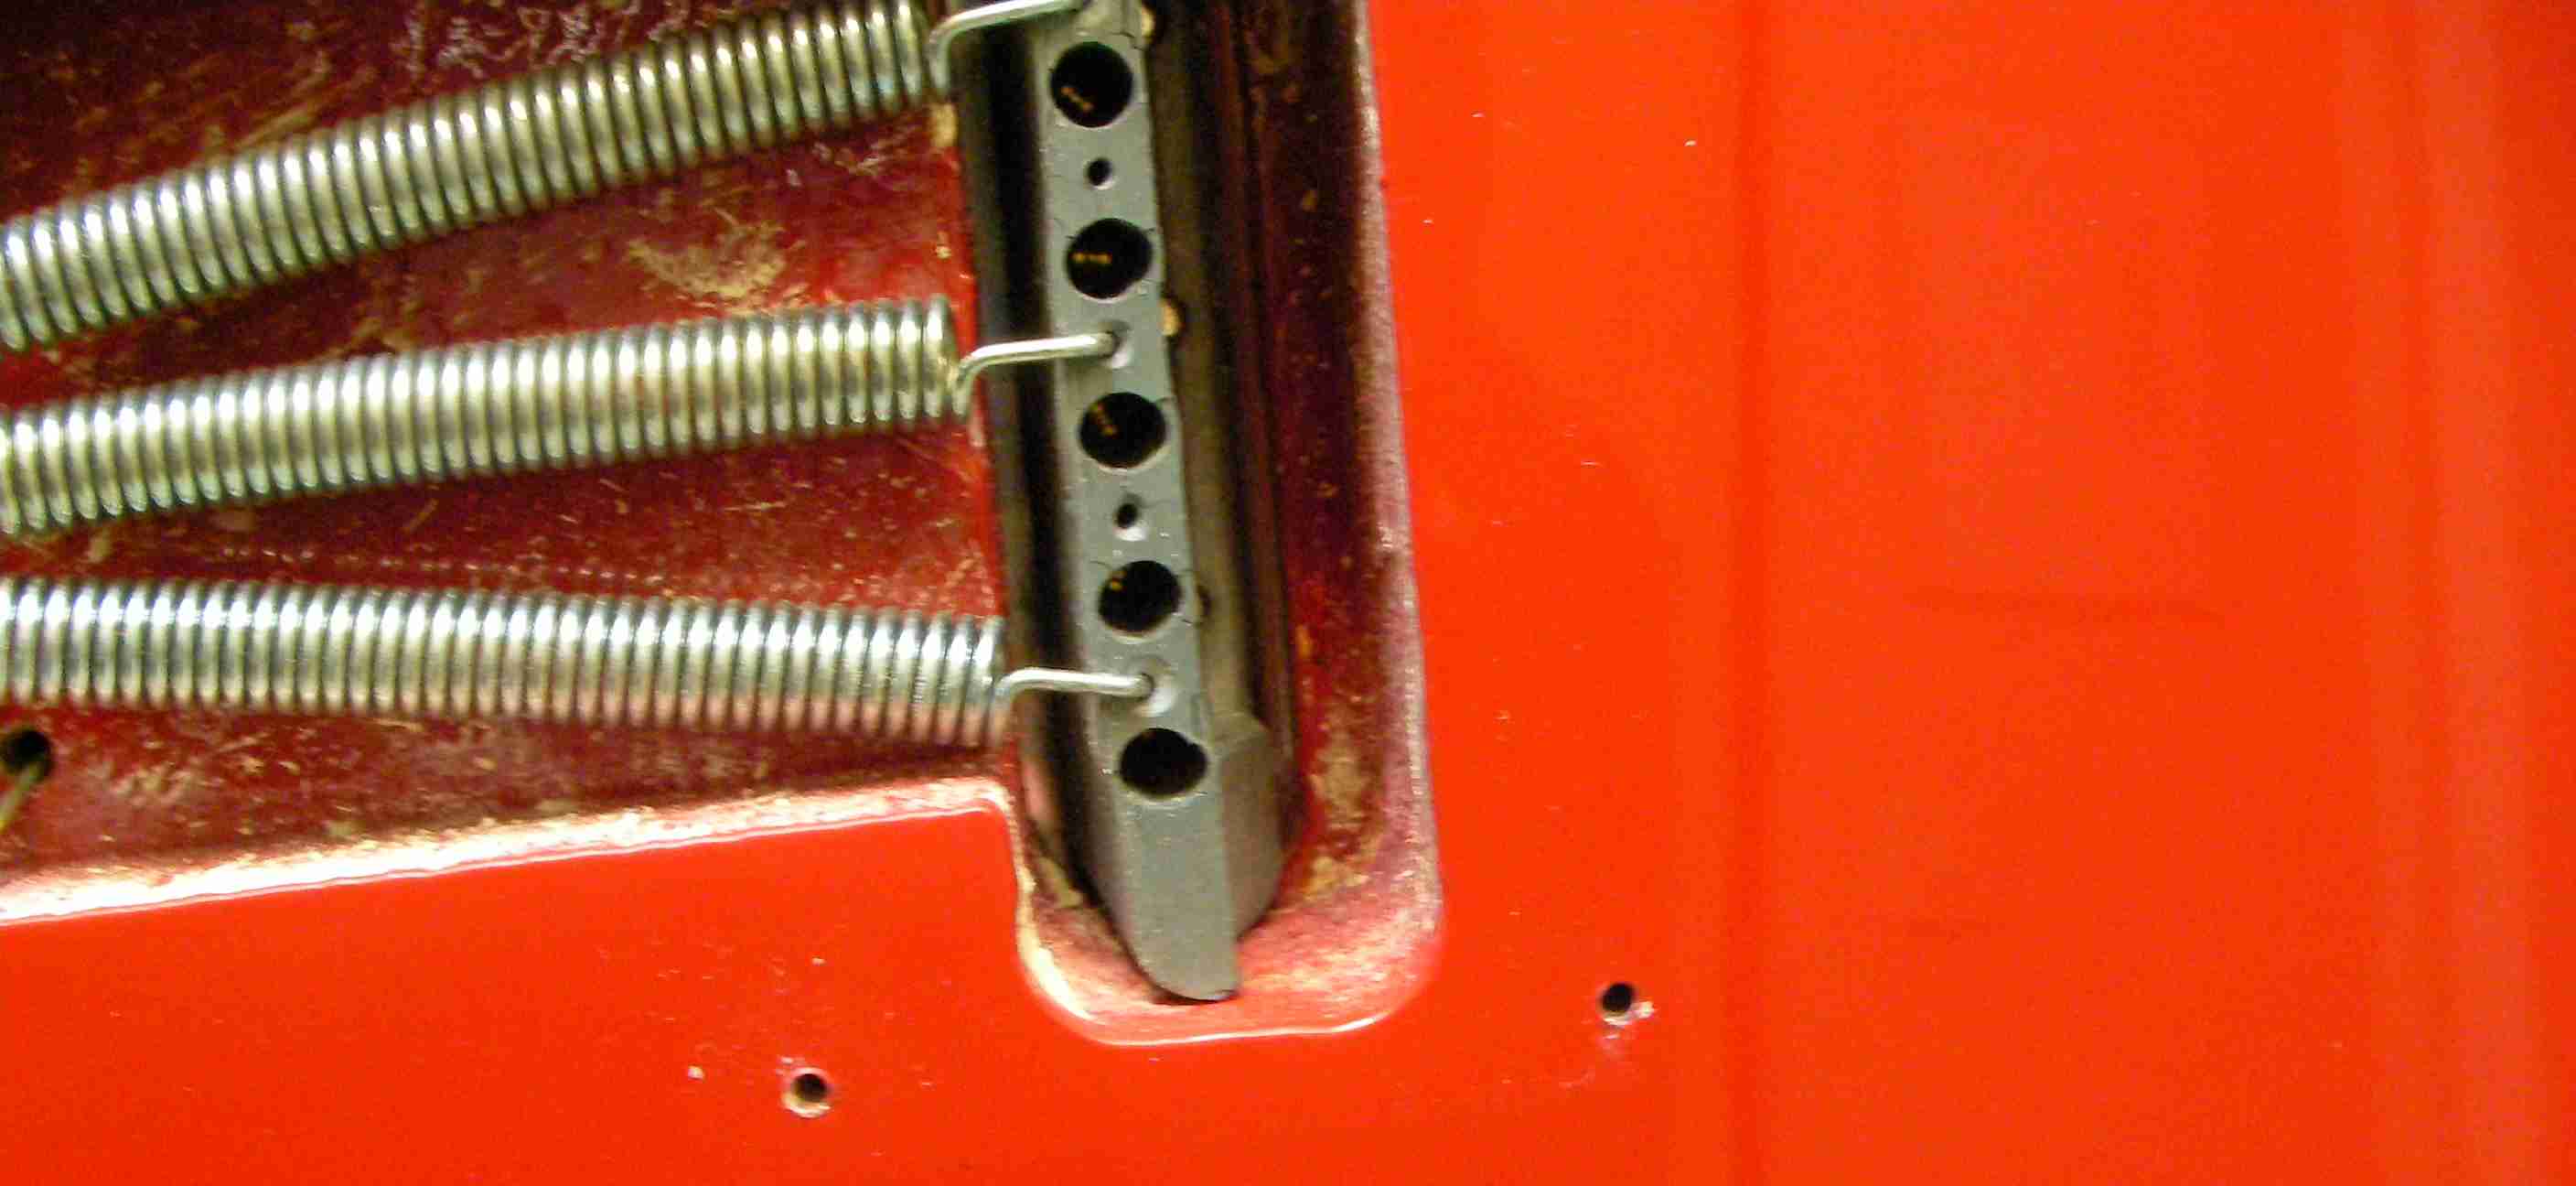
You can see the marks it’s left…
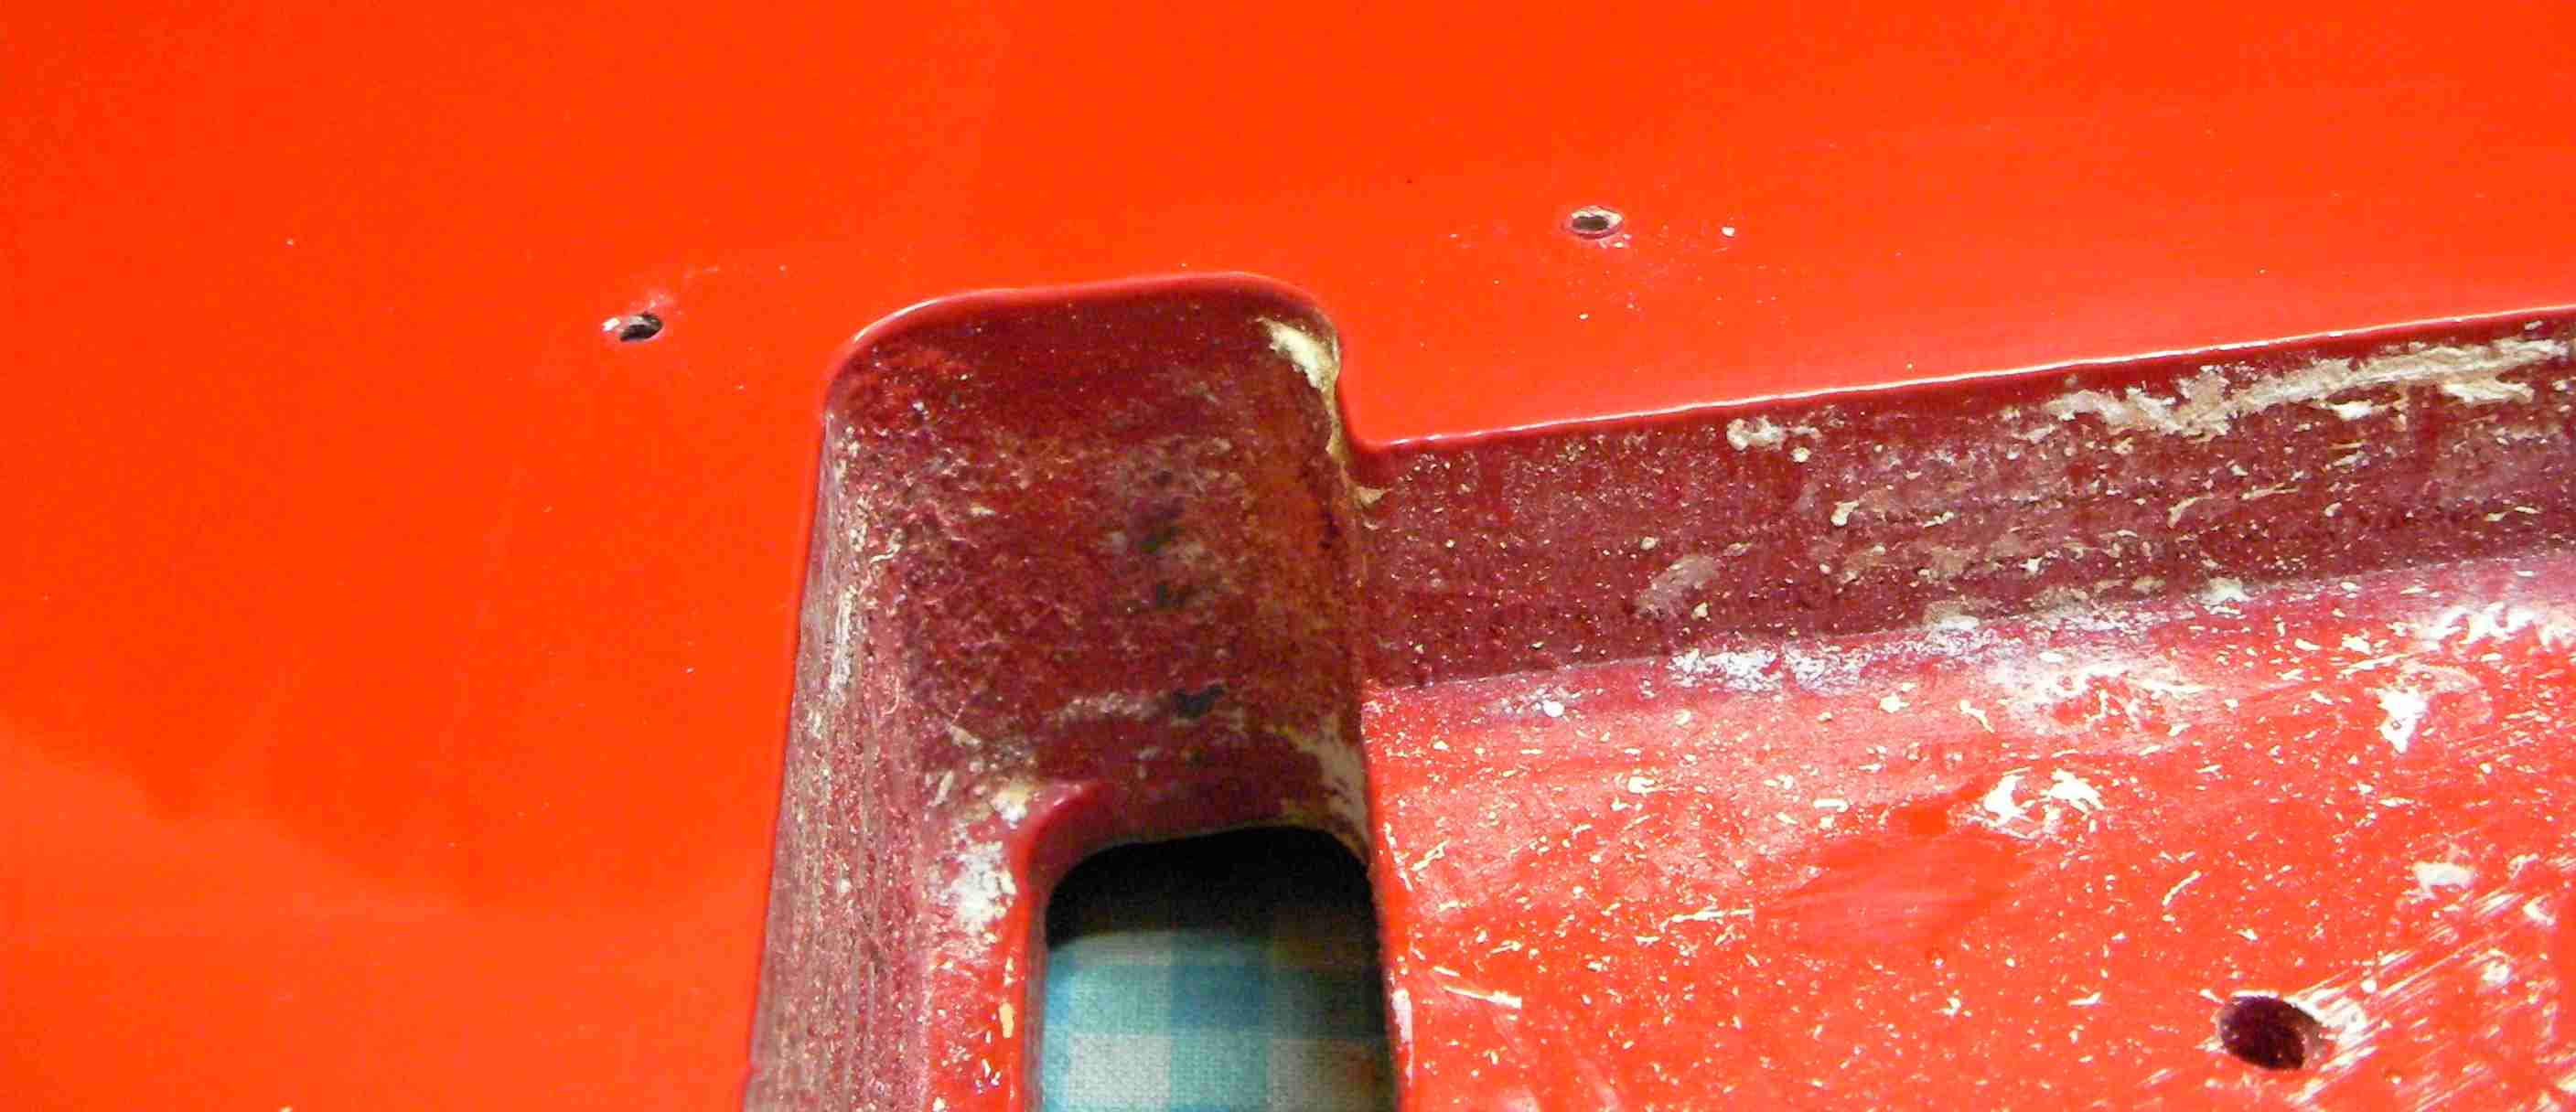
So I took a little out of the hole and a little off the side of the trem’ block.
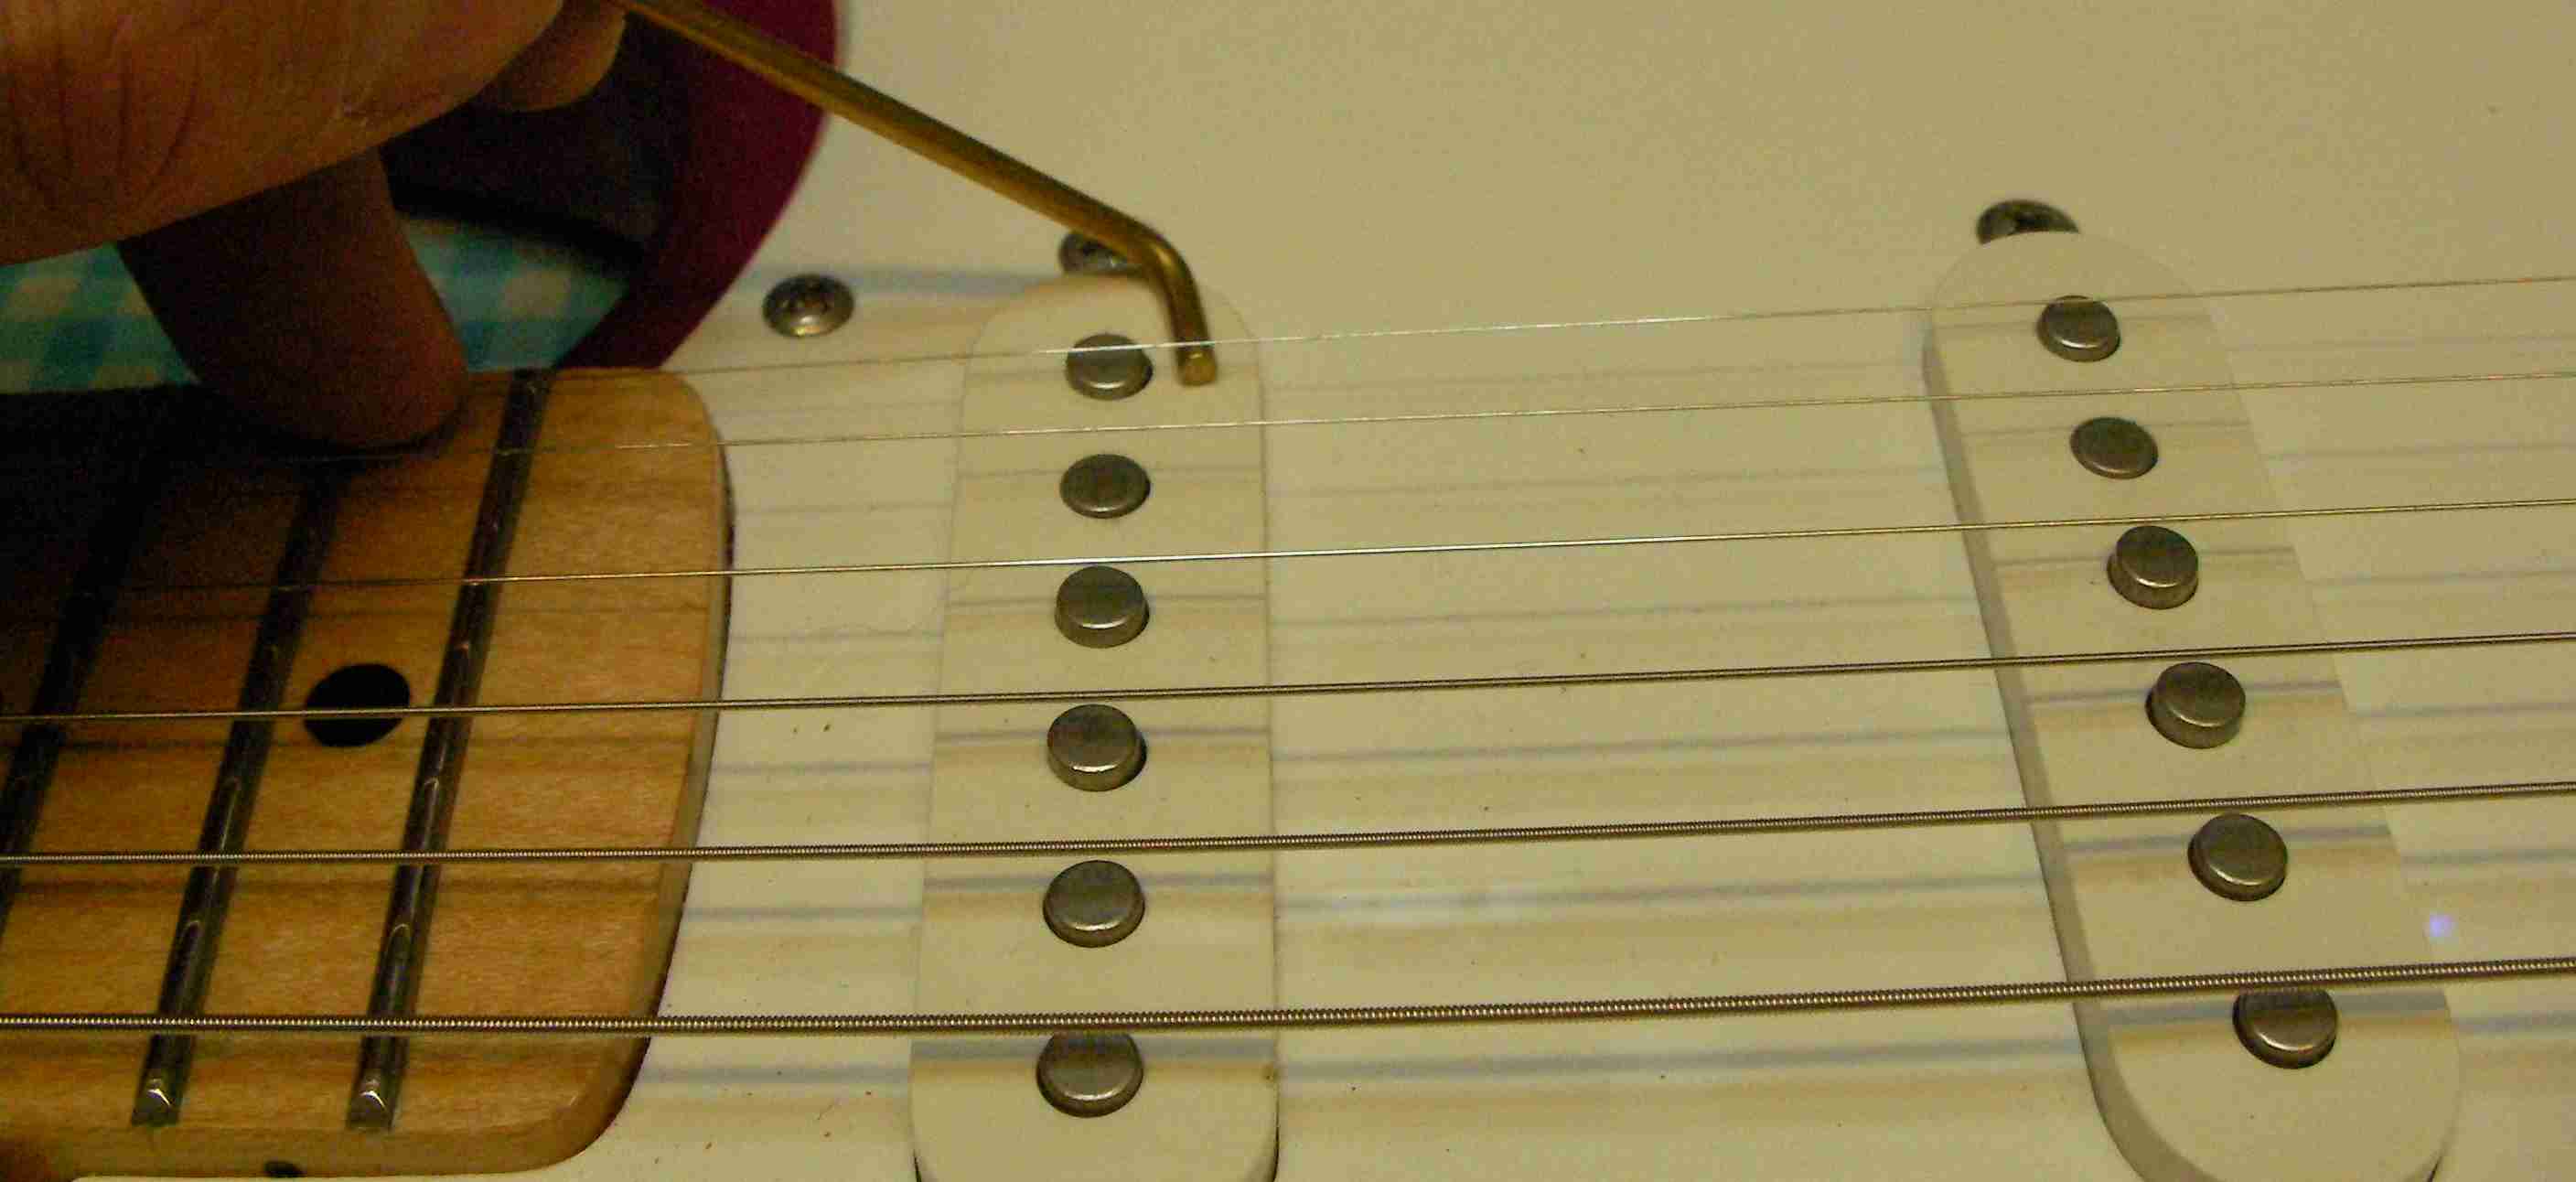
No.5 The pickup heights. They were way too high so dropped them down a bit.
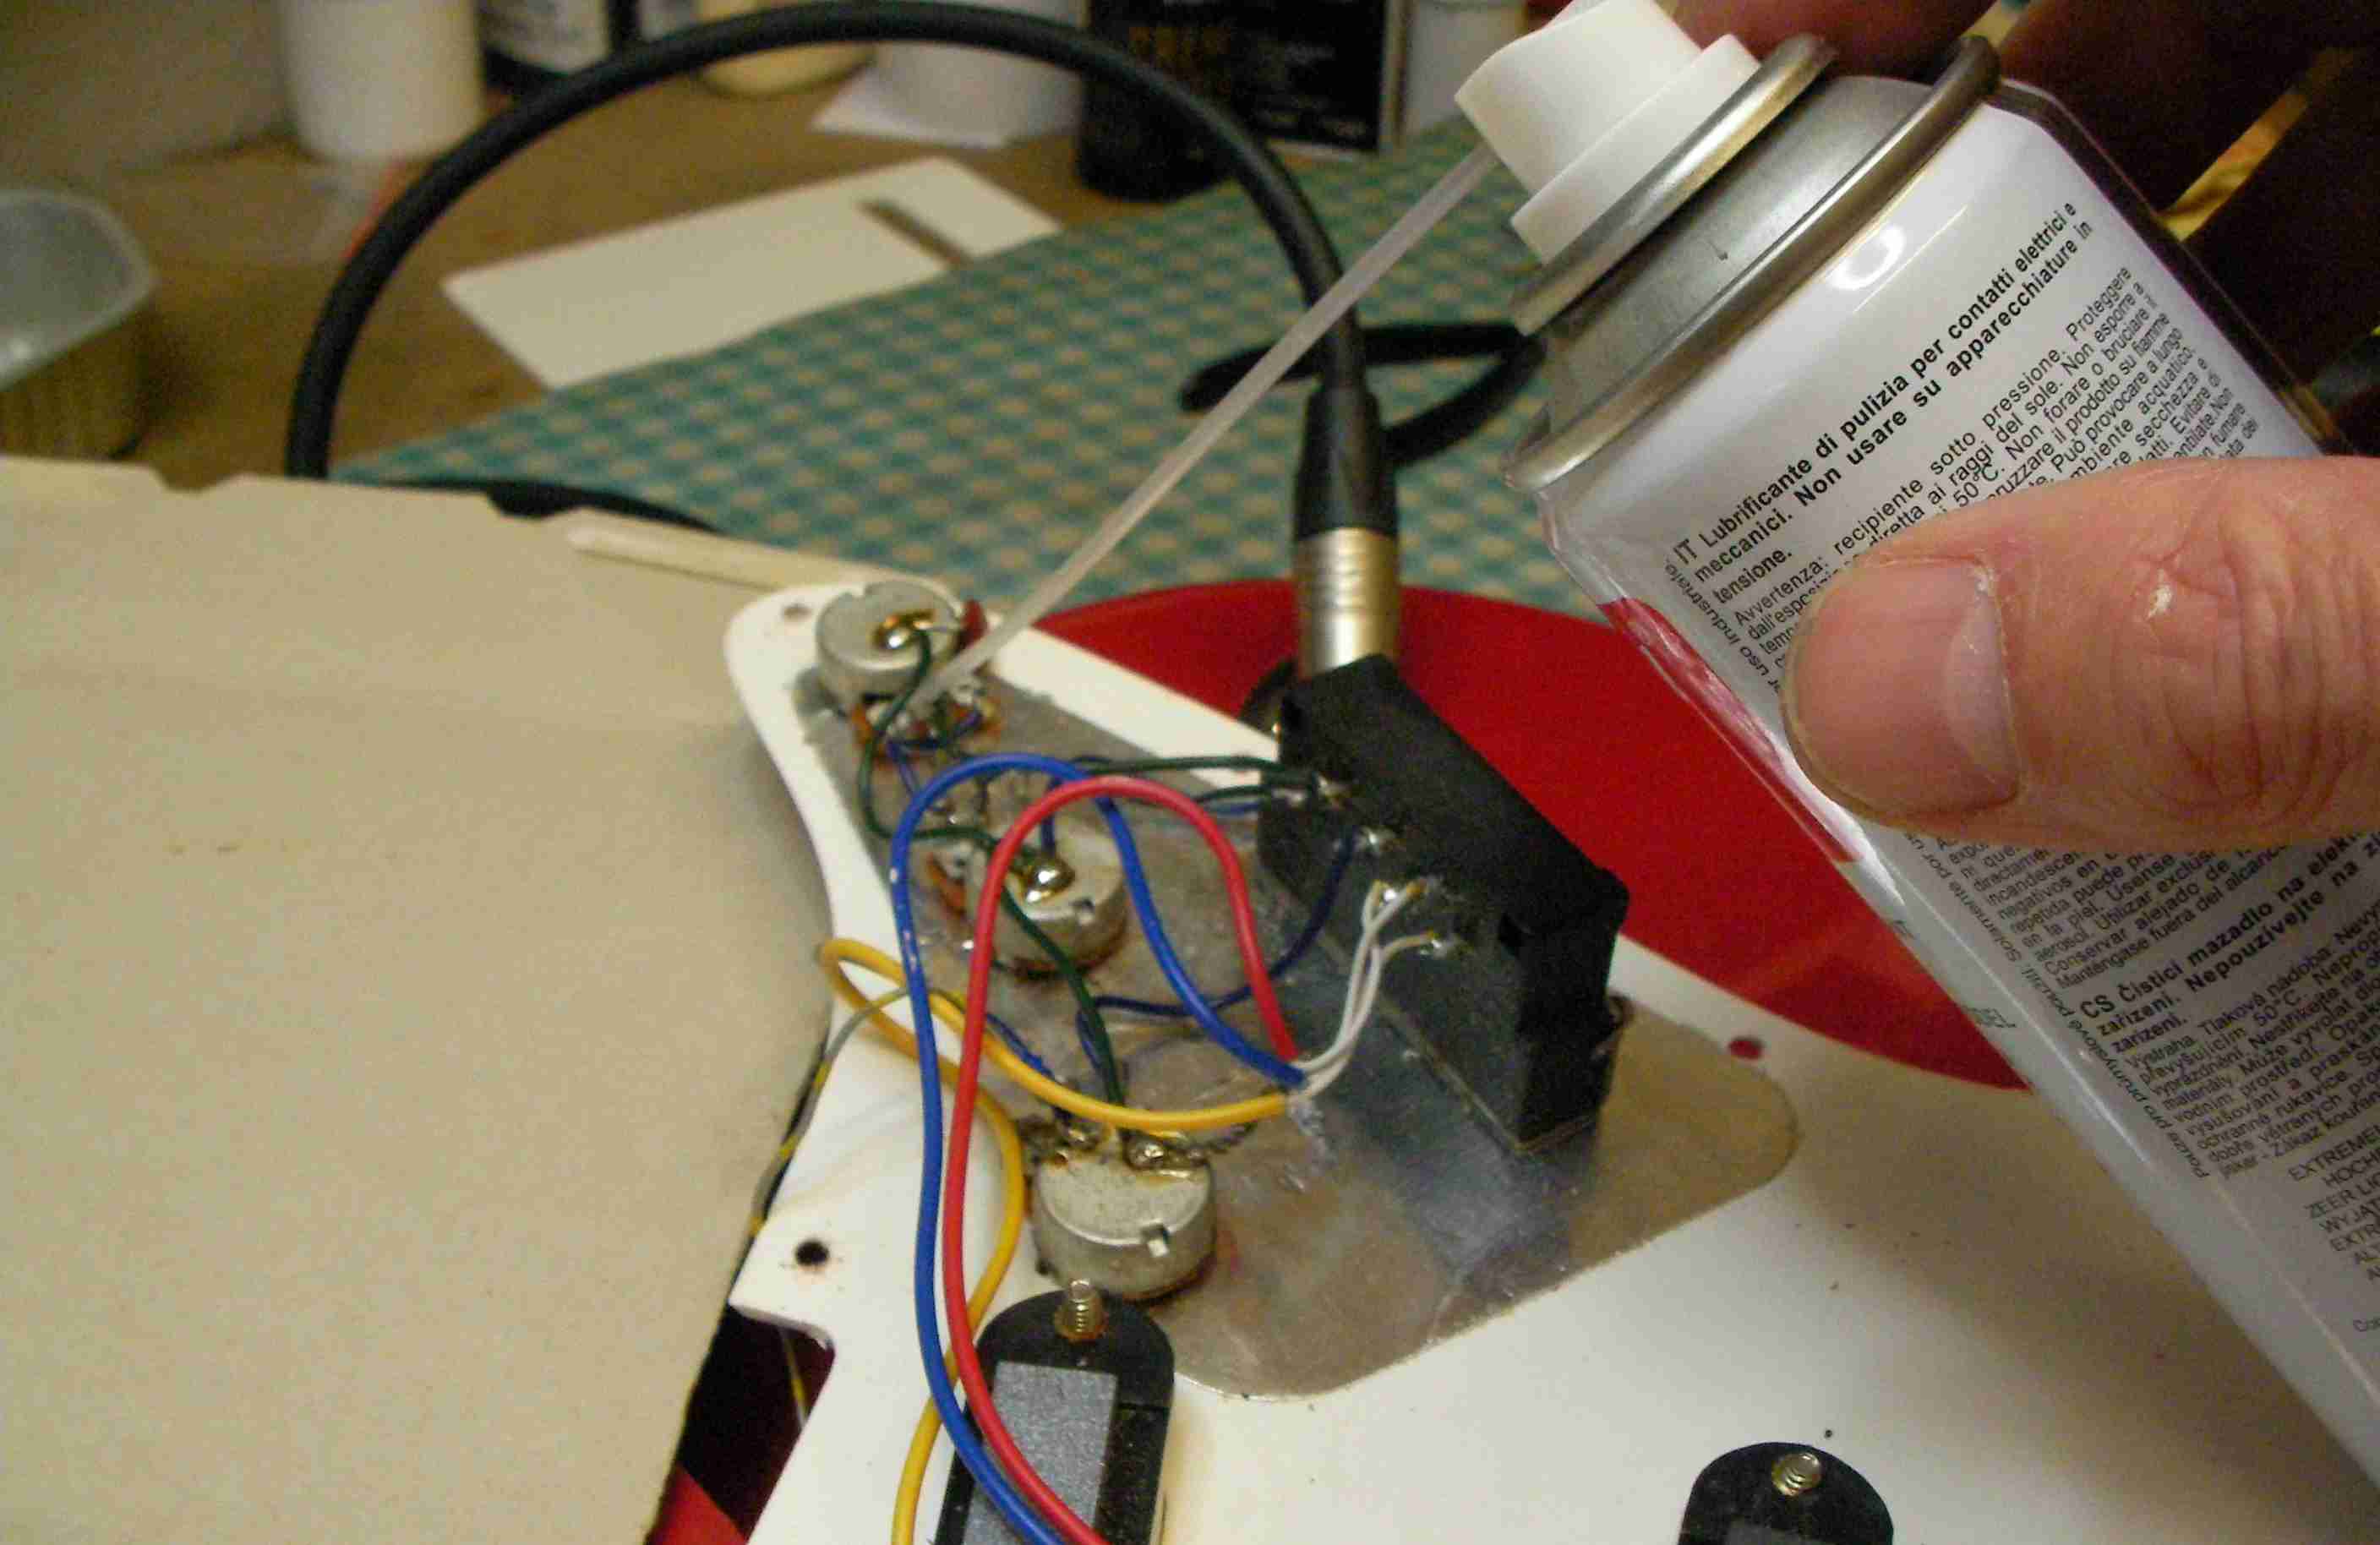
The other thing I did while the strings were off was to give the electrics a good clean.
There we go, now it works as it should.