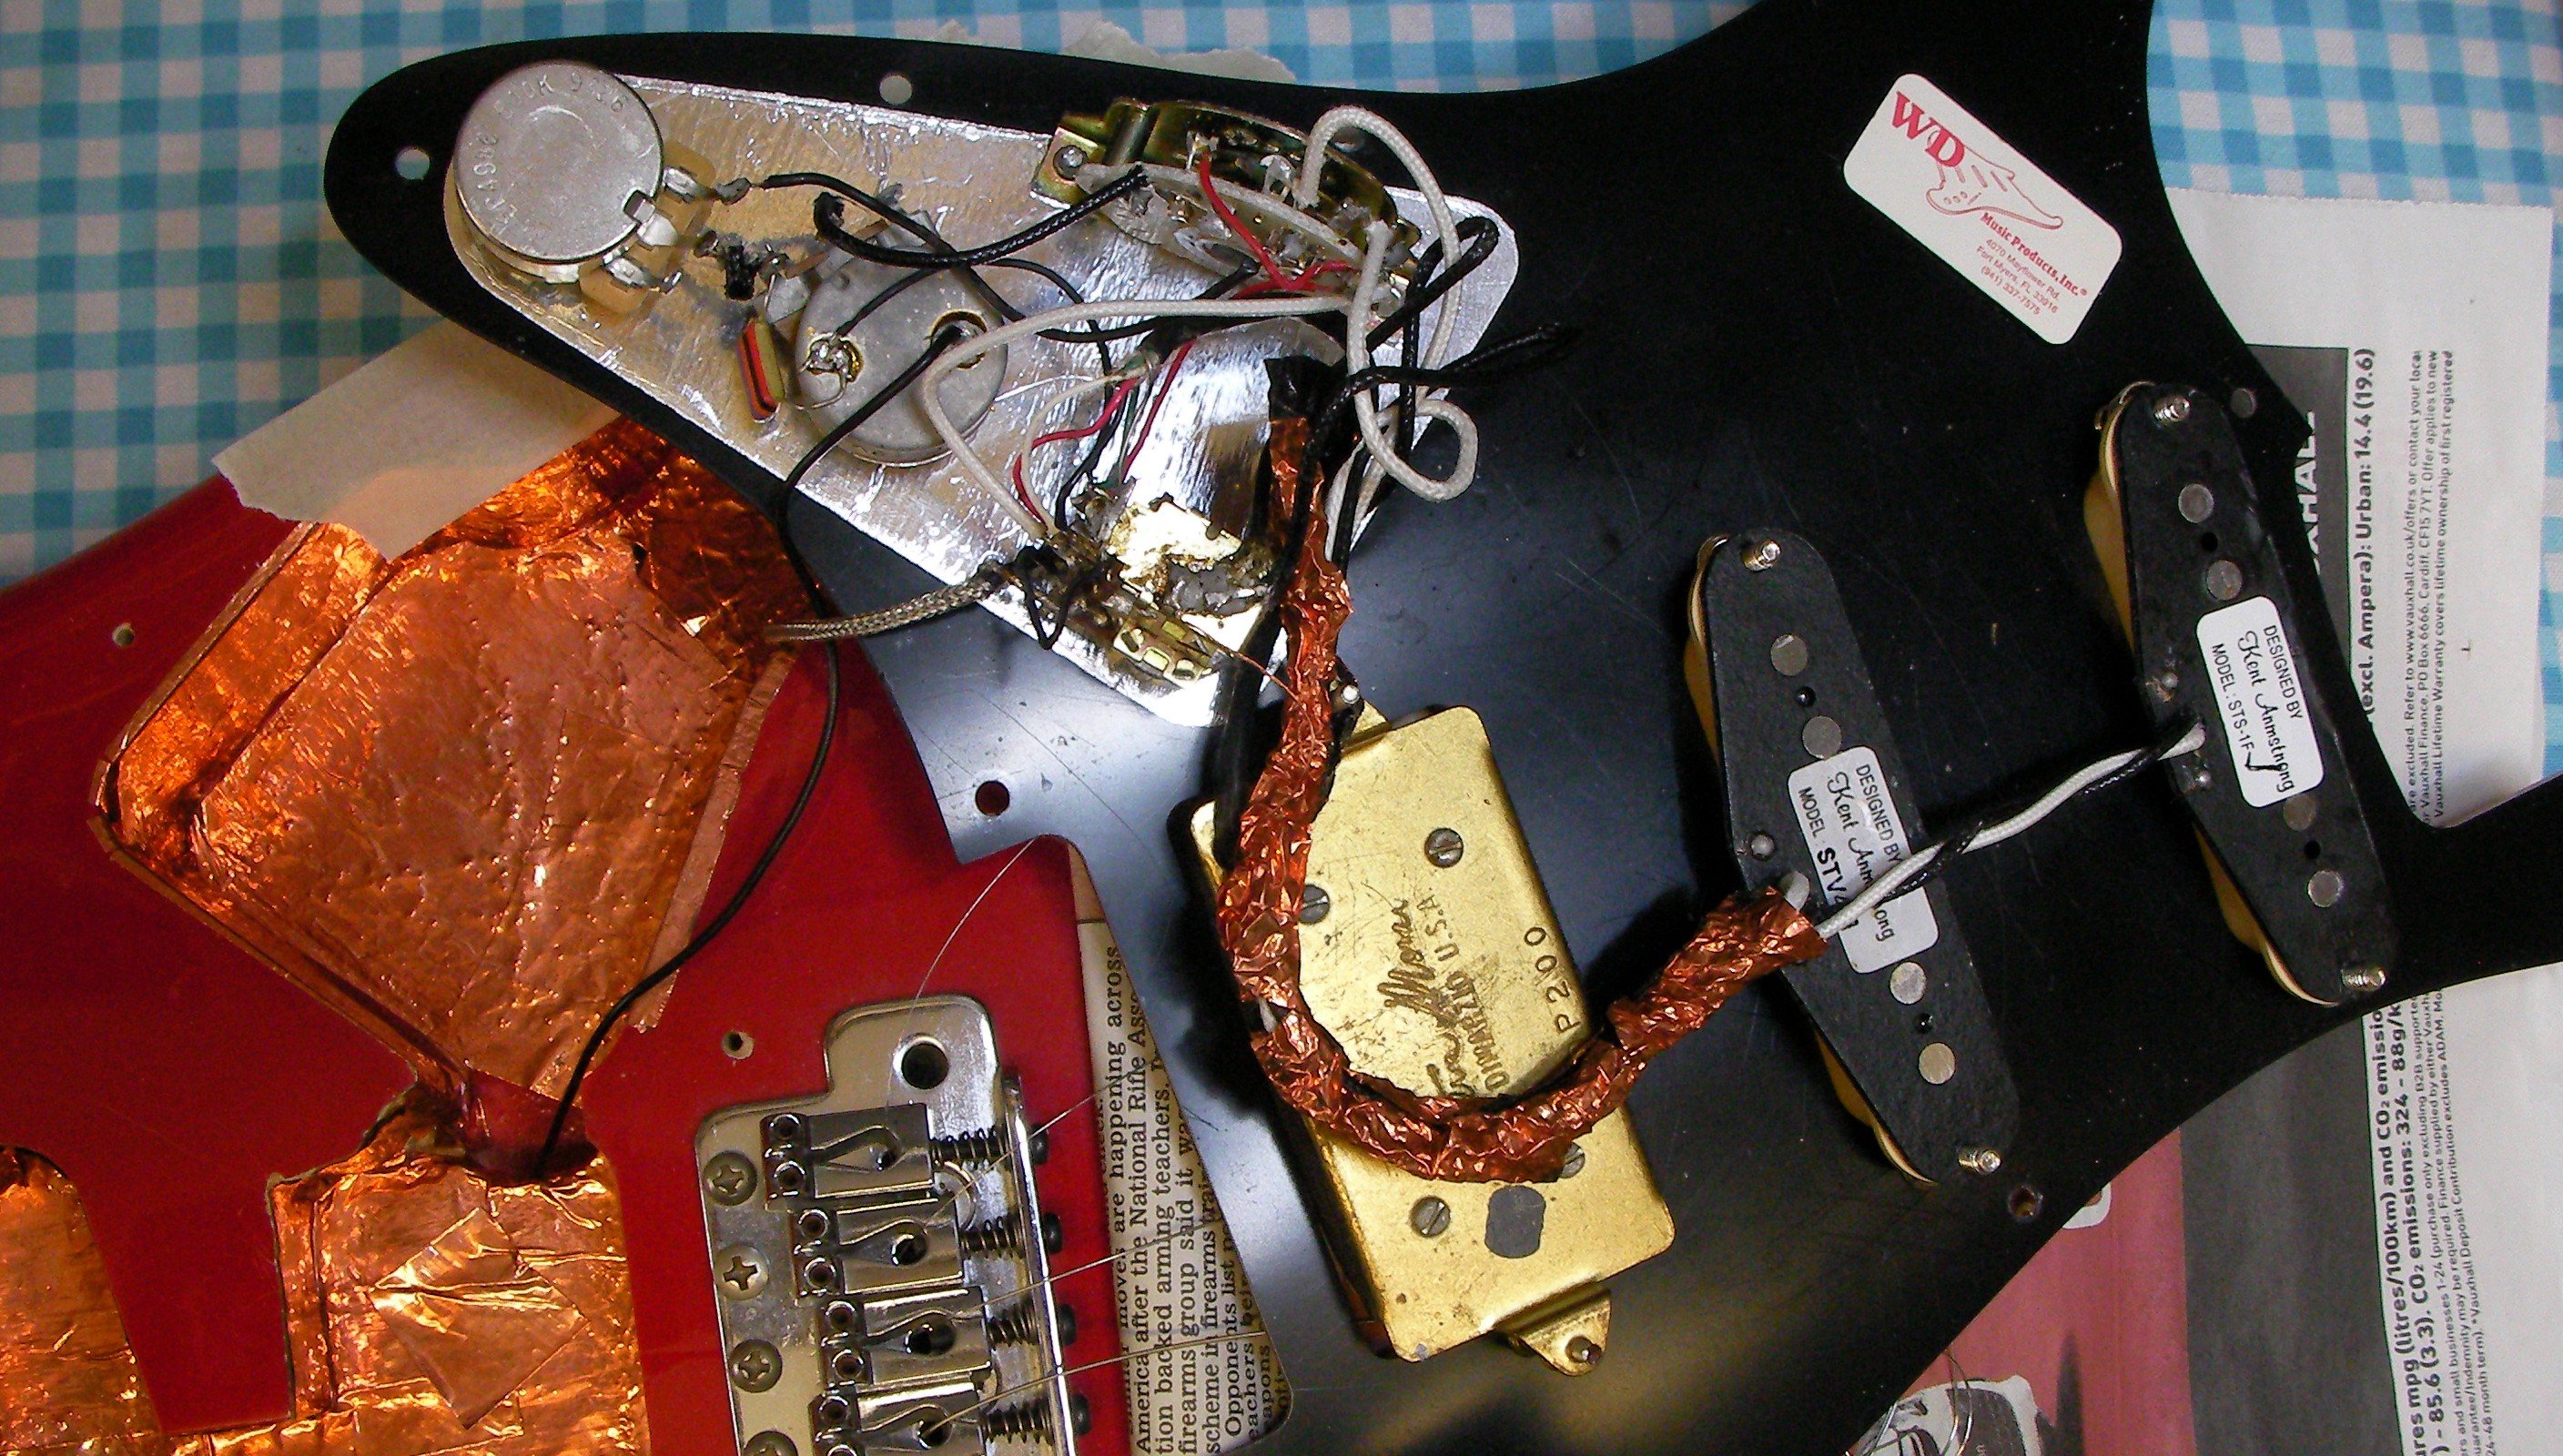
Step 1: Remove the strings and open the guitar. Clean the switches and Pots’.
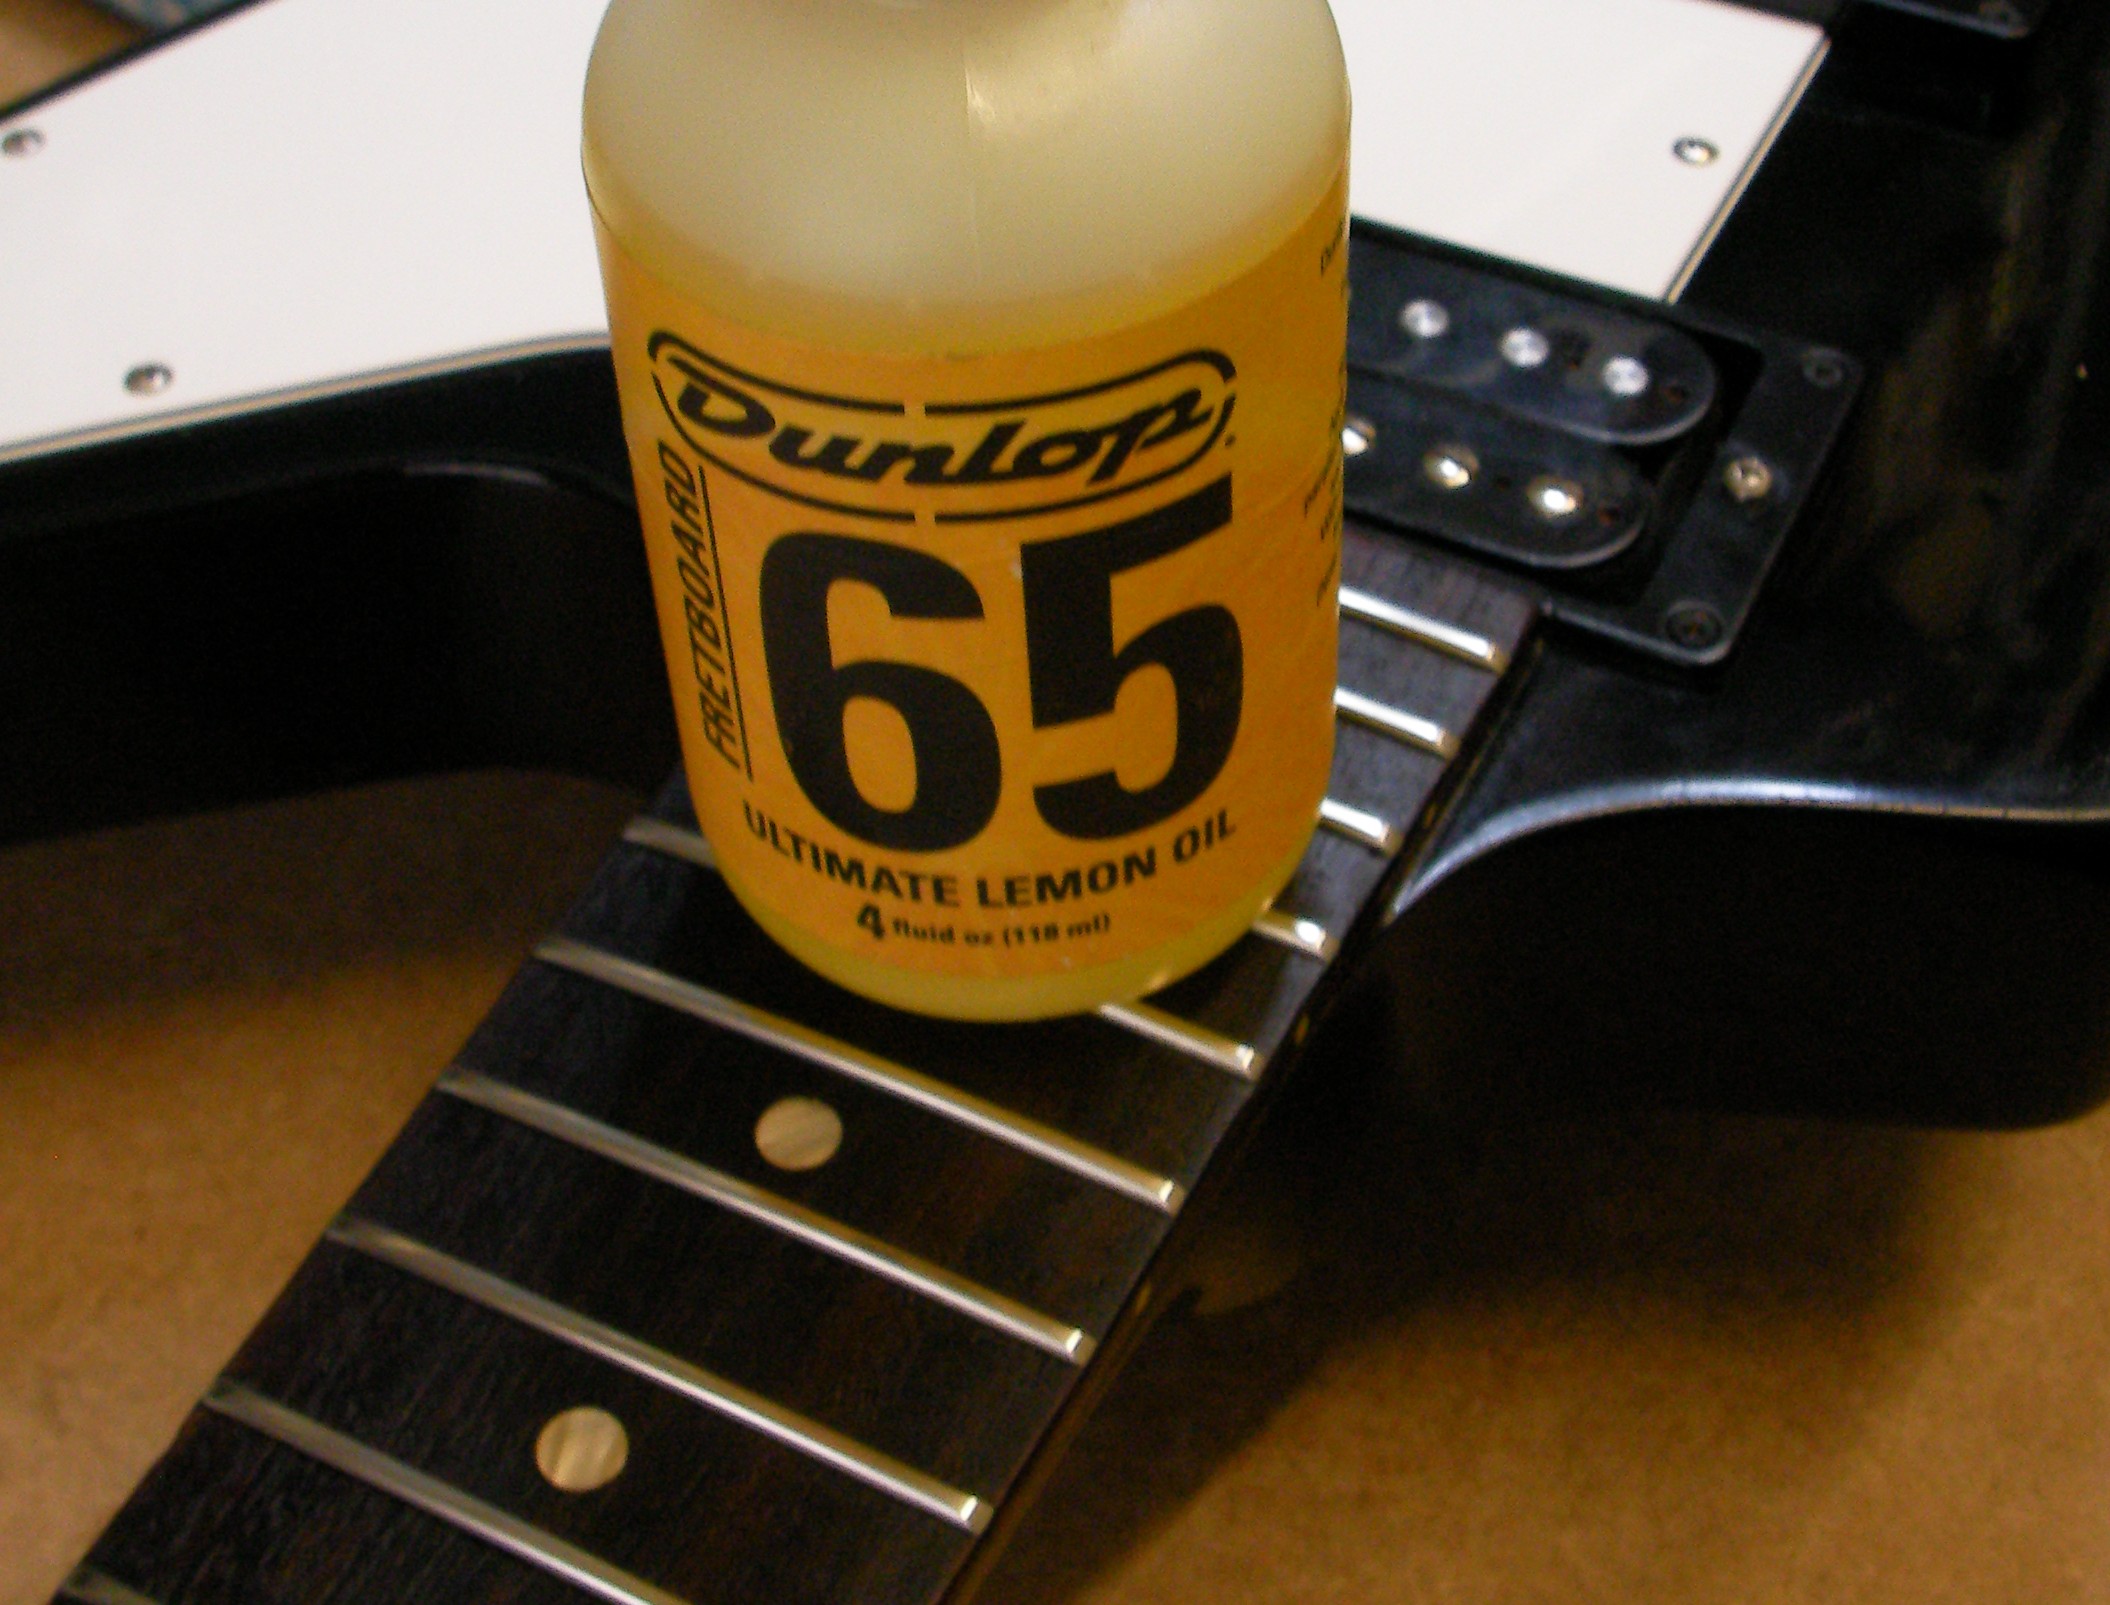
Step 2: Clean and oil the fretboard. If it’s a lacquered fretboard I’ll just clean and polish the frets.
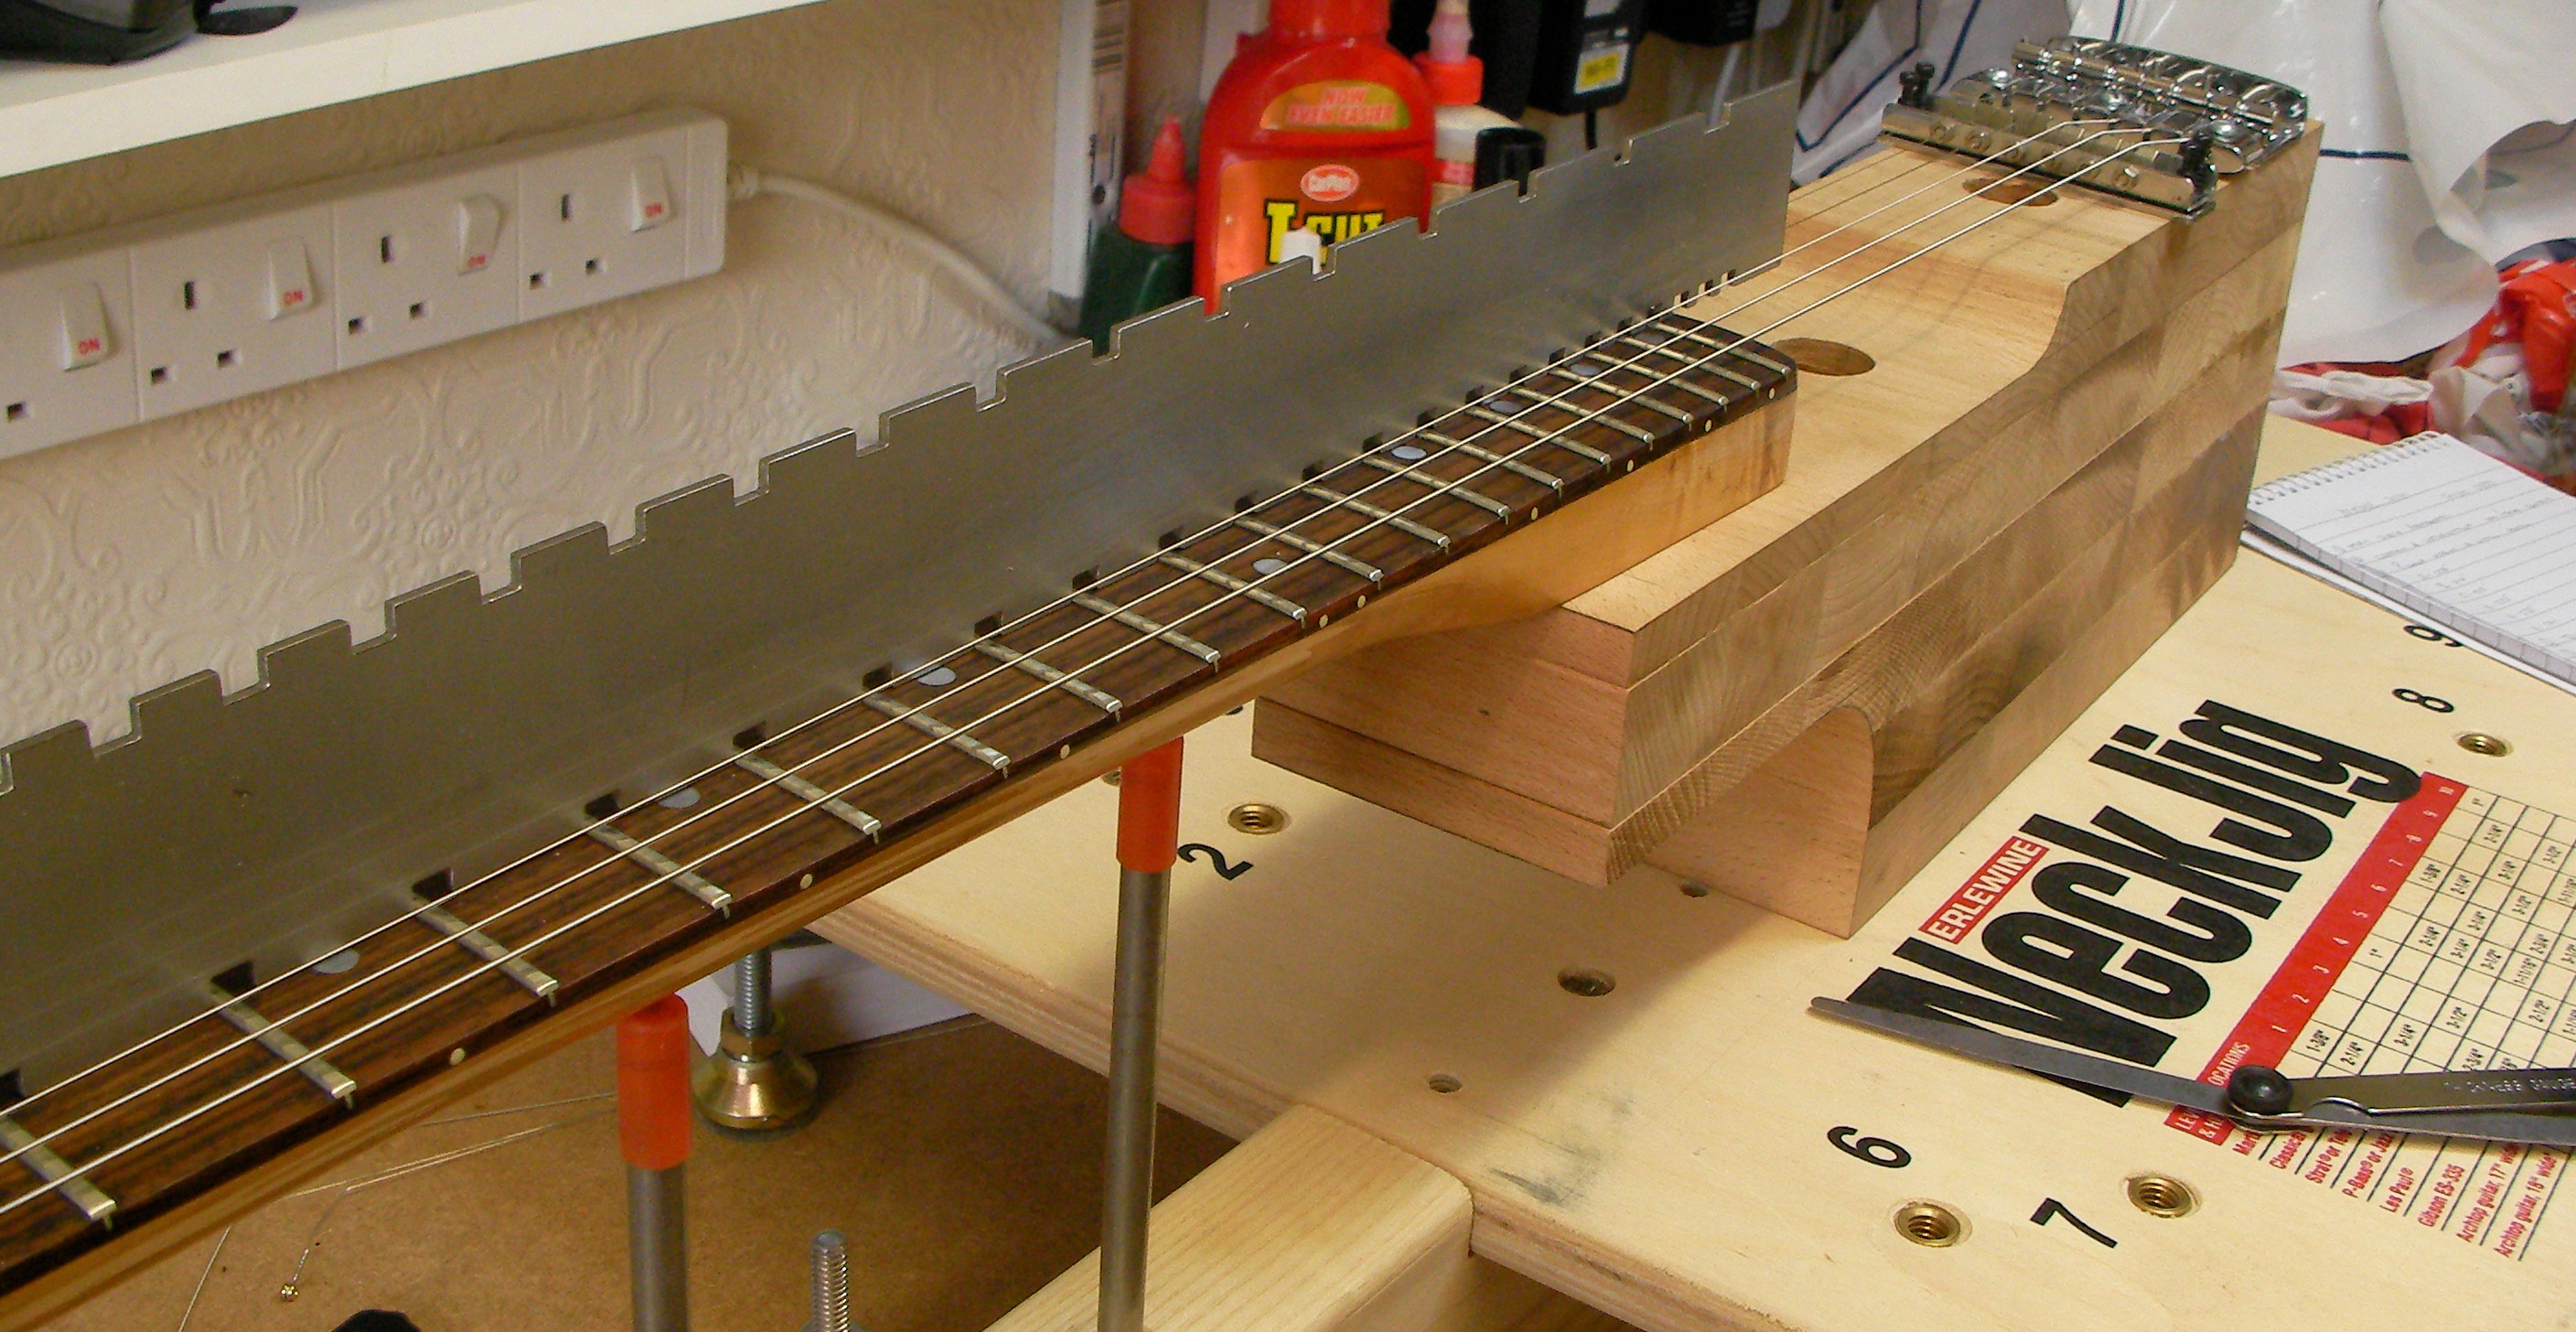
Step 3: Check the set in the neck. The neck should have a gentle upwards bow. Using a notched streight edge and feeler gauges.
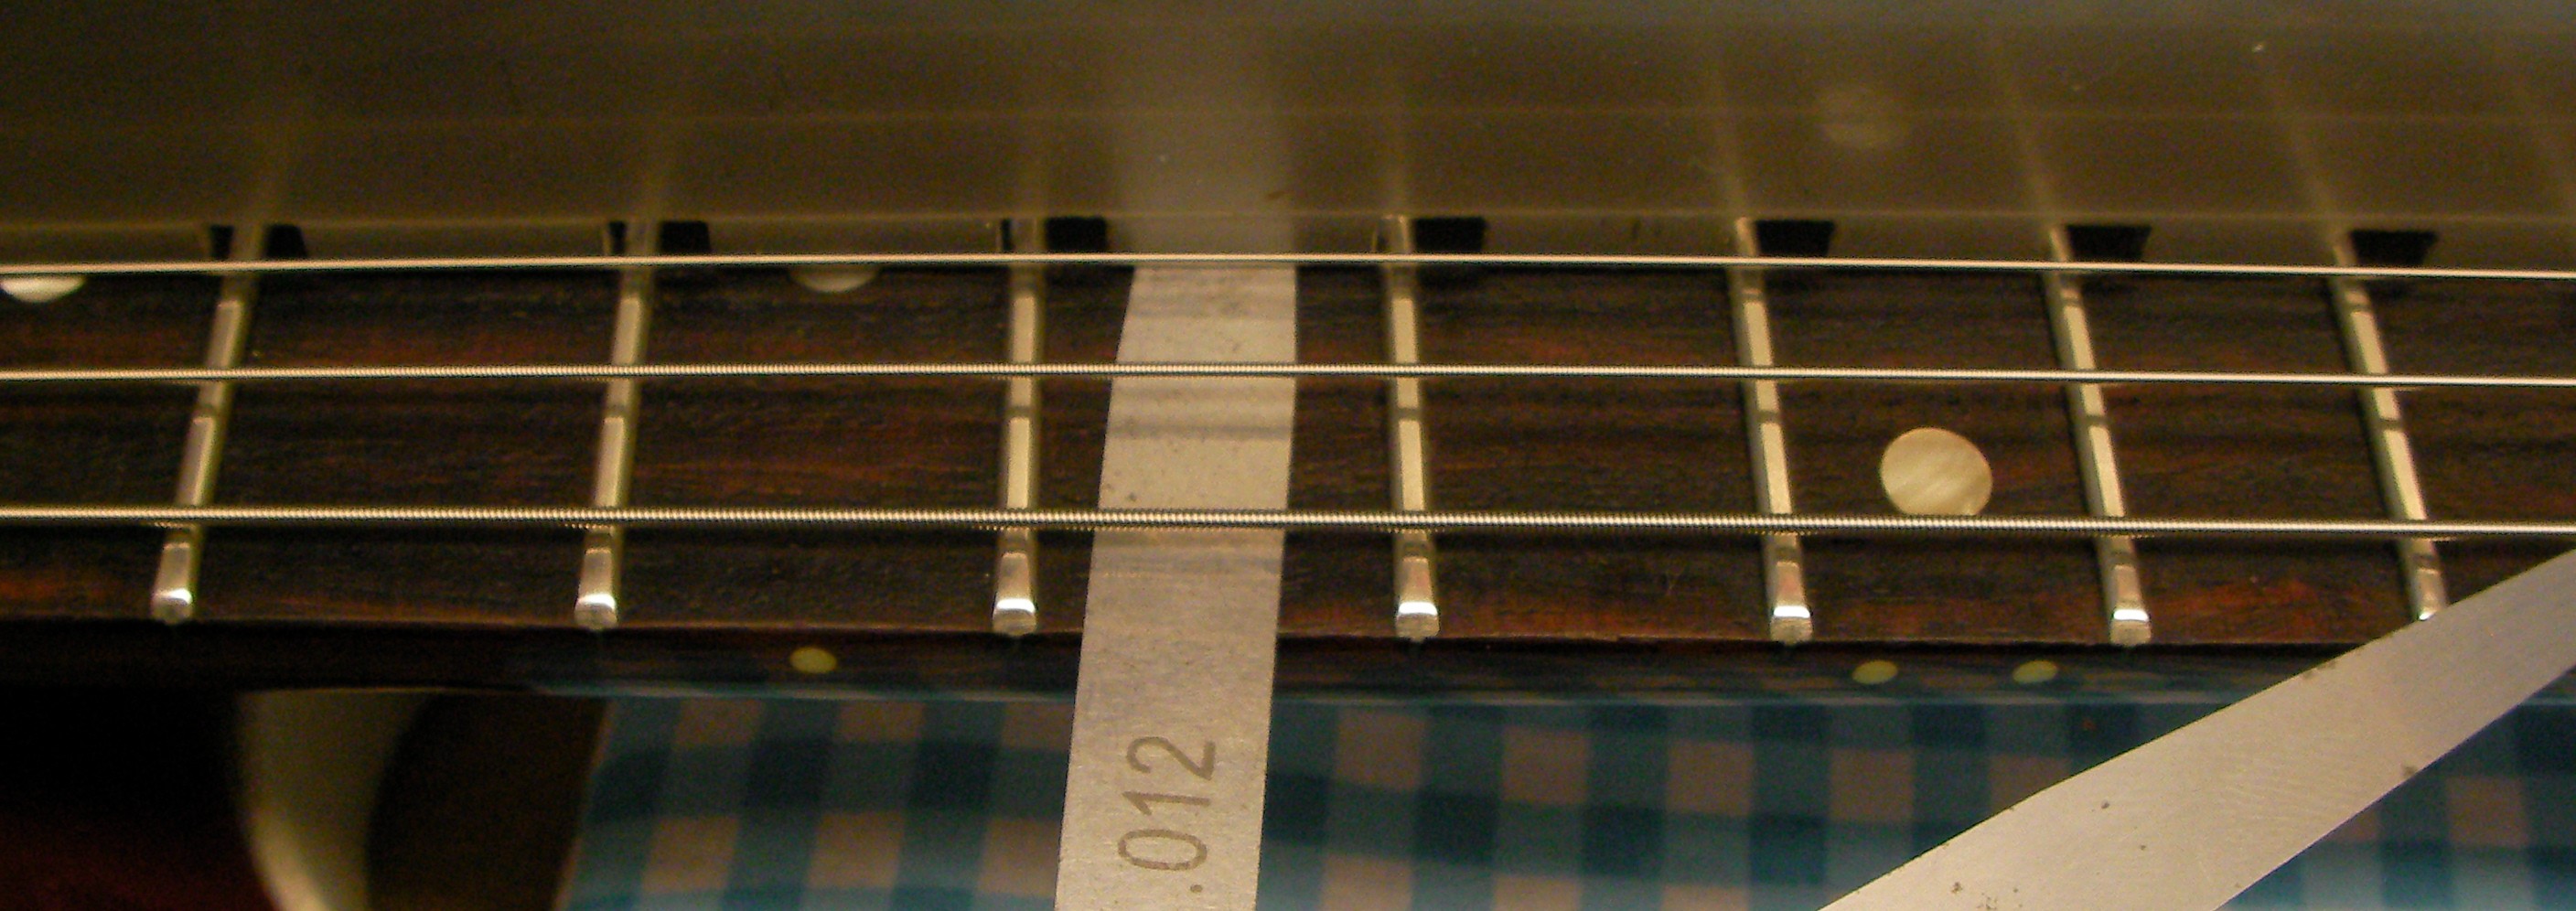
Adjust the set by tightening or loosening the Truss Rod.
some guitars have the truss rod adjustment on the heel of the neck which causes a bit of a problem. Since the measurement has to be made with the strings fitted and at full tension I will remove the neck and fit it to my neck jig. I will then fit a set of strings, adjusted to pitch, and adjust the Truss Rod.
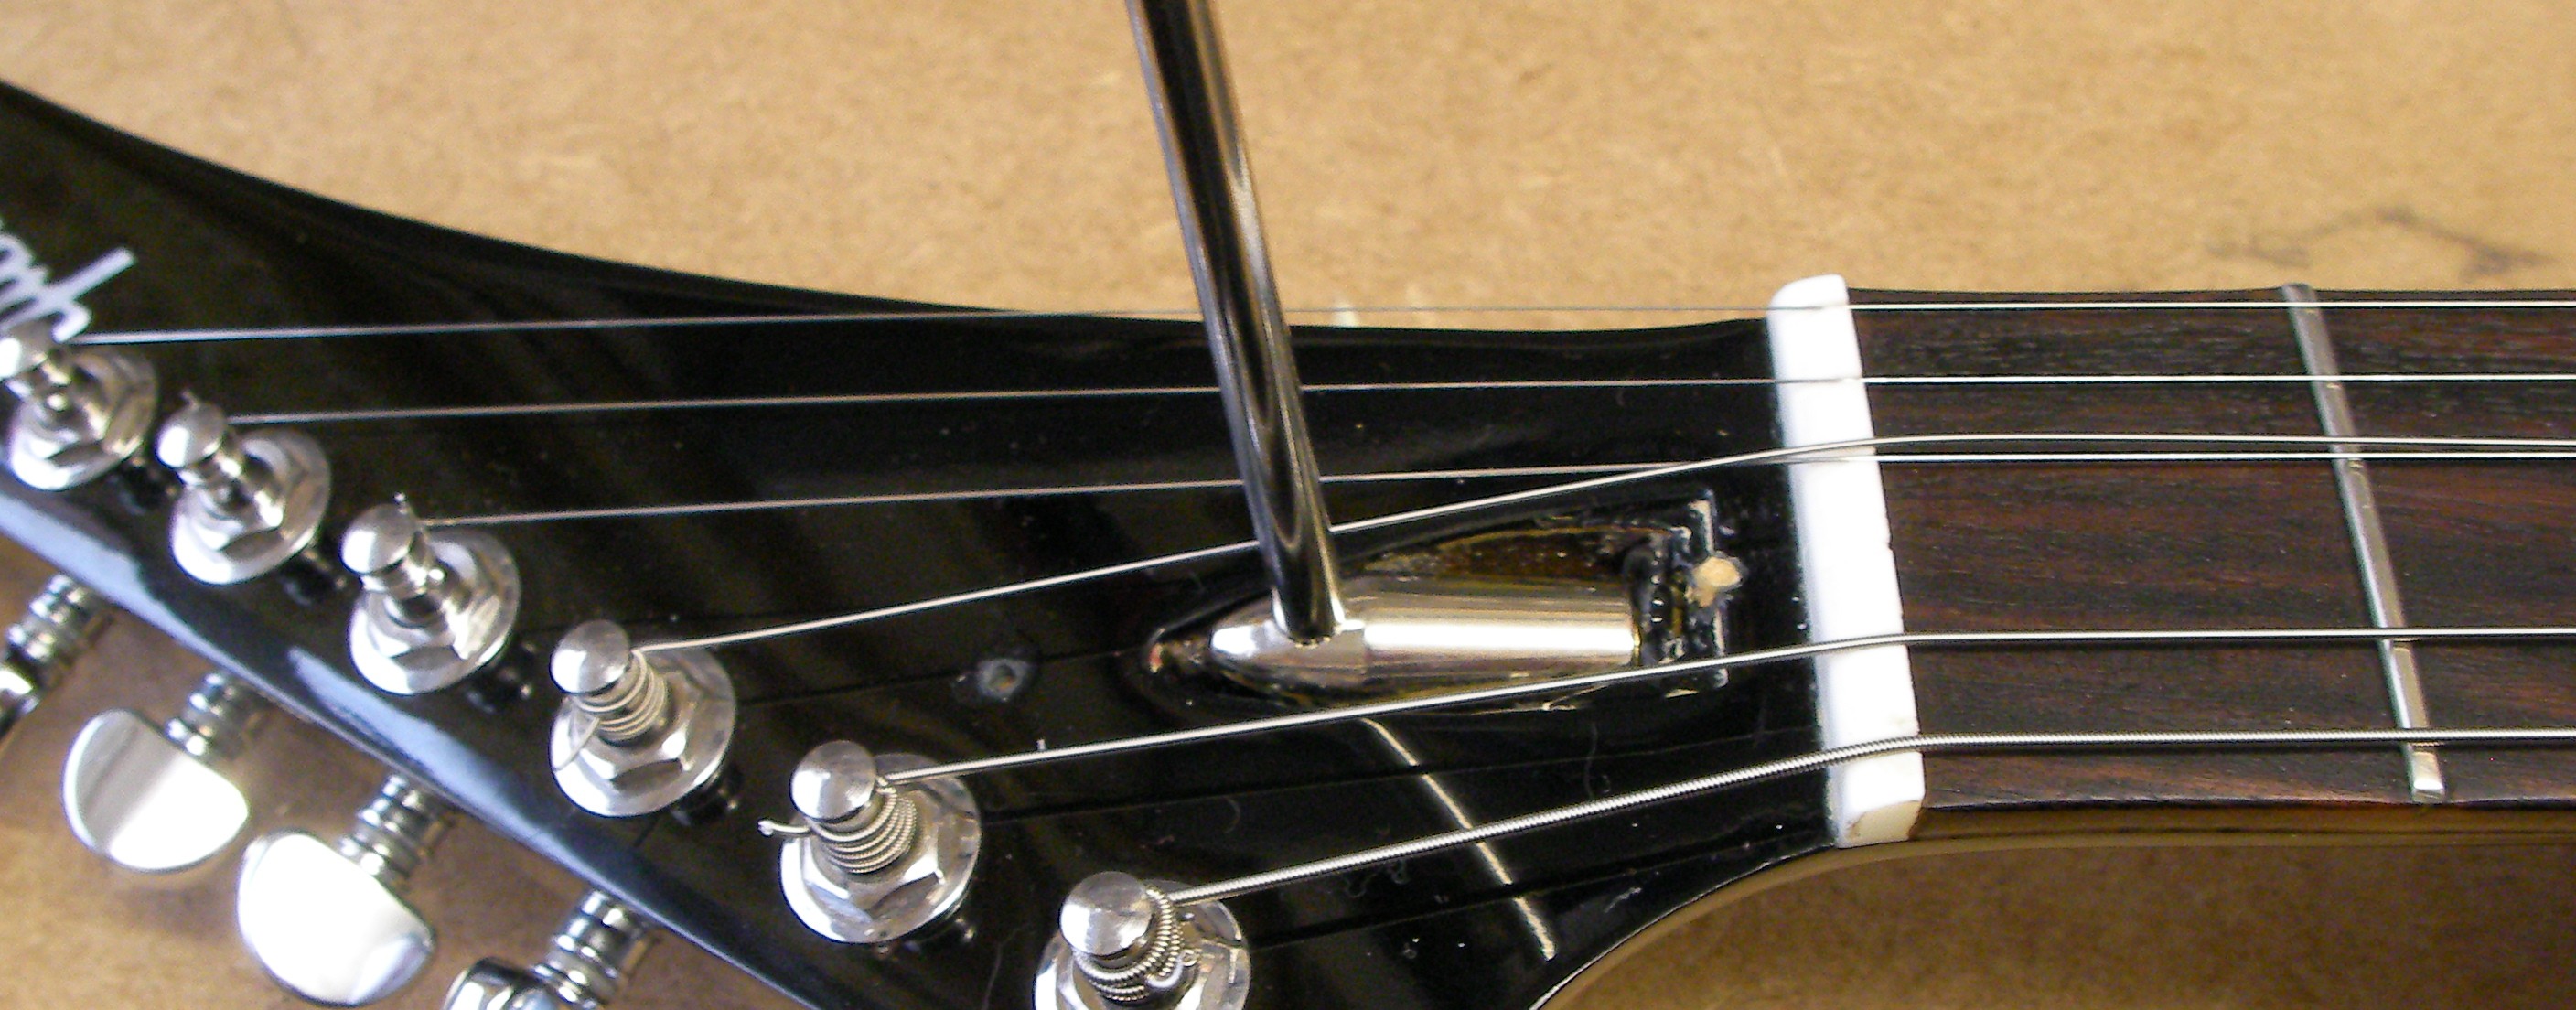
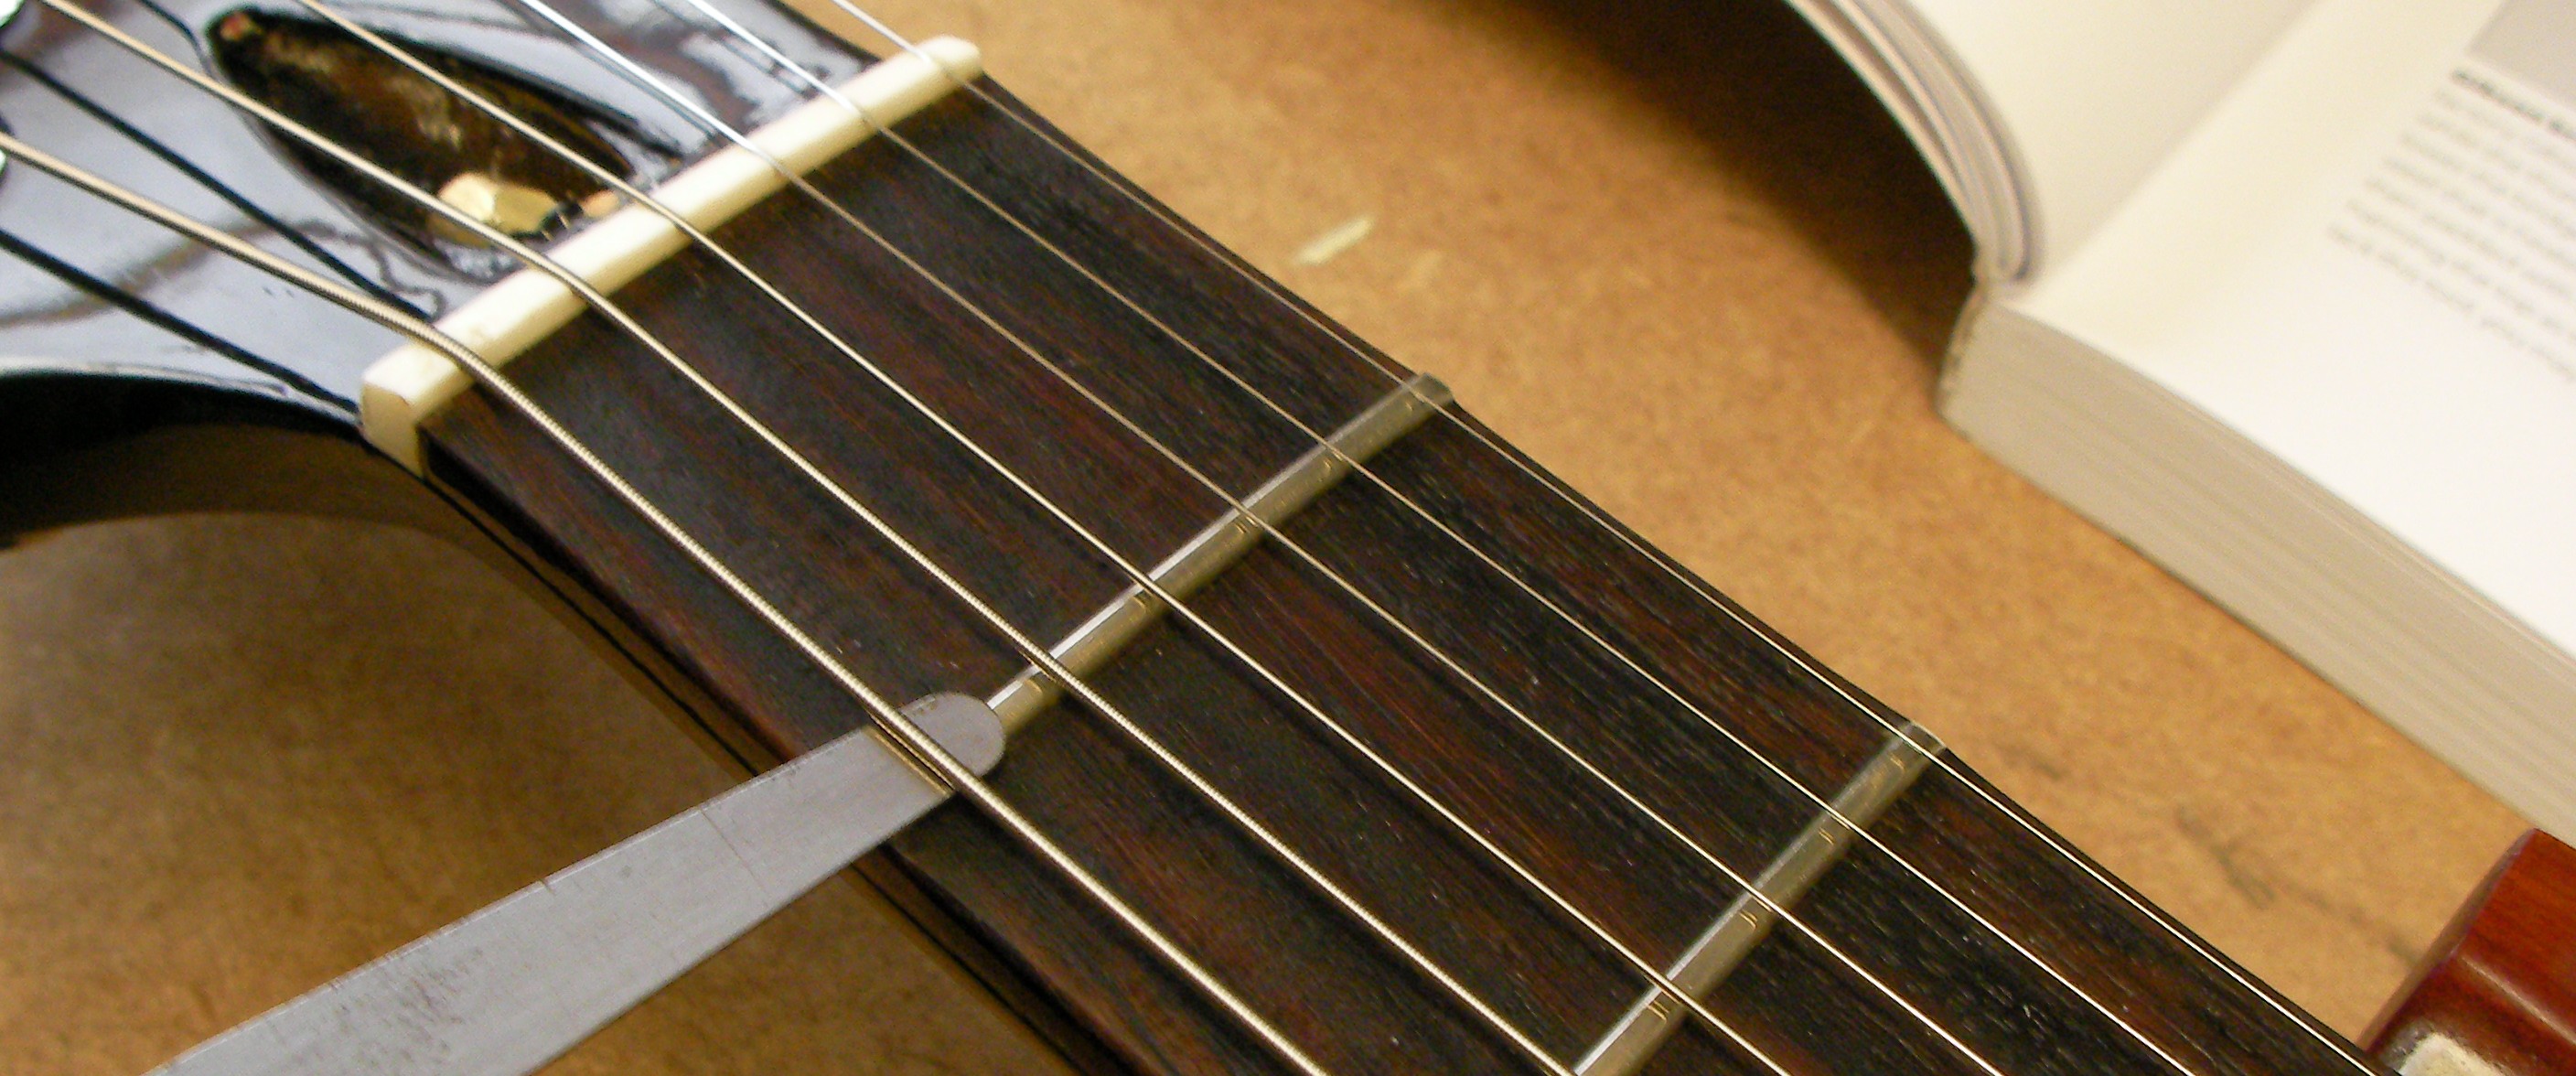
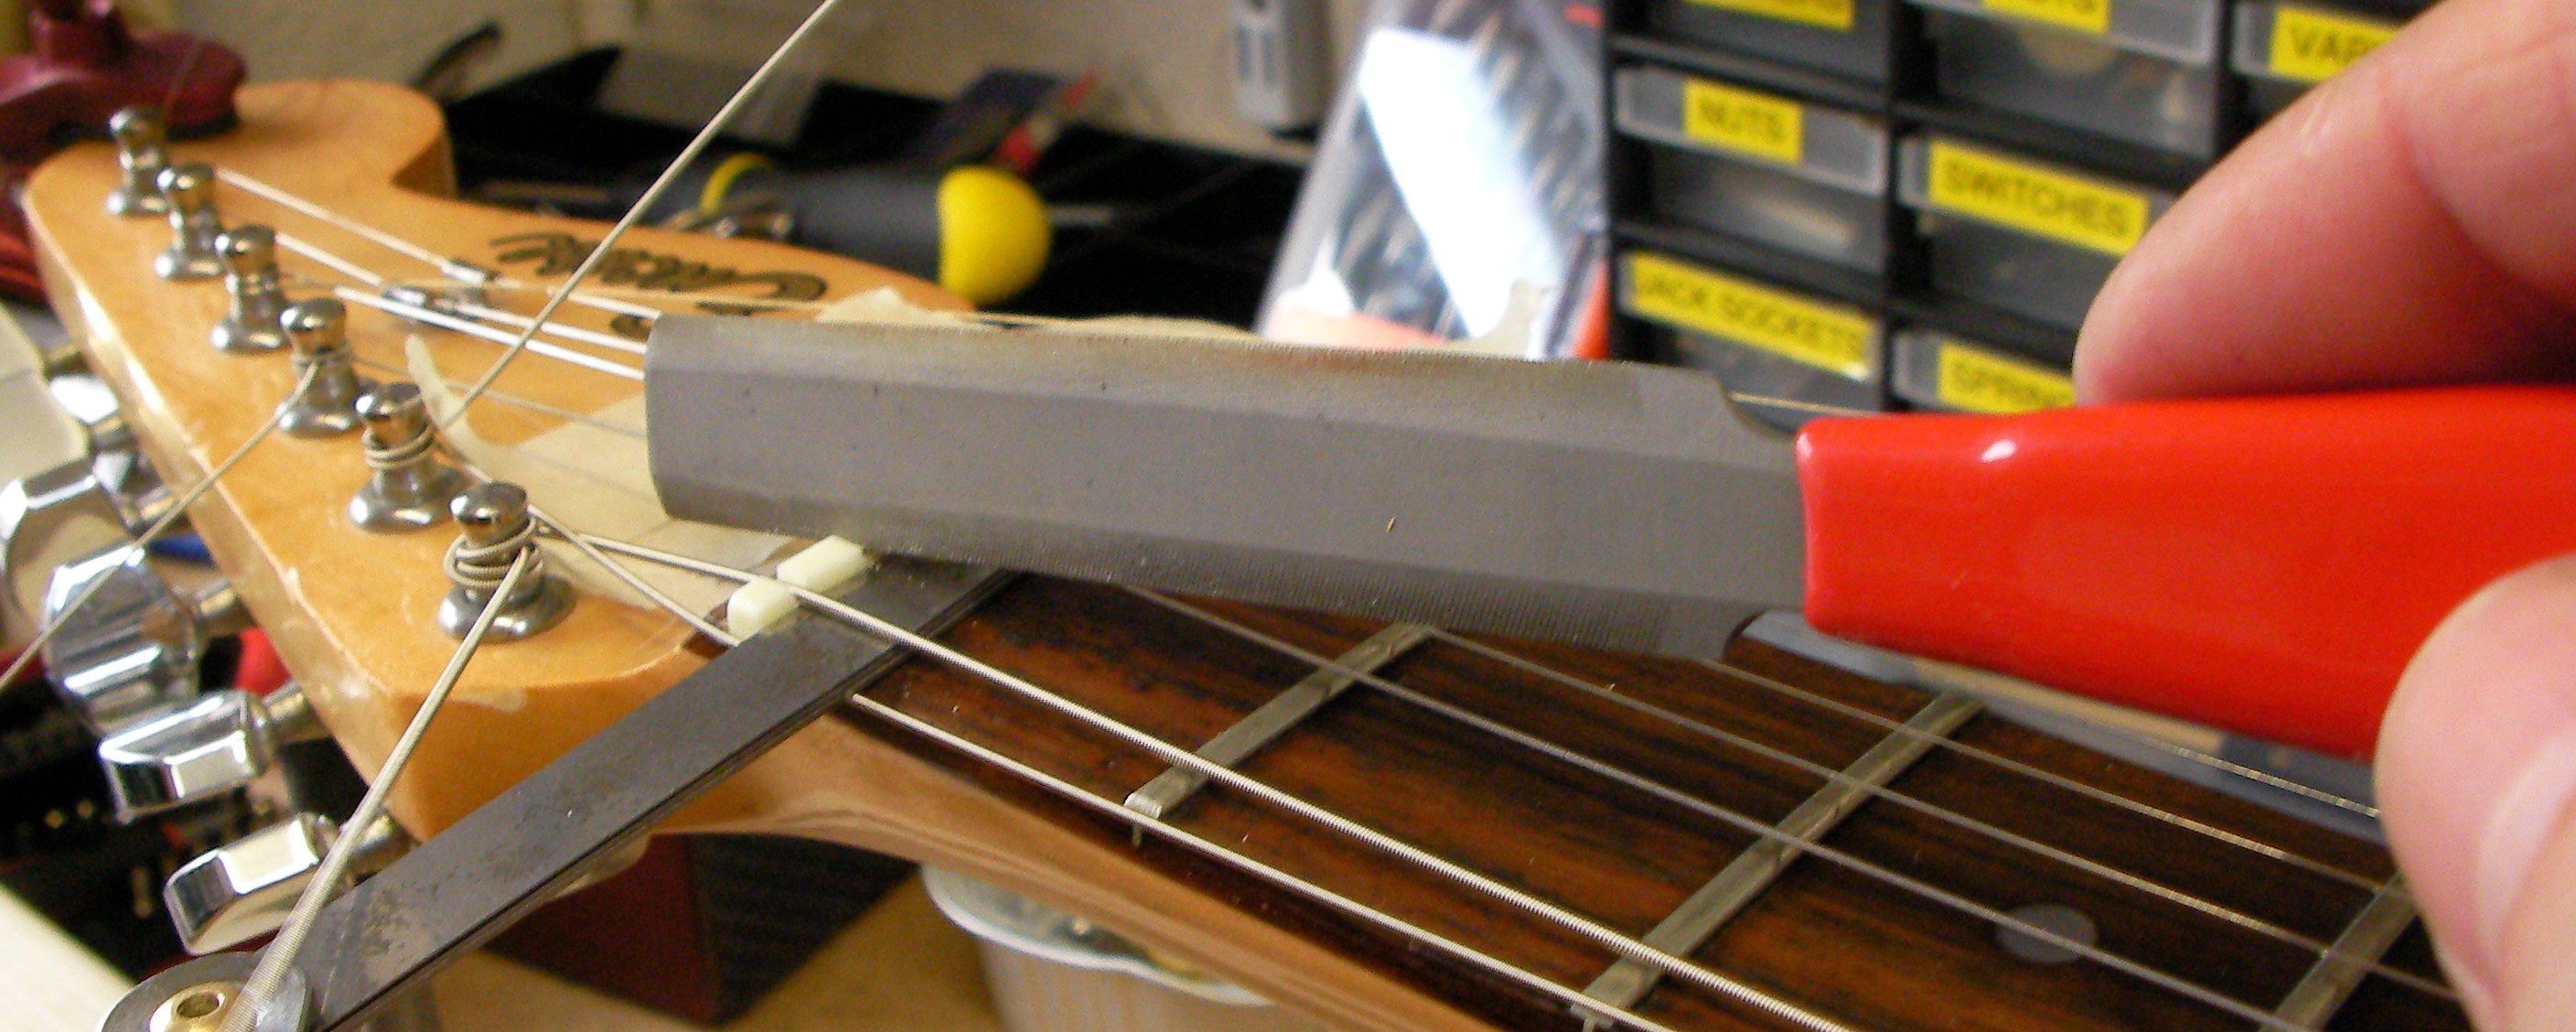
Step 4: Check the action height at the 1st fret and file the slots in the nut accordingly.
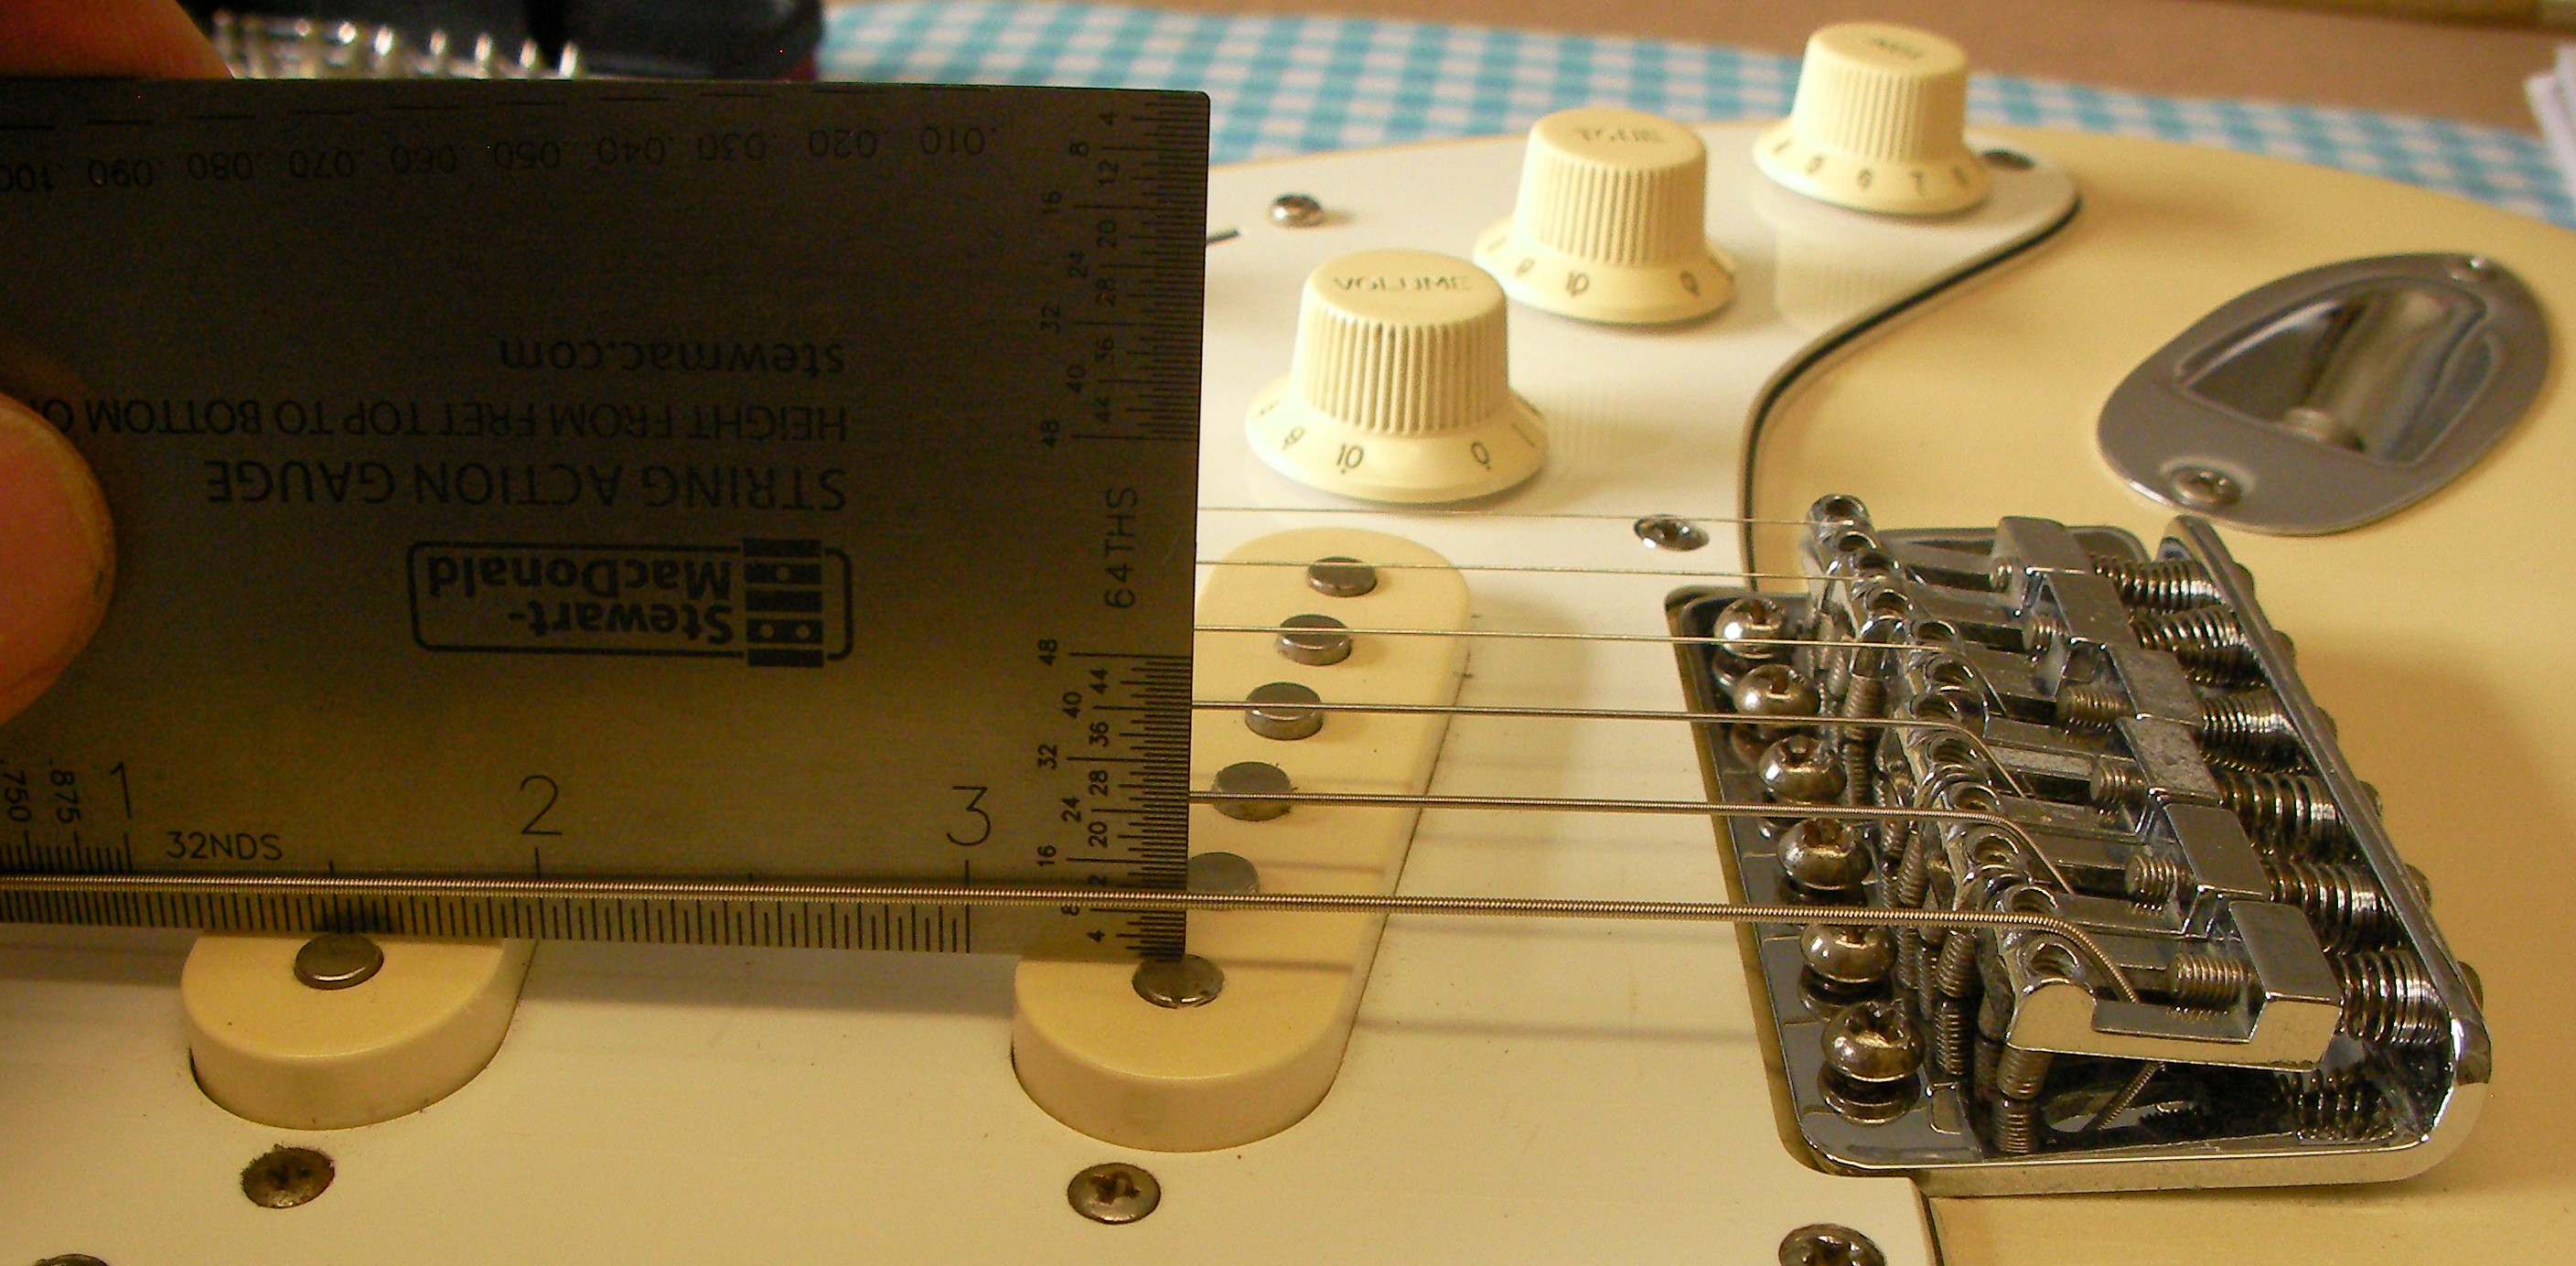
Step 5: adjust the action height at the 17th Fret
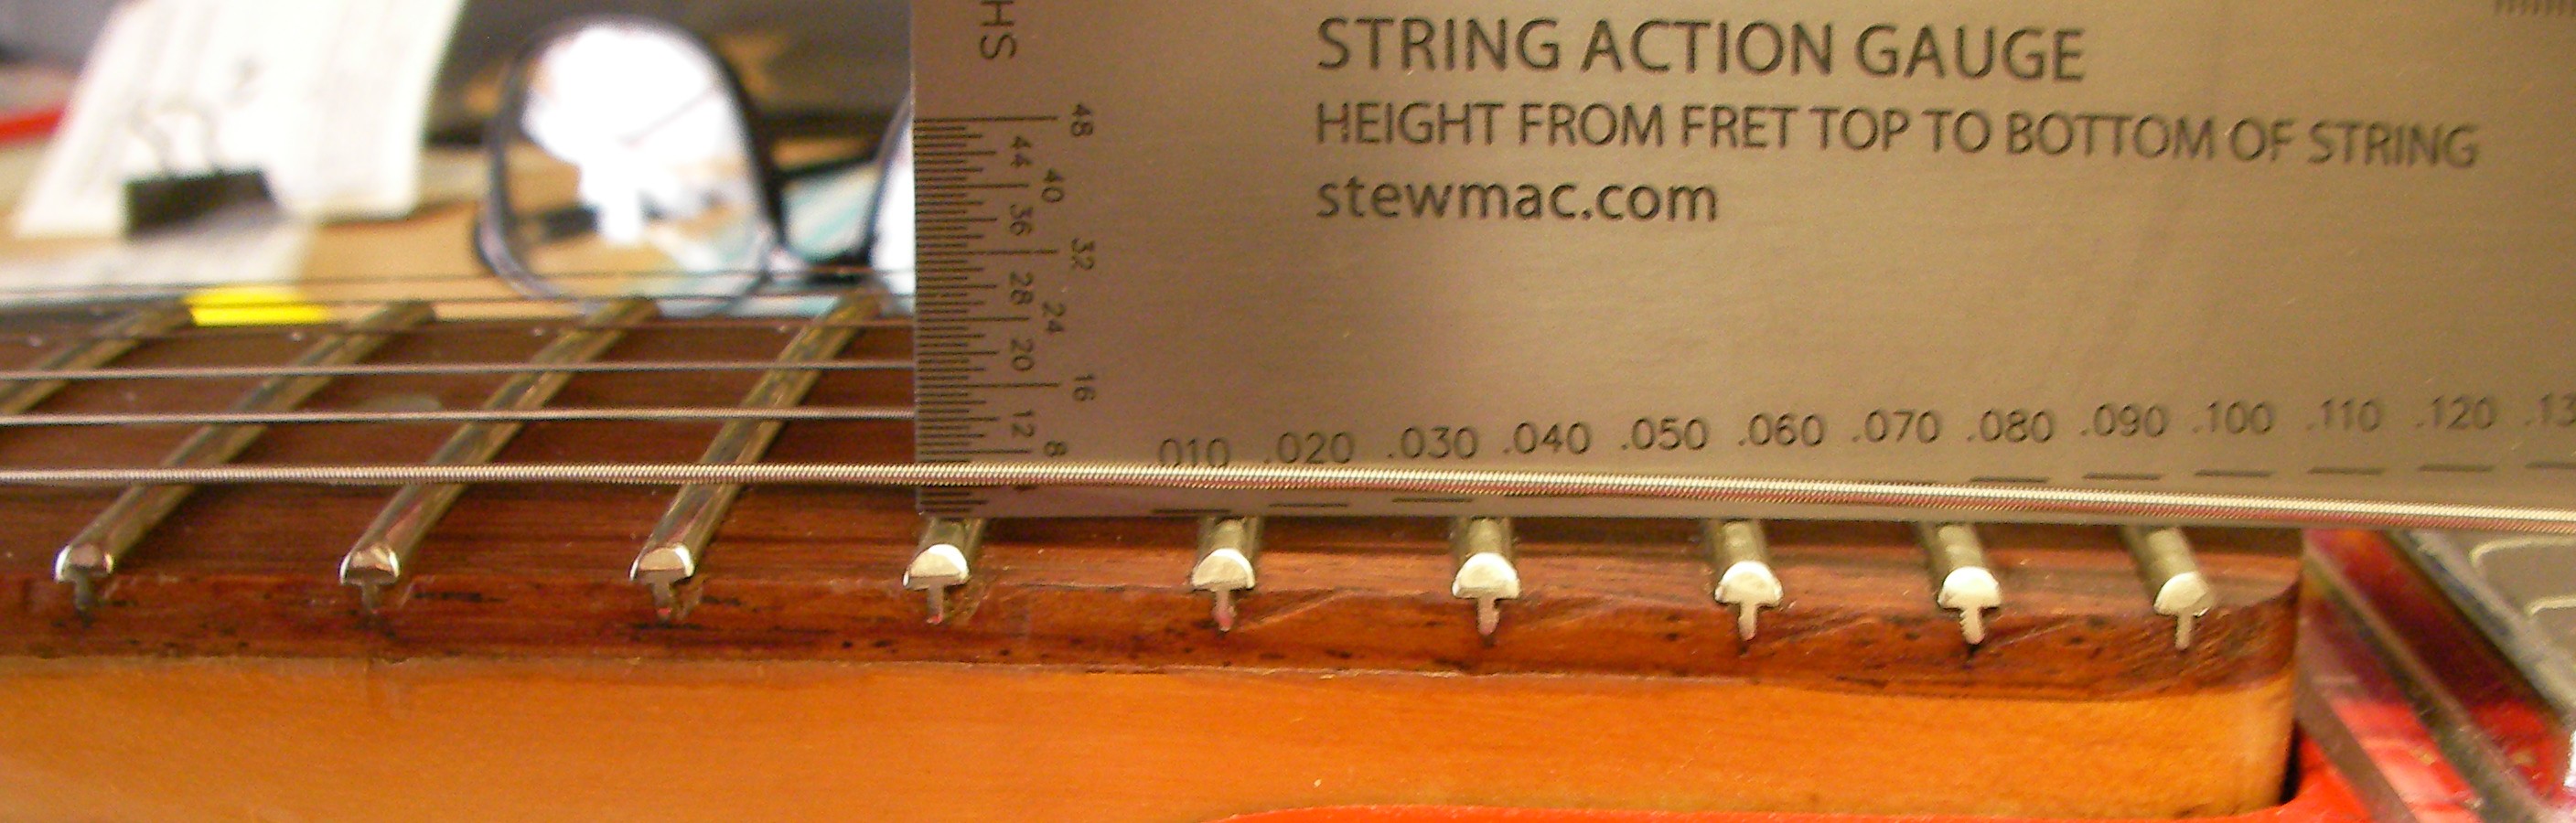
At the same time making sure the height of each string matches the radius of the neck.
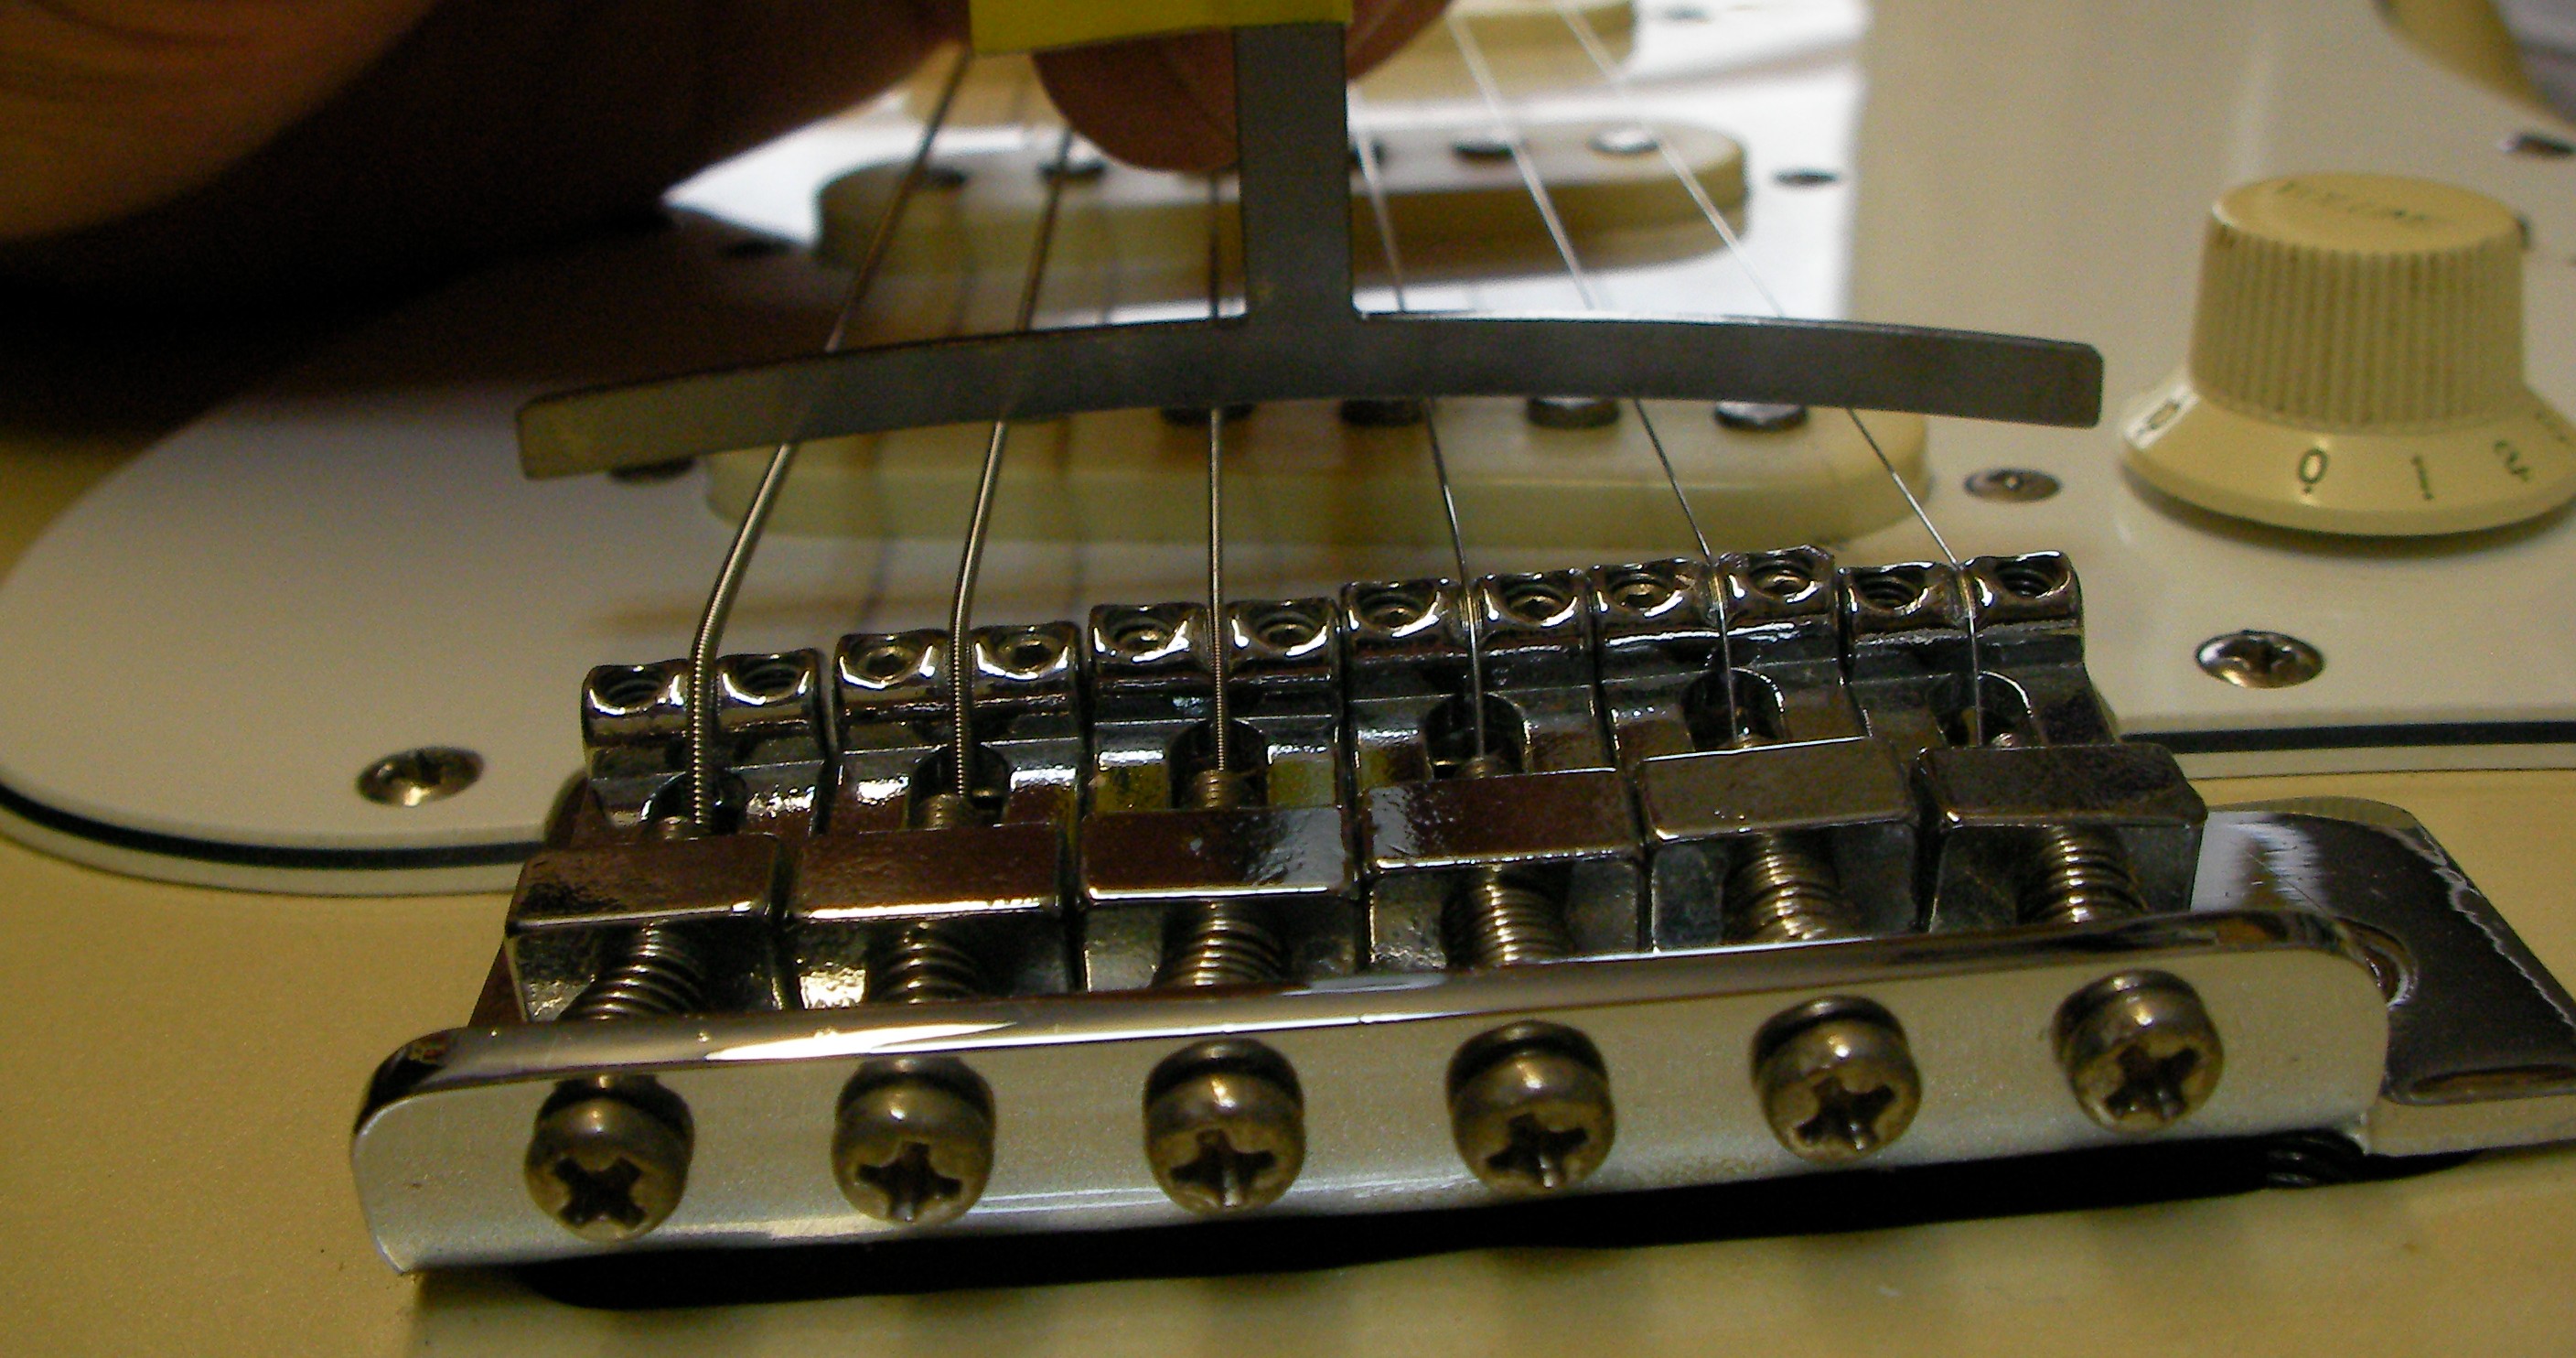
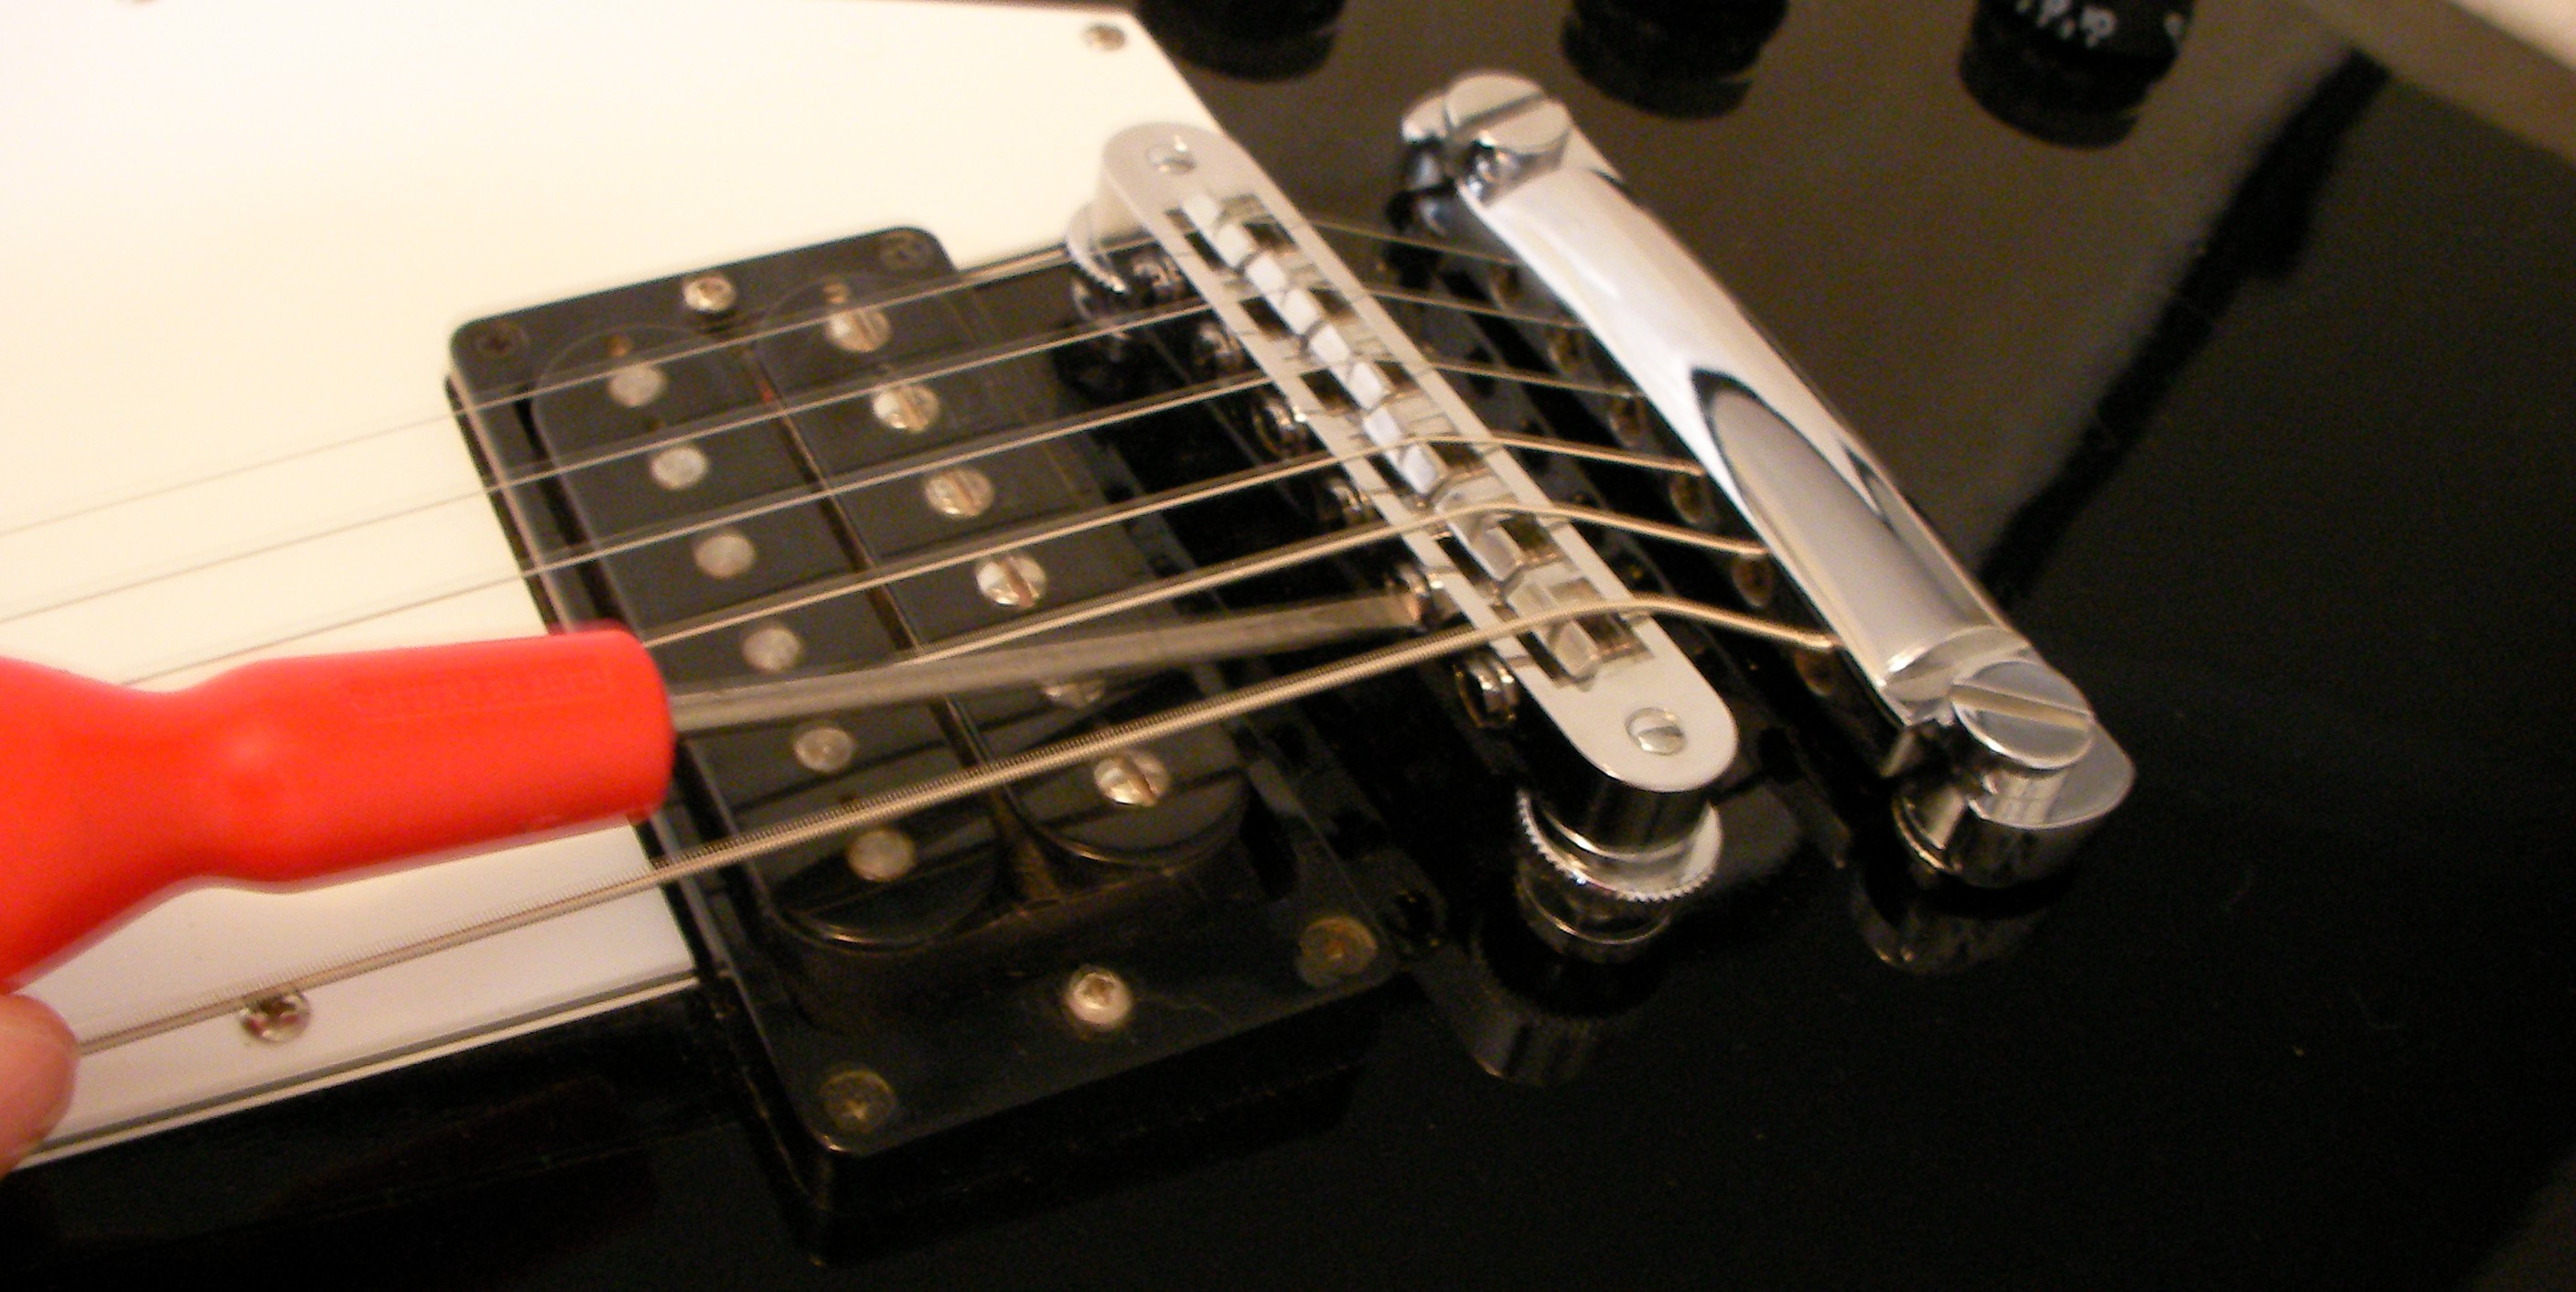
Step 6: Adjust the Intonation (the position of the bridge)
Step 7: Adjust the pickup heights. The output from each pickup should be the same, when changing between pickups the volume shouldn’t change.
Note: these pictures are not all the same guitar, they are just intended to give you a pictorial idea as to what exactly I’ll do.