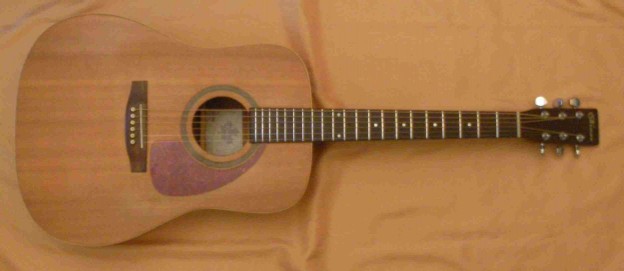
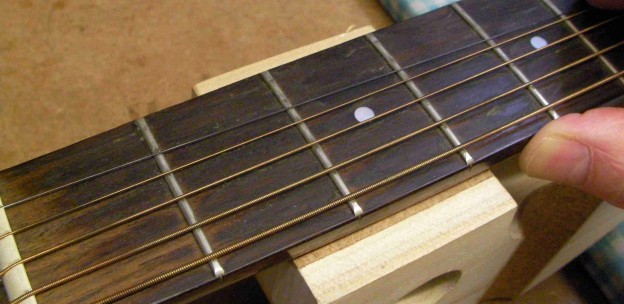
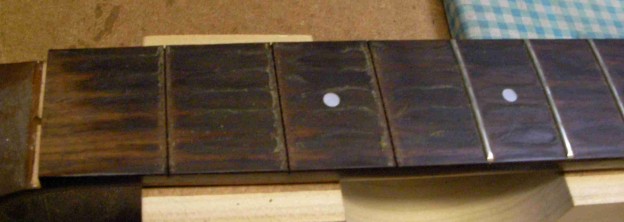
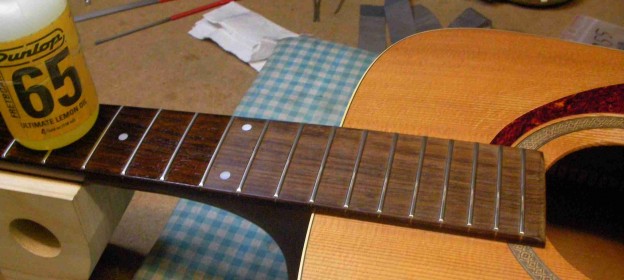
This one’s seen some action, mostly around the open chords. The first 3 frets are really worn but the rest are probably OK. If I file them all down to the level of the grooves up there, then there’ll be practically nothing left!
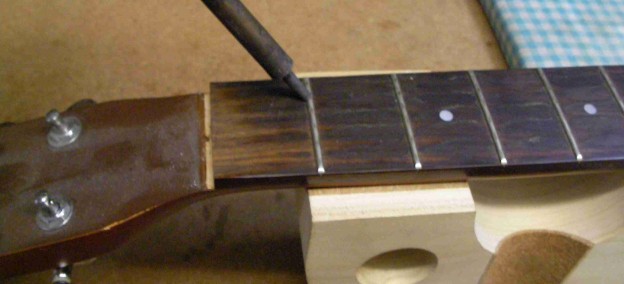
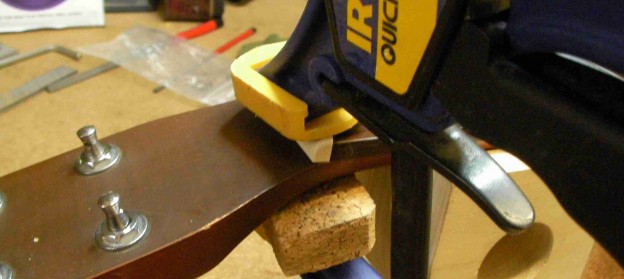
Off with the strings and nut and out with the first 3 frets. Warming them up with a soldering iron loosens any old glue, making it easier to get them out…
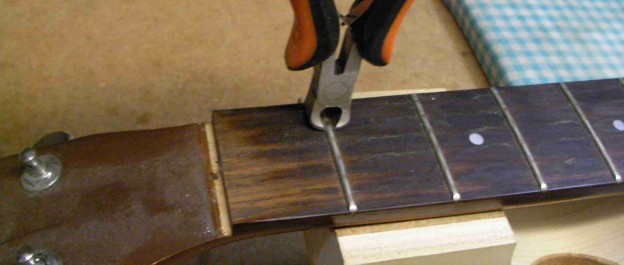
with the fret pullers….
There we go. Before I do much more I think the fret-board needs a jolly good clean.
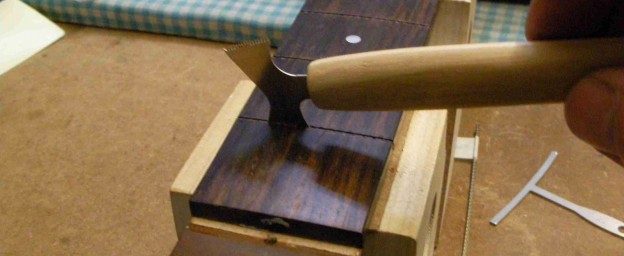
The slots for the frets need to be cleaned out as well, get any dust, dirt and old glue out.
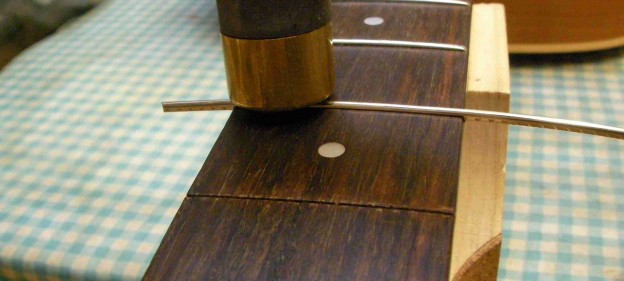
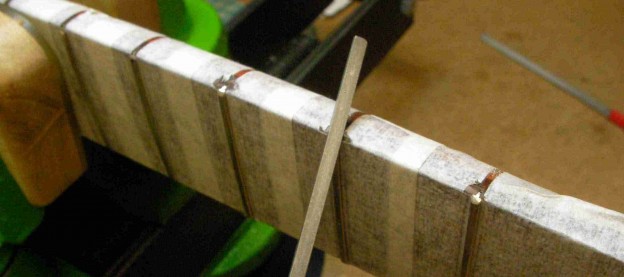
Before I can put in the new fret-wire it needs a gentle bend in it.

and gently tap it into place.
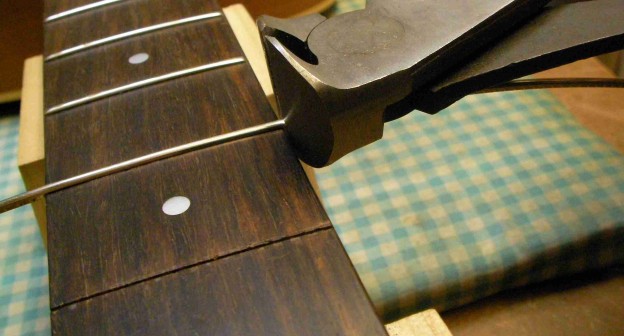
and nip the ends.
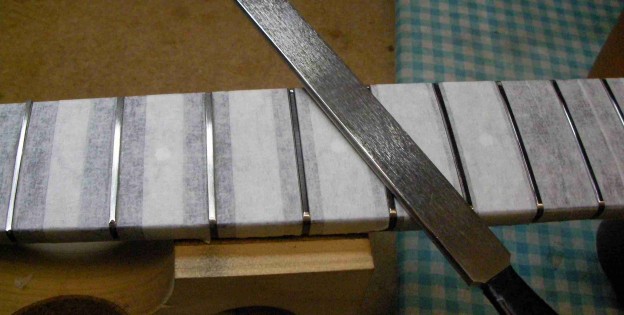
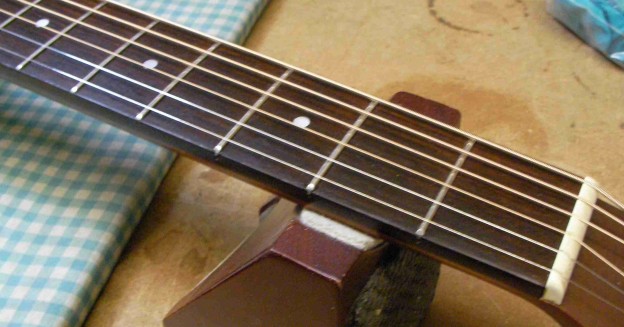
With the new frets in place they need dressing to get the tops level. You can see as I started, I’ve got the first and third a little lower than the second.

With the tops even it’s time to round them all back off and polish them again.
I also didn’t sort the ends out so they need levelling to the edge of the fret-board.
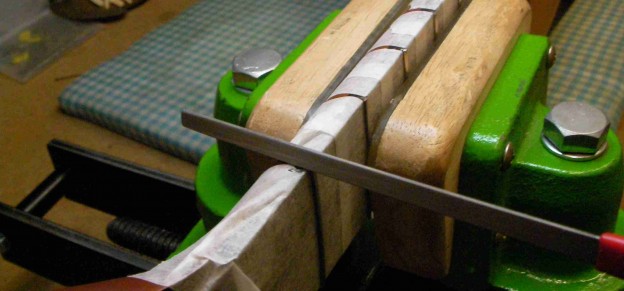
and taking off the sharp edges.
There it goes, unless you look really closely you’ll never spot the difference.
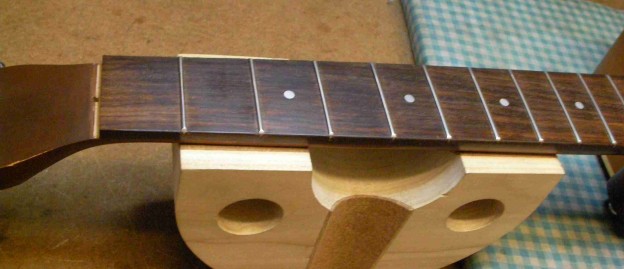
Before fitting new strings a splash of lemon oil on the fret-board.
Glue the nut back, new strings and it should be good to go…
There it is…
Ready to go.