In need of more than a little TLC this one is going to take a while. The cost of putting it back to original is out of the question so between us we have a couple of ideas to make something a little different..
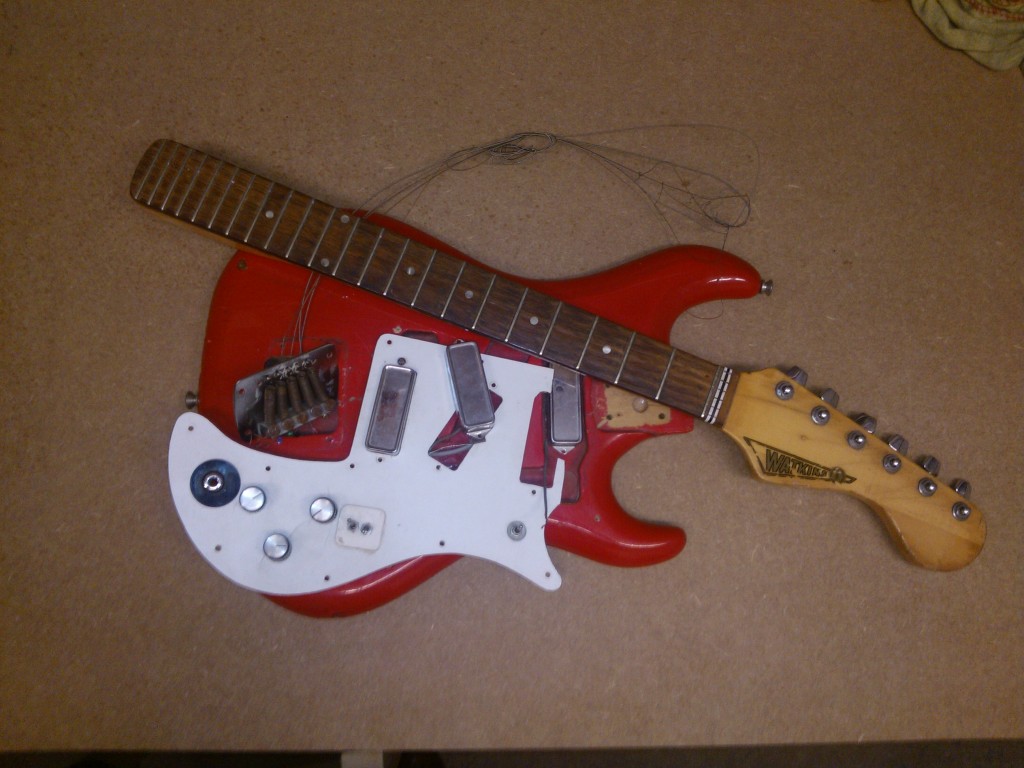
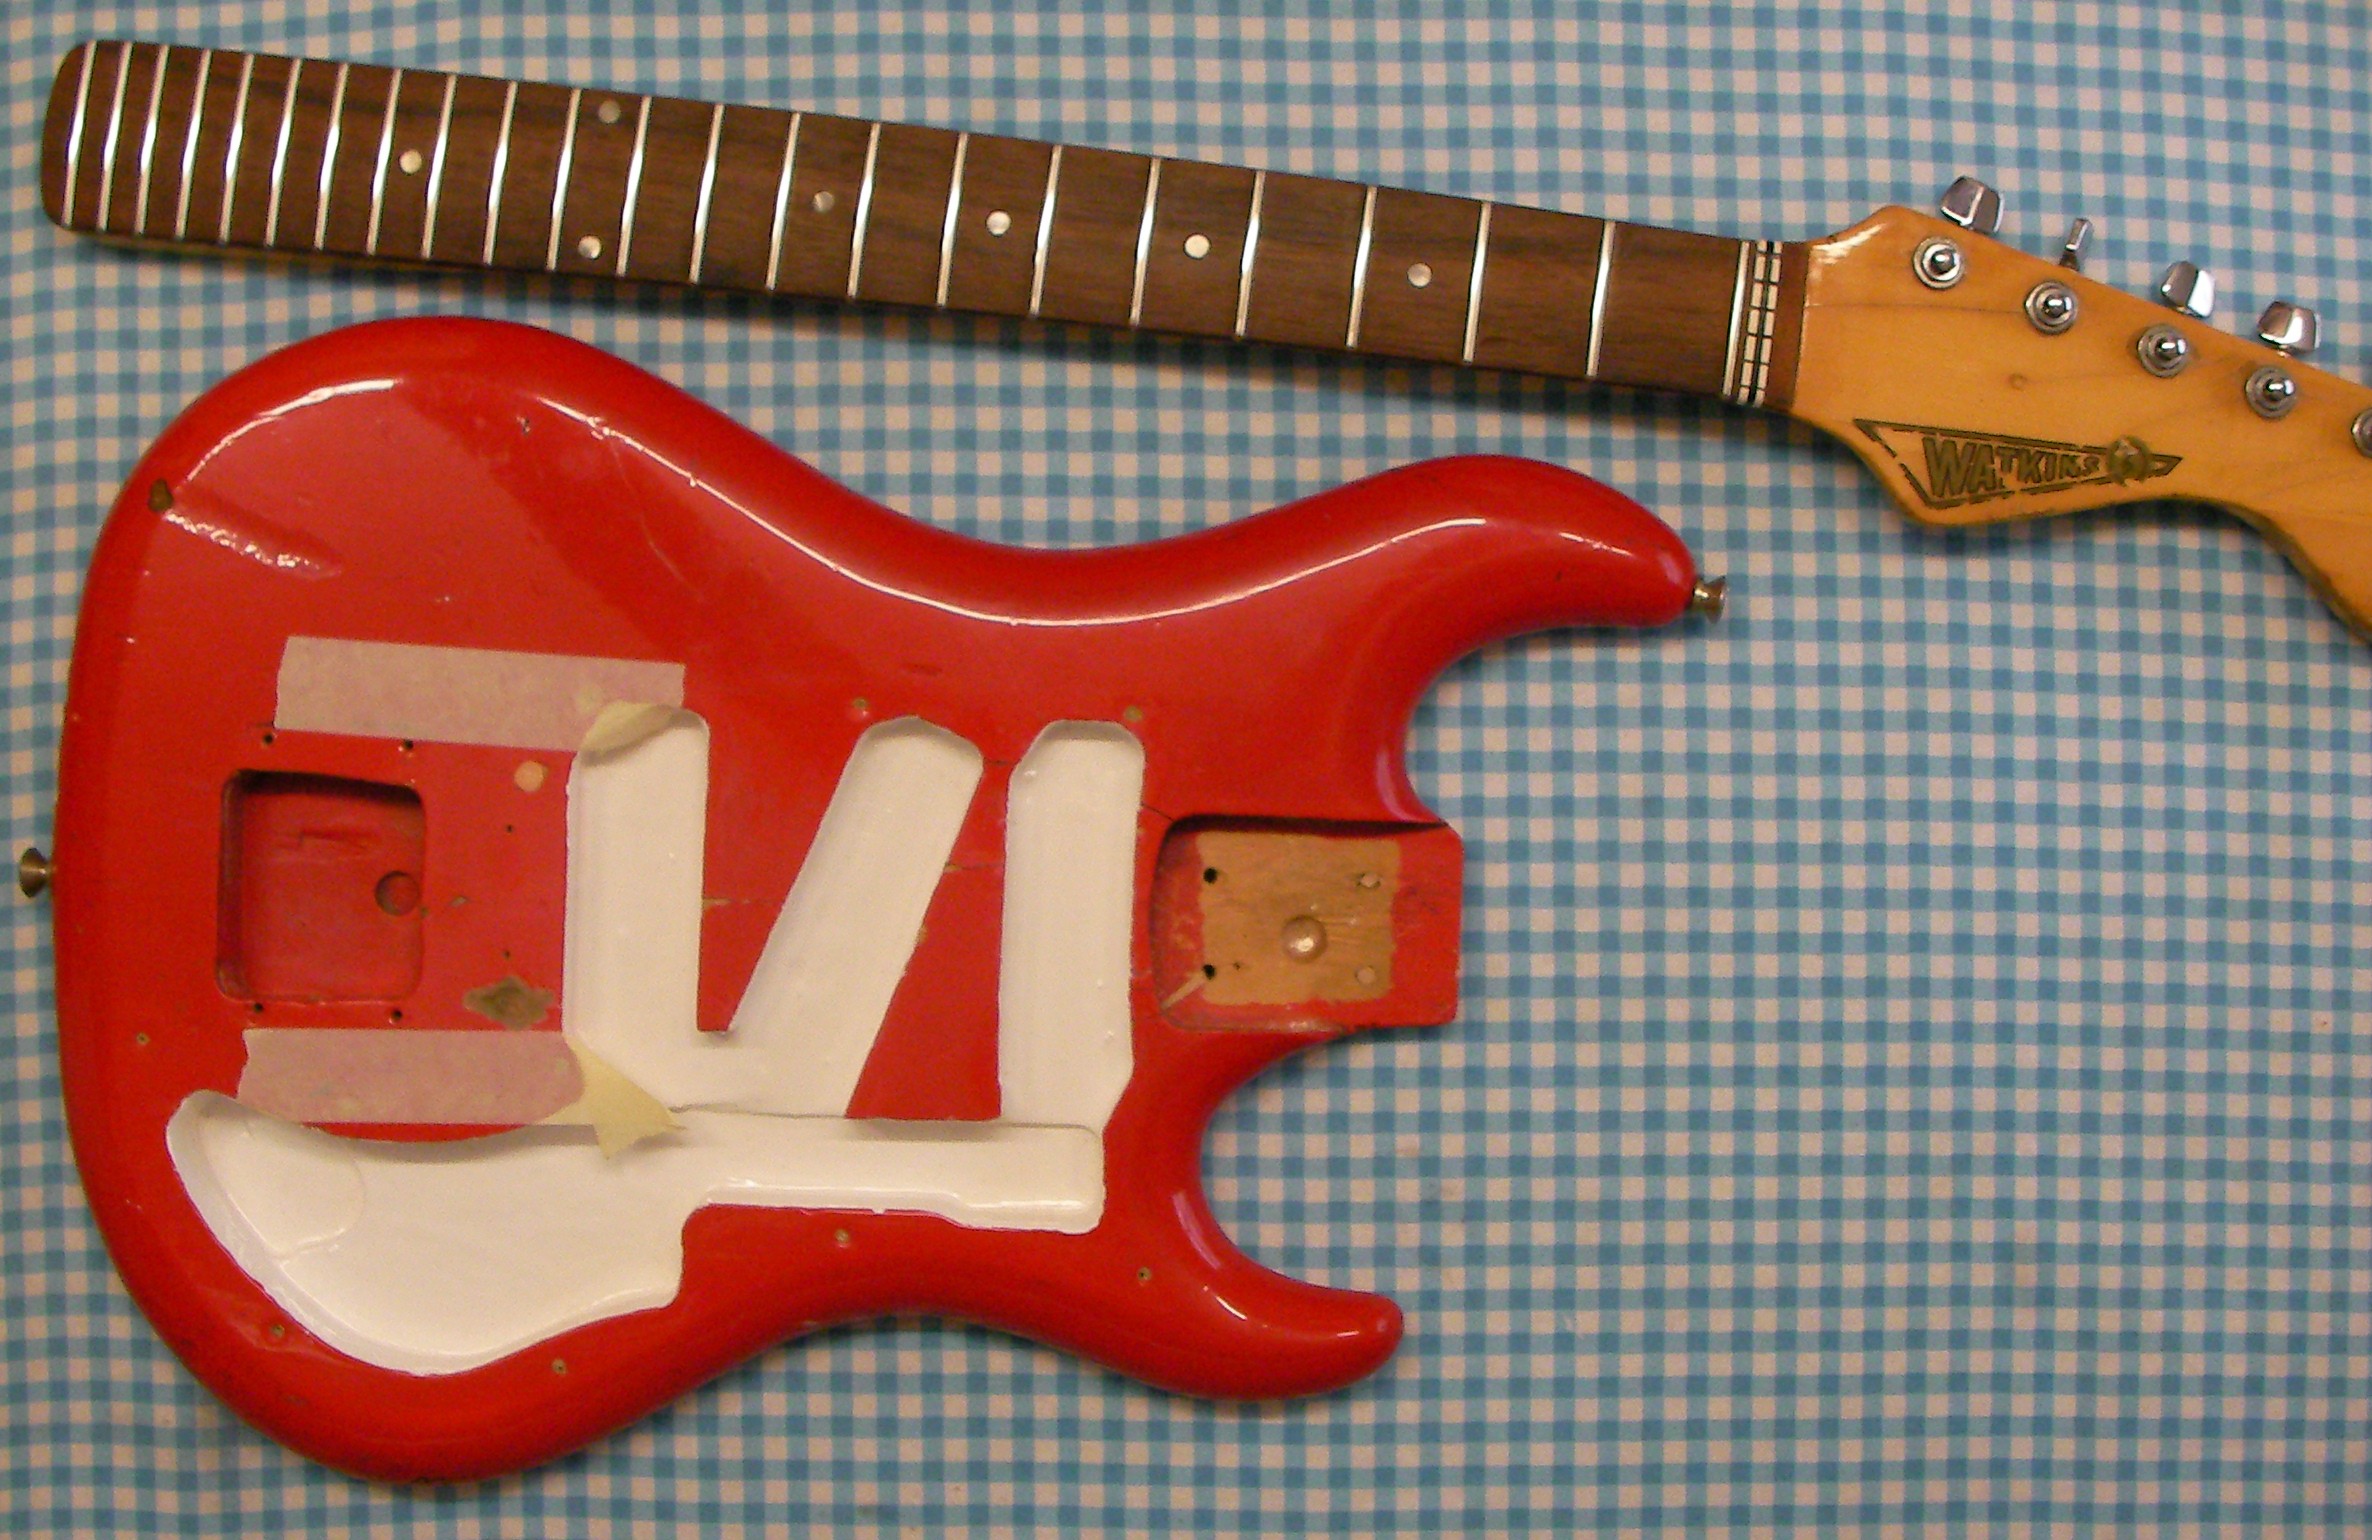
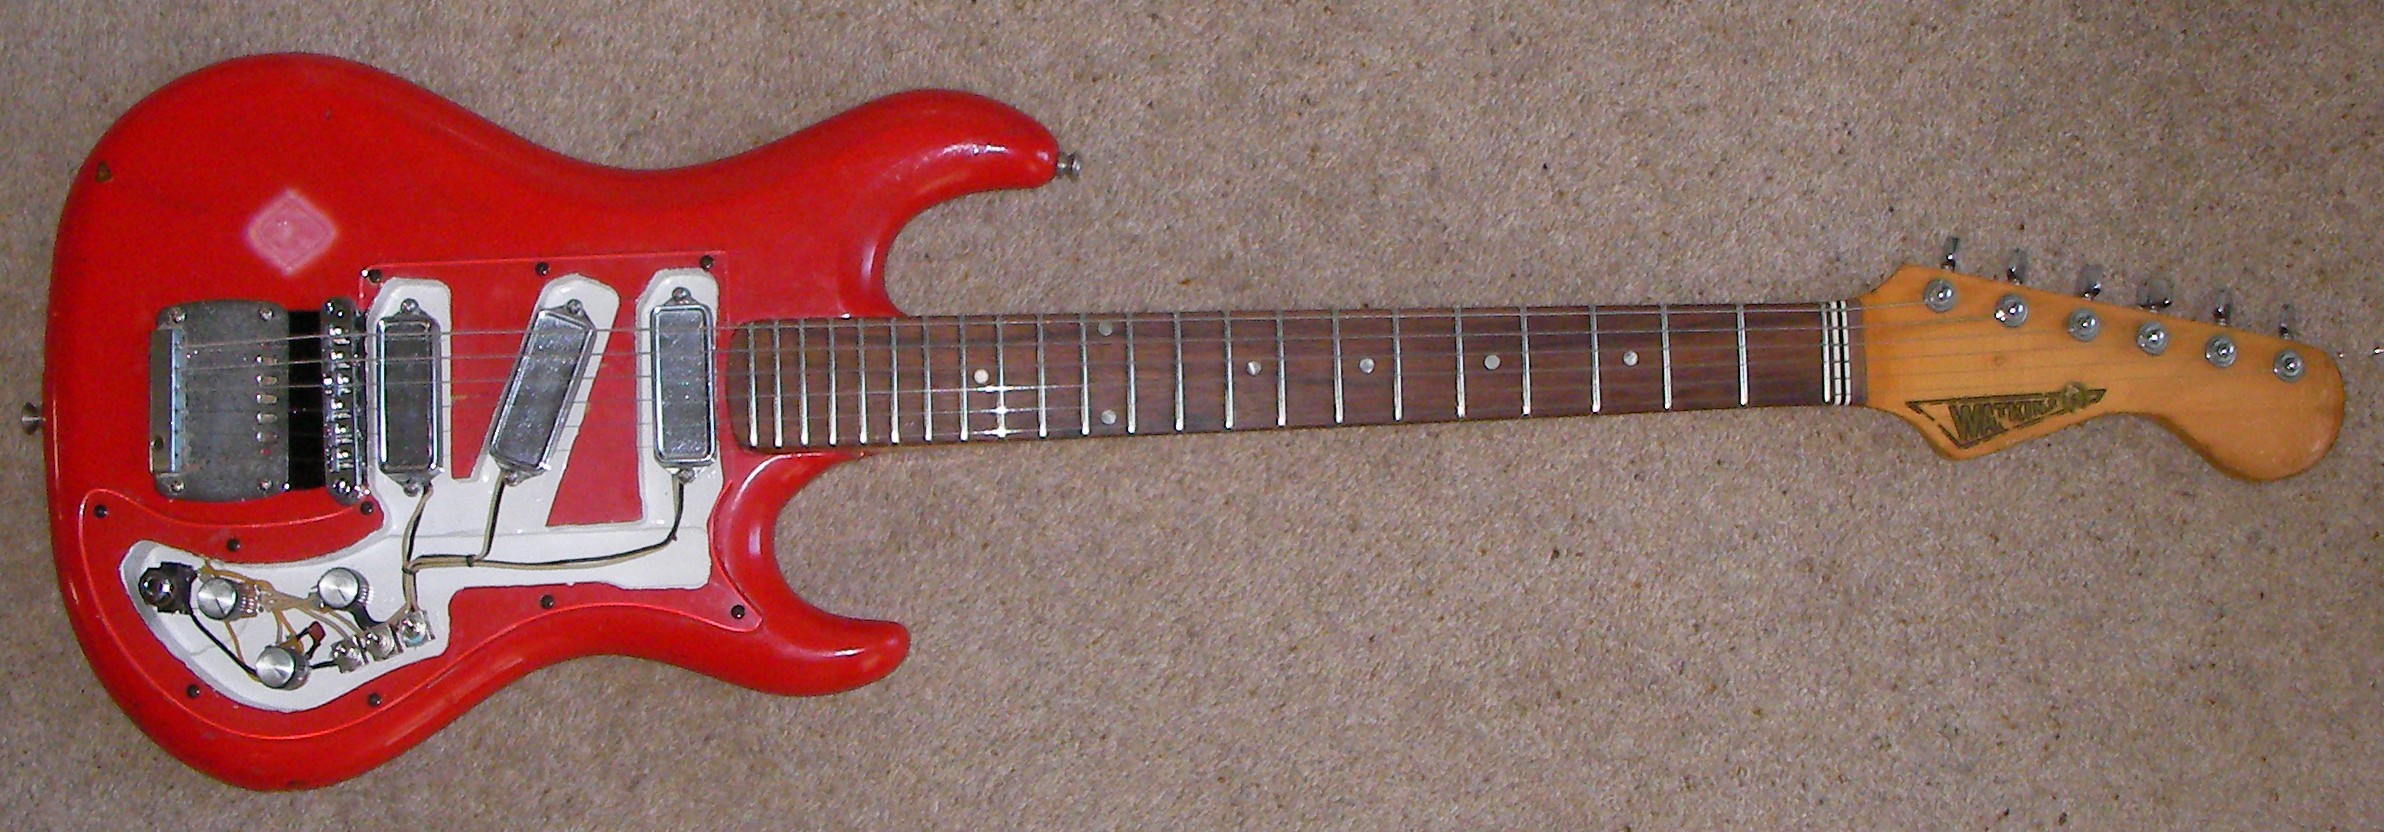
Most of its there but missing the bridge and neck plate.
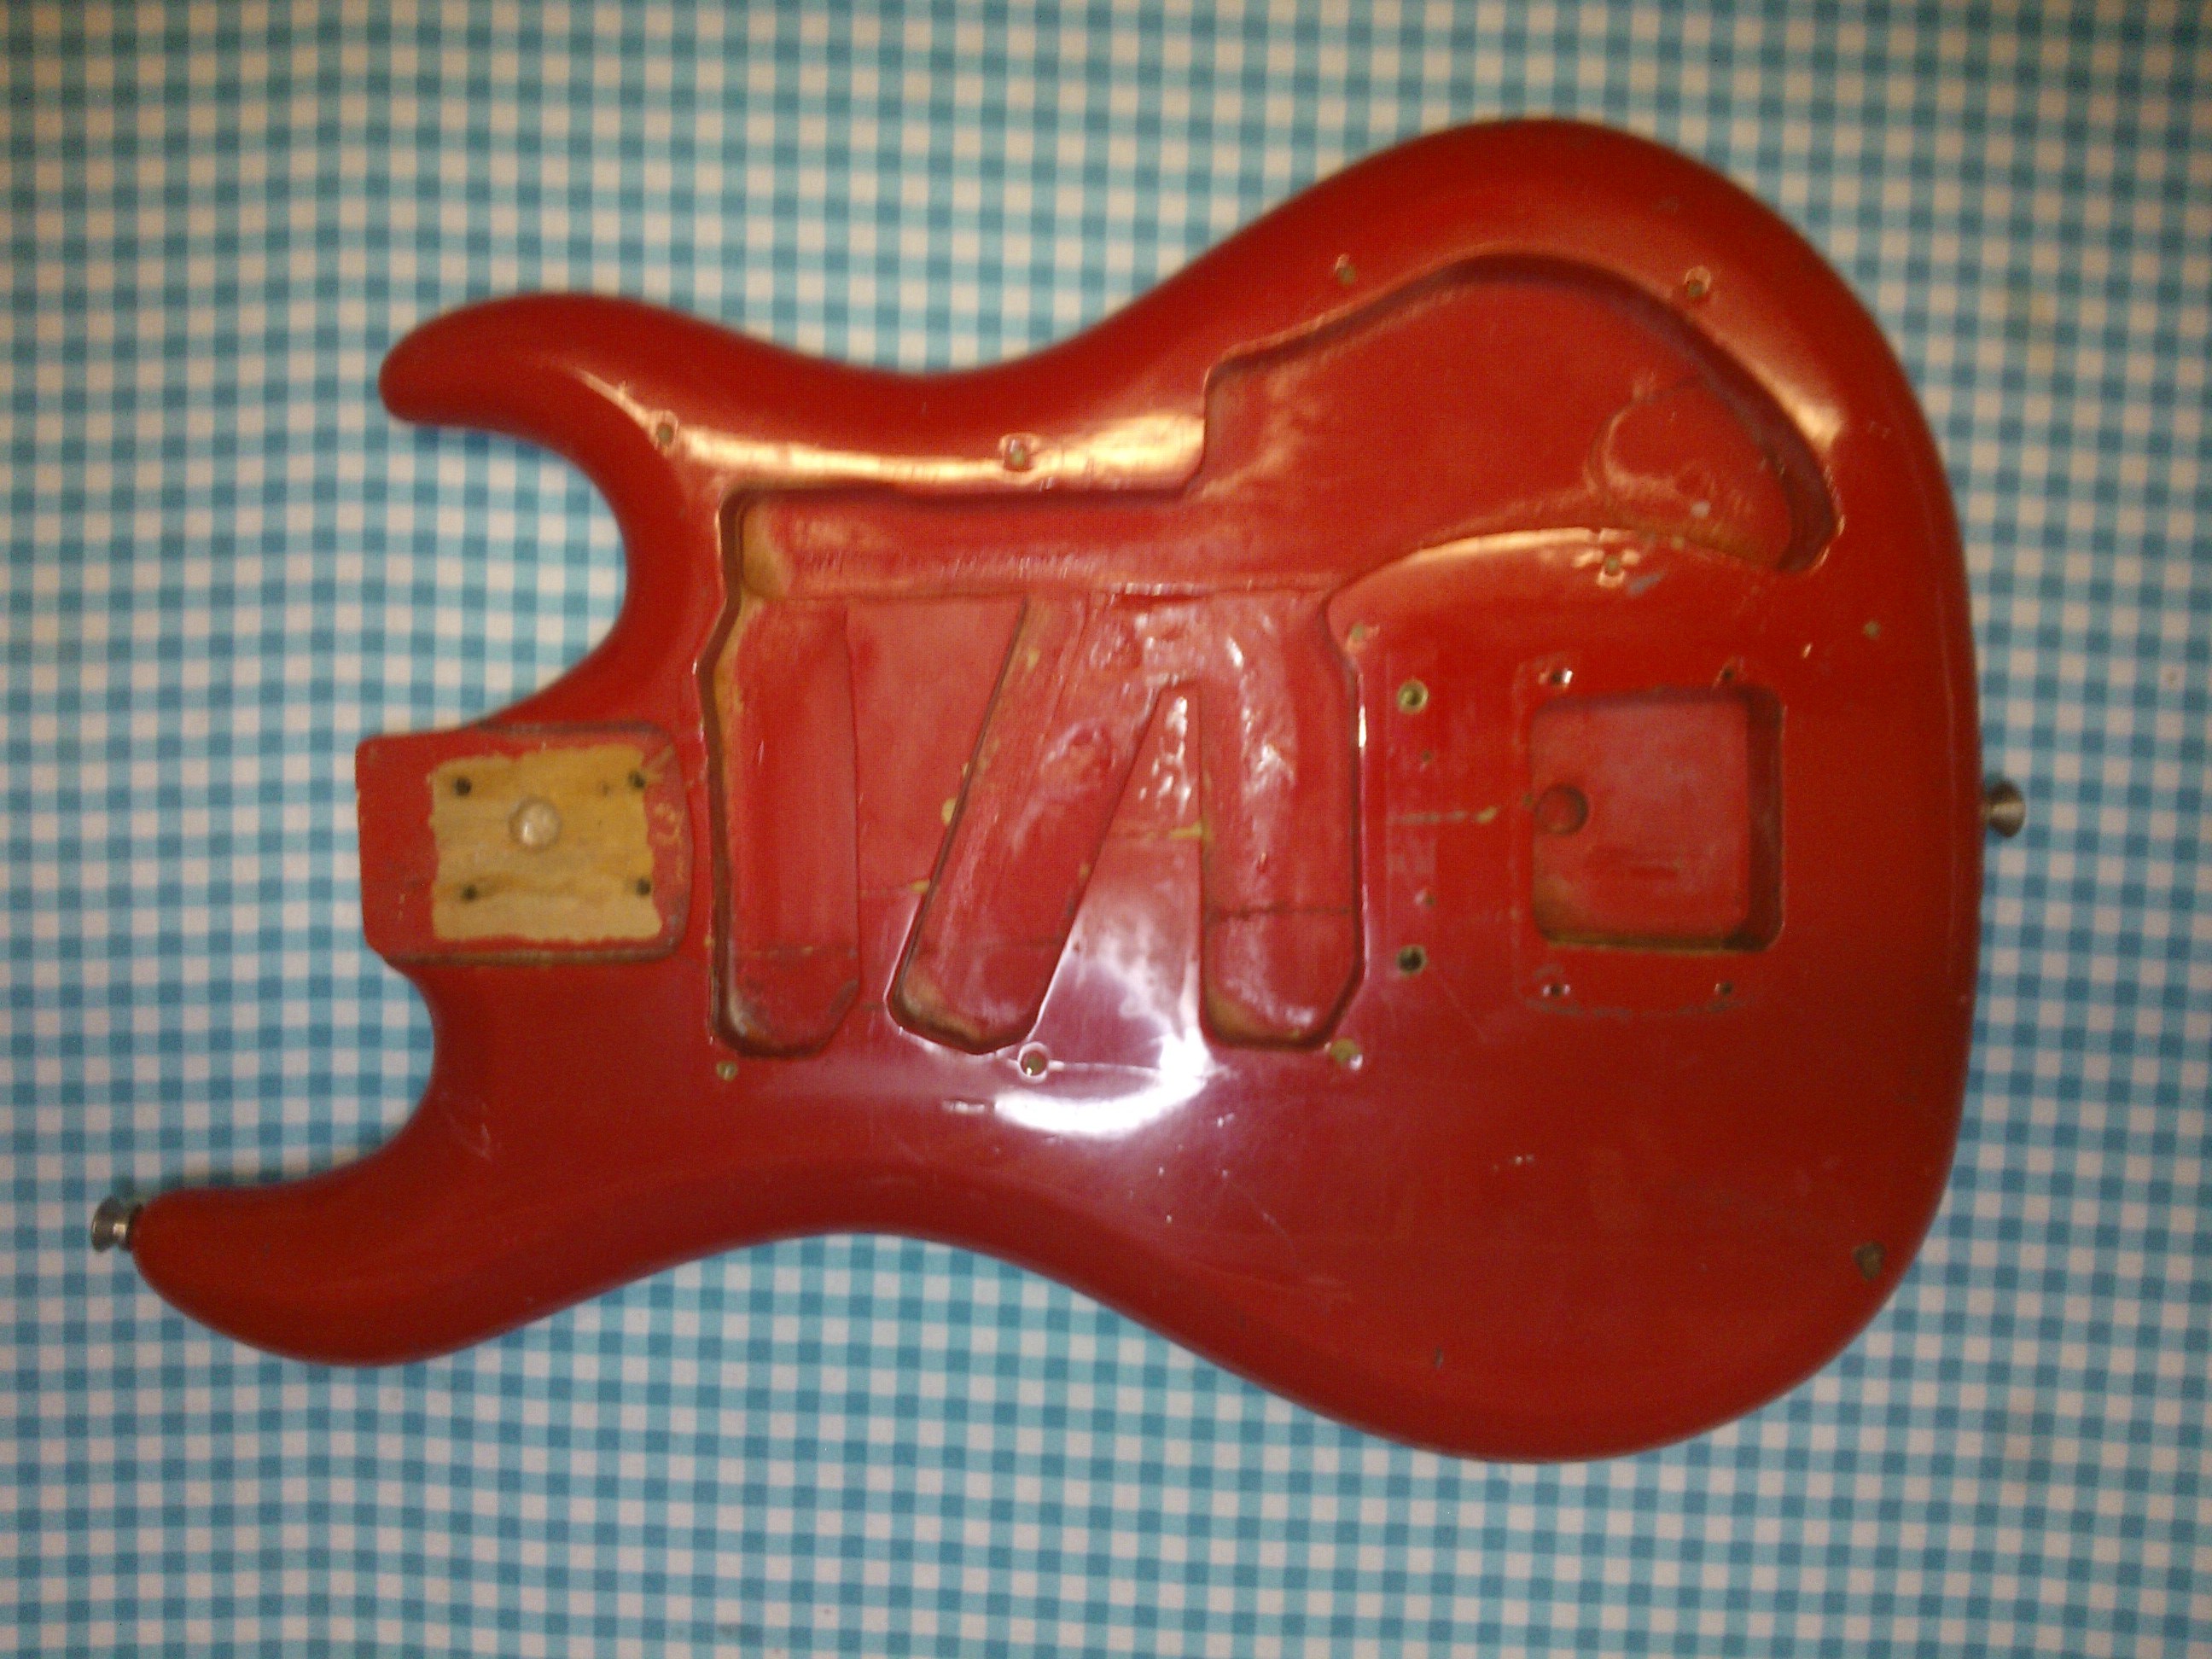
It might be nice to put this guitar back to original but finding the parts is proving rather difficult, particularly with a limited budget. James has some ideas though and wants something rather different. First stage give the body a good clean out….
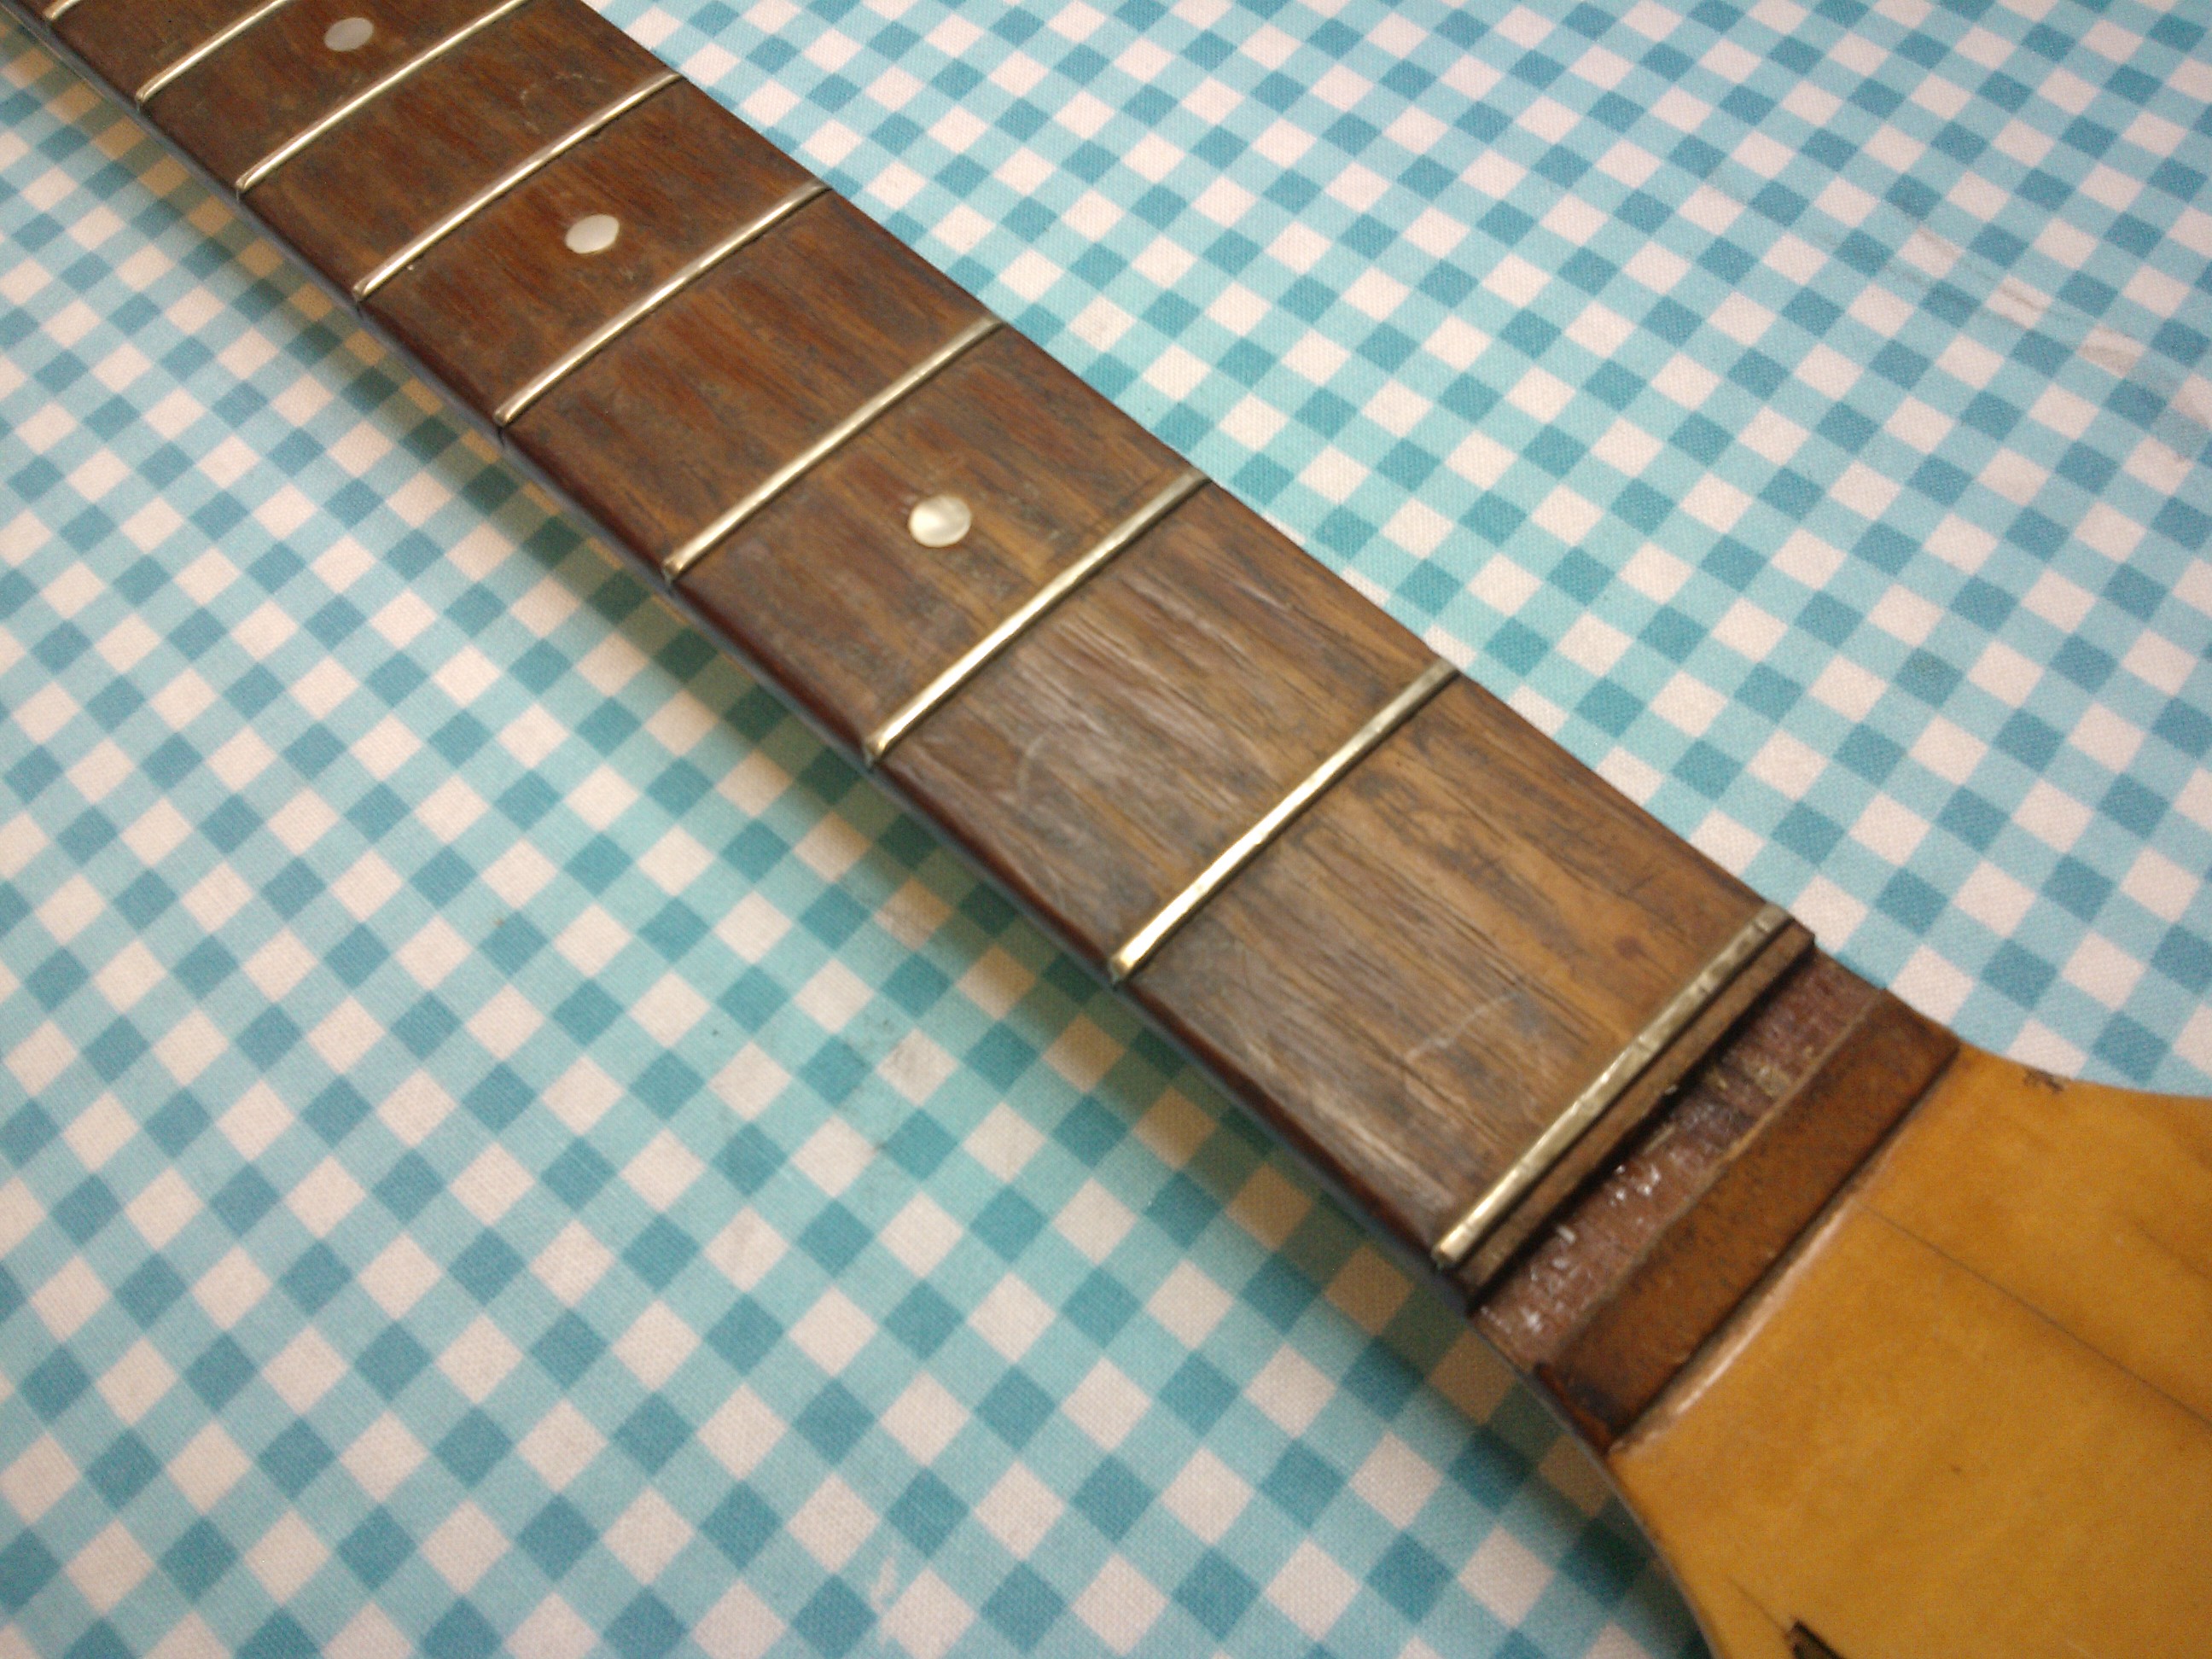
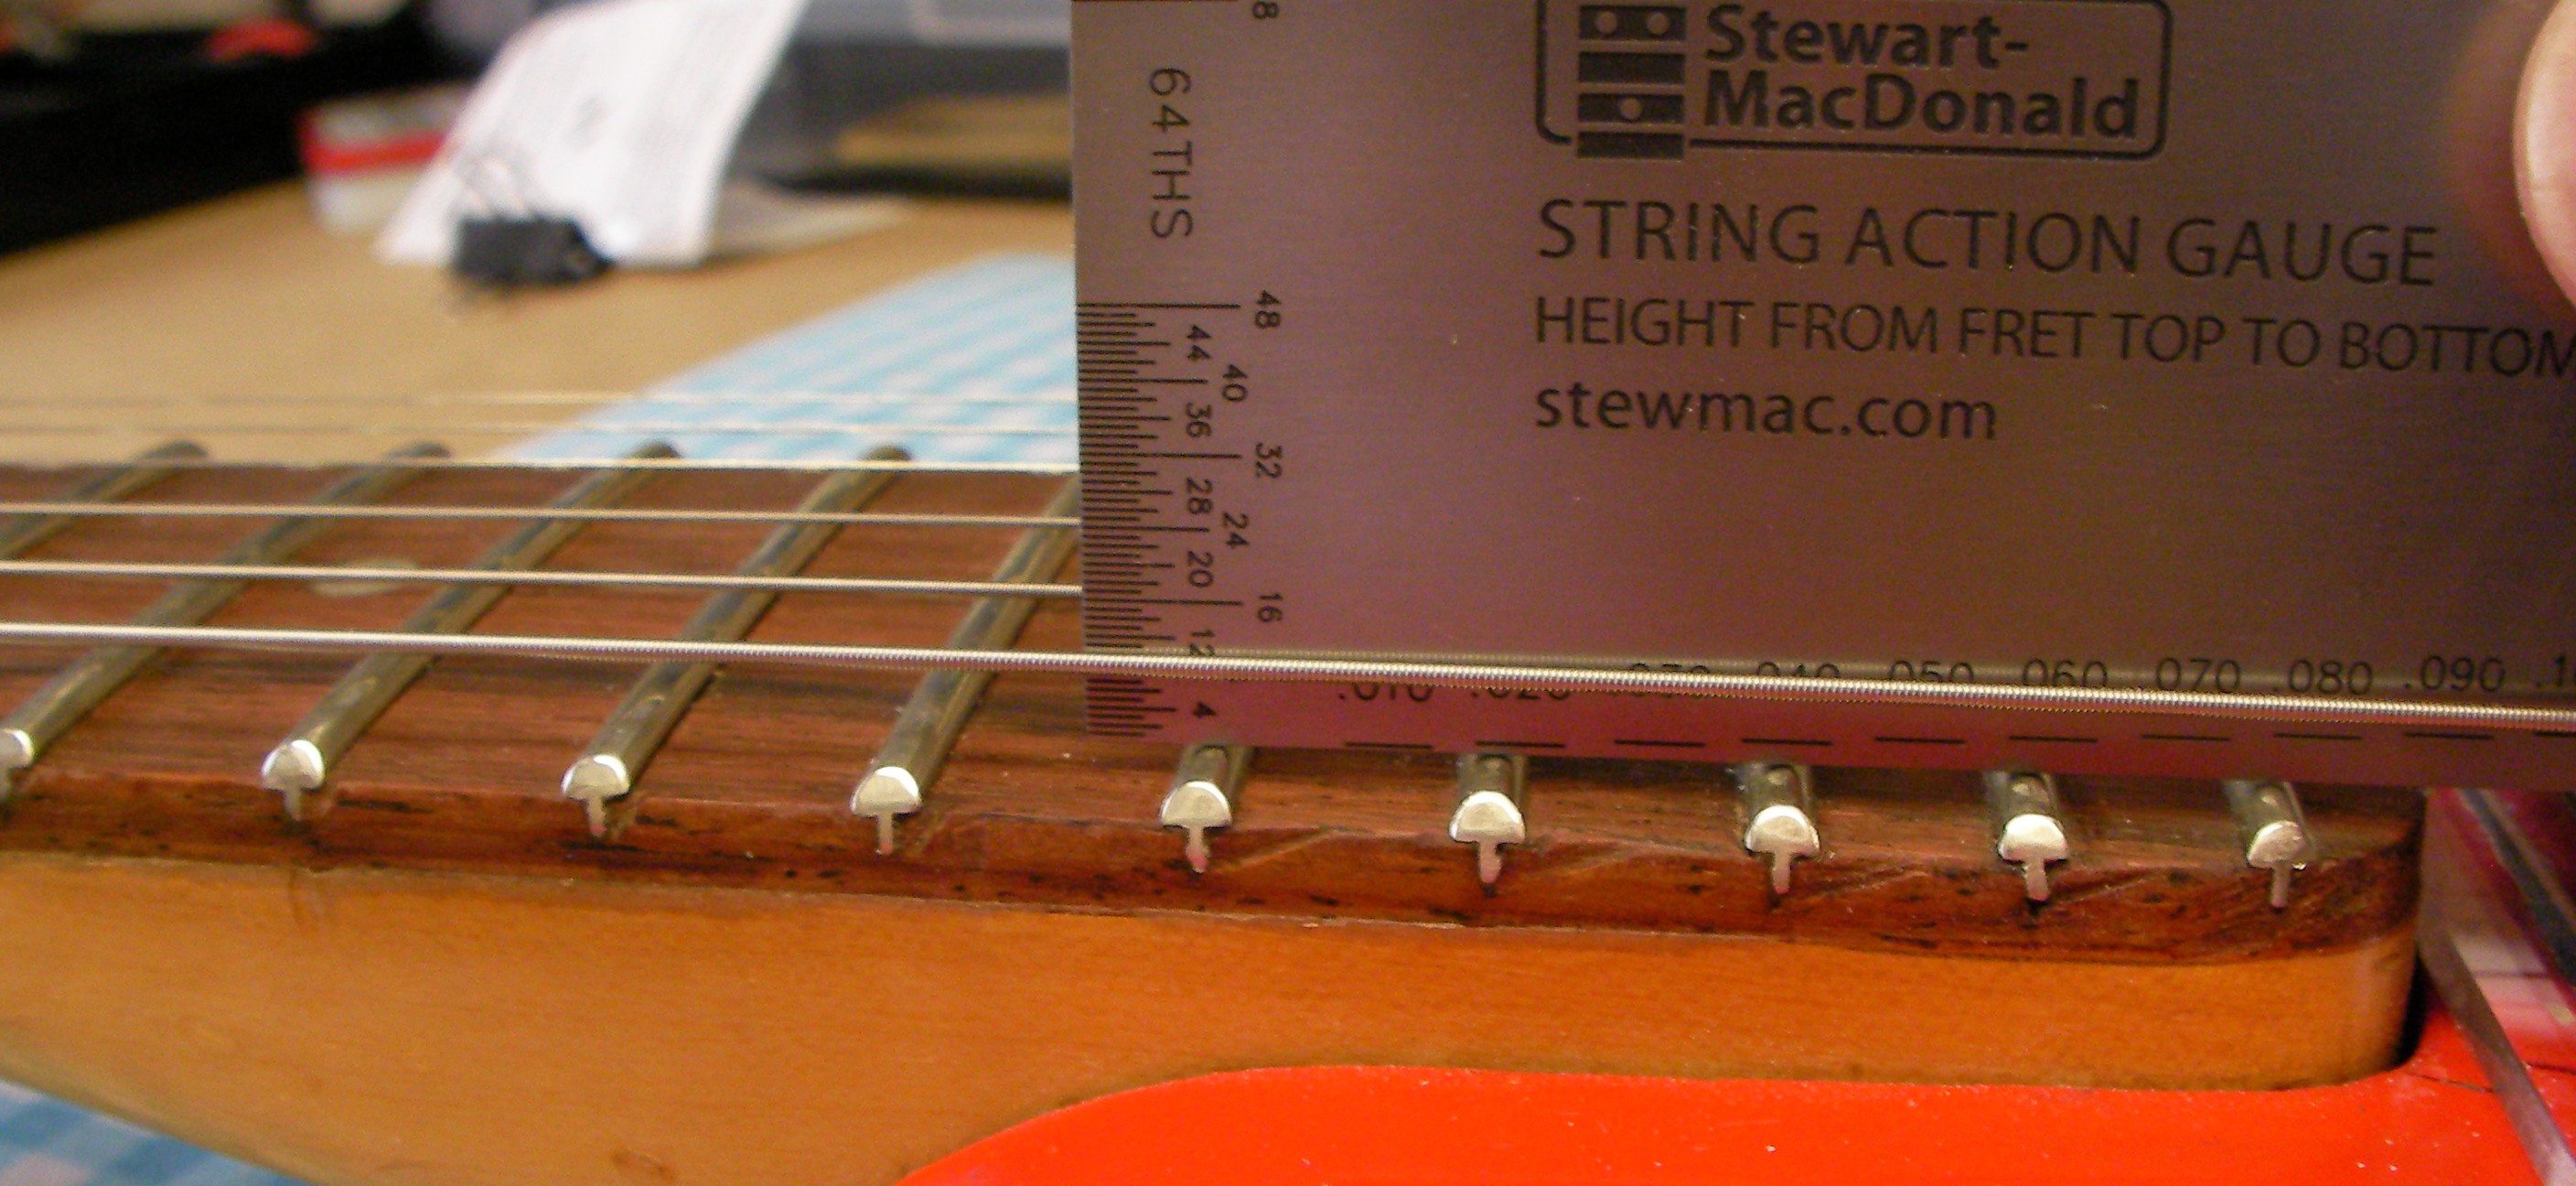
I found a bit of a problem, there is quite a set in the neck already (about 10 thou’ at the 7th fret) but that’s with no strings! I would like a little less than that with the strings fitted and under tension but the trouble is it doesn’t have a truss rod. I expect the set to probably double once the strings are tuned to pitch so it will need some more attention.
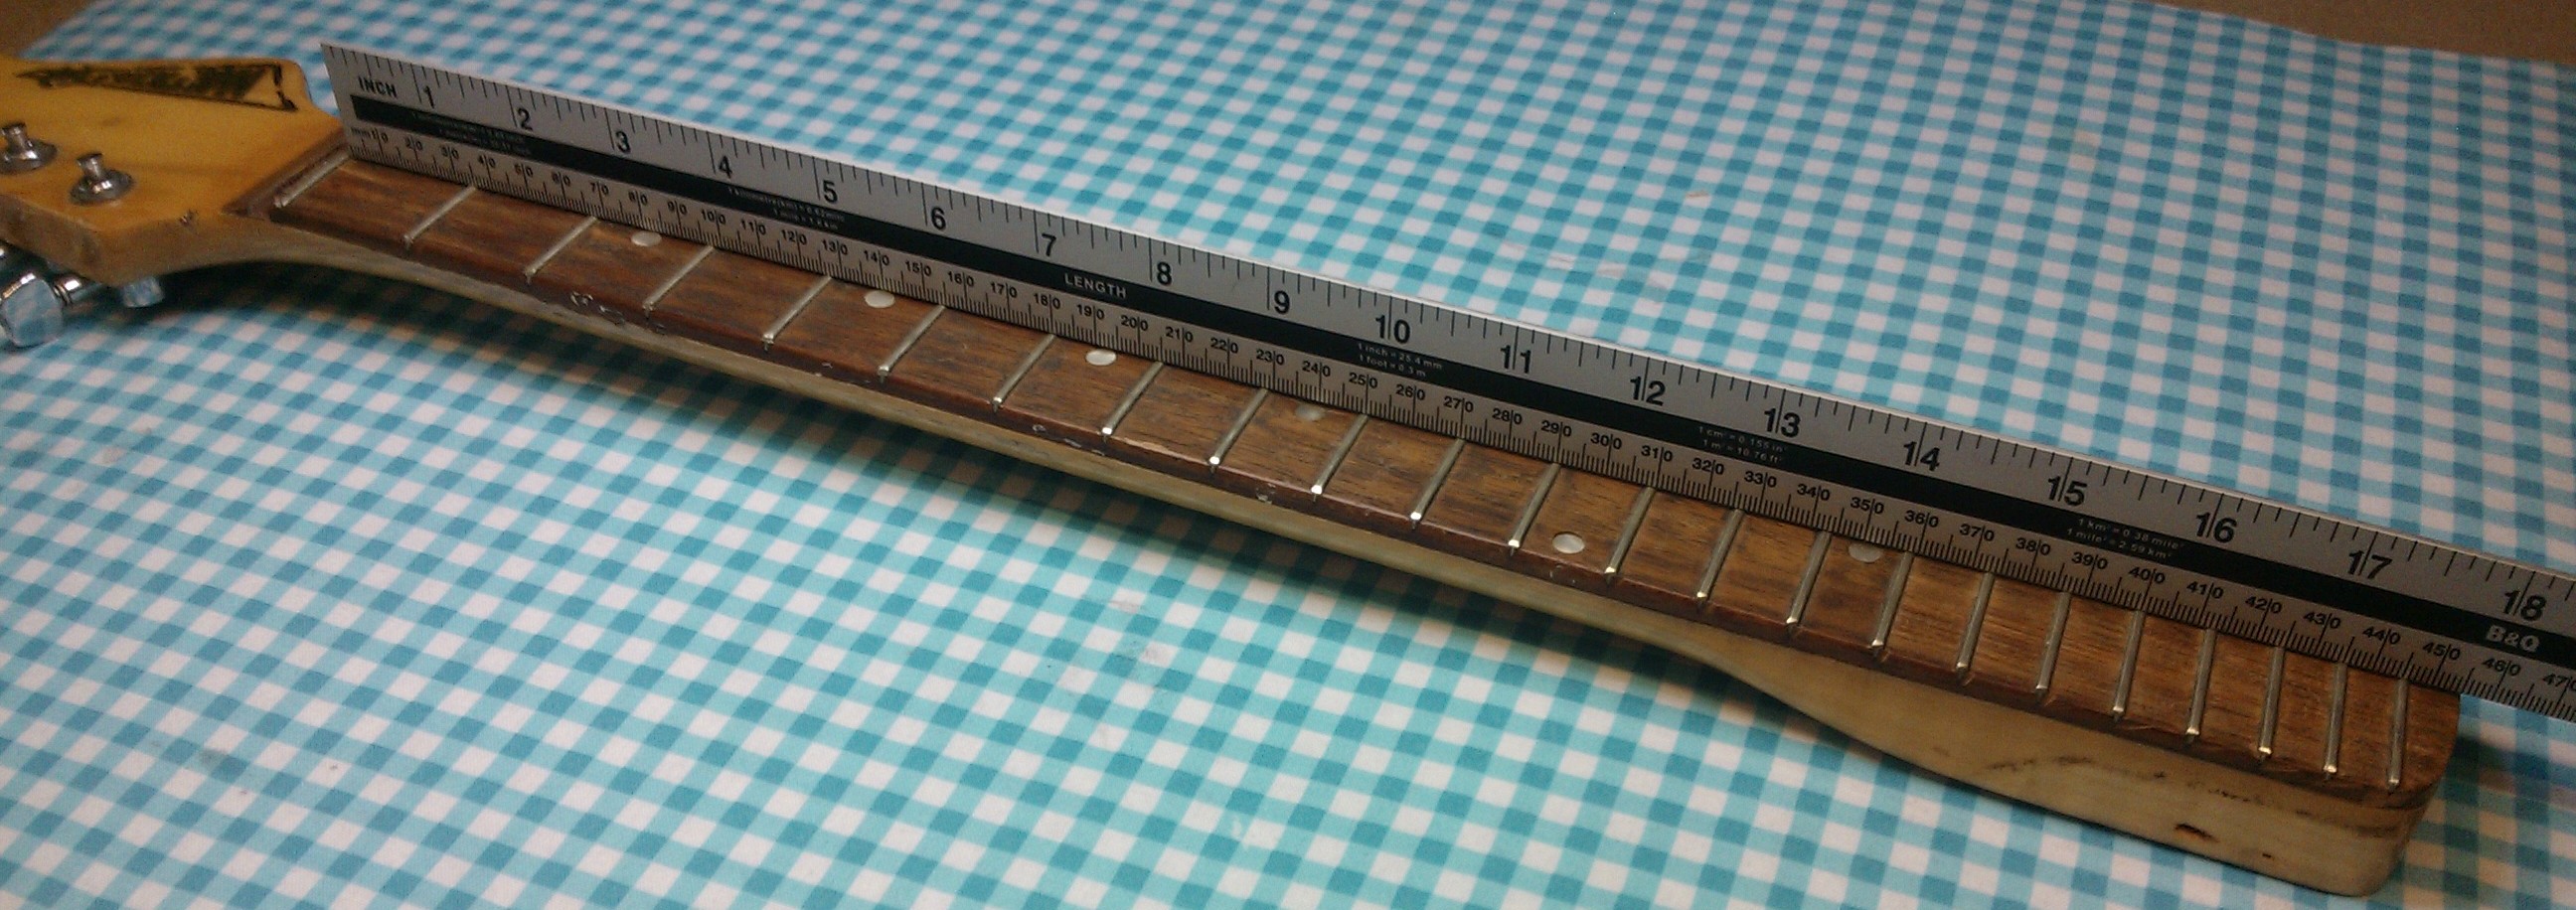
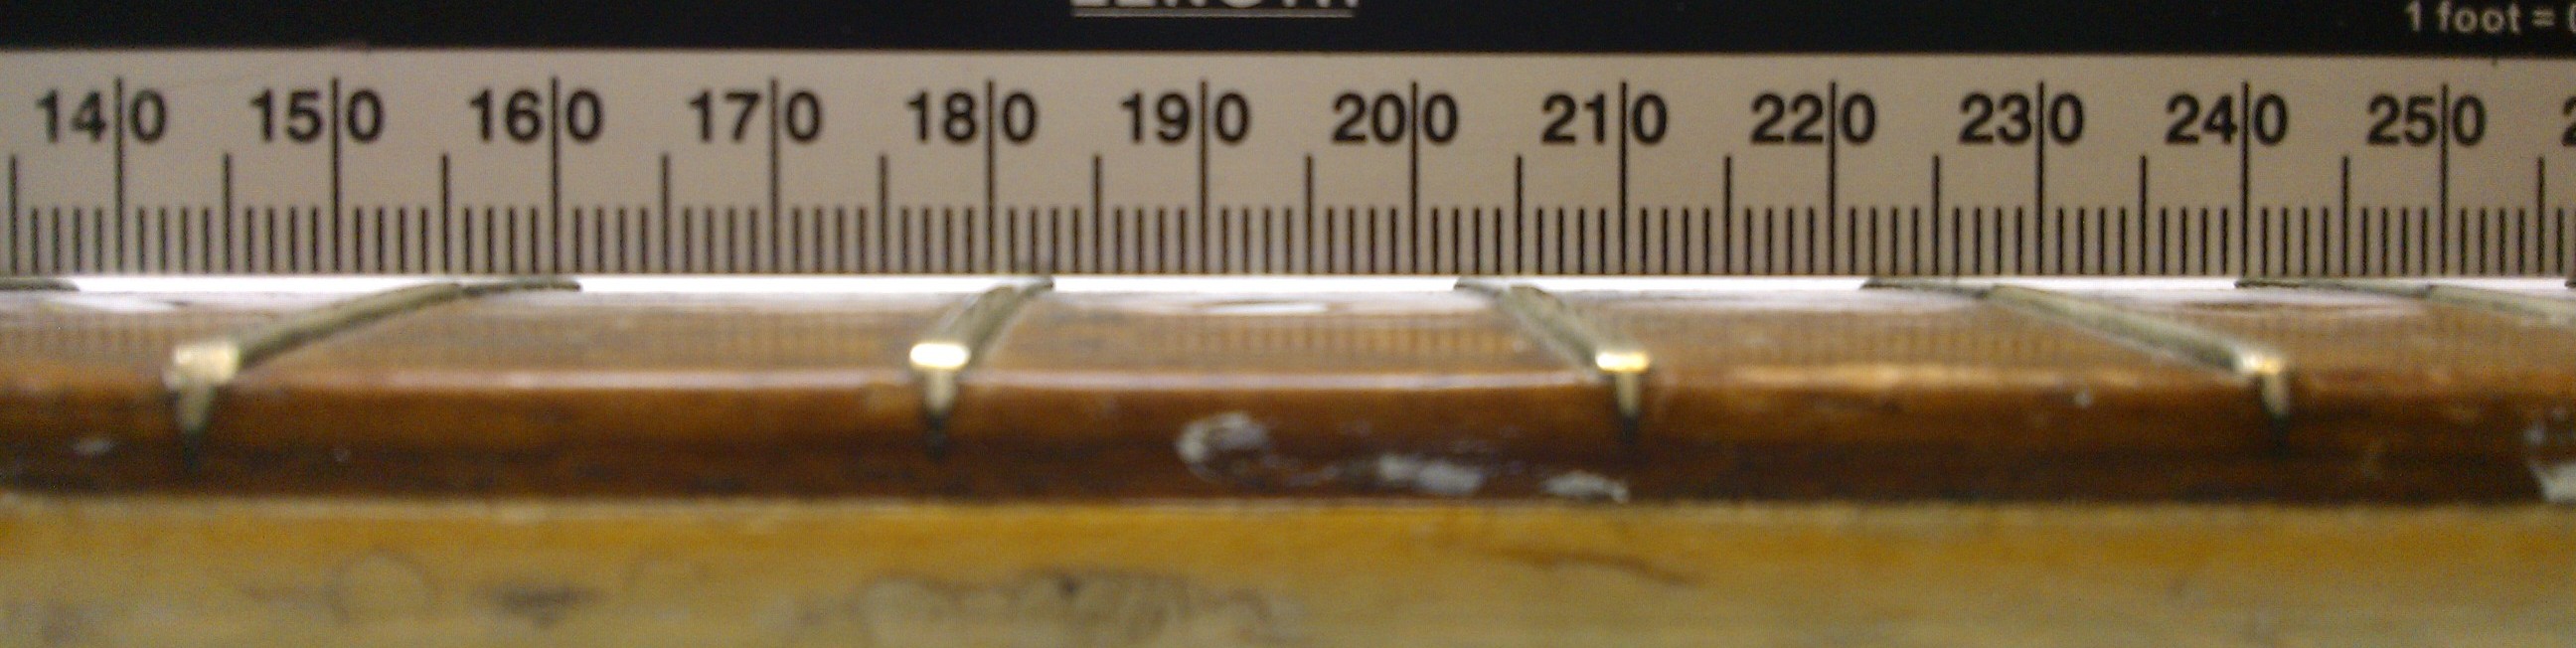
About 10 thousandths at the 7th fret.
There are three options:
1. Level the neck on the jig, dress and level the frets and fit light strings and accept a larger set in the neck.
2. Remove the frets, plan and level the fretboard, re-fret and dress etc.
3. Completely remove the fretboard, rout-out and fit a truss-rod, new fretboard and frets.
I guess its up to James!
We decided that since it played quite well before, without a truss-rod, it didn’t really need one. Option 2 it is then….
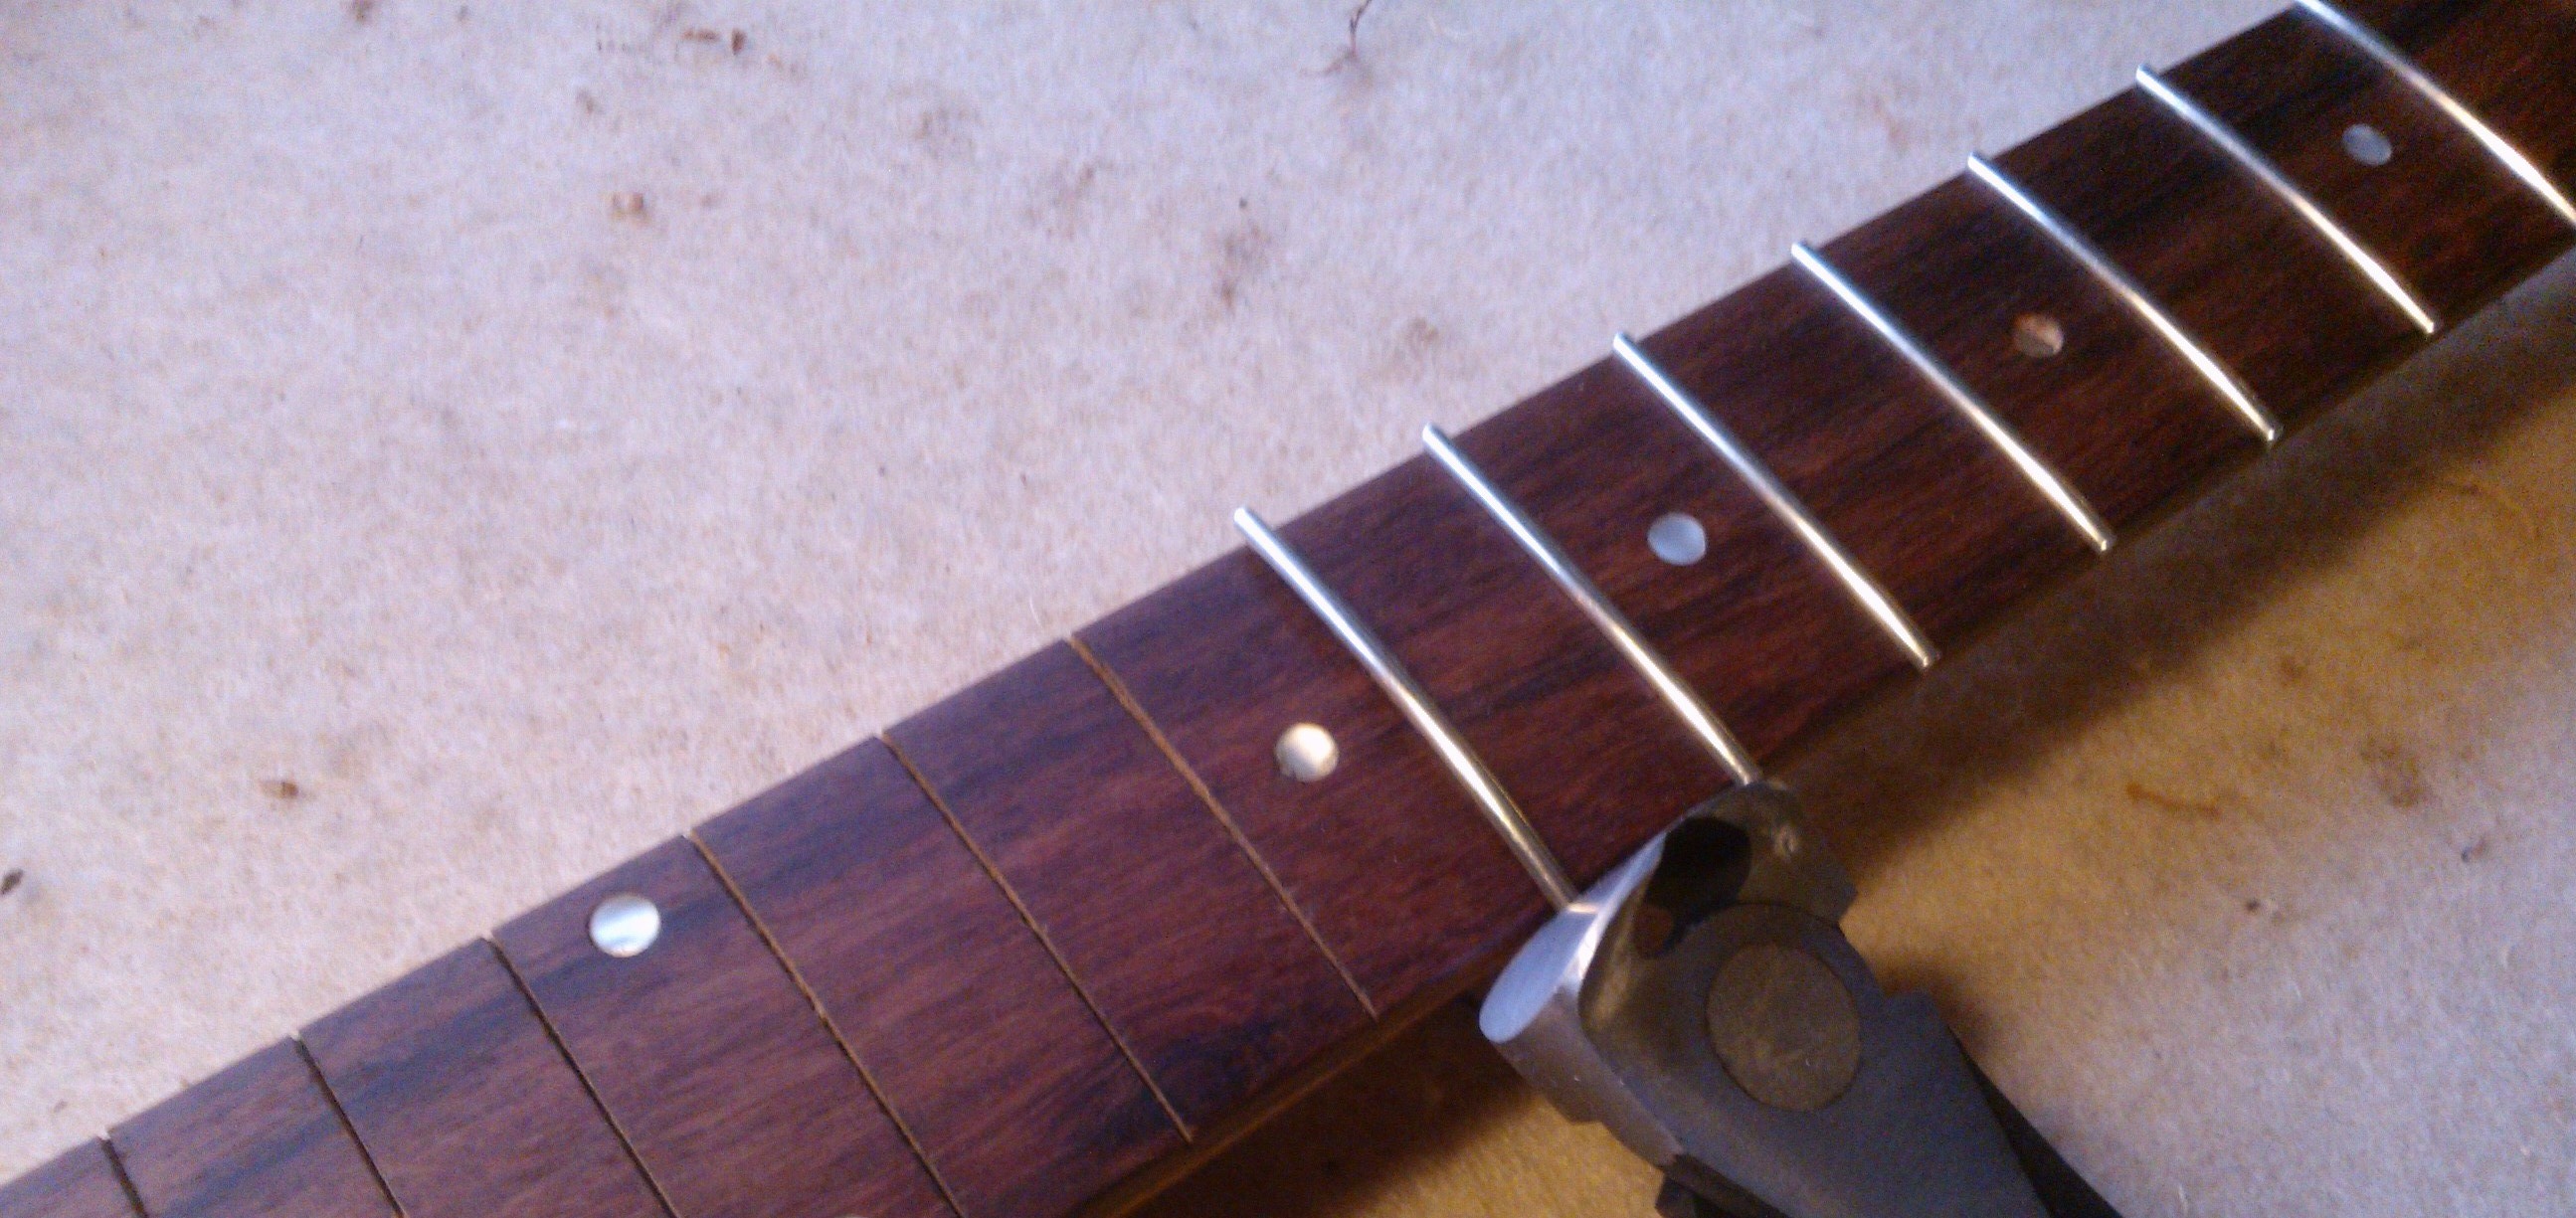
First stage pull the old frets and level the fingerboard.
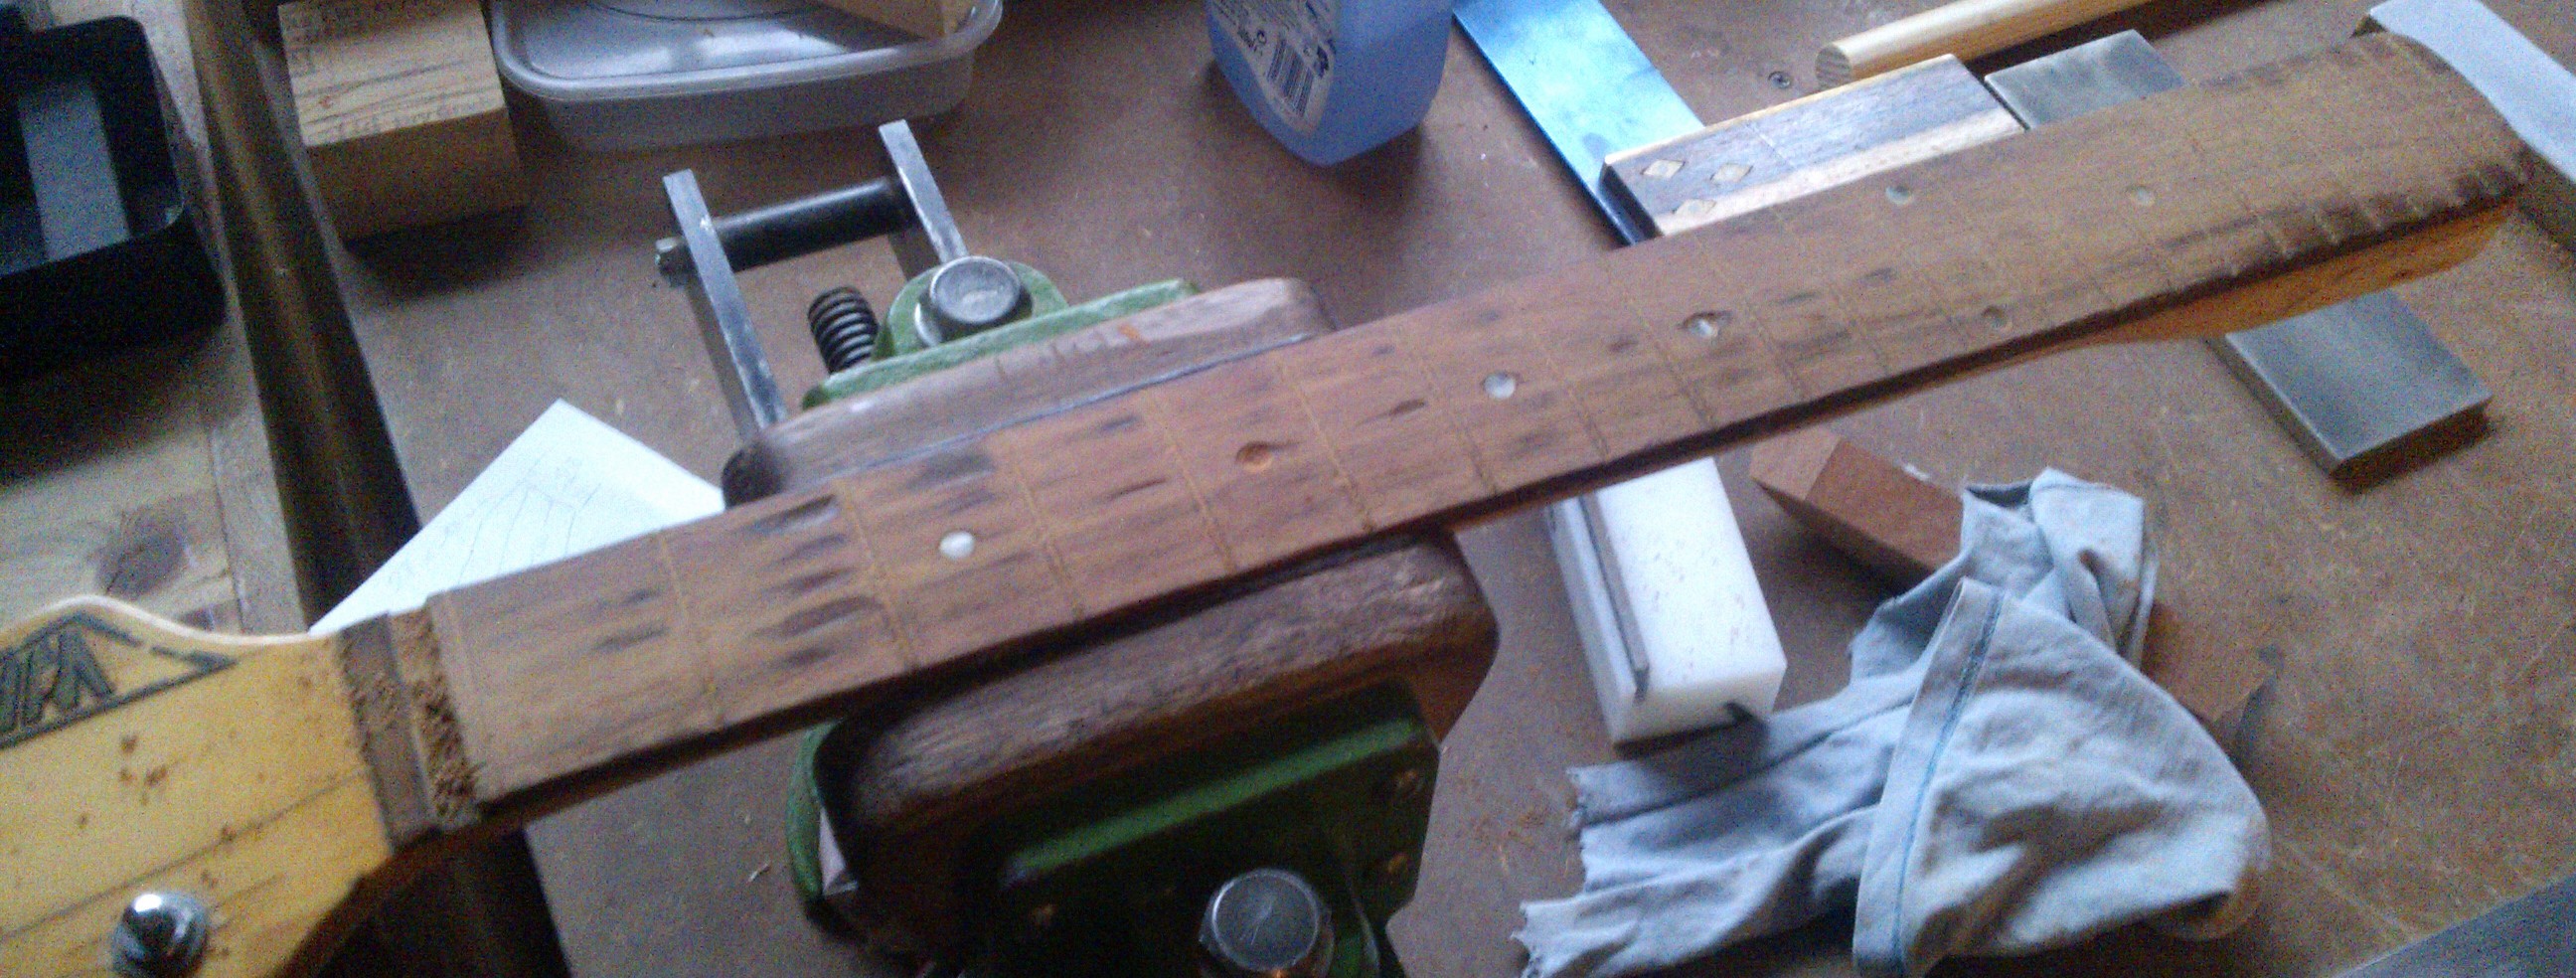
Its seen some service so it took quite a bit of work but got there in the end. The main aim was to achieve a level fingerboard as it had a slight set to it. Having got it level some of the fret slots needed re-cutting as they were now a little shallow.
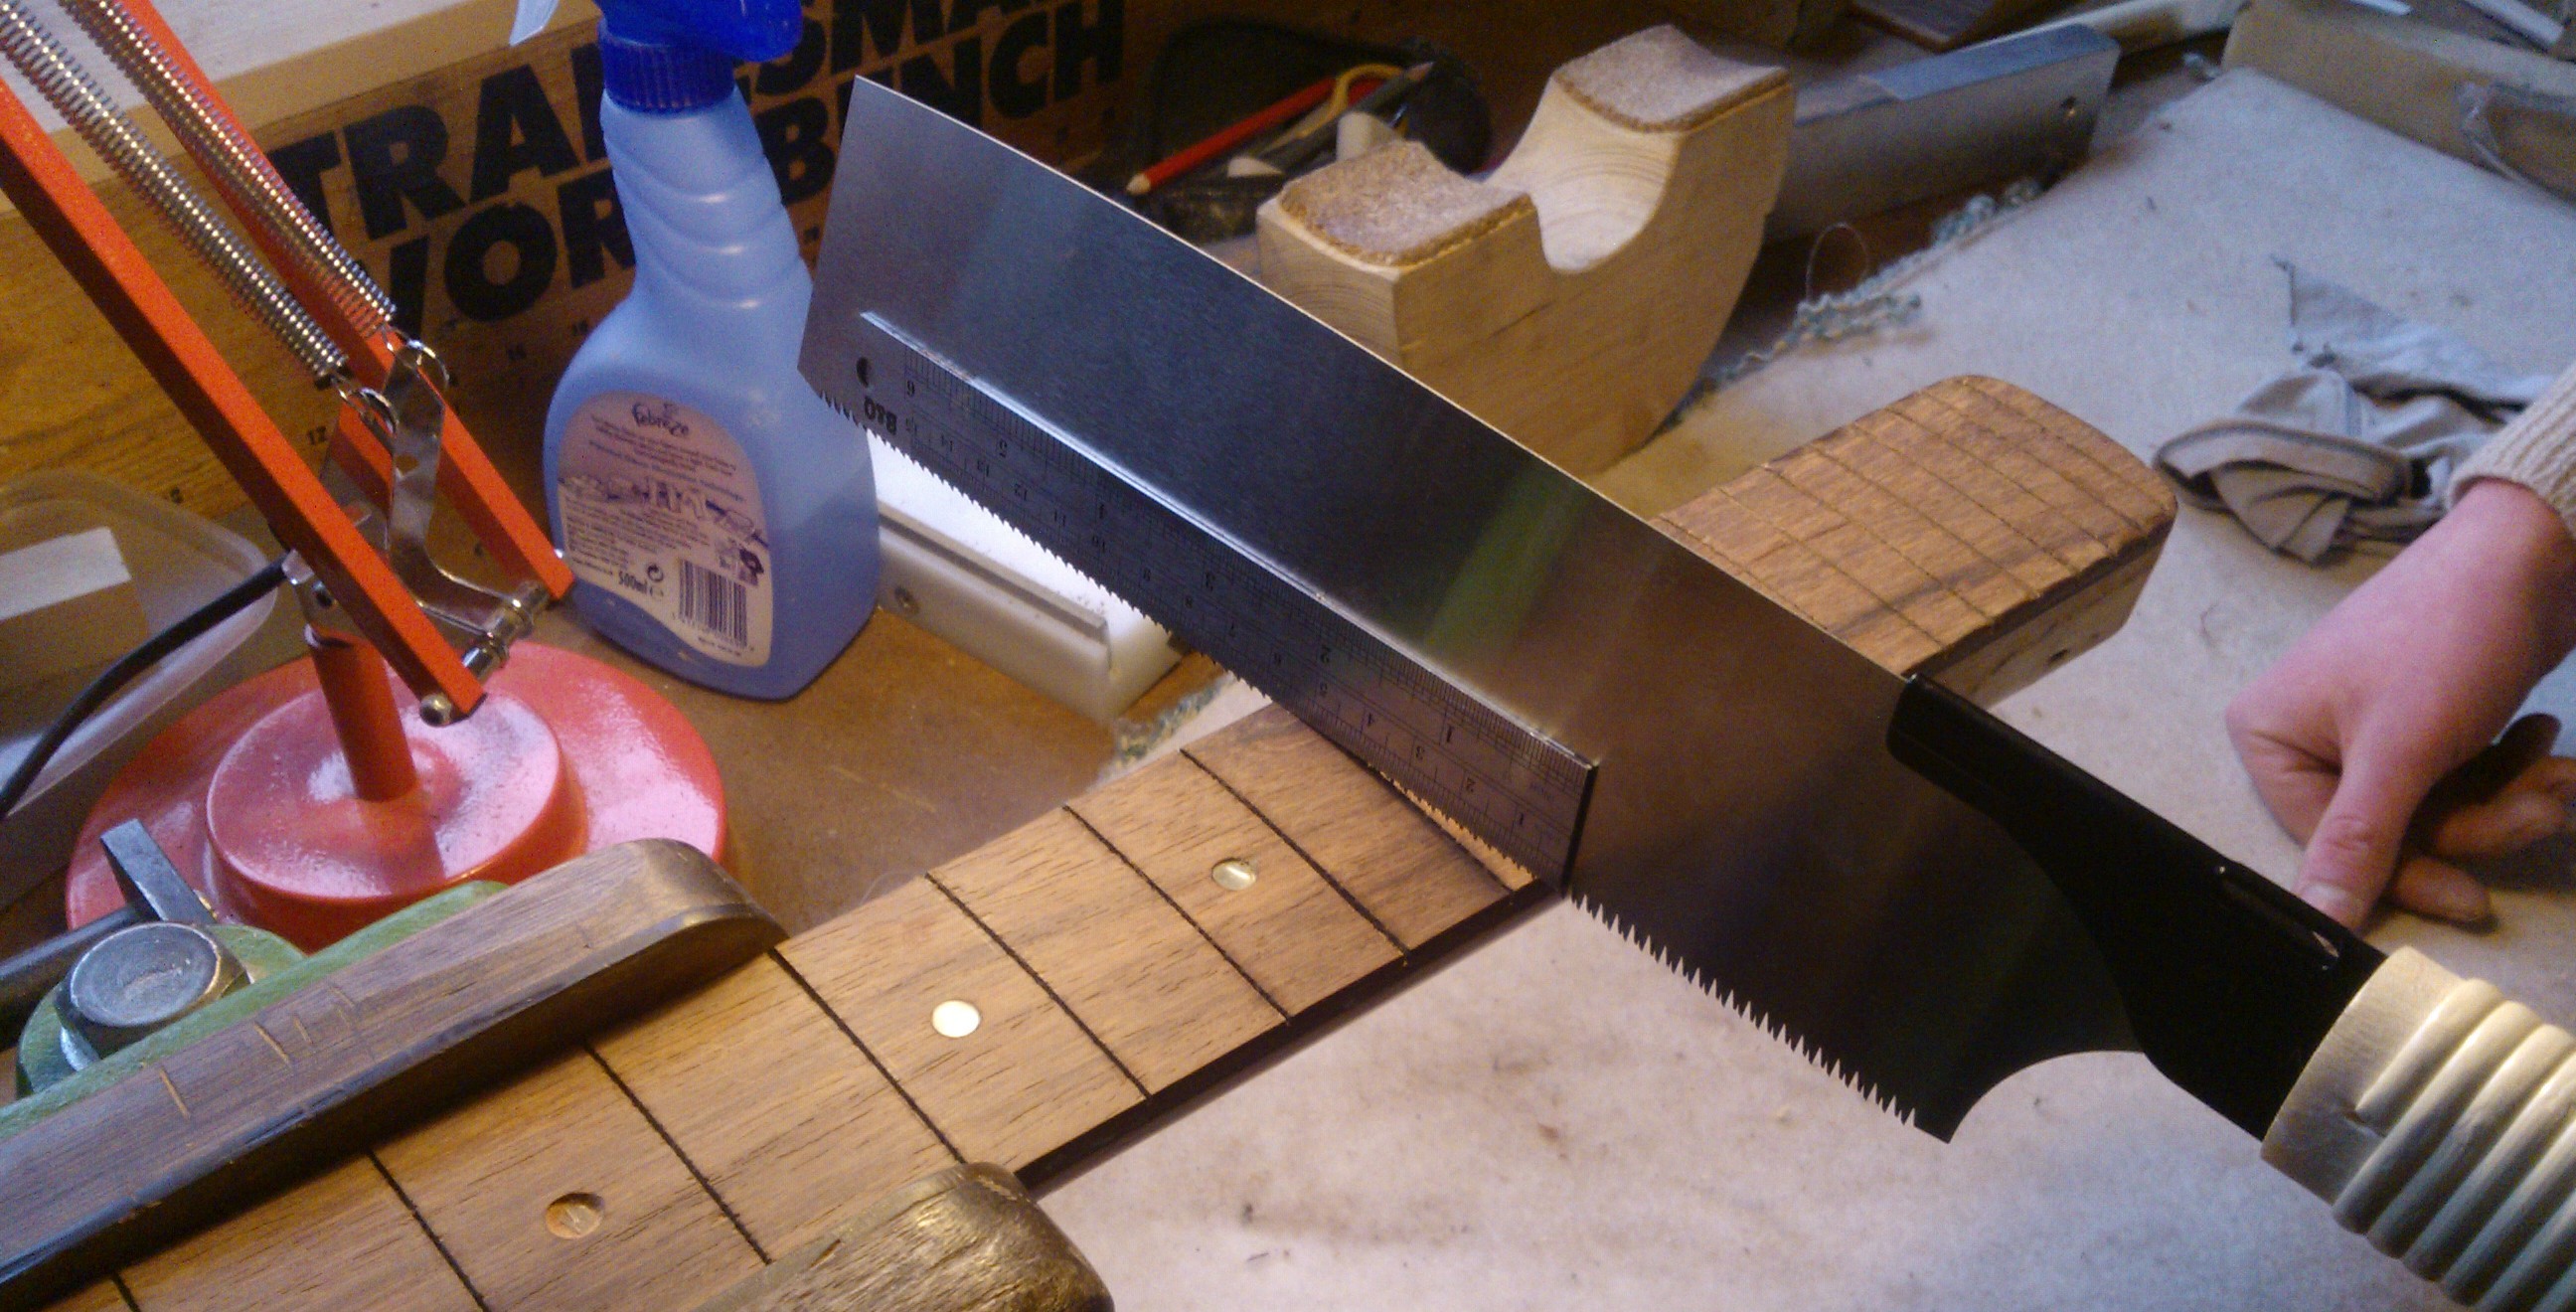
The steel rule taped to the blade stops it cutting deeper than the required 2.5mm for the fret tang.
Once that was done some nice fine sandpaper to get a good smooth finish.
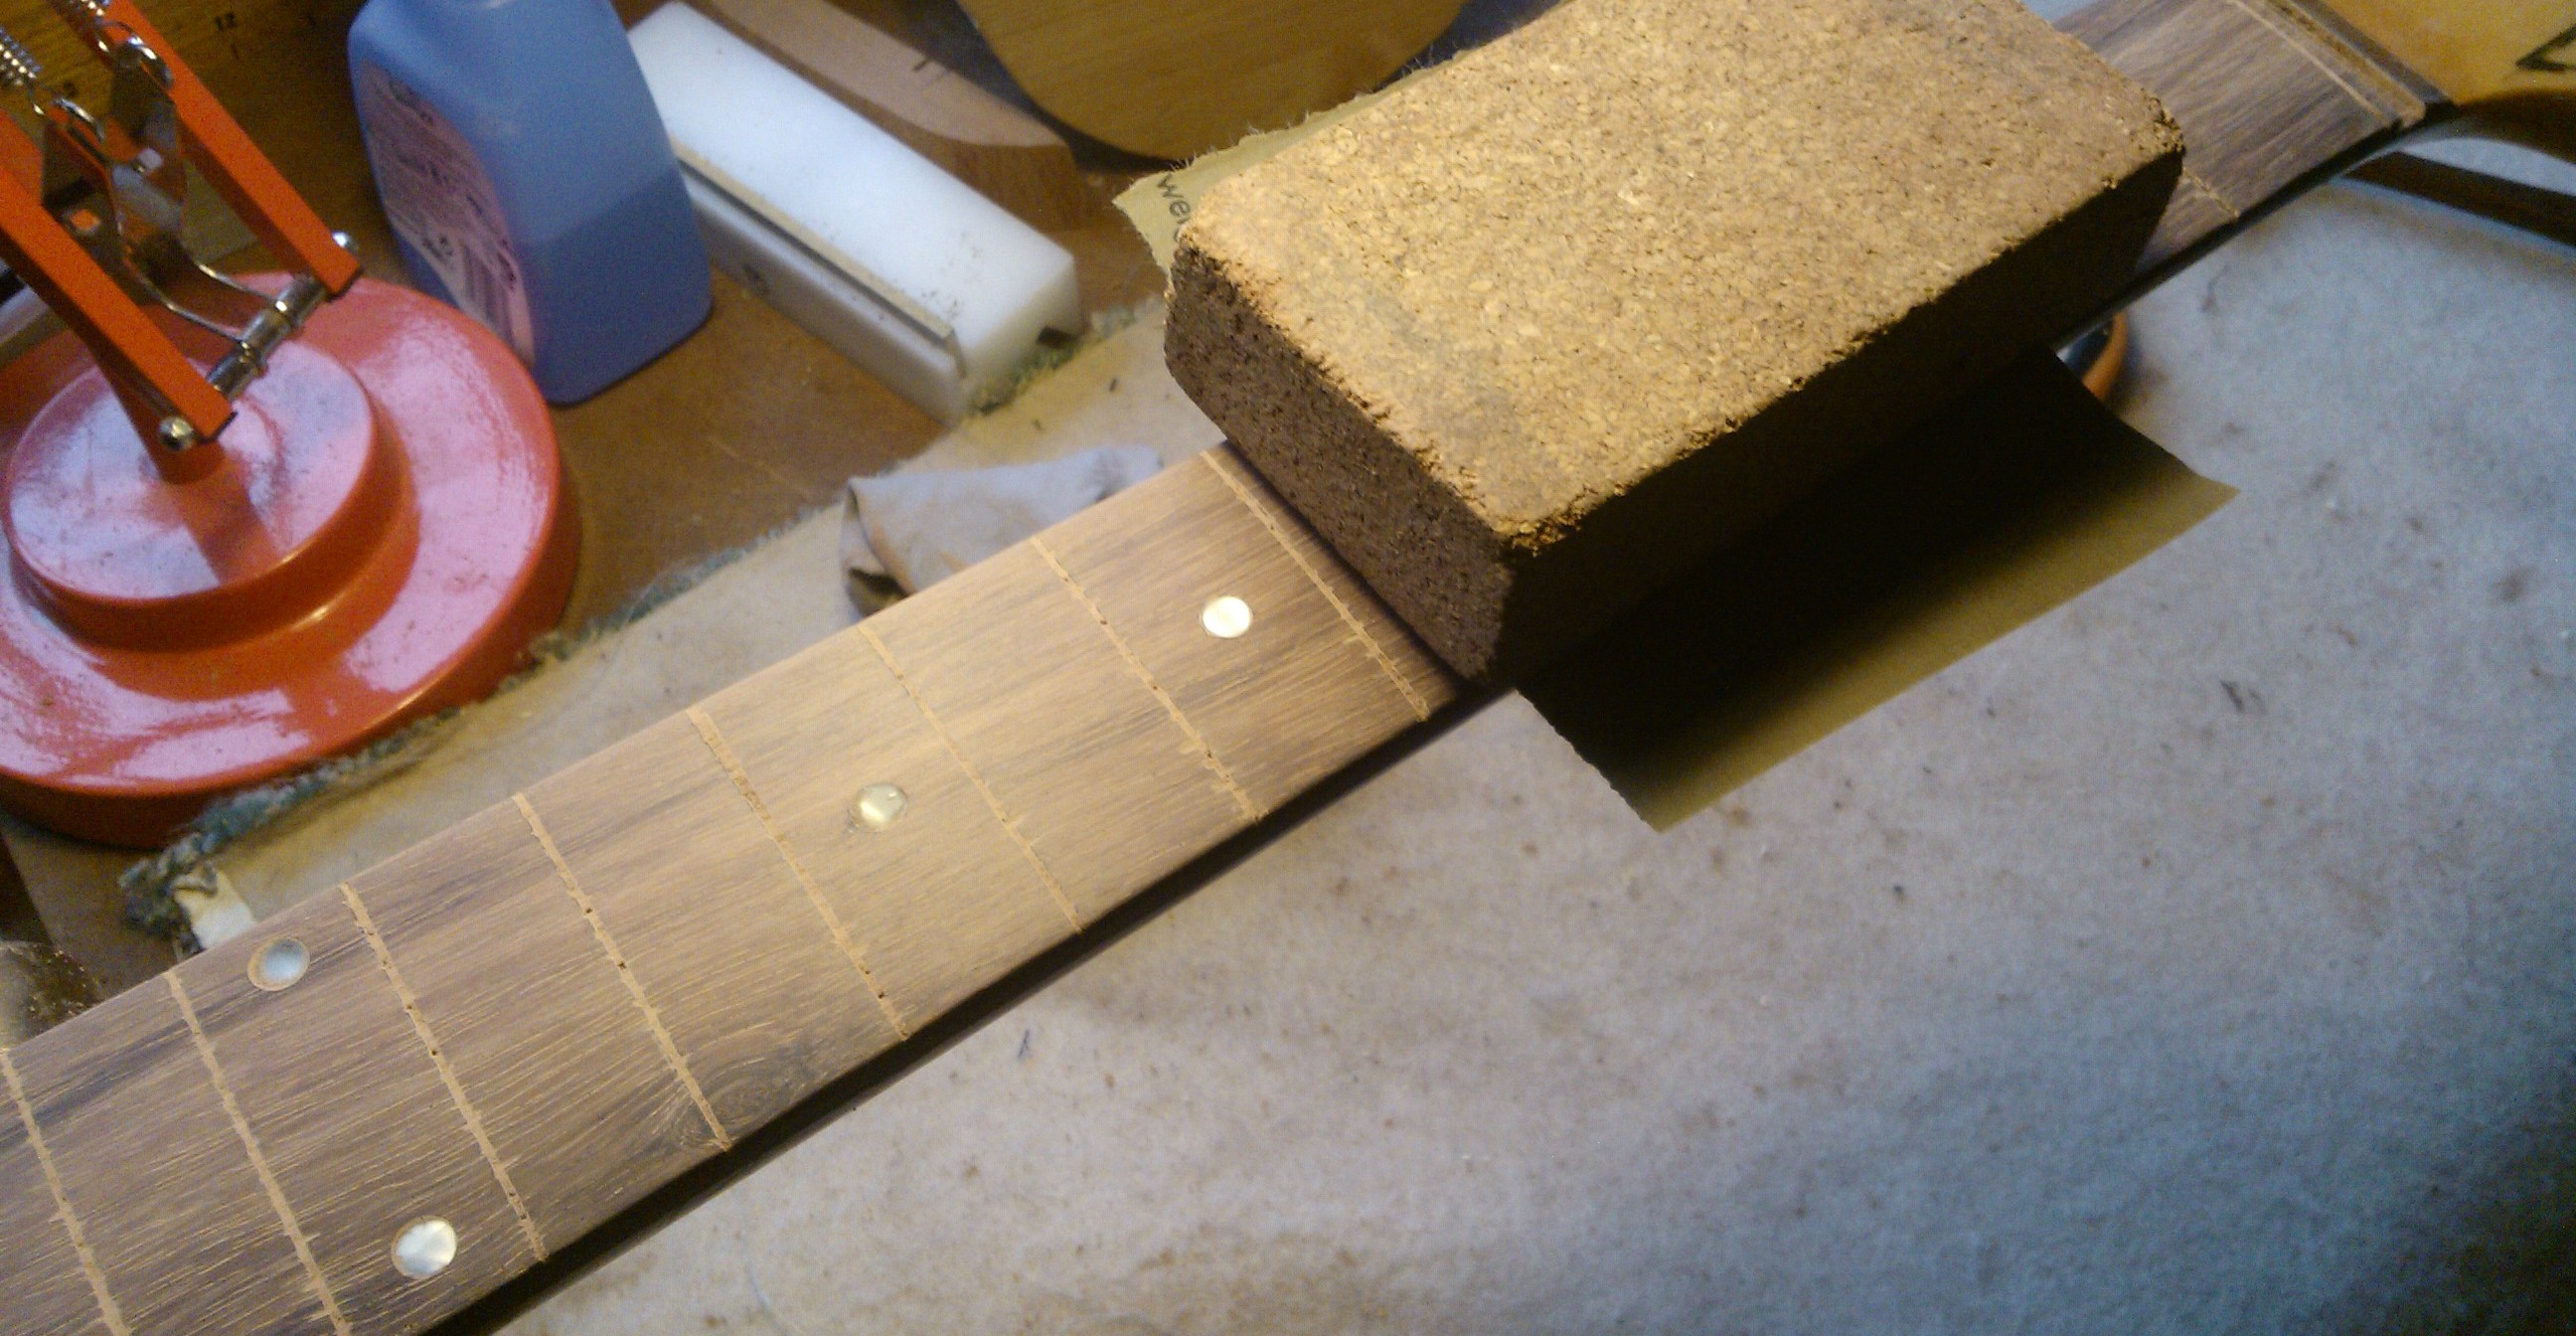
Clean off the dust and add a little lemon oil to bring some life back to the wood.
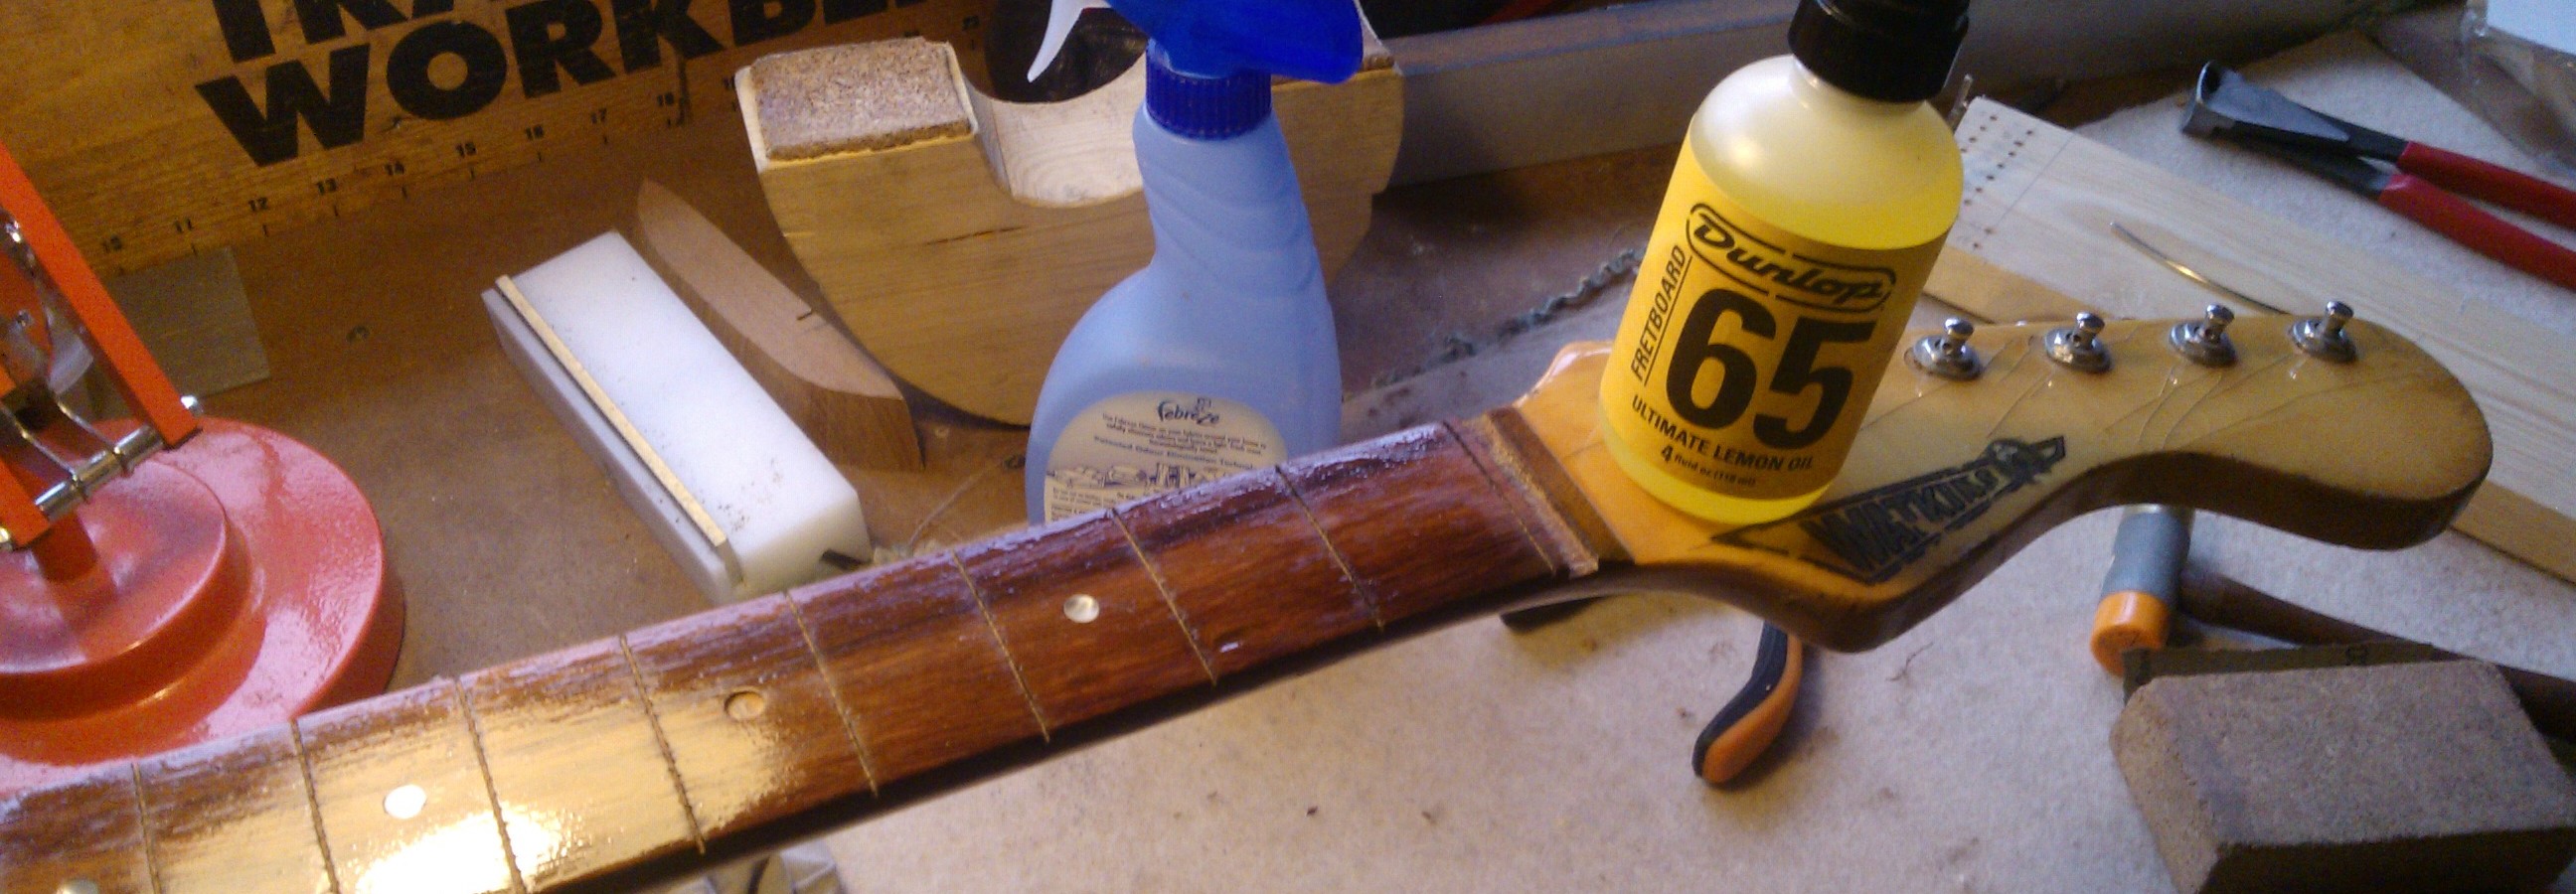
Once that’s had a bit of a time to soak in, give it a good polish up and start cutting the new frets.
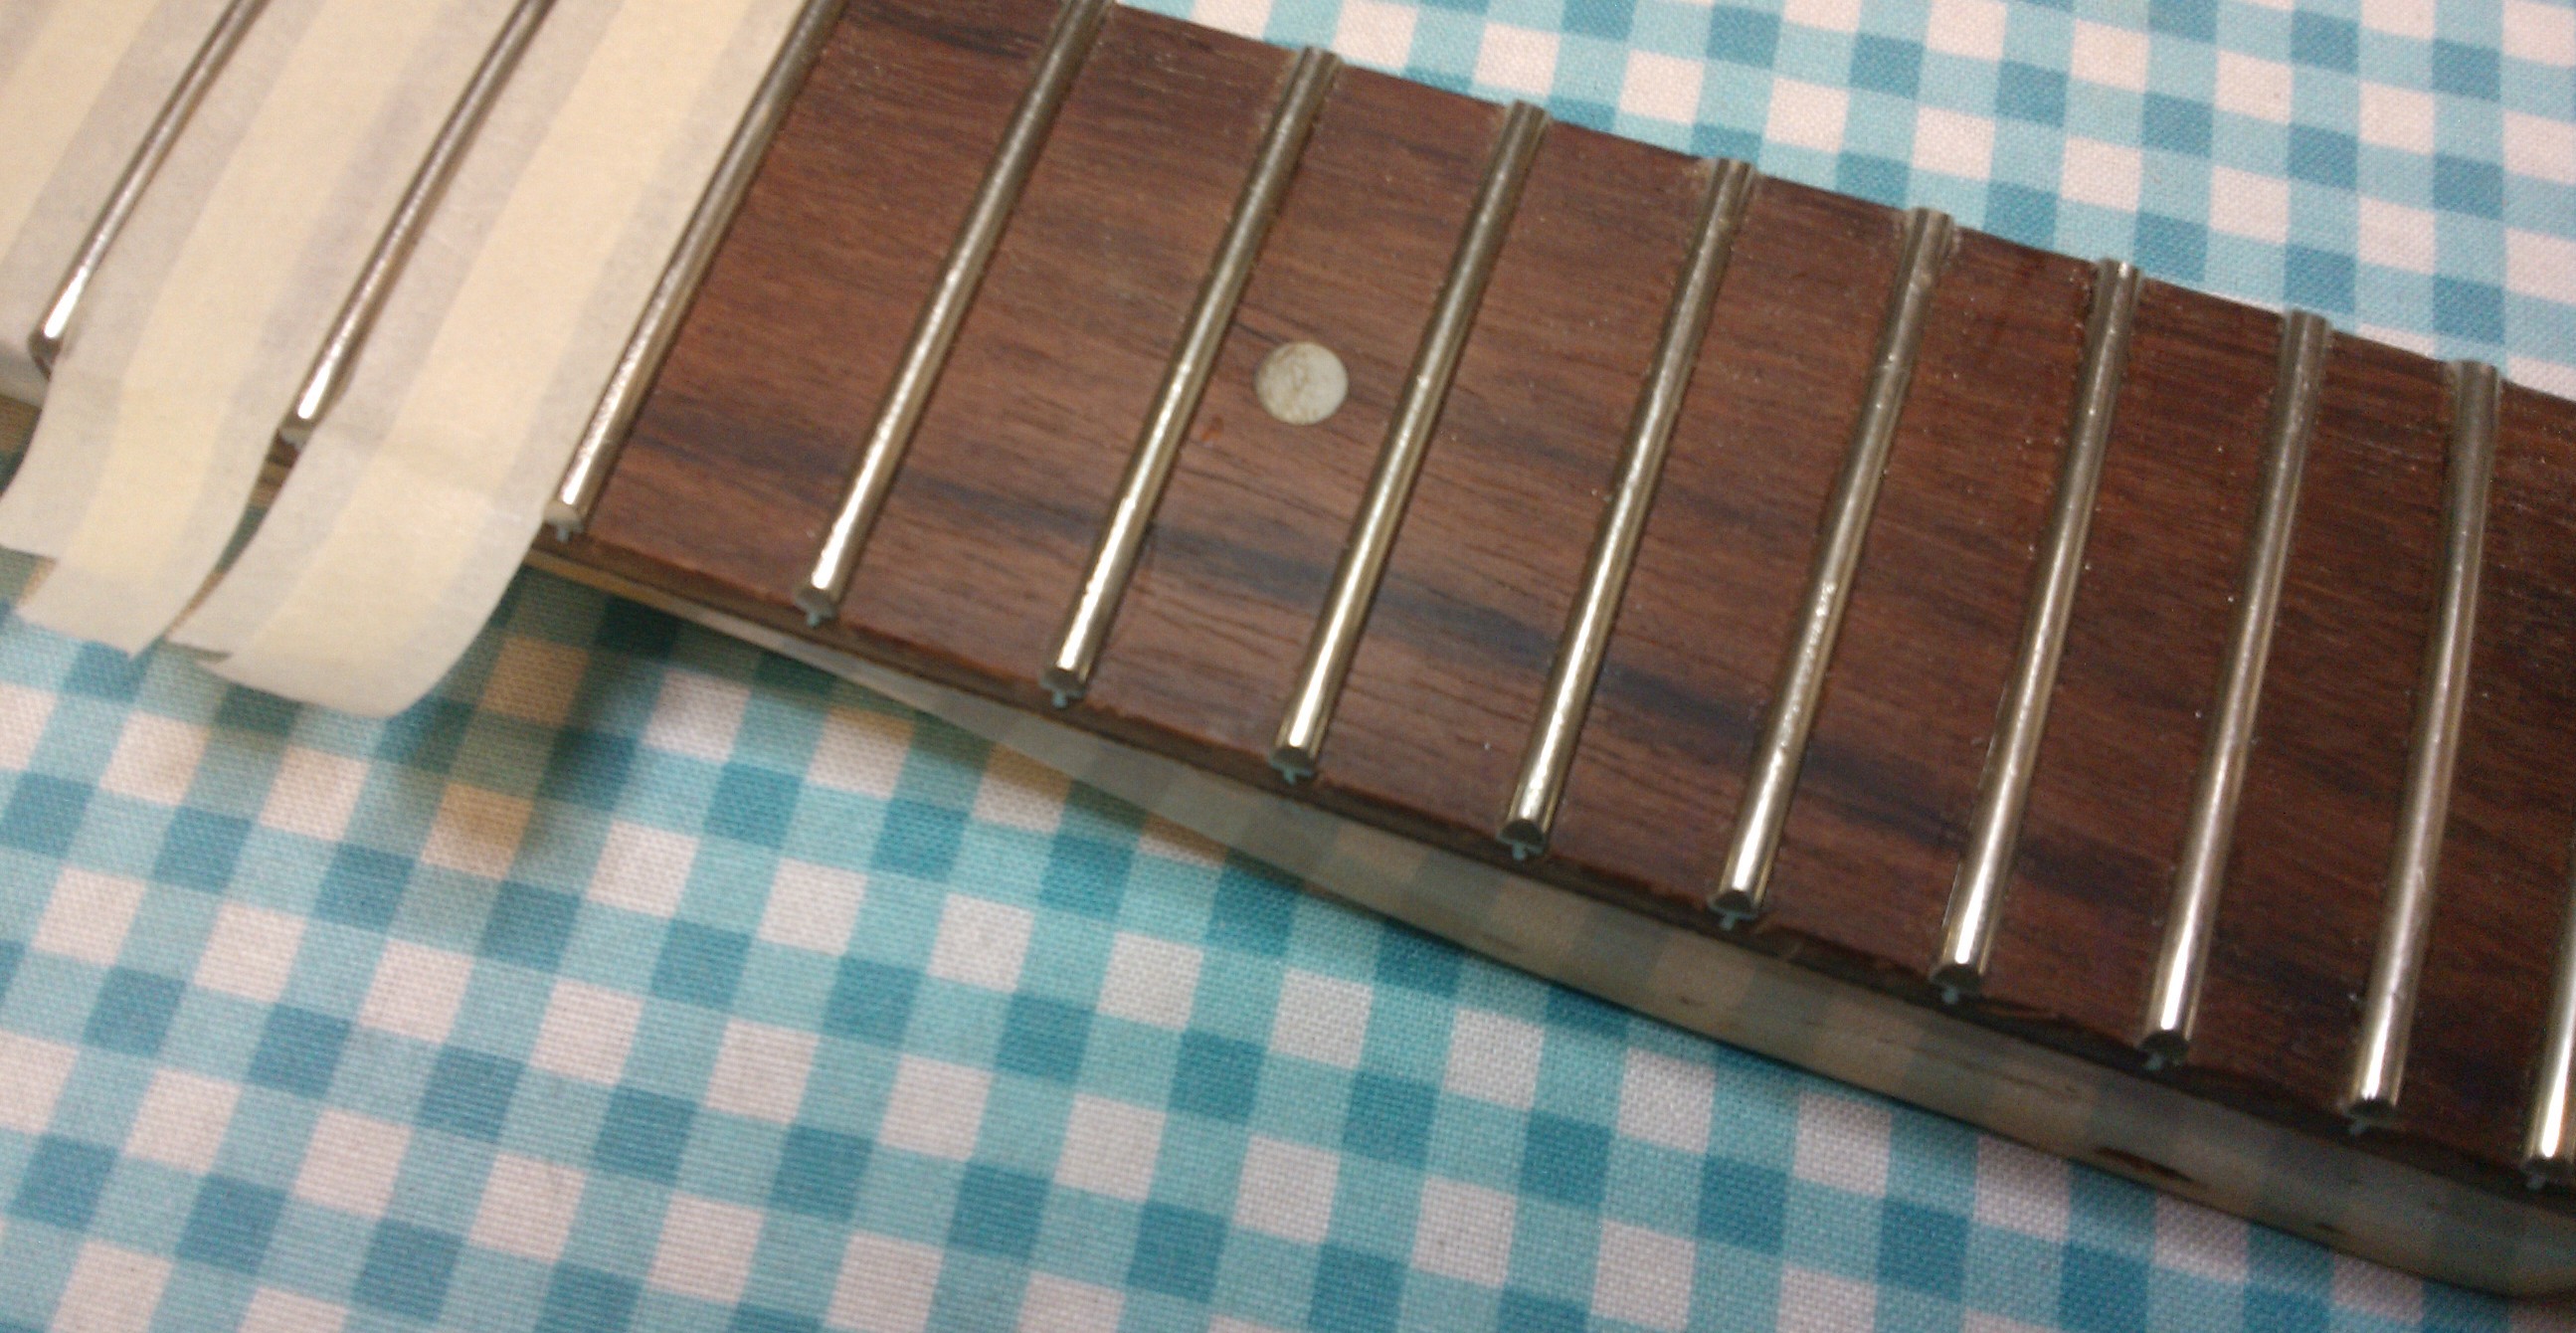
Its impossible of course to fit all the frets absolutely level so a fret-dress is always needed. Just adding the tape to protect the fingerboard.
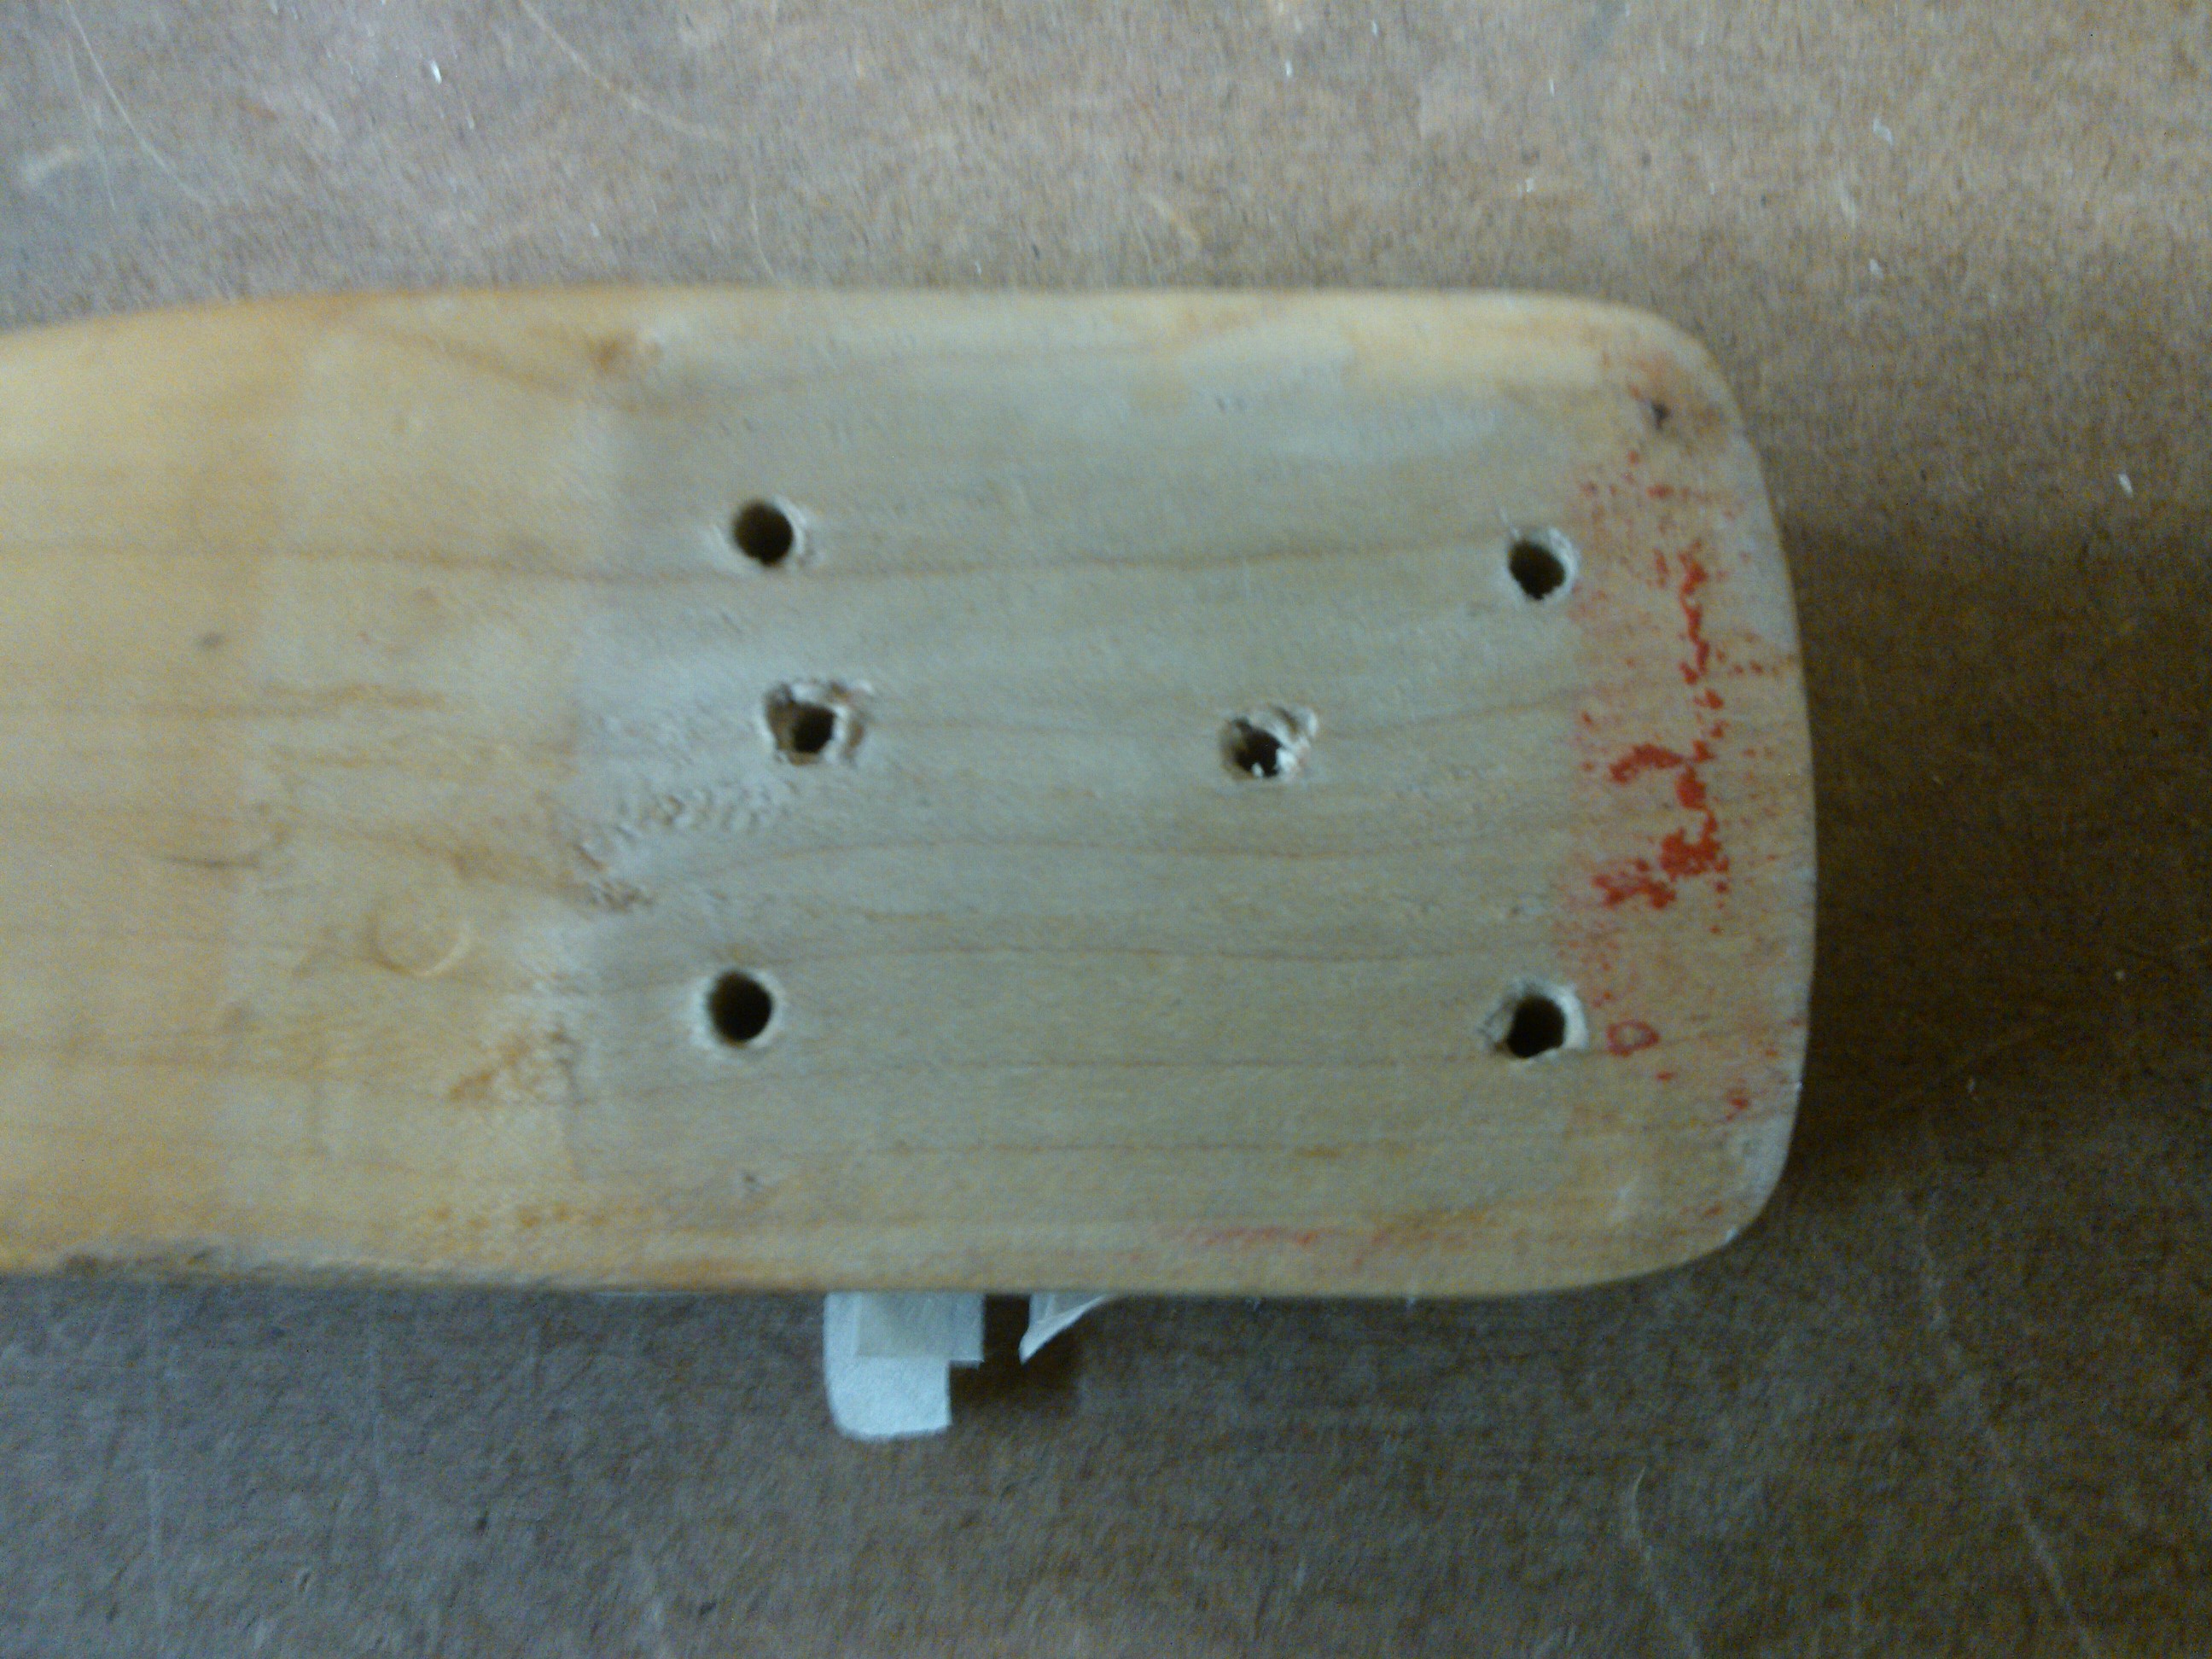
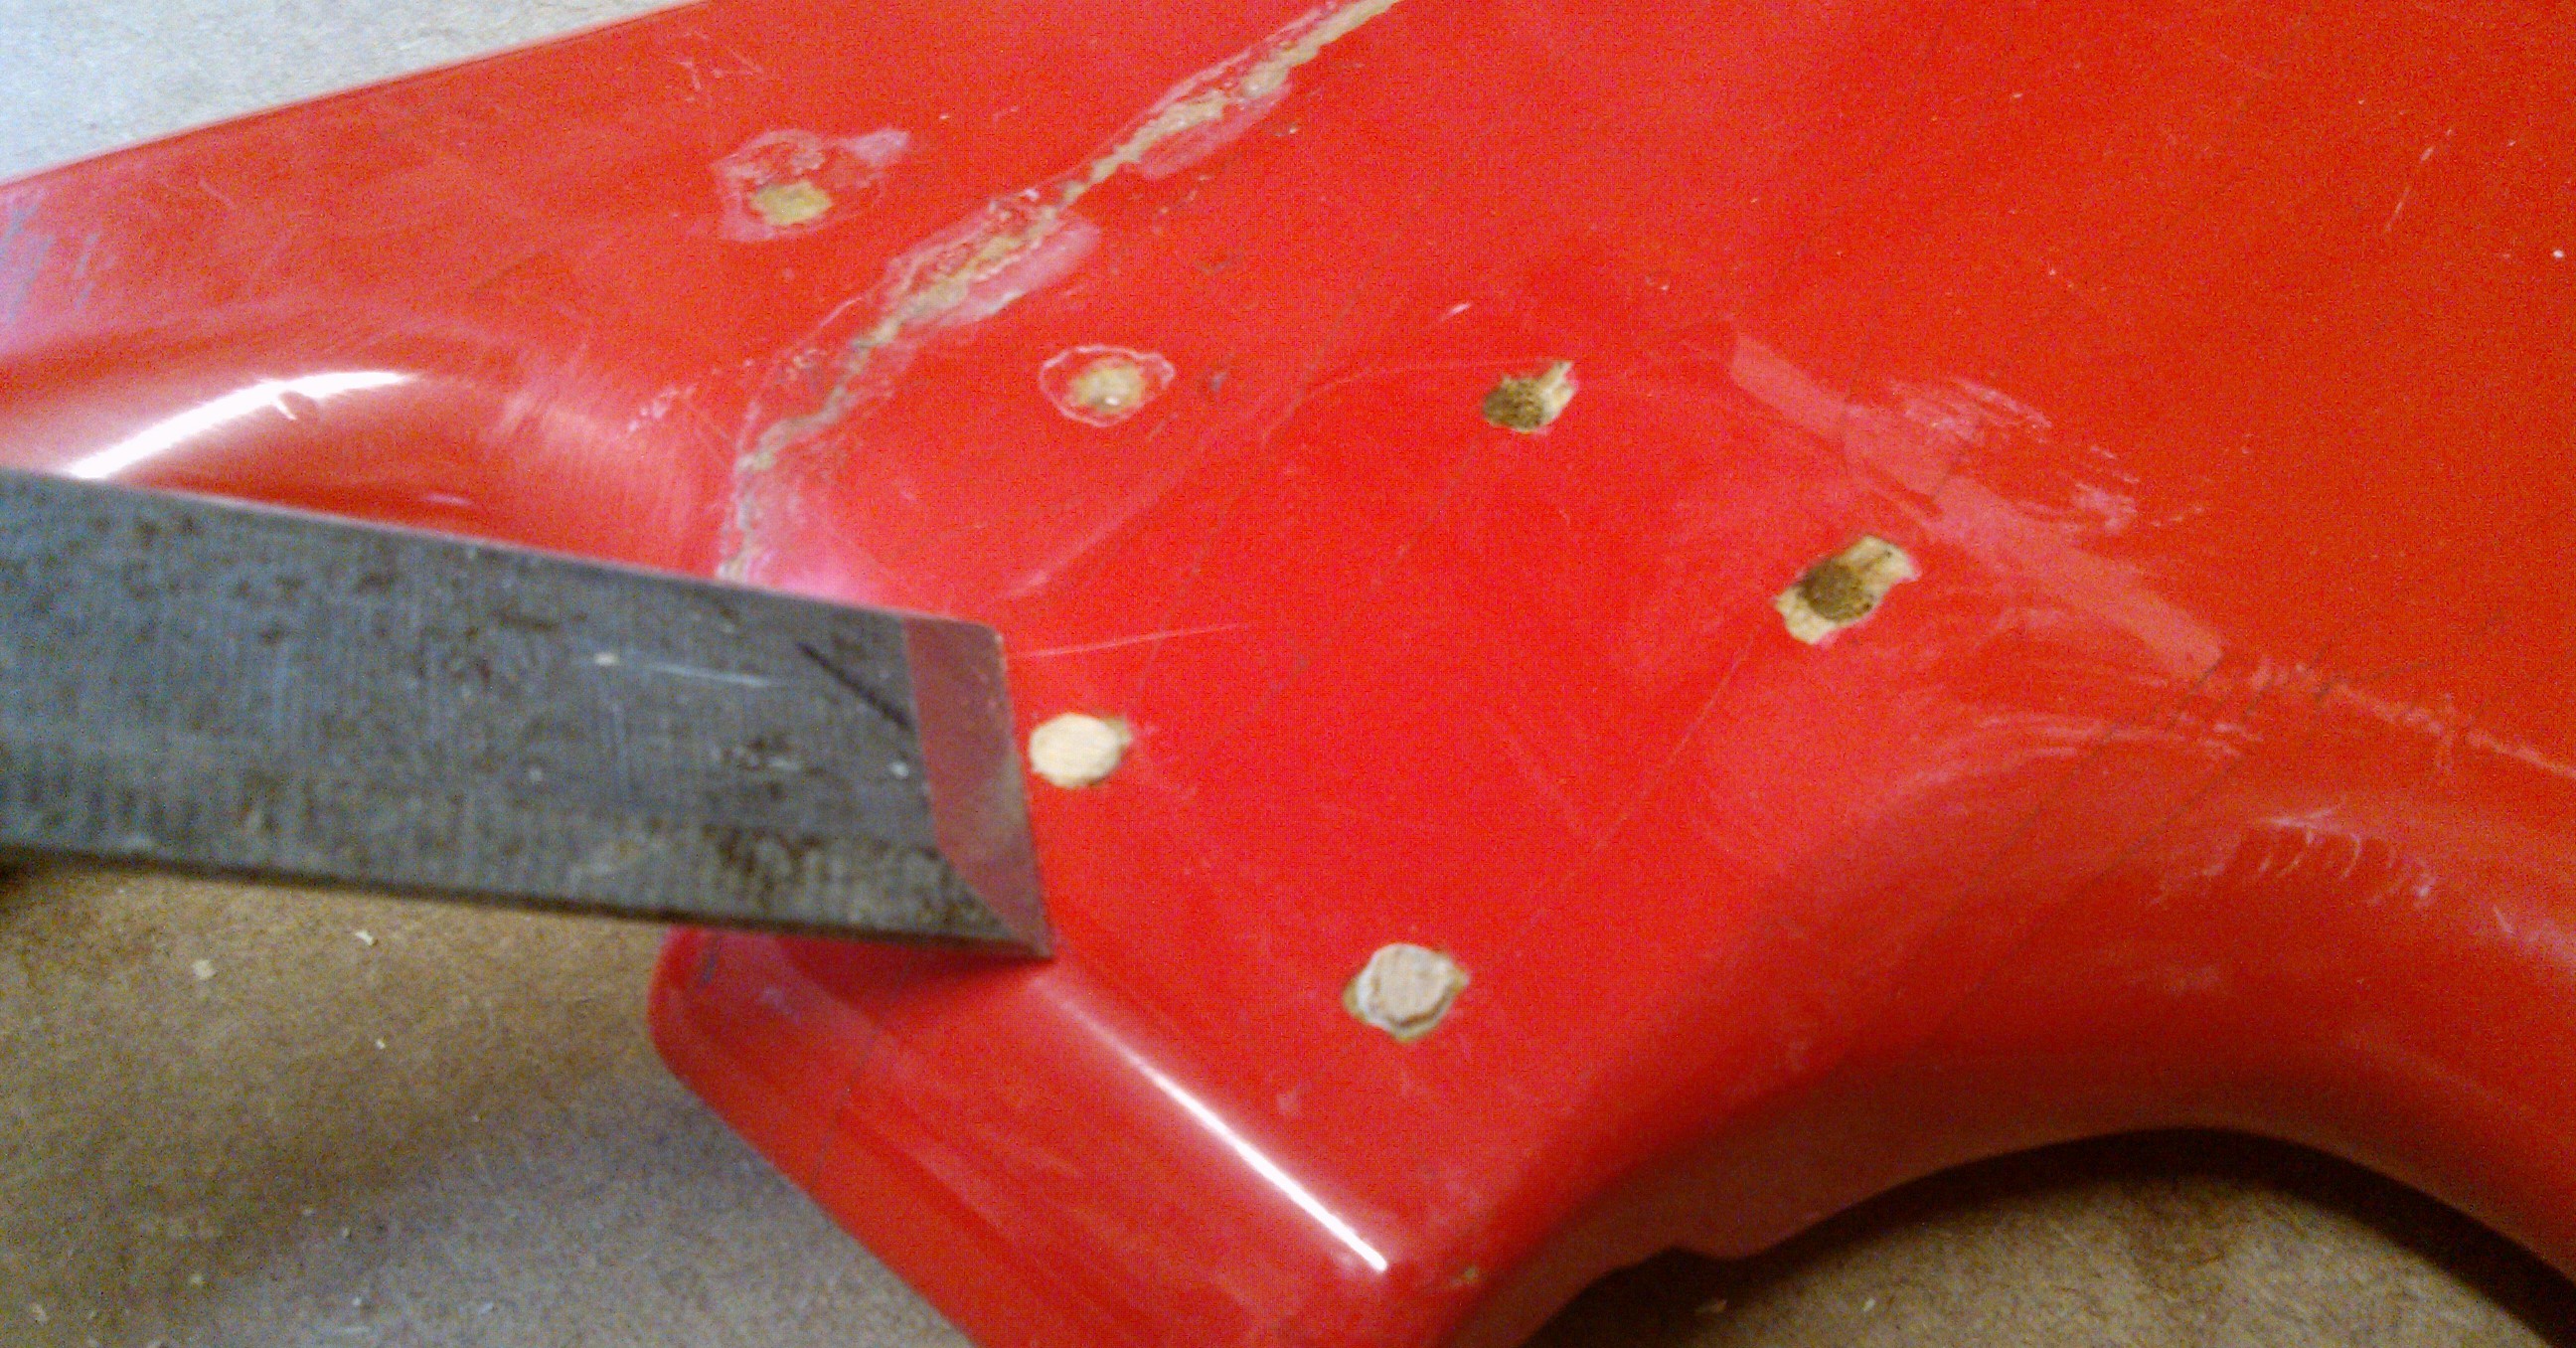
Thinking ahead the neck plate is missing and I’ve not been able to find one that fits the current holes. I could try and find a piece of steel and cut the holes, but figured it would actually be easier to re-drill the holes in the wood. It would be hard to get the final polished finish all the way around the edge of a hand cut plate.
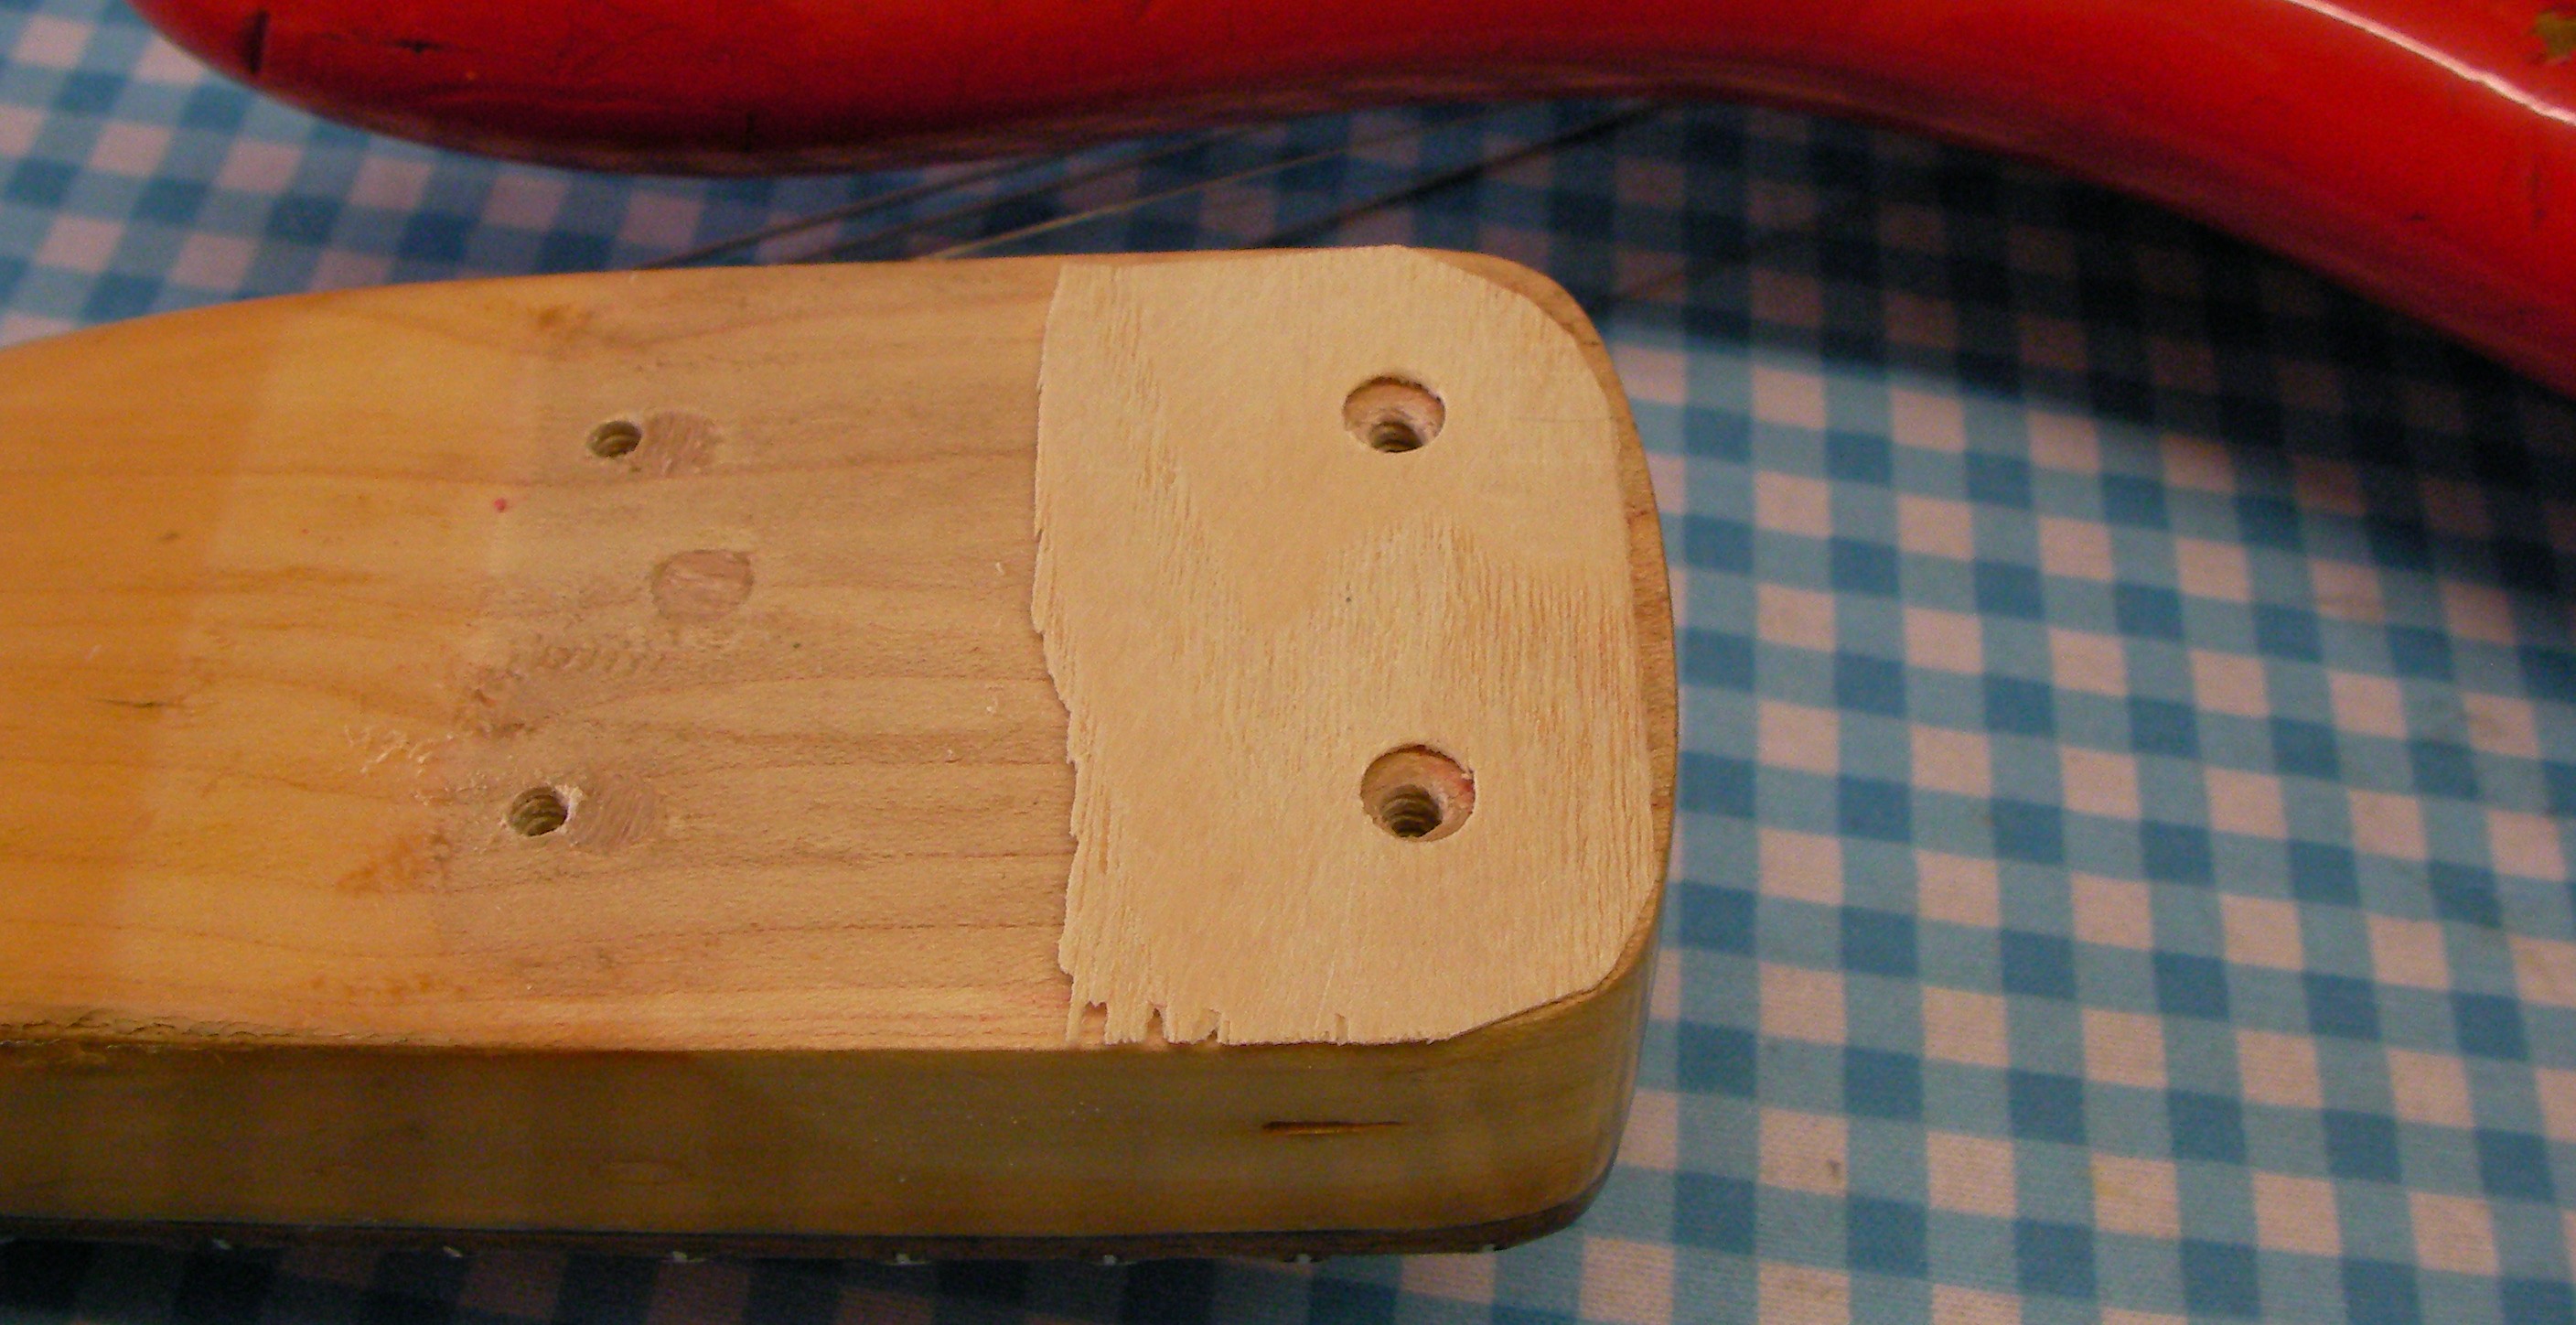
The holes in the neck are rather tired anyway so it’s probably no bad thing to plug the old ones and re-drill them.
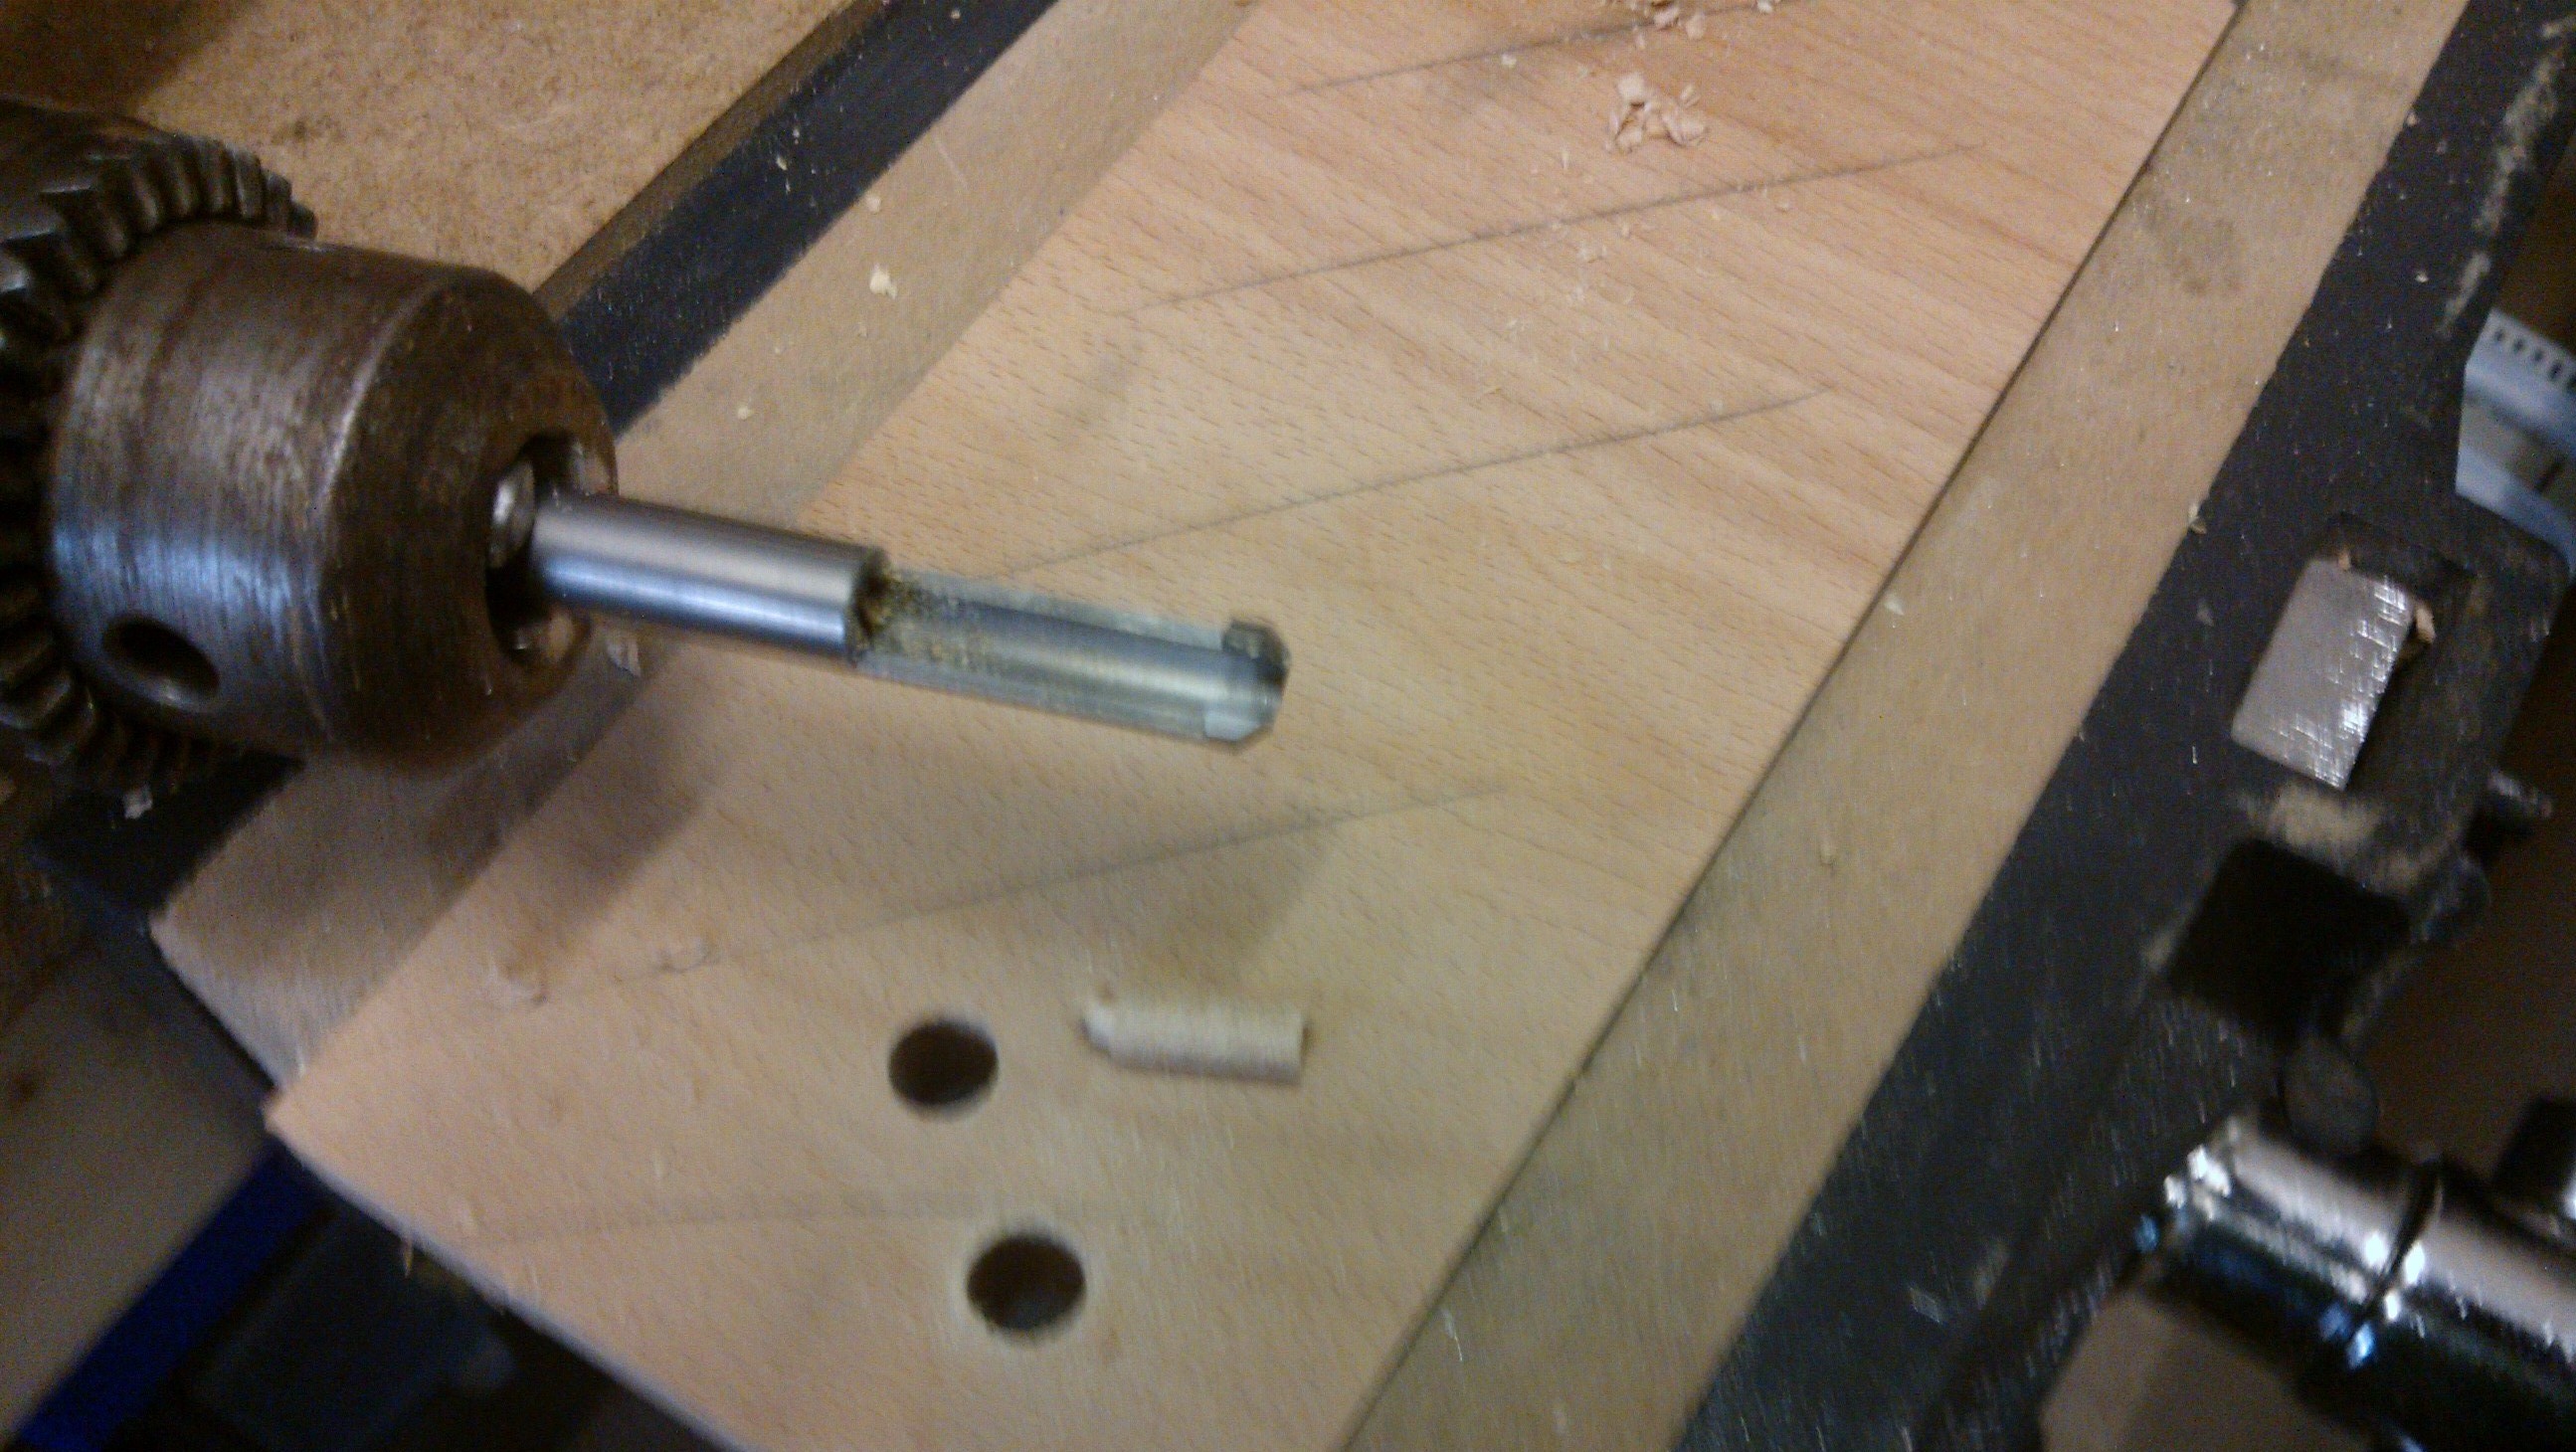
I used a plug cutter on a piece of hard wood to fit the exact size of the old holes.
Just add a little glue and tap them into place.
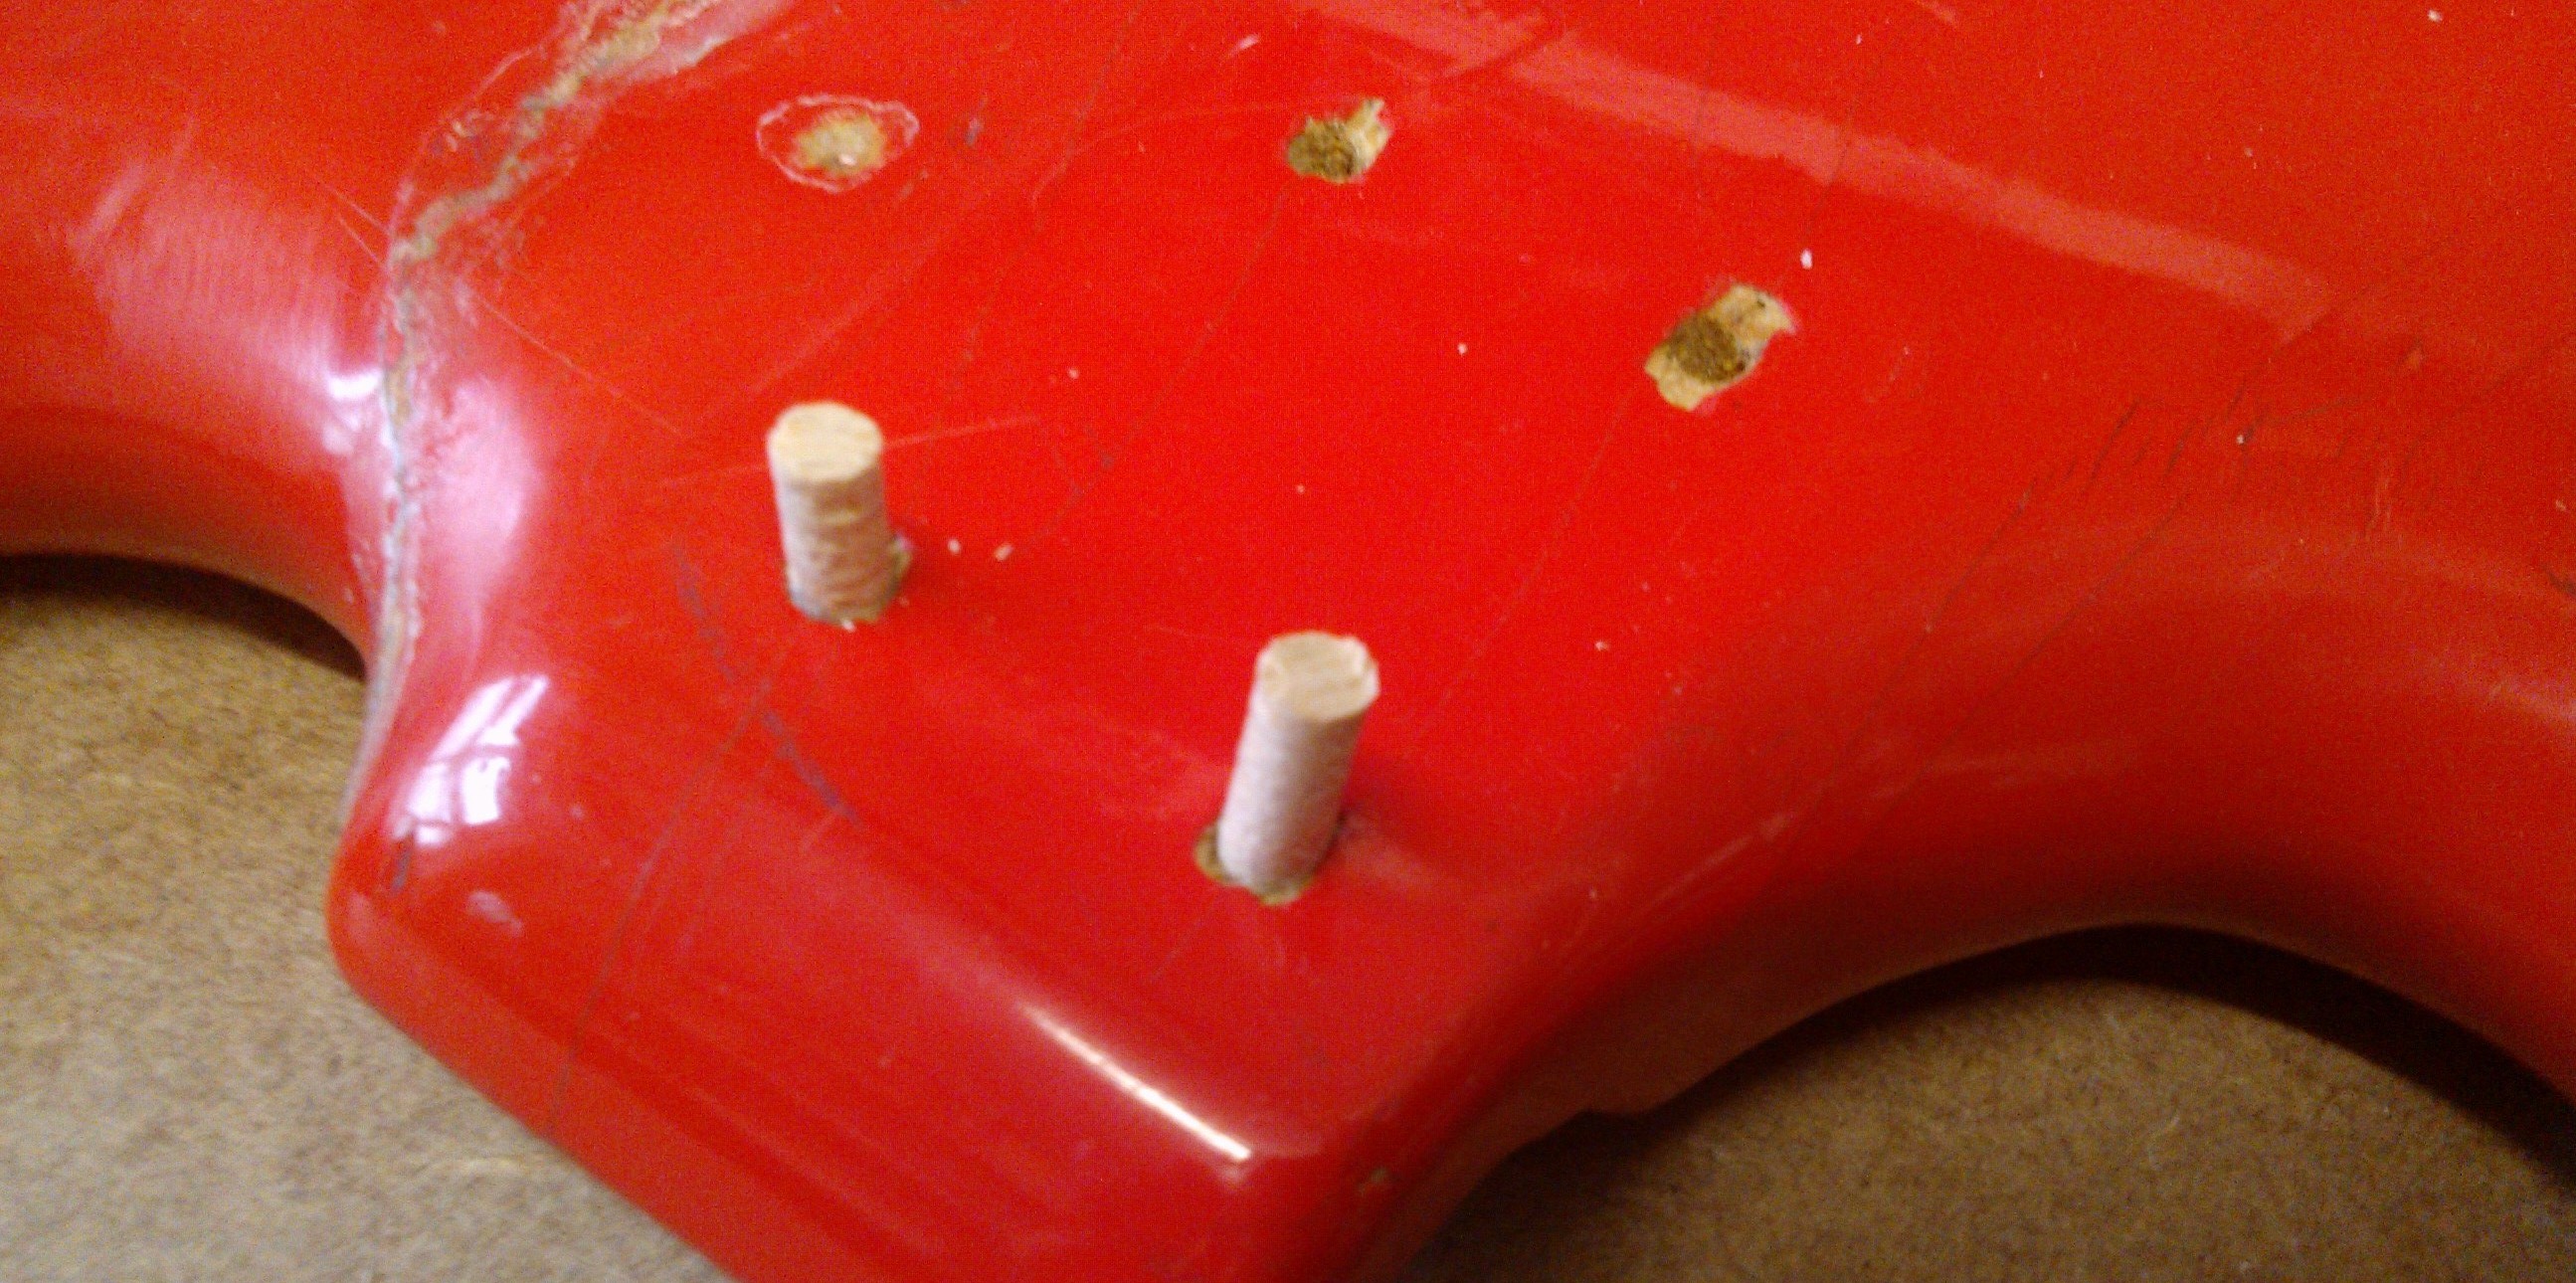
Once the glue is dry just level the tops off.
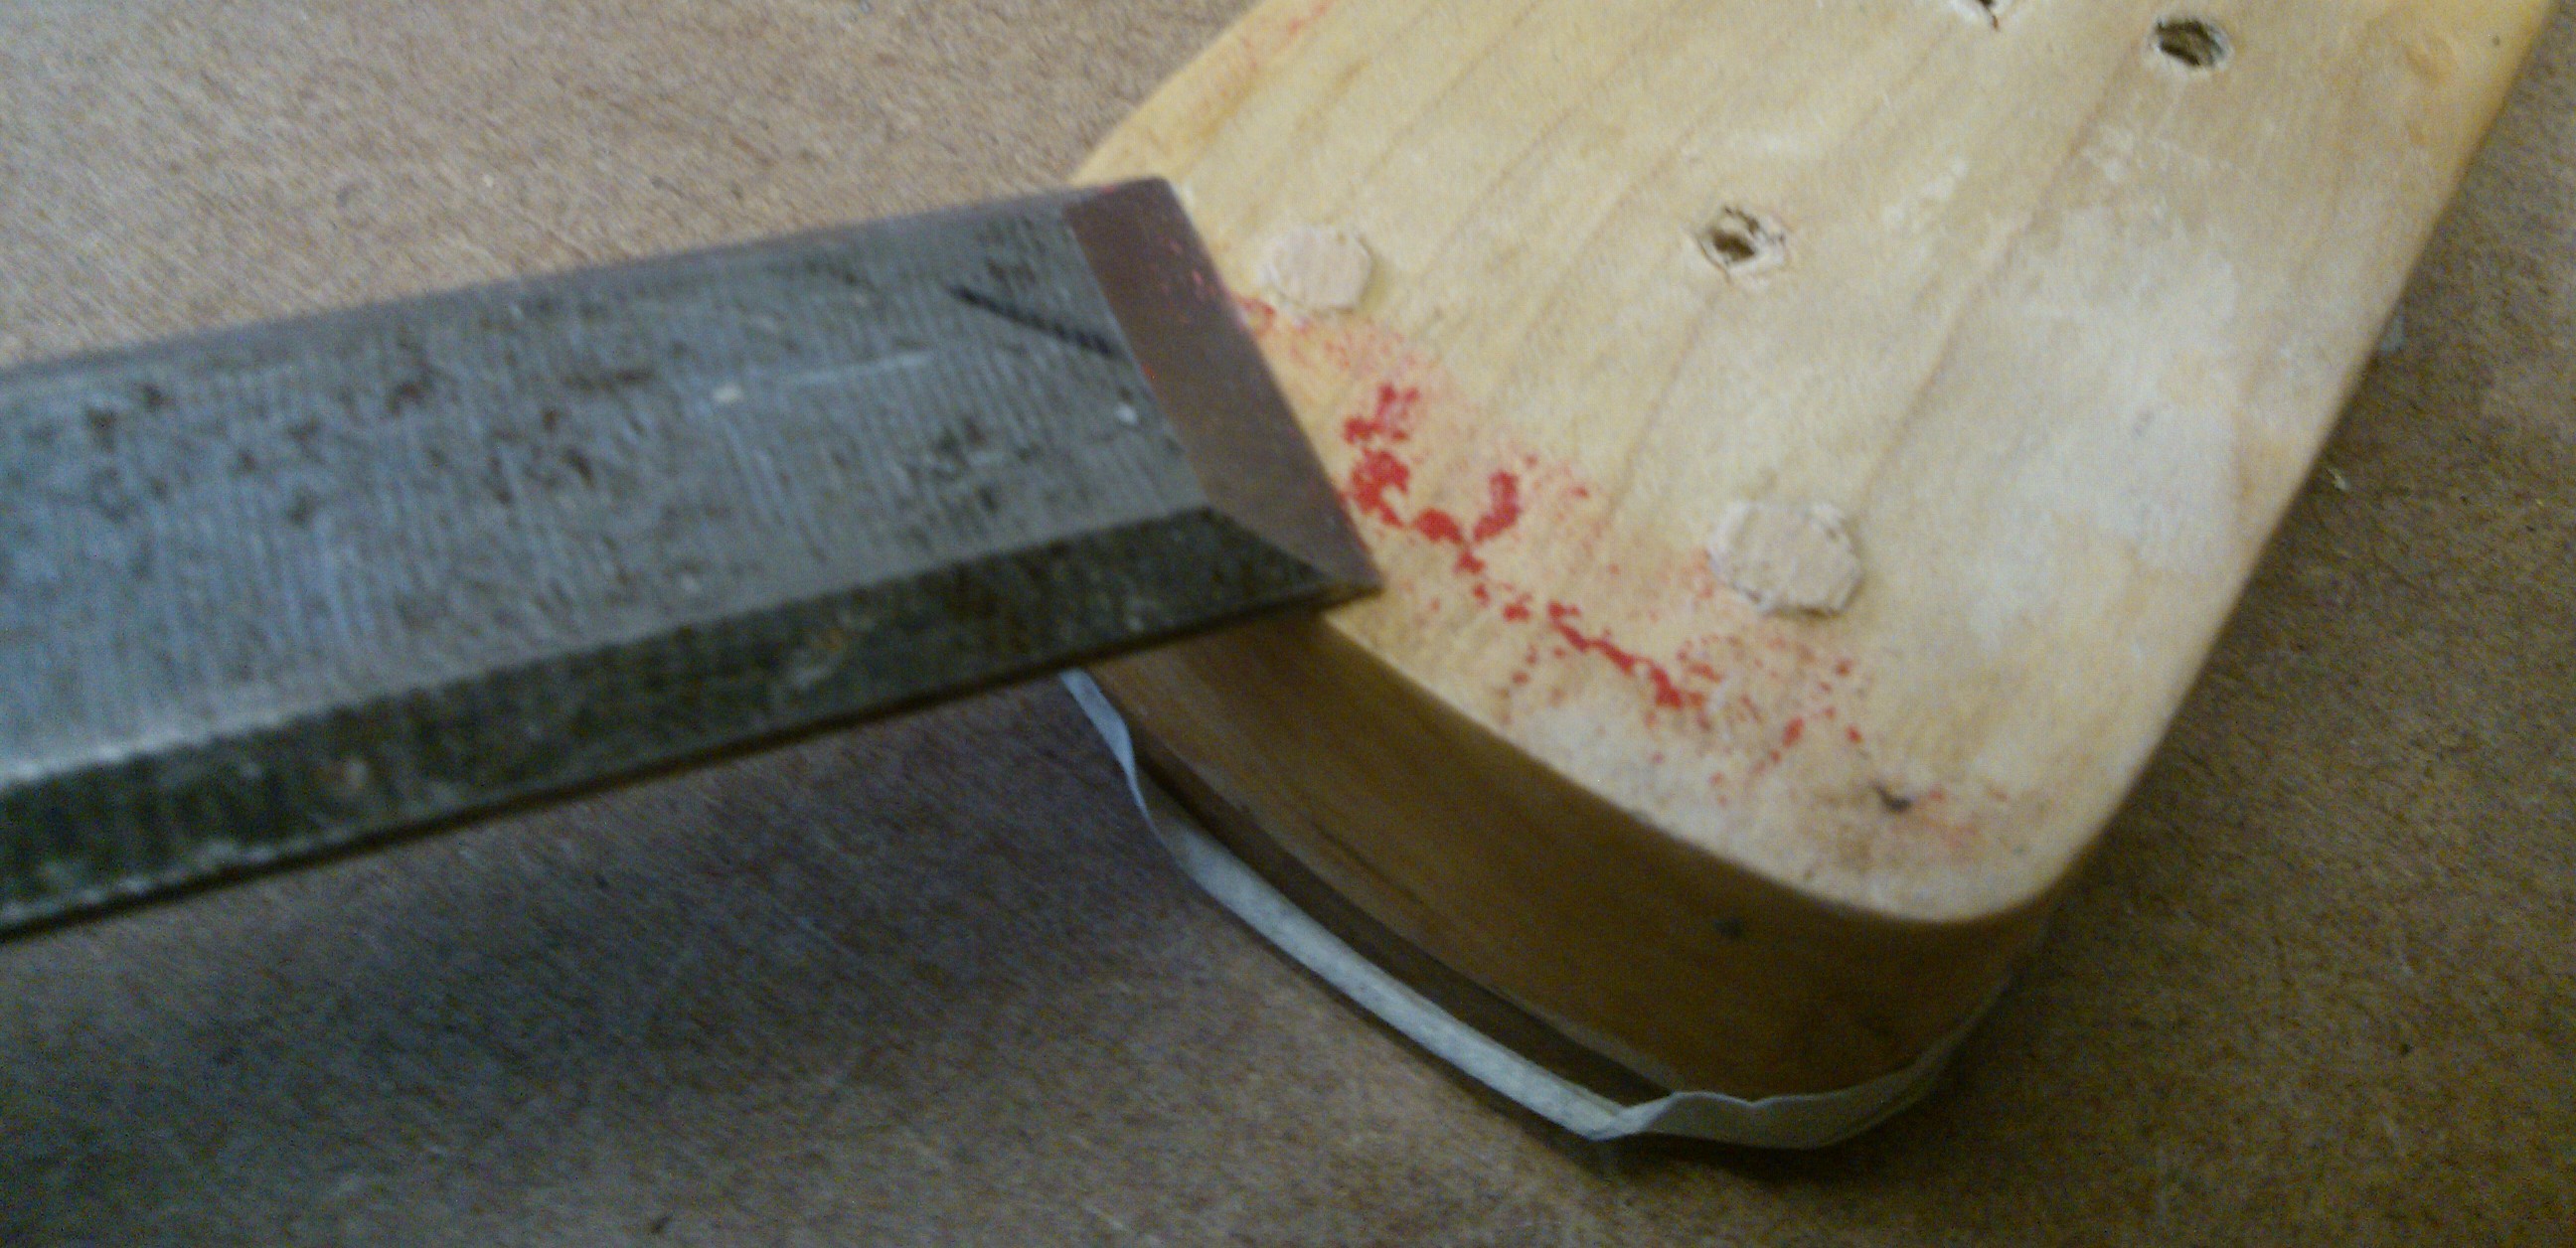
Same with the body.
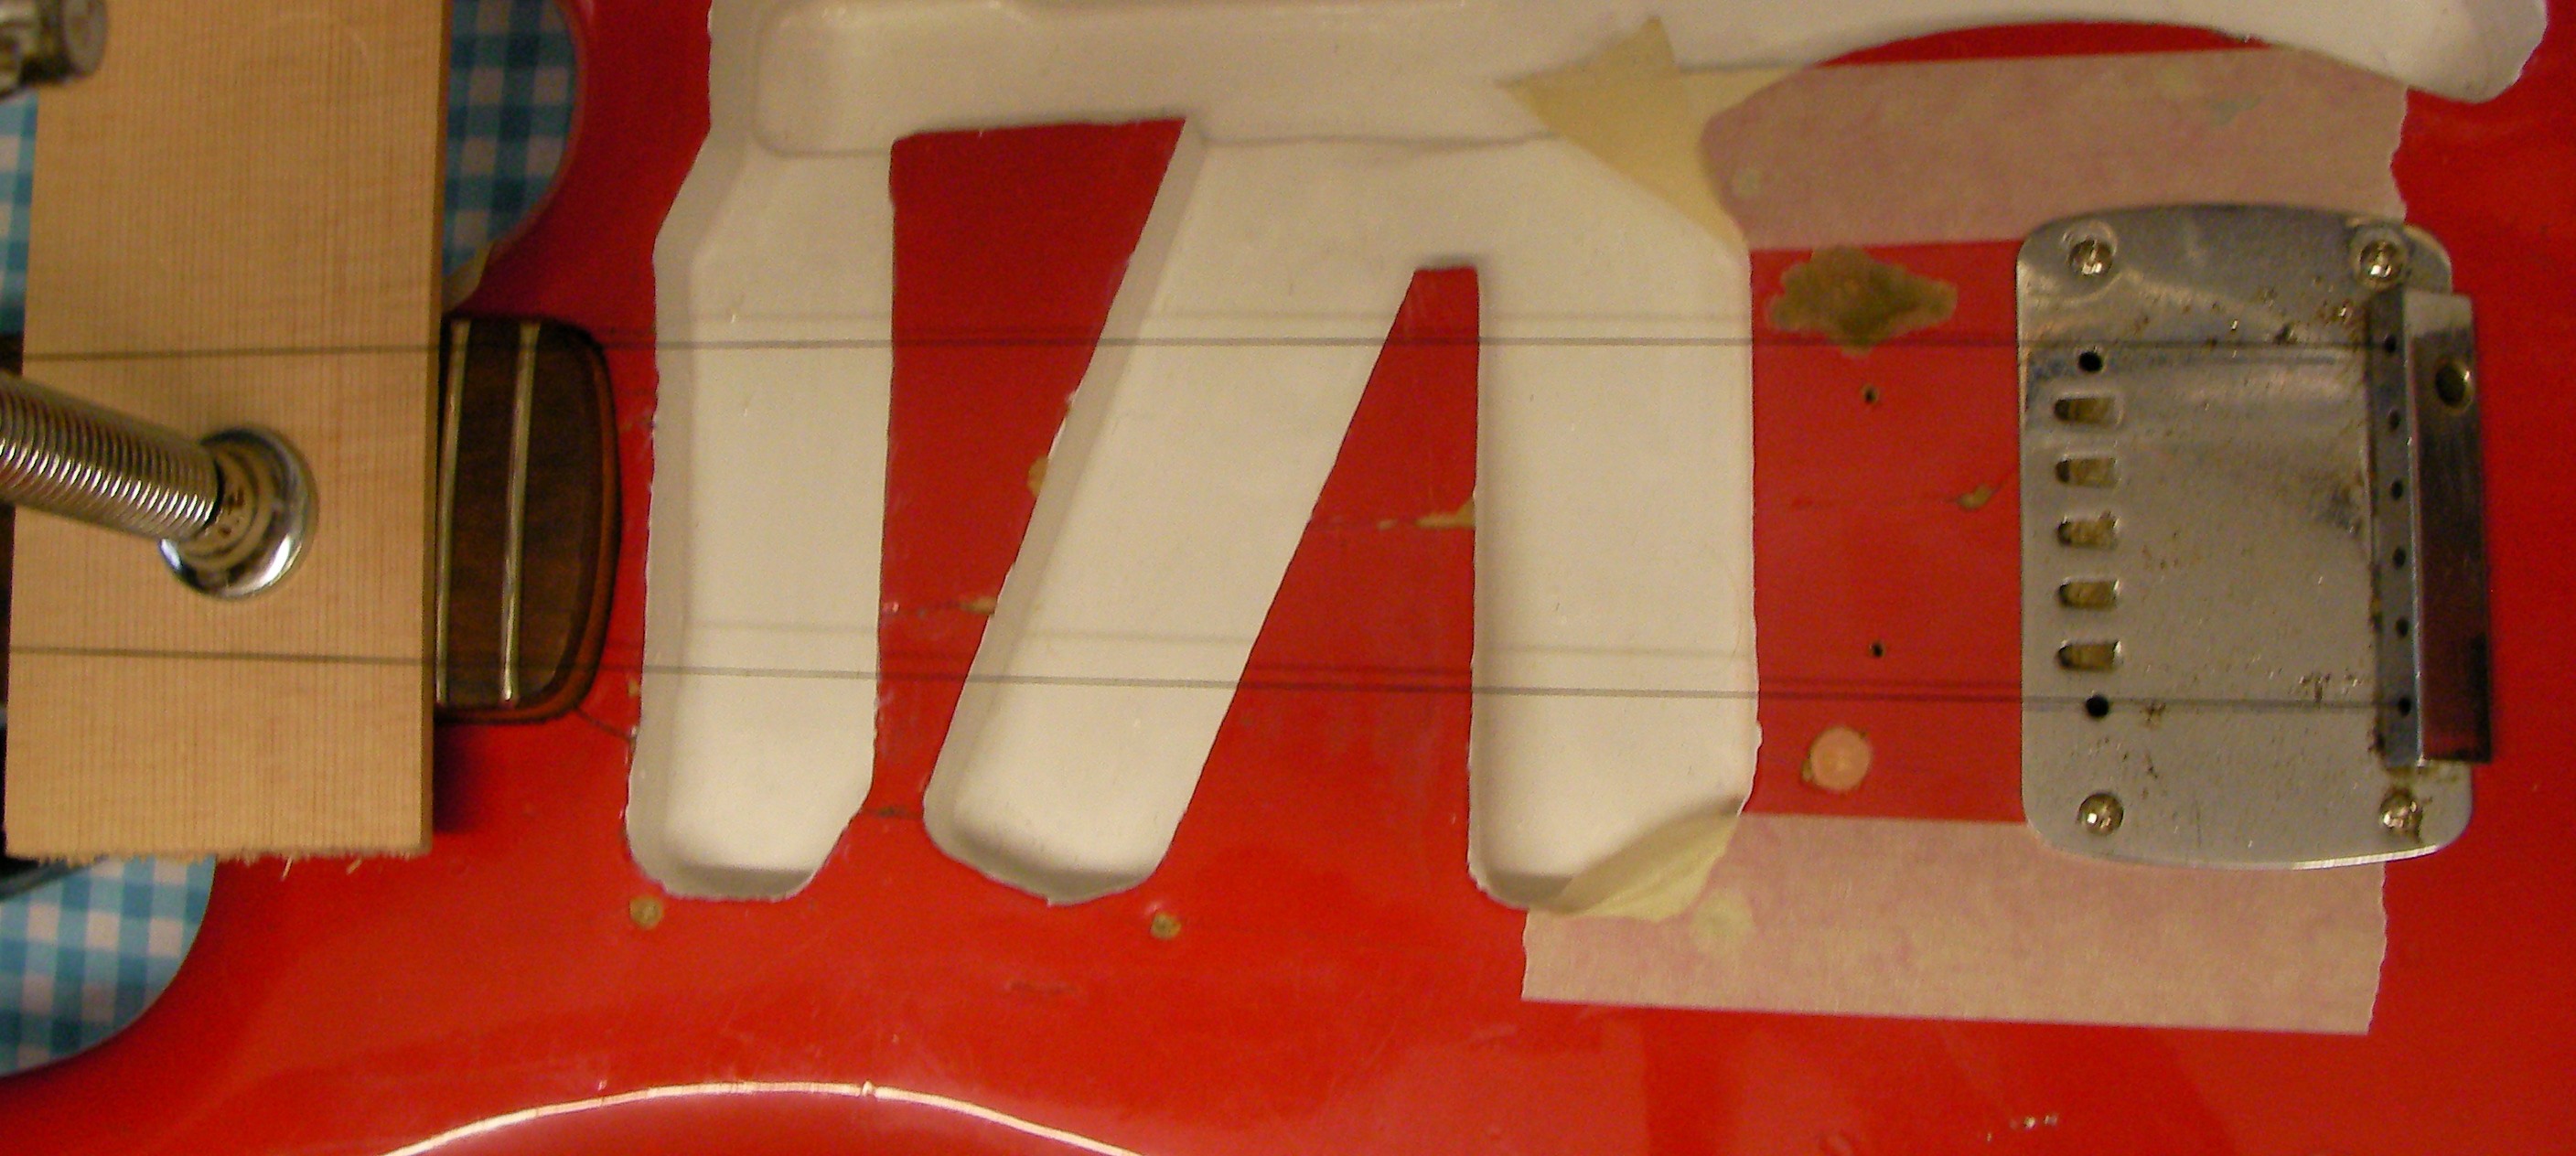
Now that the neck is finished its time to re-fix it back on the body.
Since I’ve filled in the screw holes in the neck I need to make sure the new ones are in the right place. The neck pocket is also a little tired and therefore a bit of a sloppy fit I used thick cotton to make sure I get the position right.
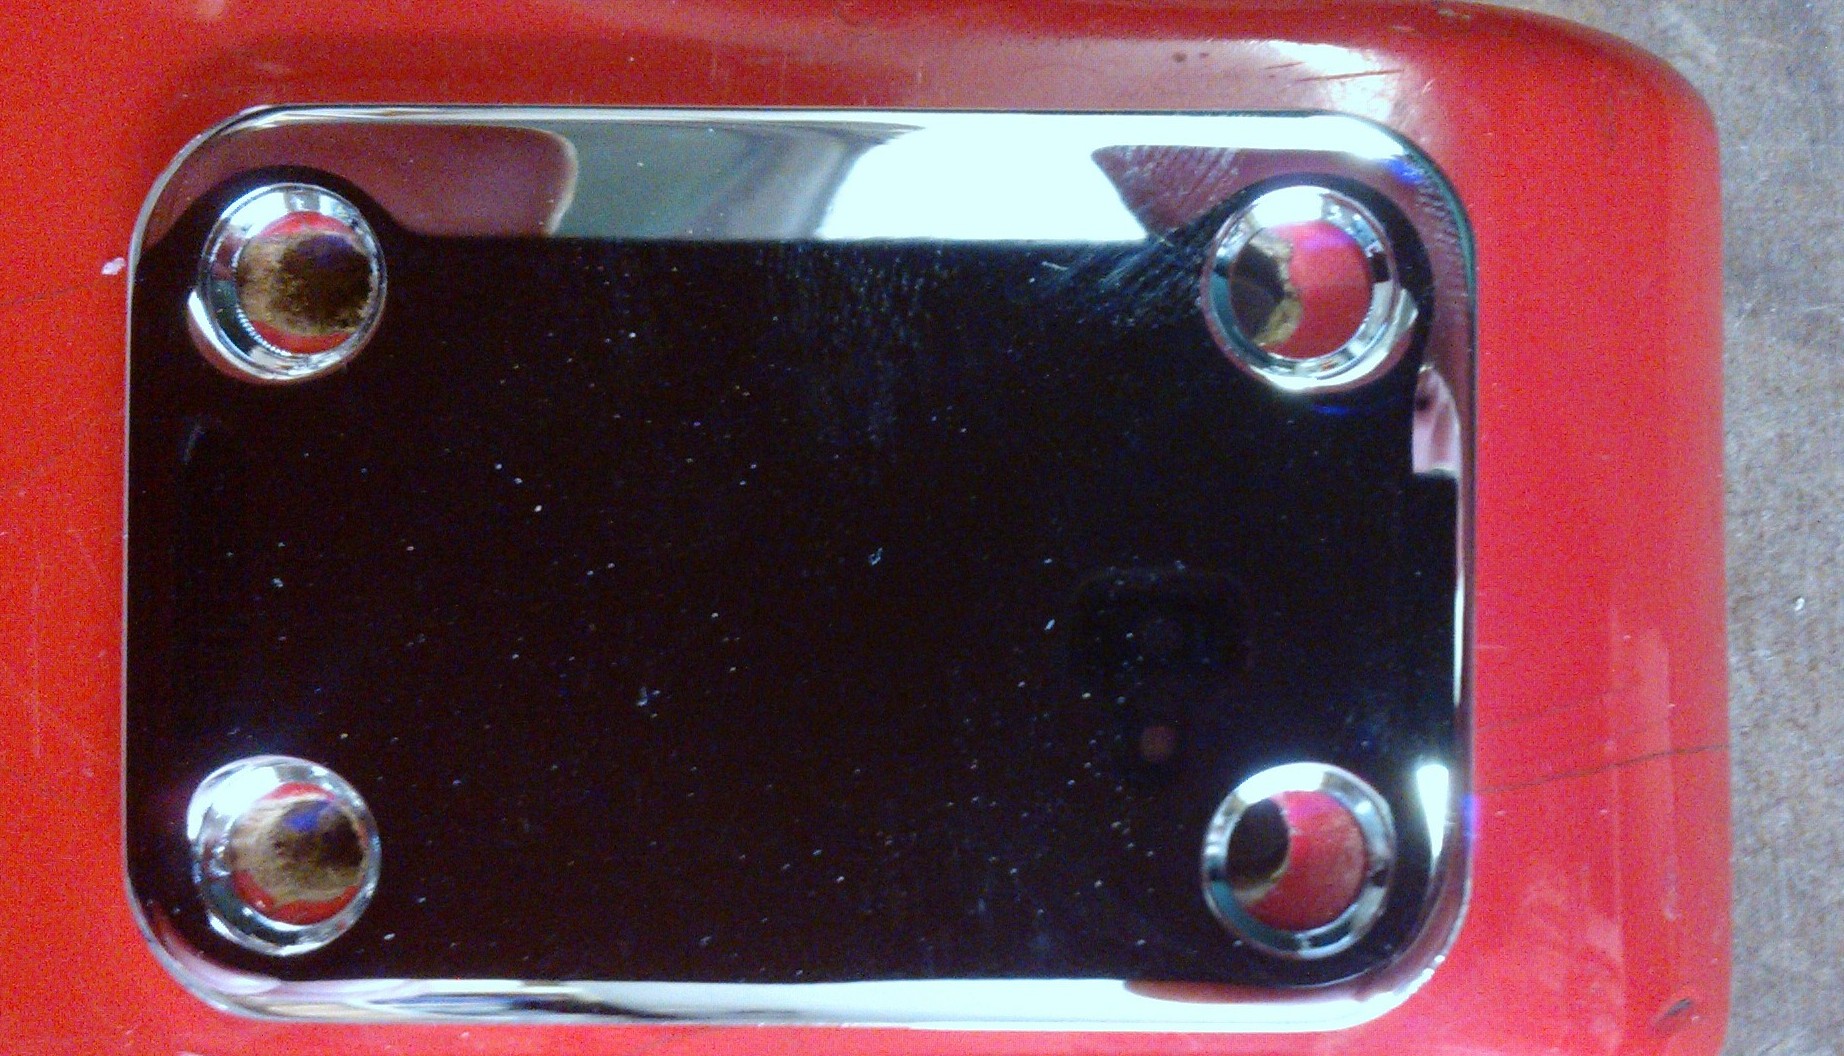
With the neck firmly clamped in place I drilled the new holes and fitted the new screws and neck plate.

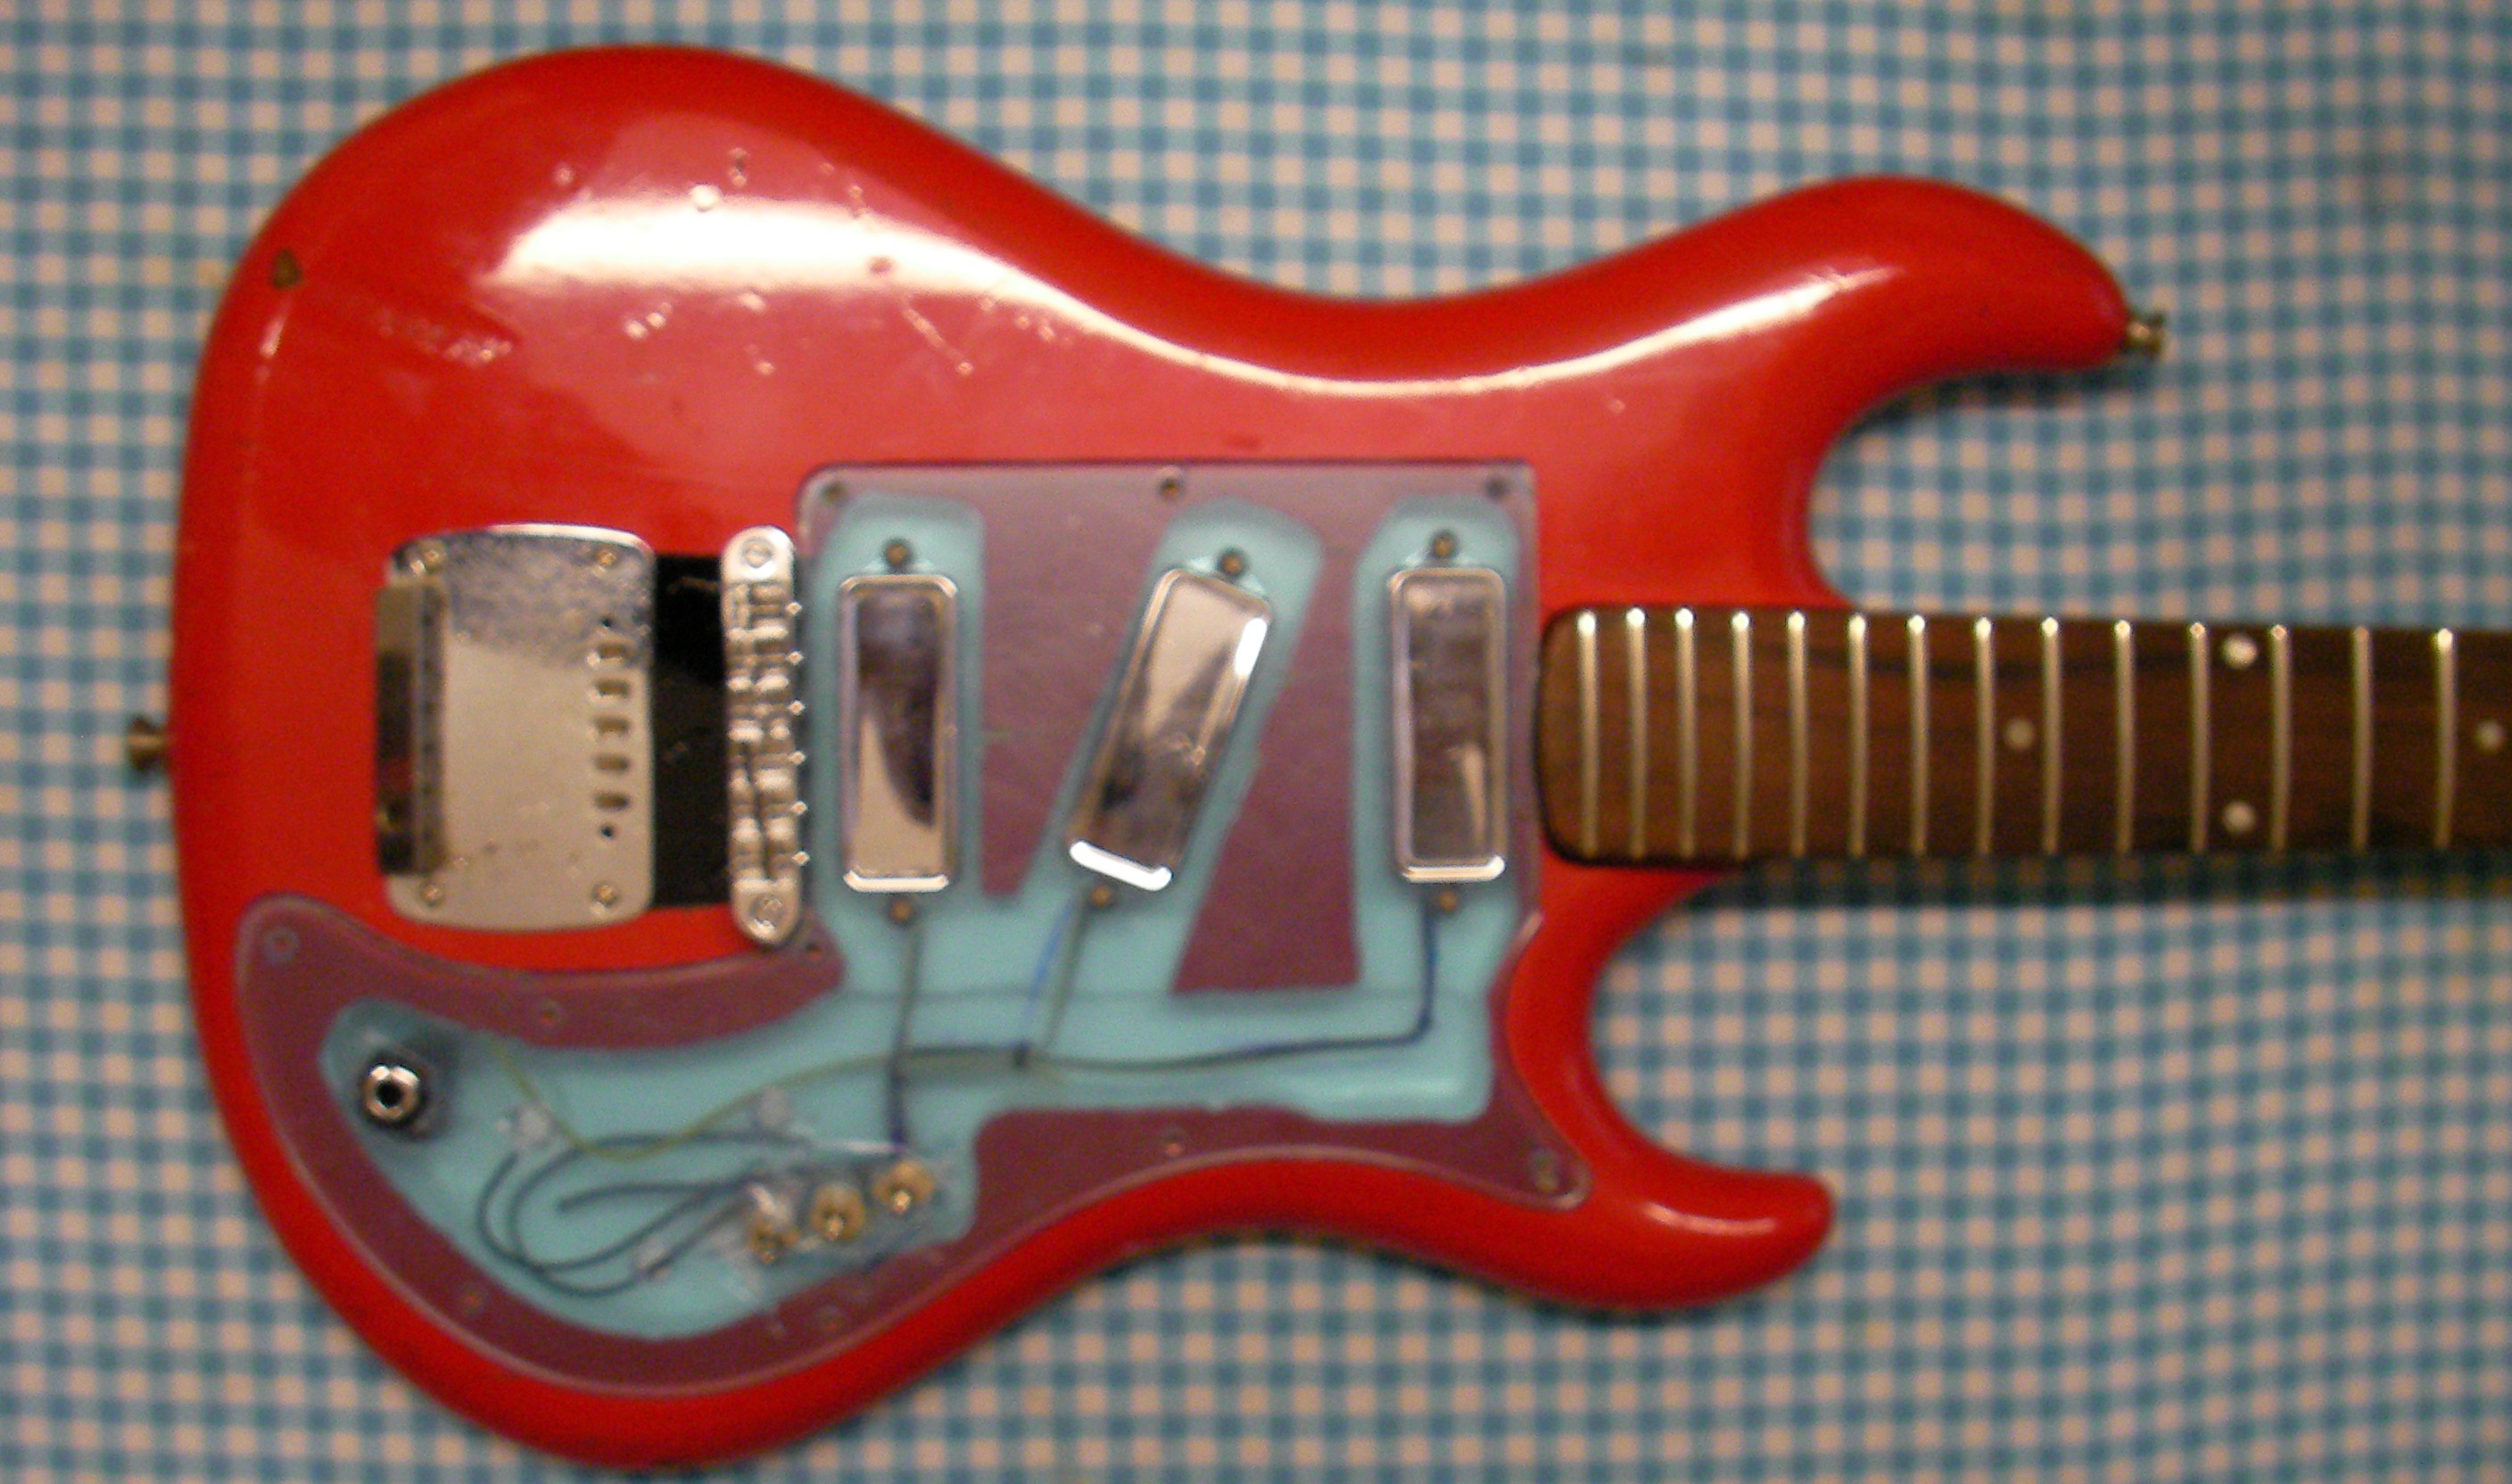
Looking like a guitar again!
As I’ve not been able to find the proper bridge I decided to fit a “Tuneomatic” one. First thing I need to work out exactly where it’s going to fit so I needed to establish the intonation line. double the distance from the nut to 12th fret.
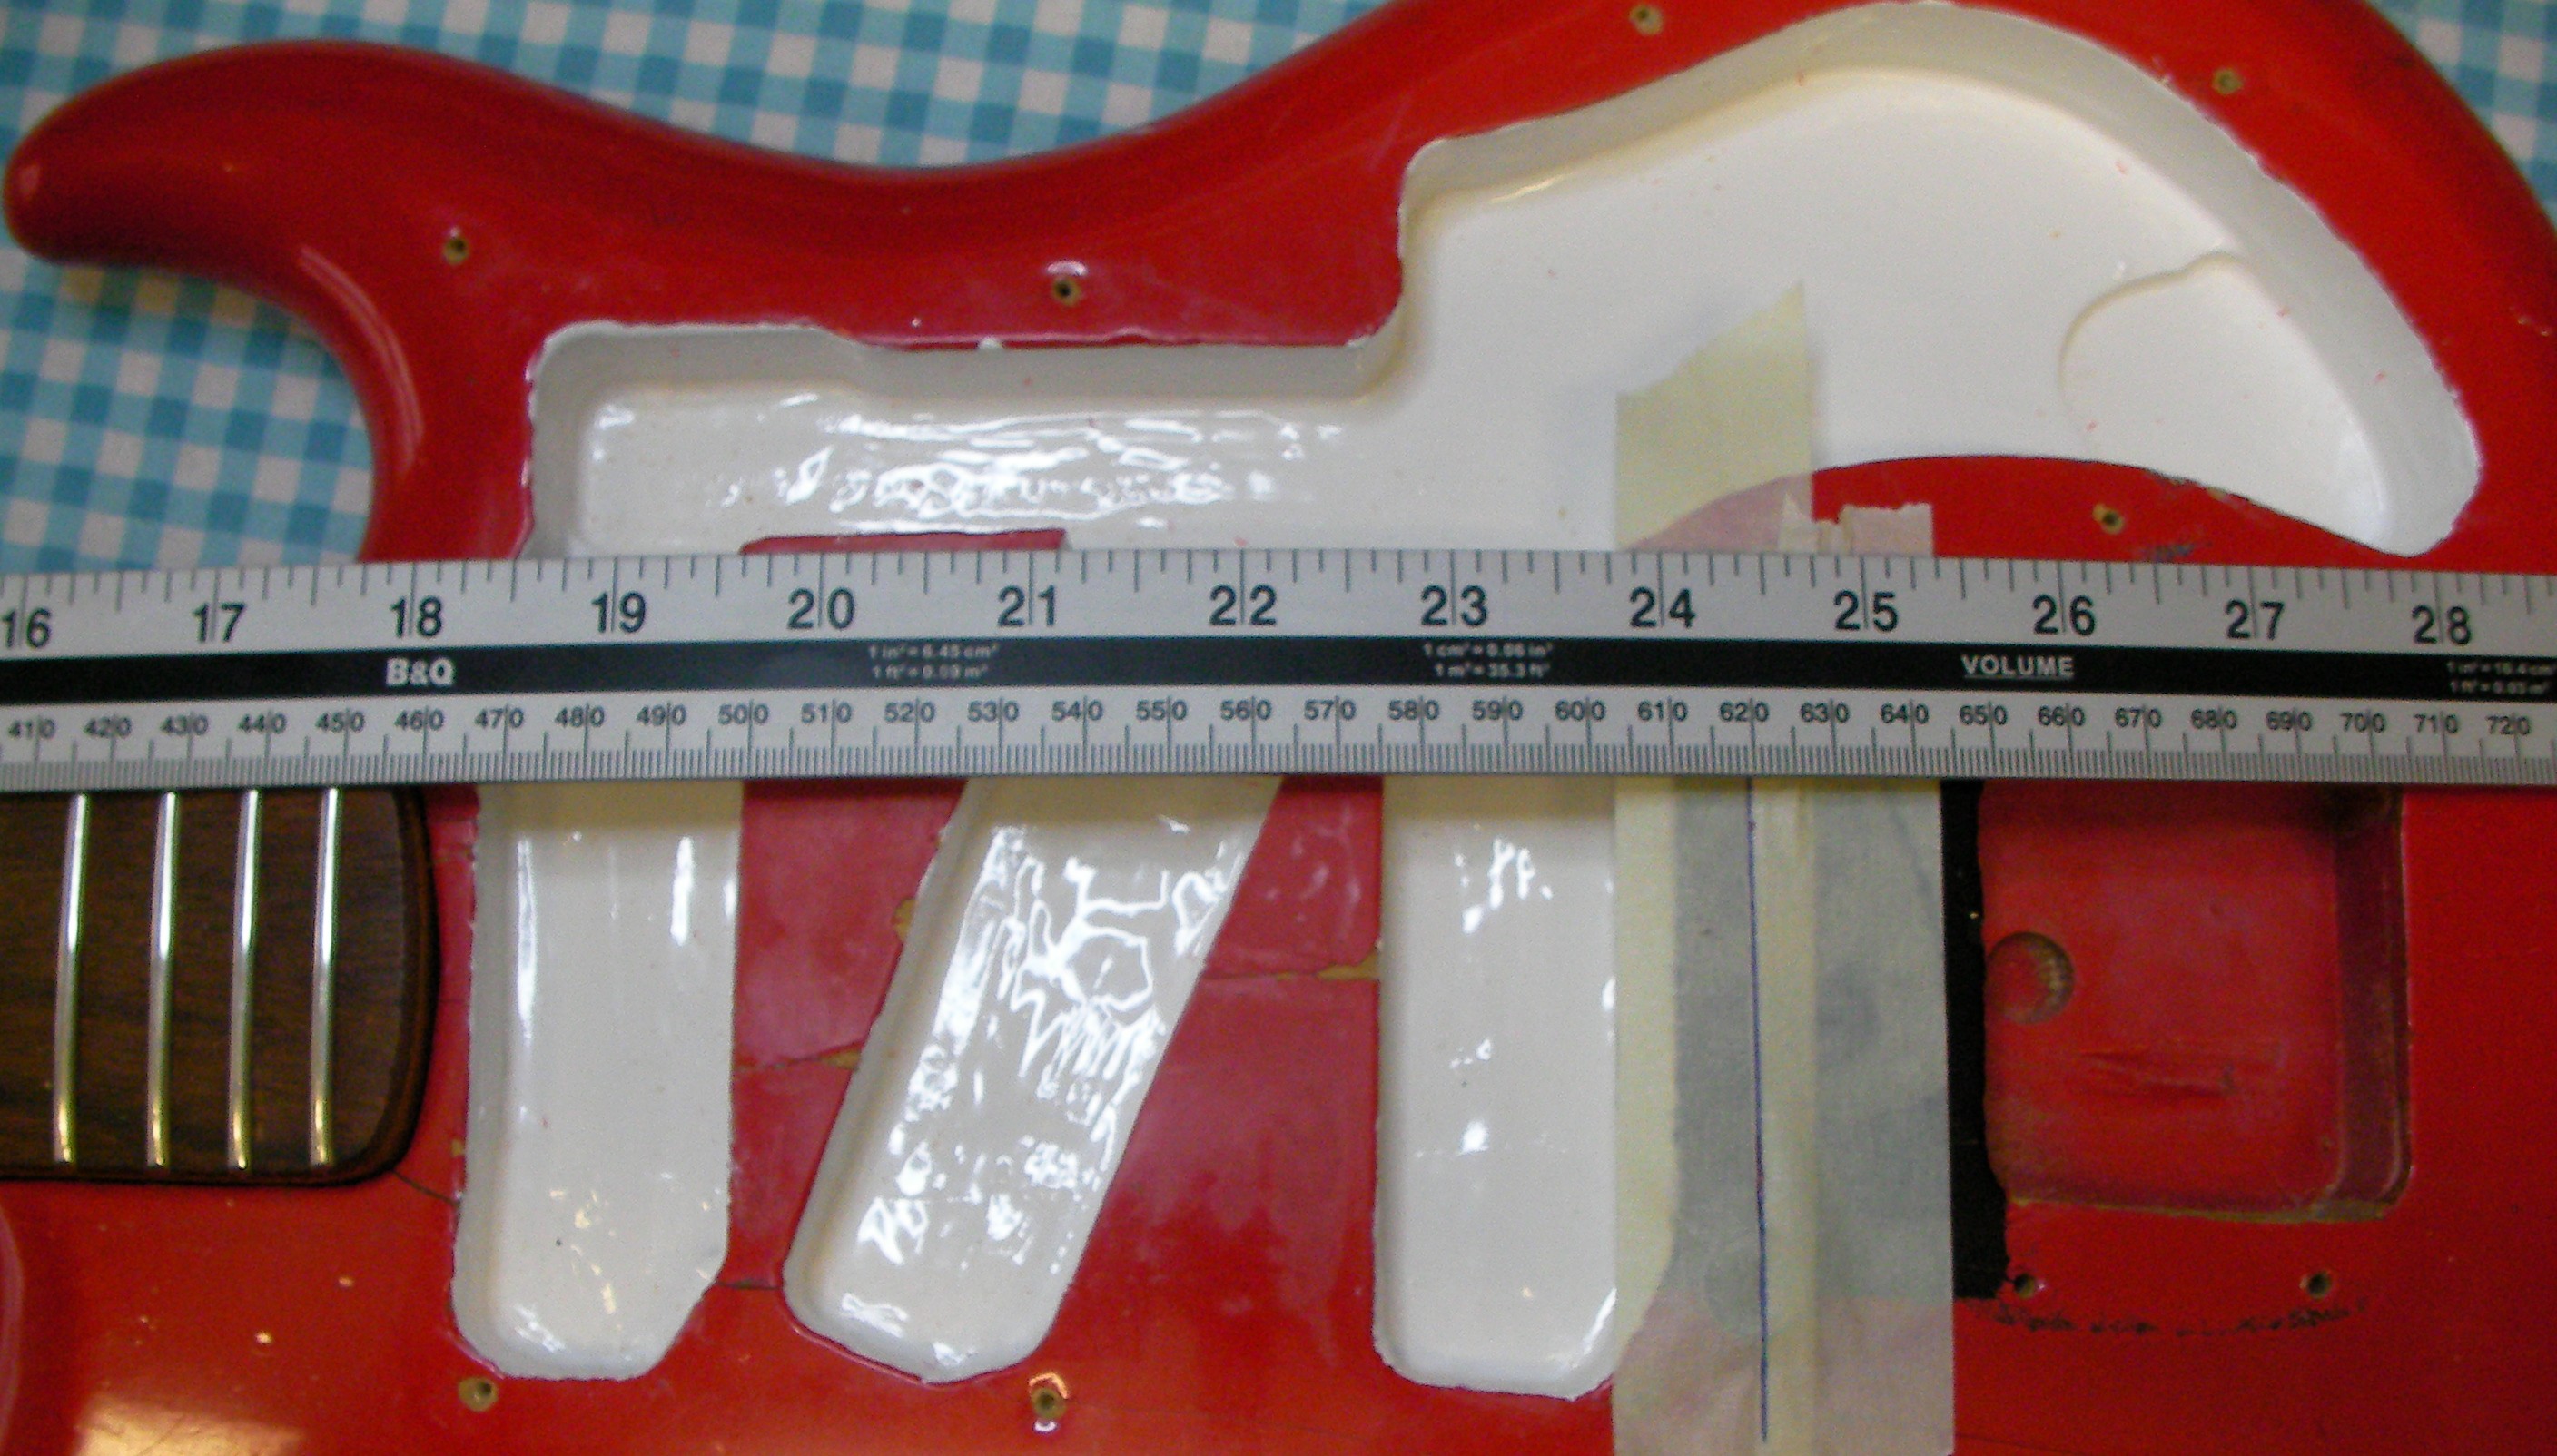
With the line of the bridge established, I marked where the mounting screws will sit.
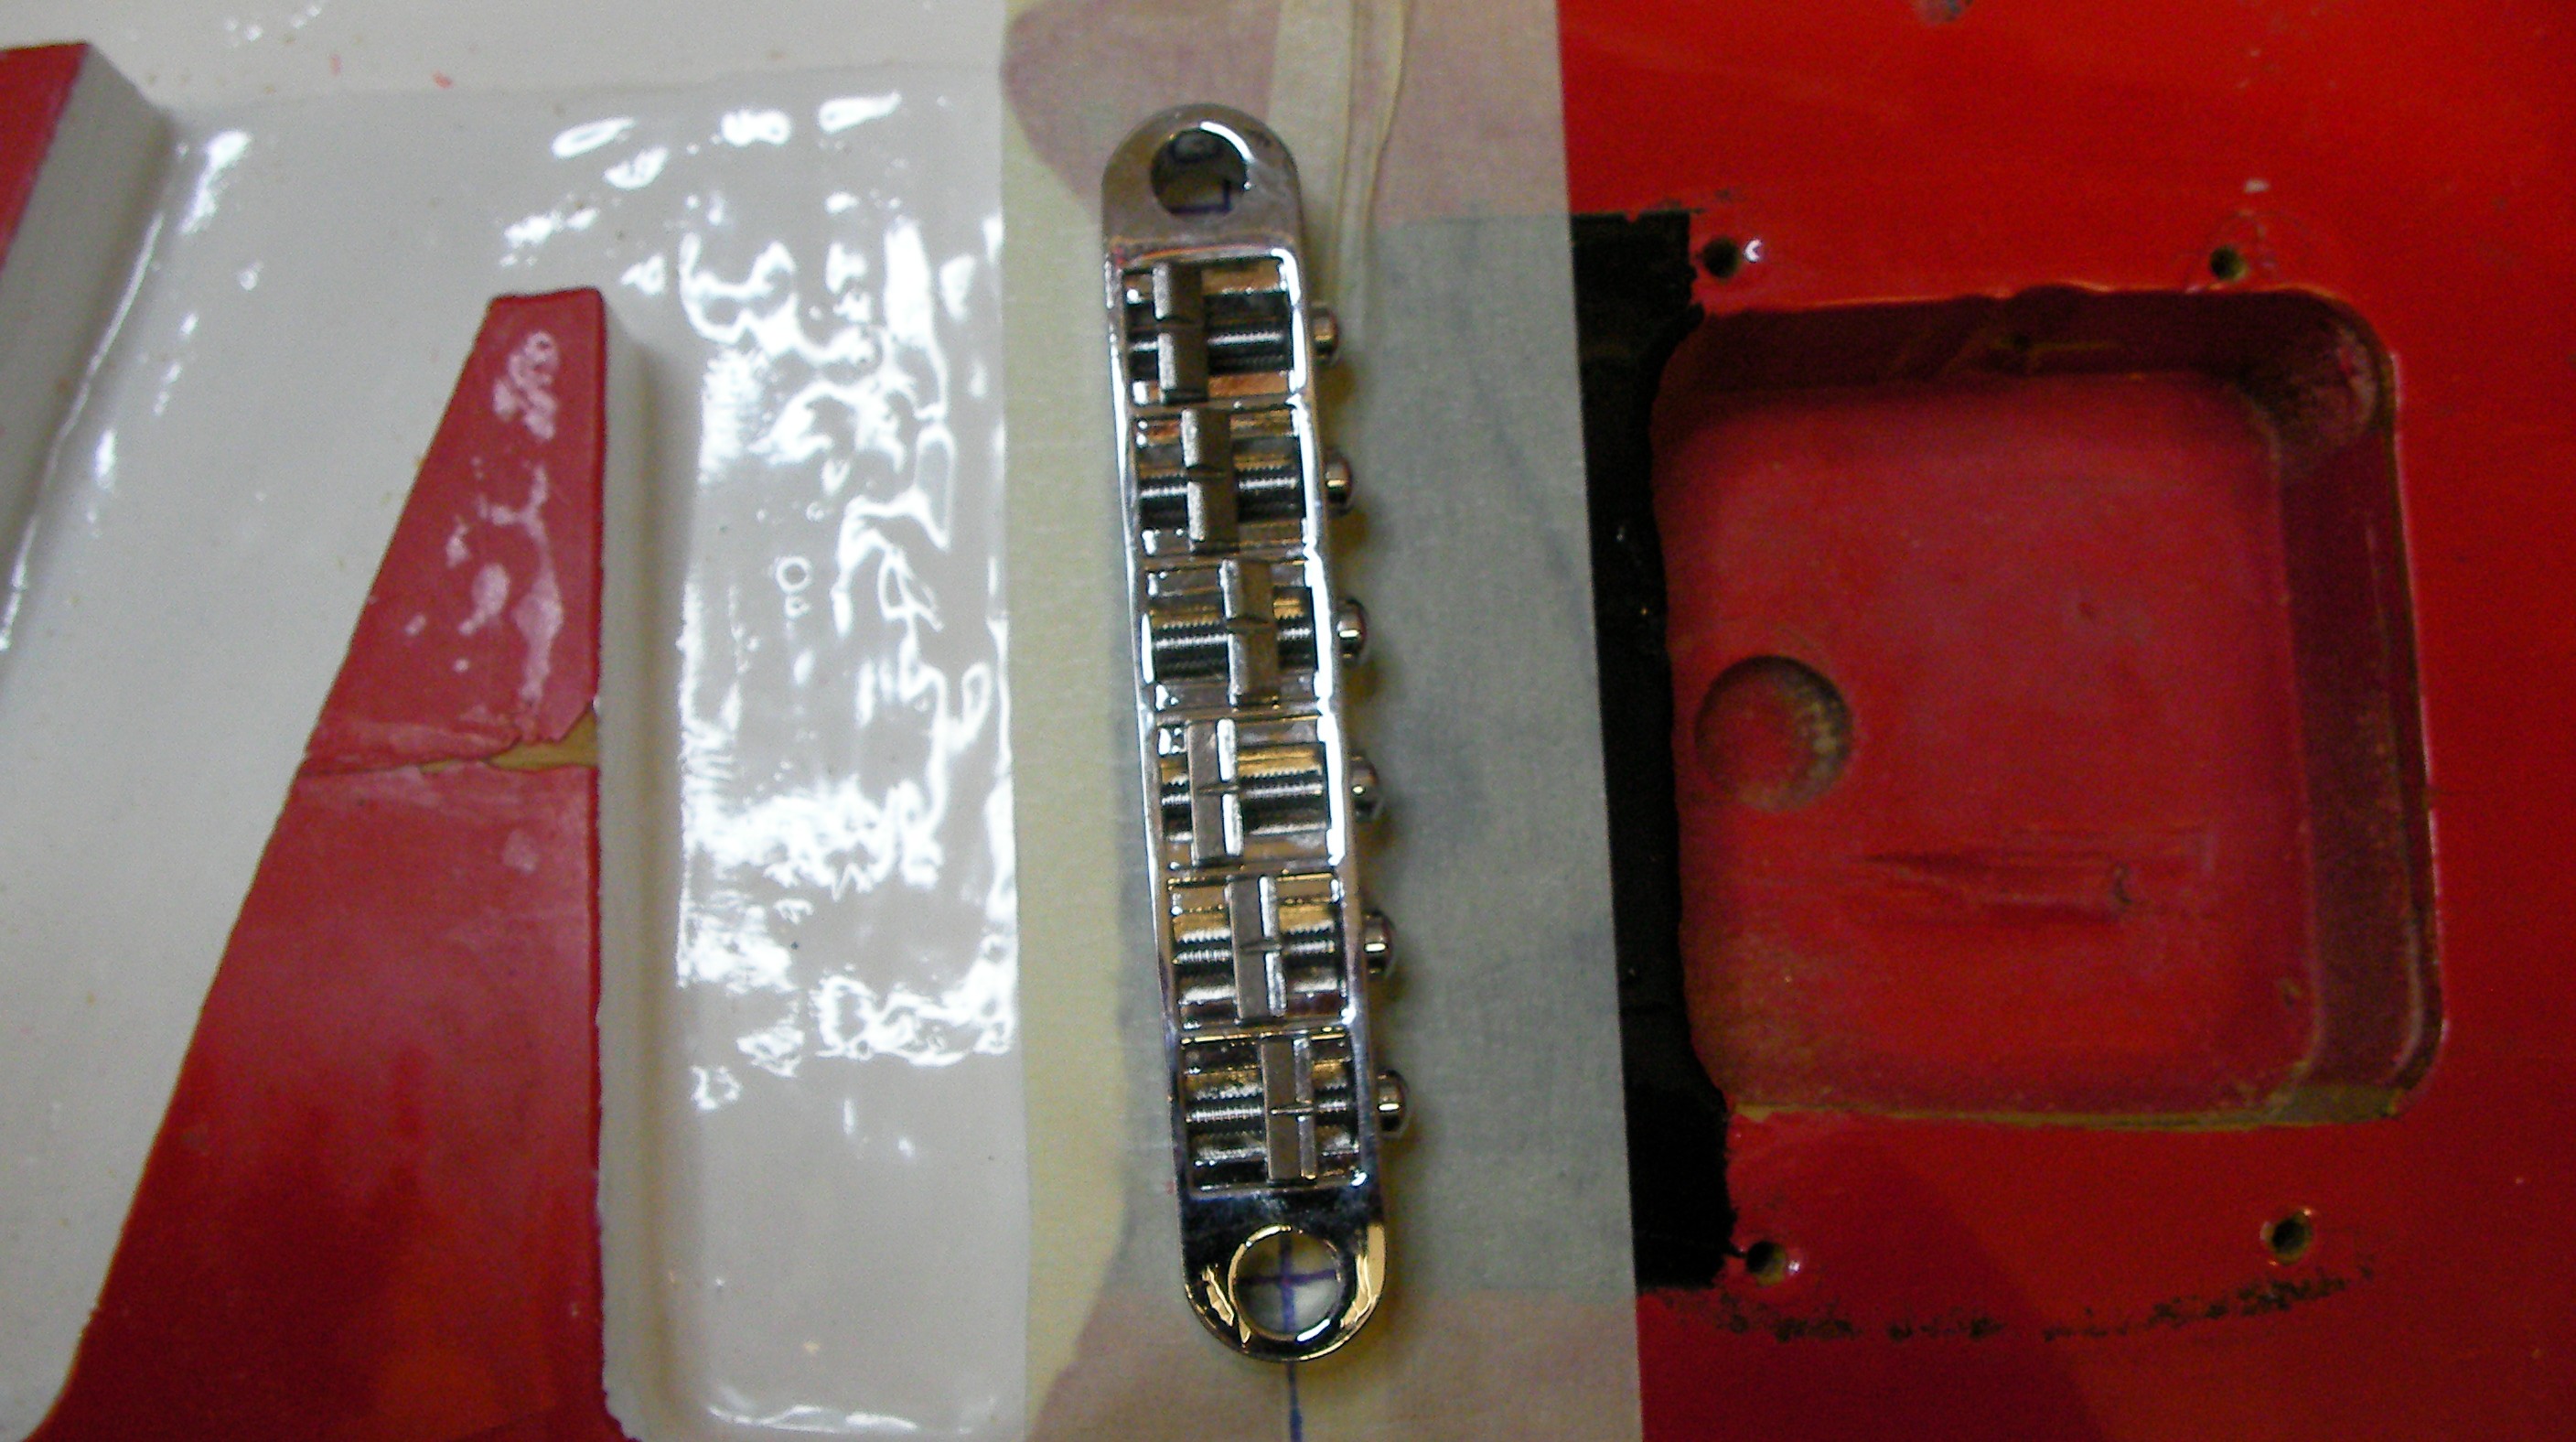
And drilled the holes…
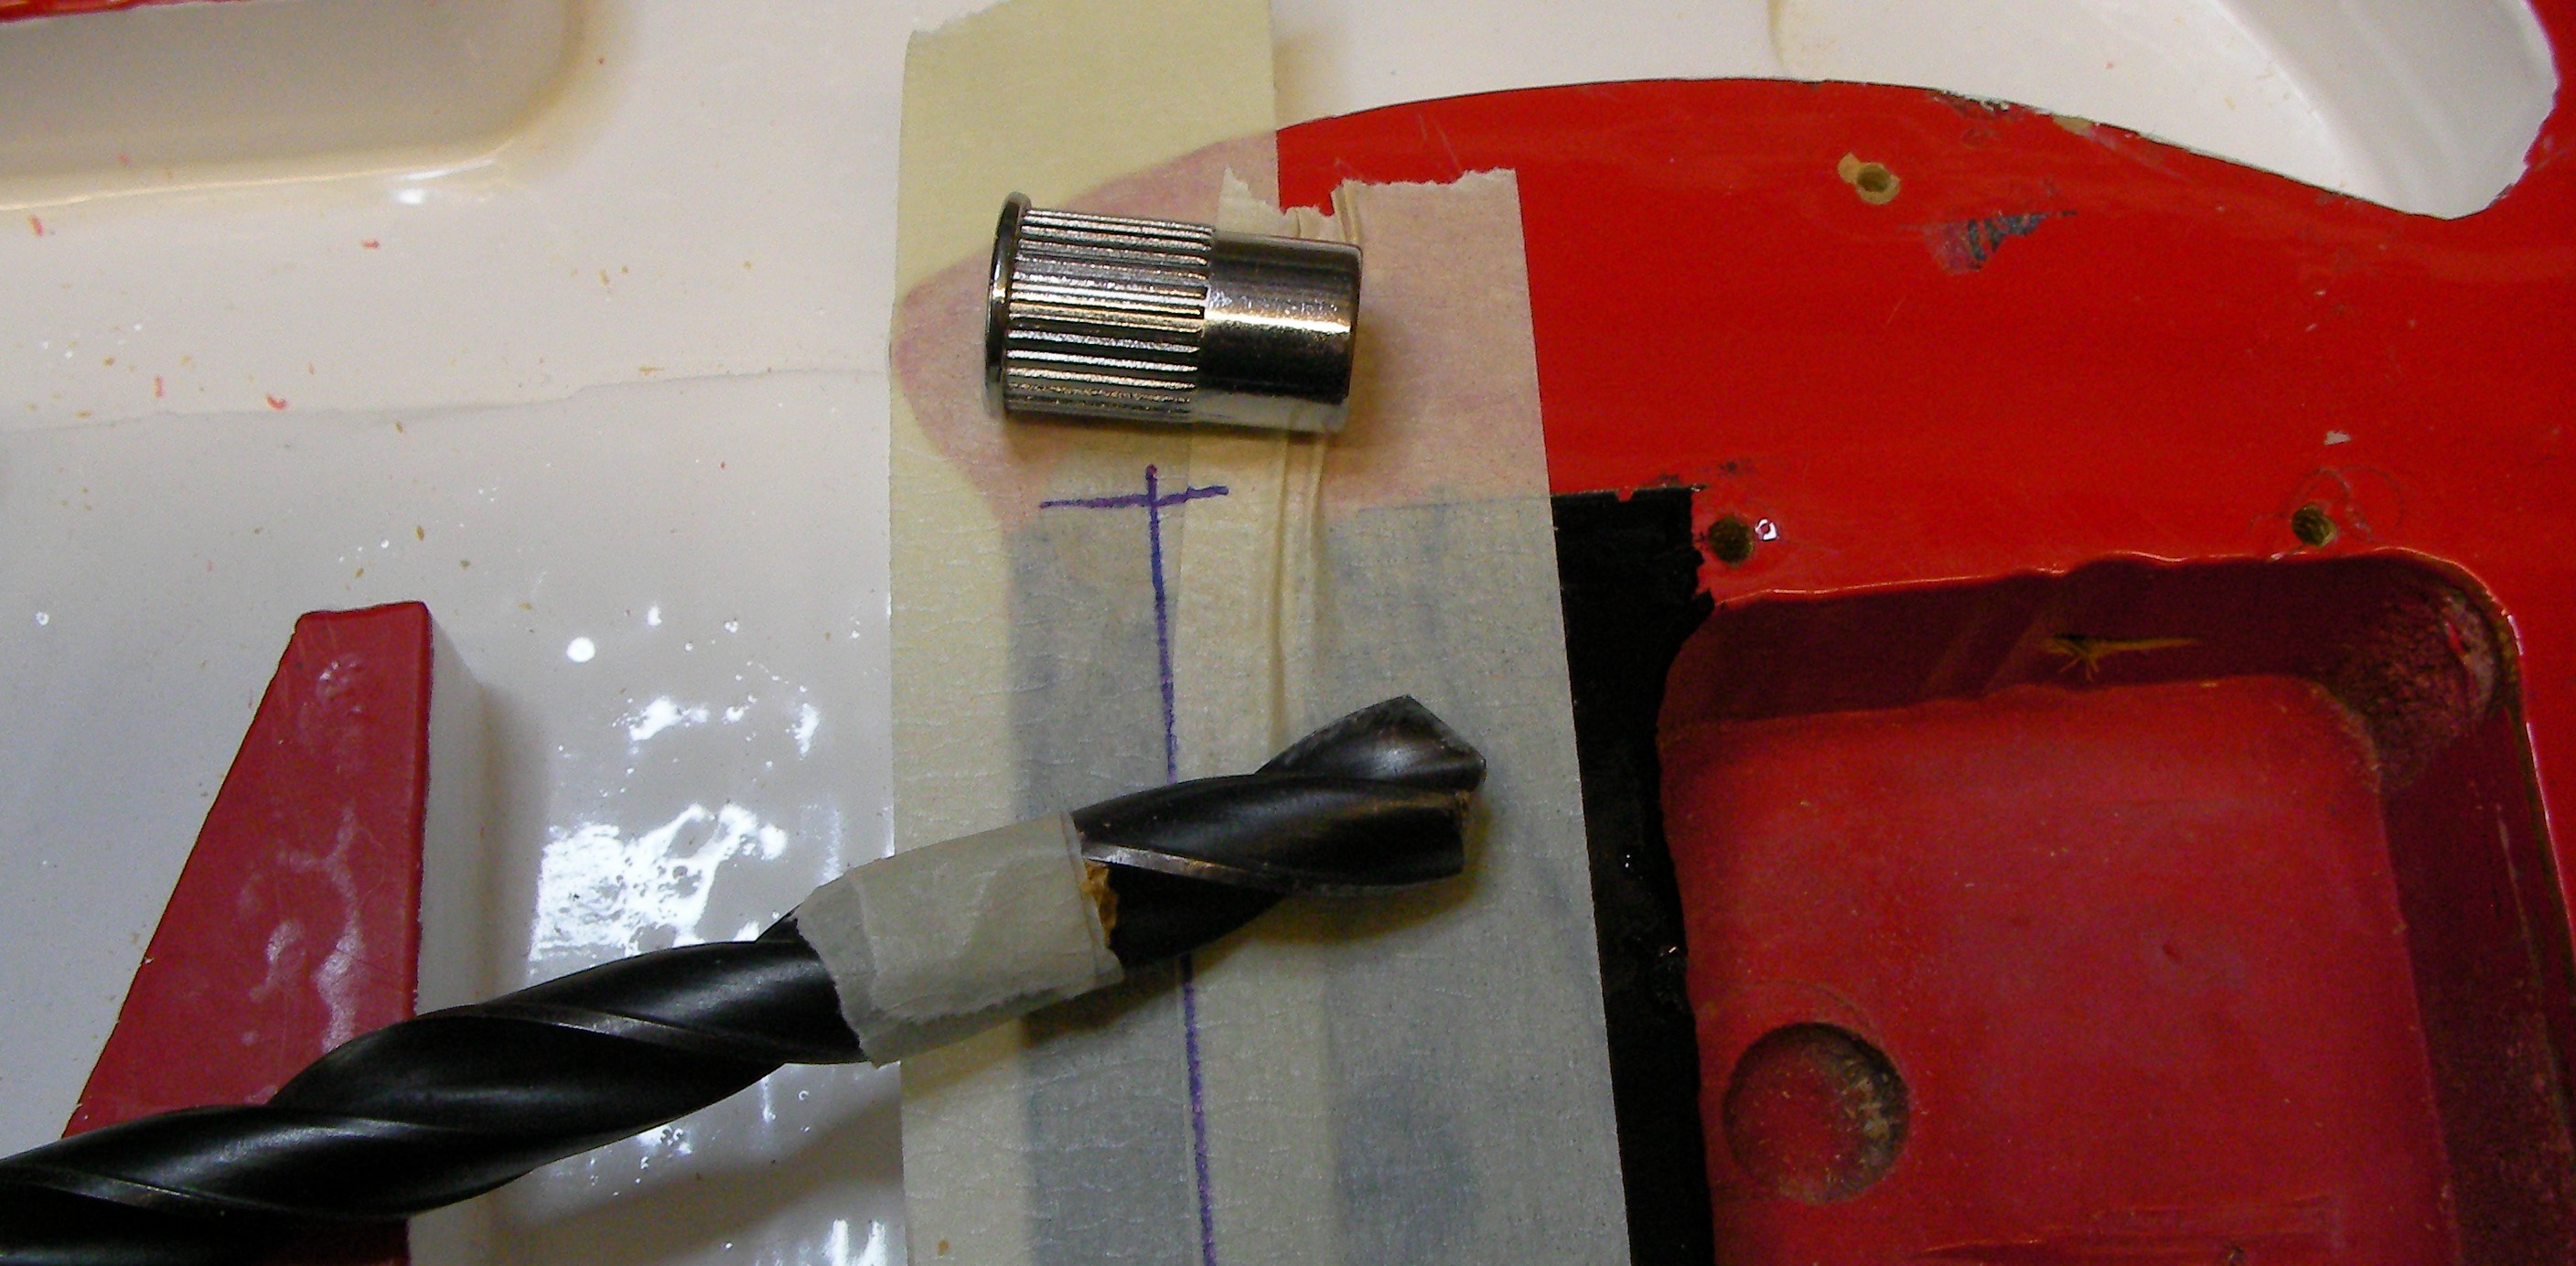
The tape on the drill is to make sure I don’t drill the hole too deeply.
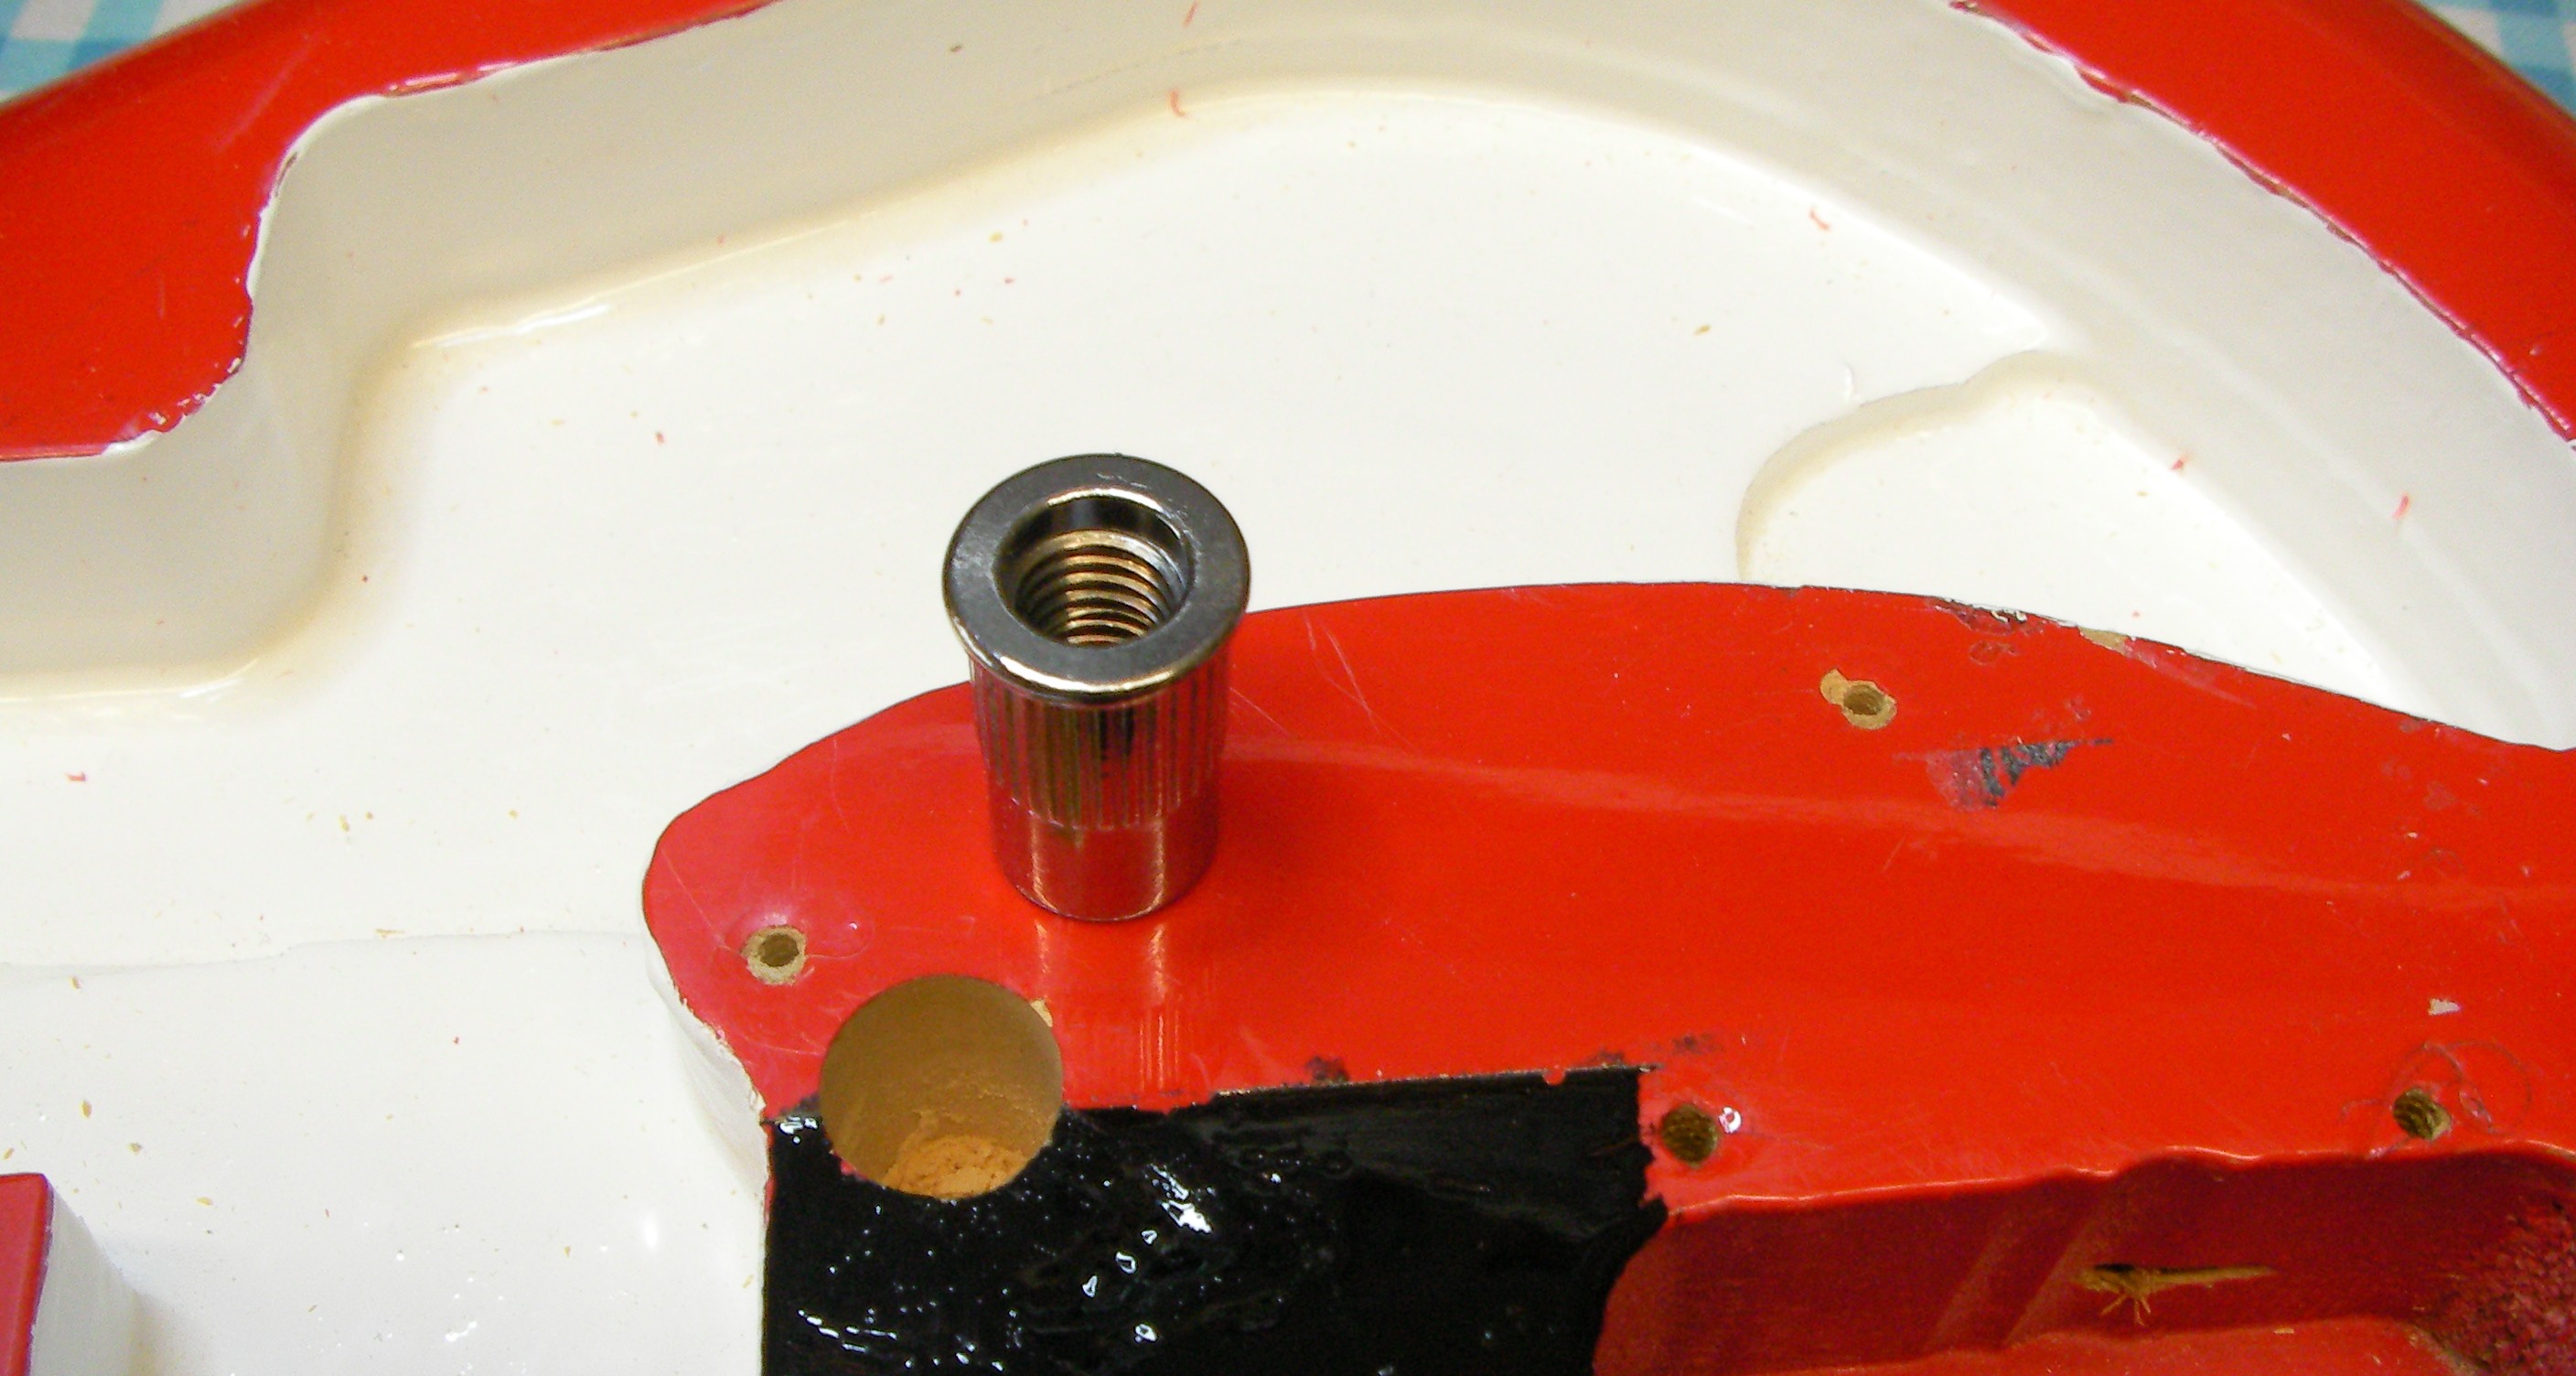
Gently tap the threaded parts with a soft hammer and screw in the bridge height adjustments.
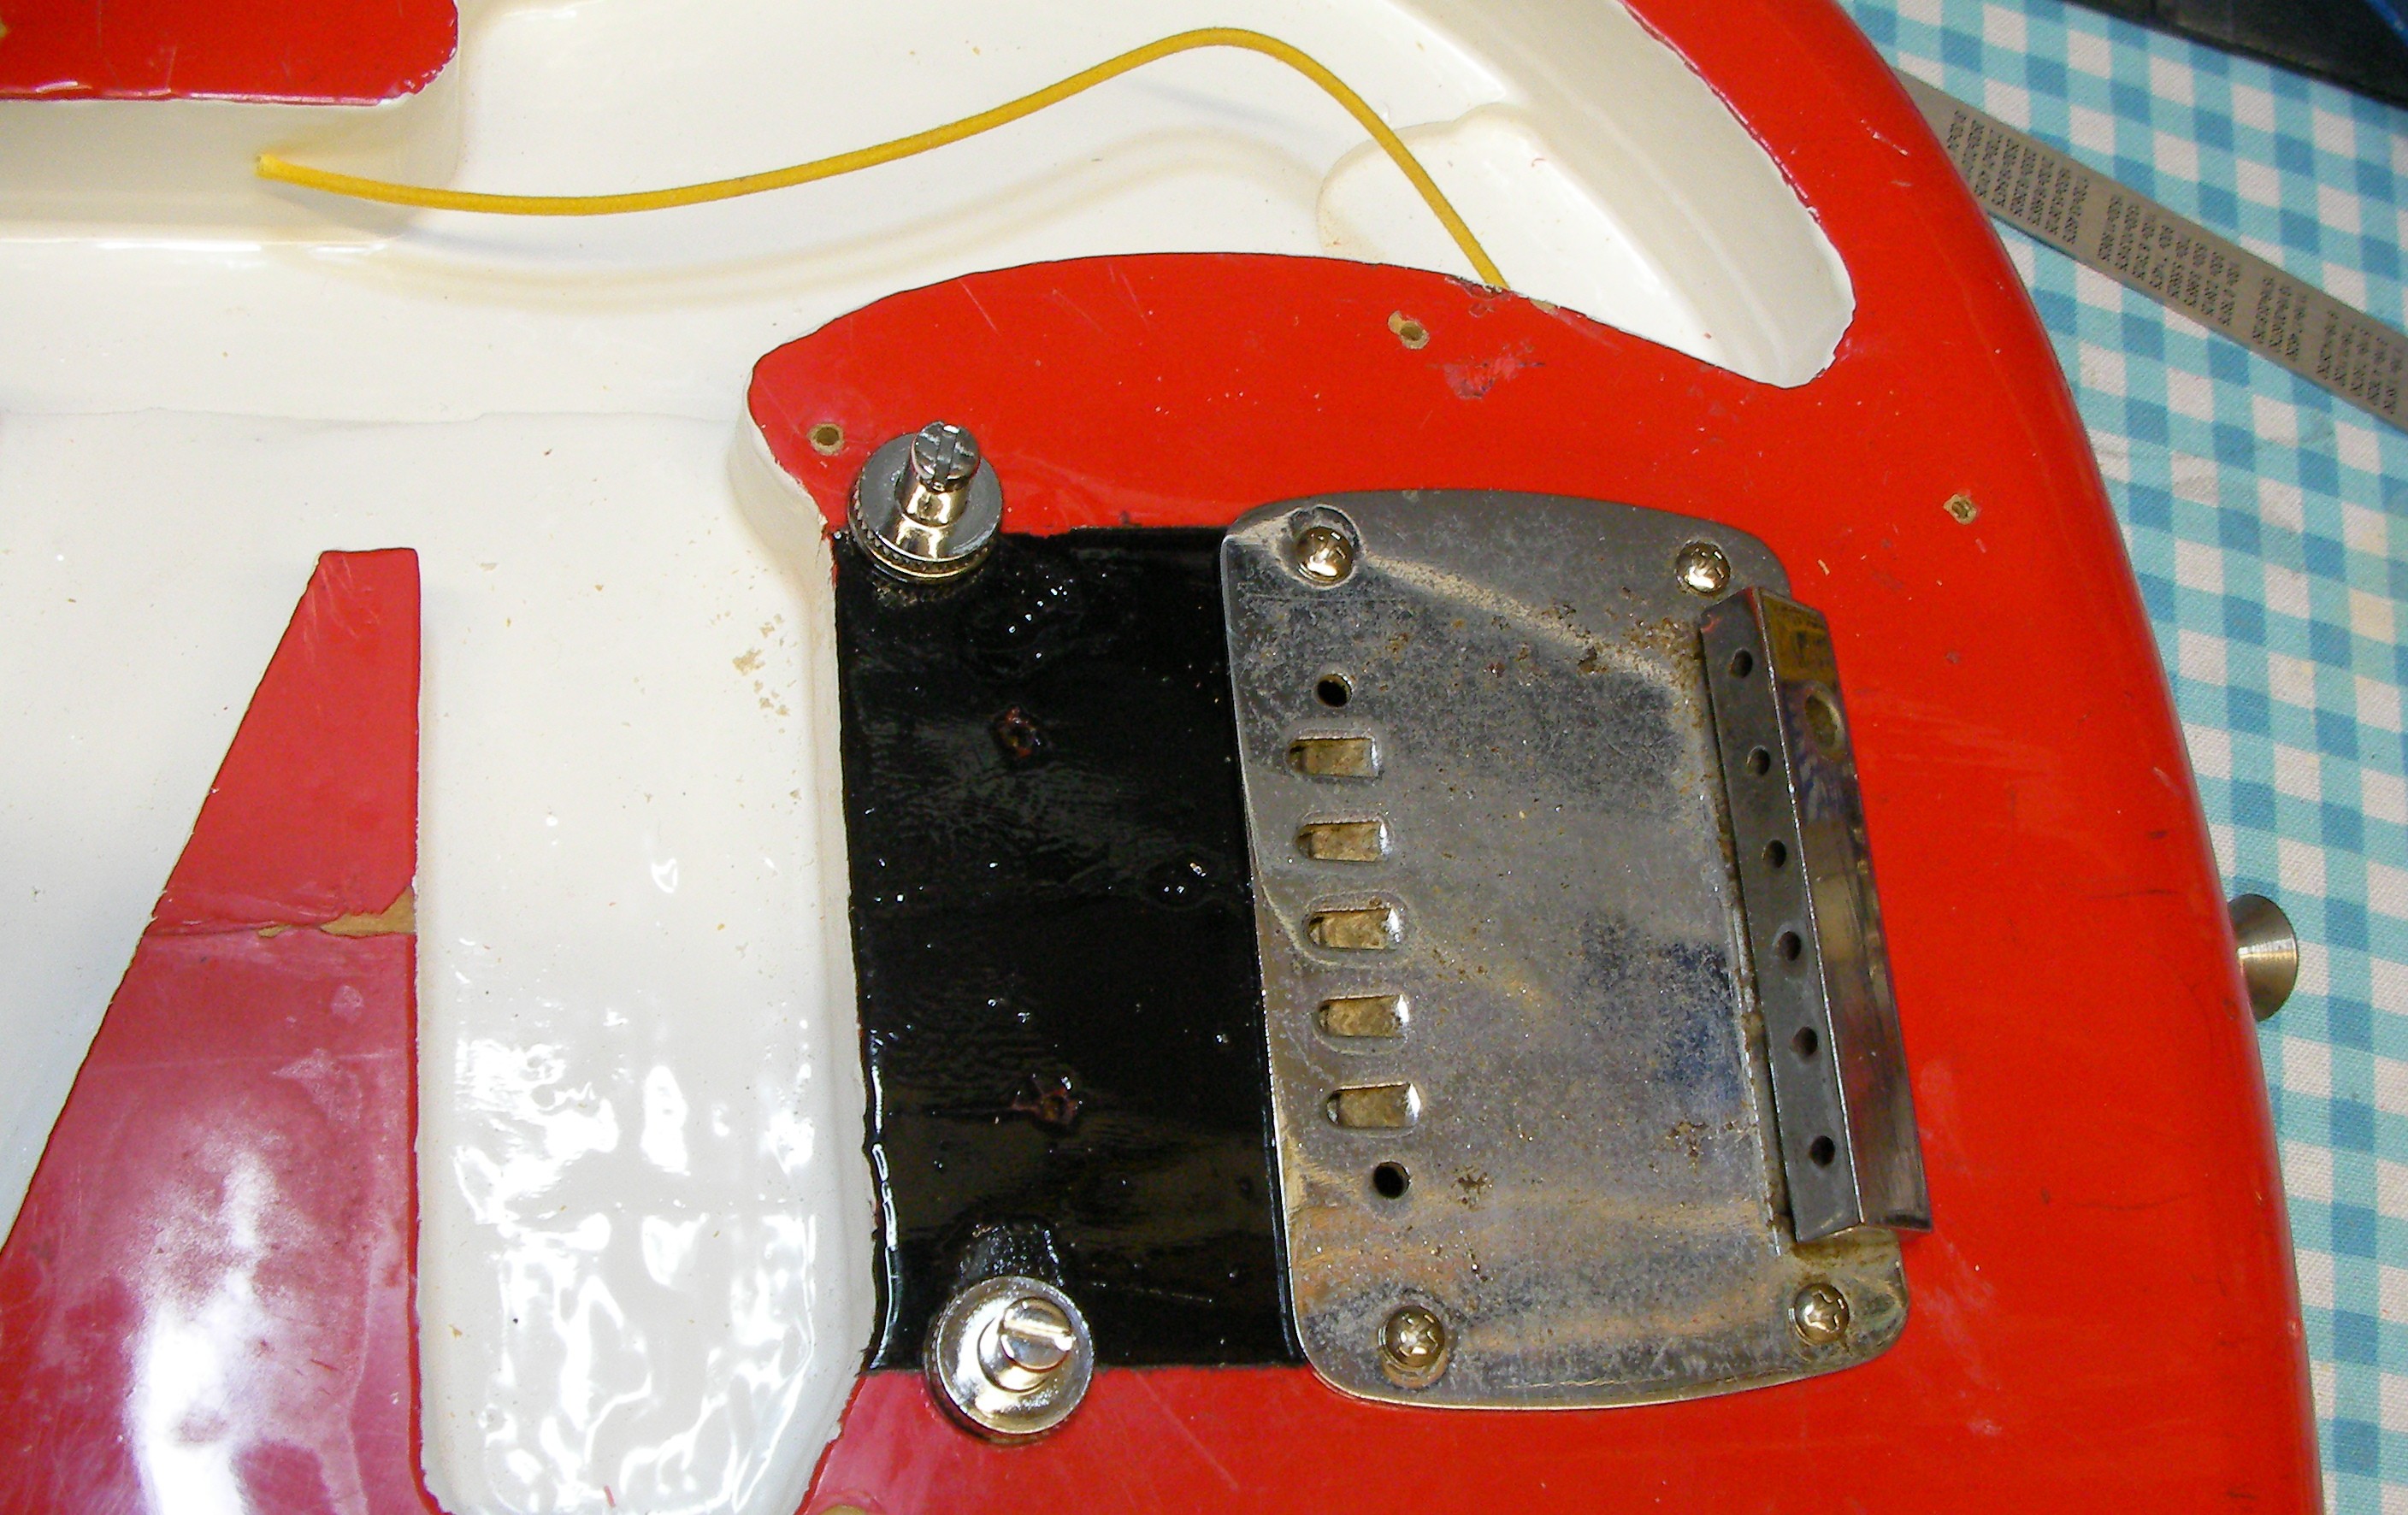
I also re-mounted the tailpiece. I don’t have the arm so the tremolo isn’t going to work, who knows, maybe I’ll be able to find an arm later. Notice the yellow wire to earth the tailpiece and strings.
I also made a start on the pickguard. I’ve mounted the pickups and control switches. I thought I had the appropriate pots but I haven’t so I’ll have to order some up. I’ve drilled the holes anyway, I’ll wire the rest of it up when the pots get here.
Since the wiring will be seen through the pickguard I want to make sure it looks as tidy as possible. That’s generally what I aim for anyway, it’s just rarely seen! To keep it looking really neat I’ve joined new wires onto the old pickups and held the joint in place with a small blob of glue.
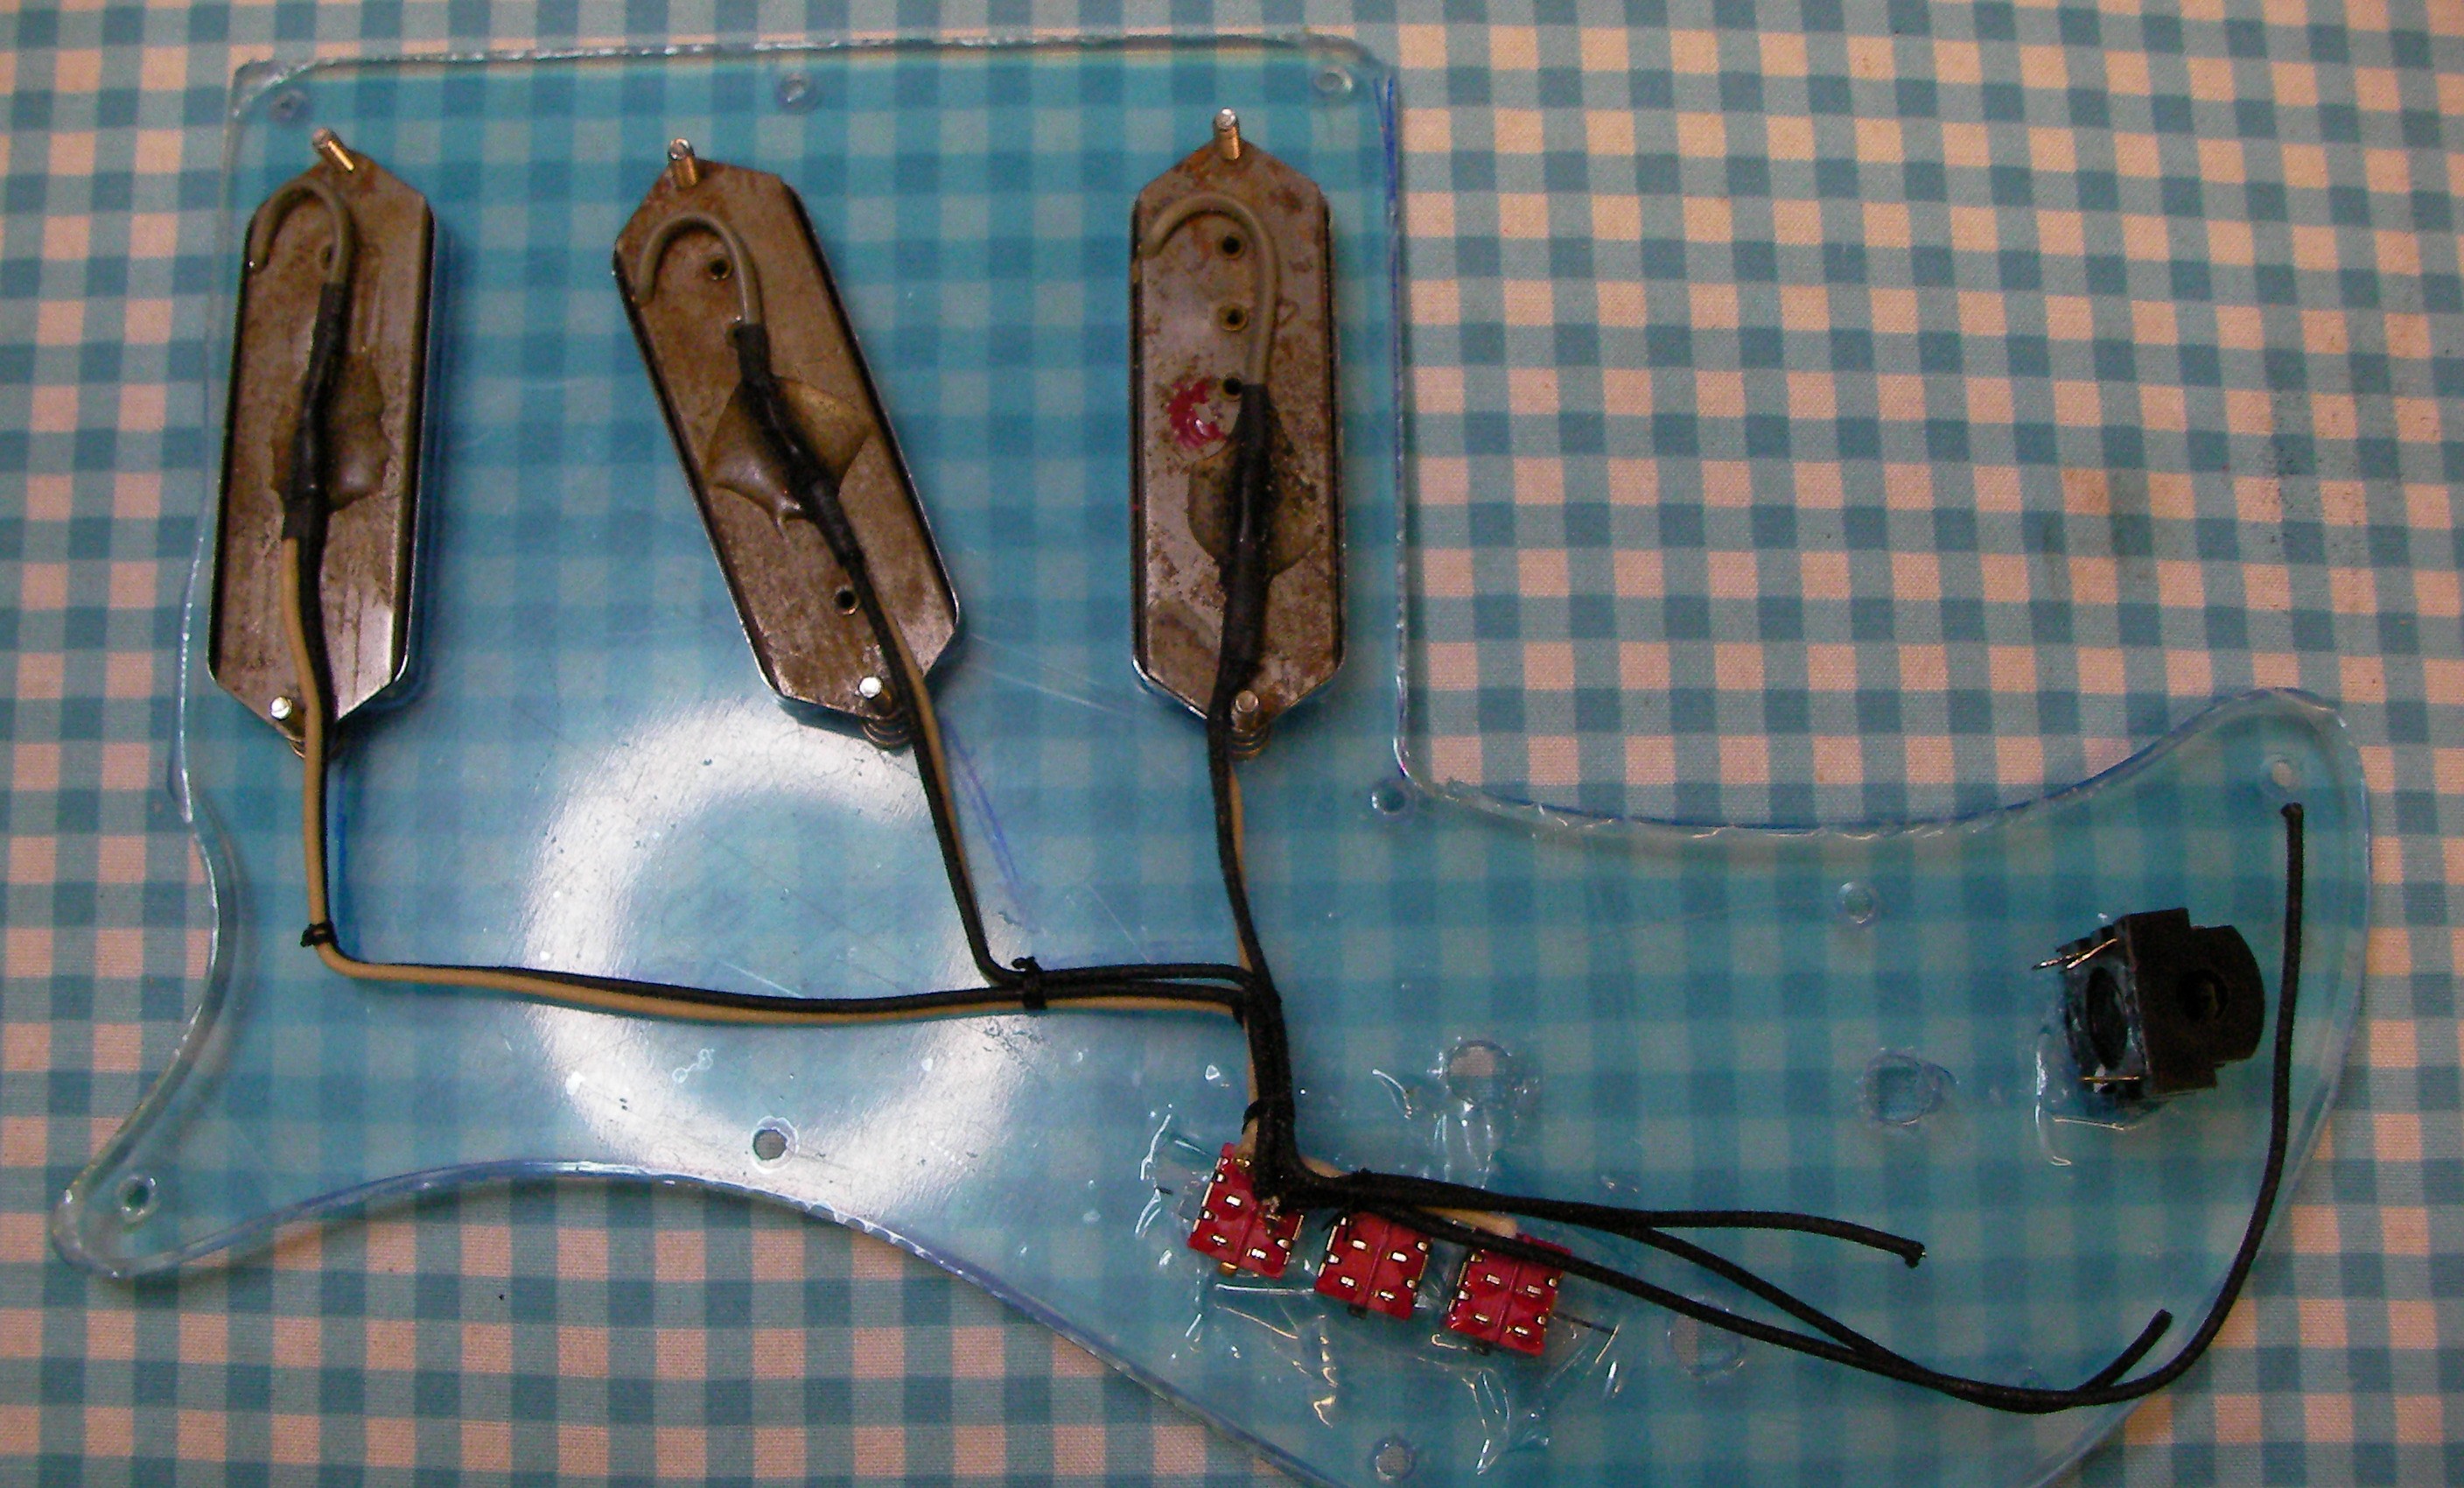
Its going to look good, strange but good!
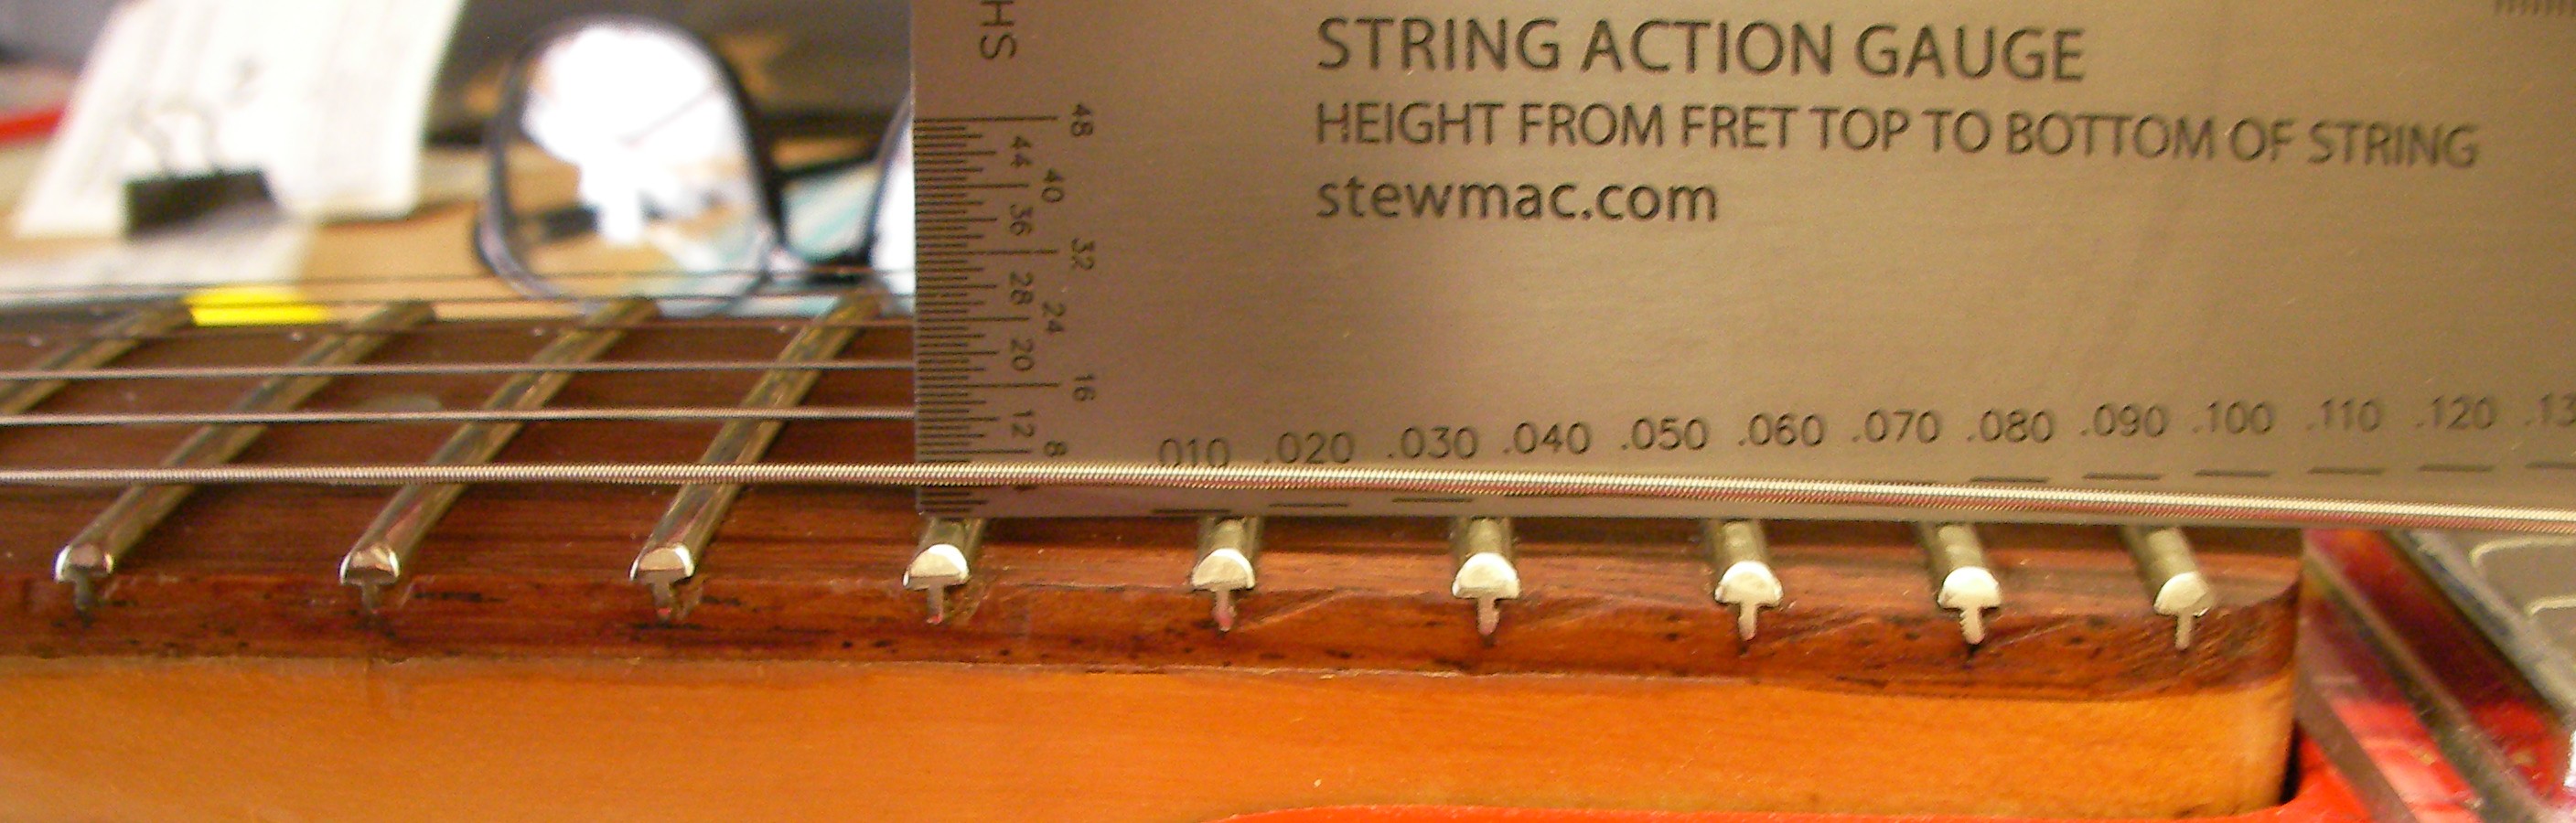
Once I fitted the strings and started the setup I realised that the action height at the 17th fret was rather high, even with the bridge at its lowest setting.
There are 2 ways of dealing with that, somehow reduce the thickness of the bridge (not easy) or change the angle of the neck slightly with a shim at the heel of the neck.
I’ve gone for option 2. I used a small piece of veneer, about 0.5mm thick cut to the shape of the neck and sanded to be thinner at one side than the other.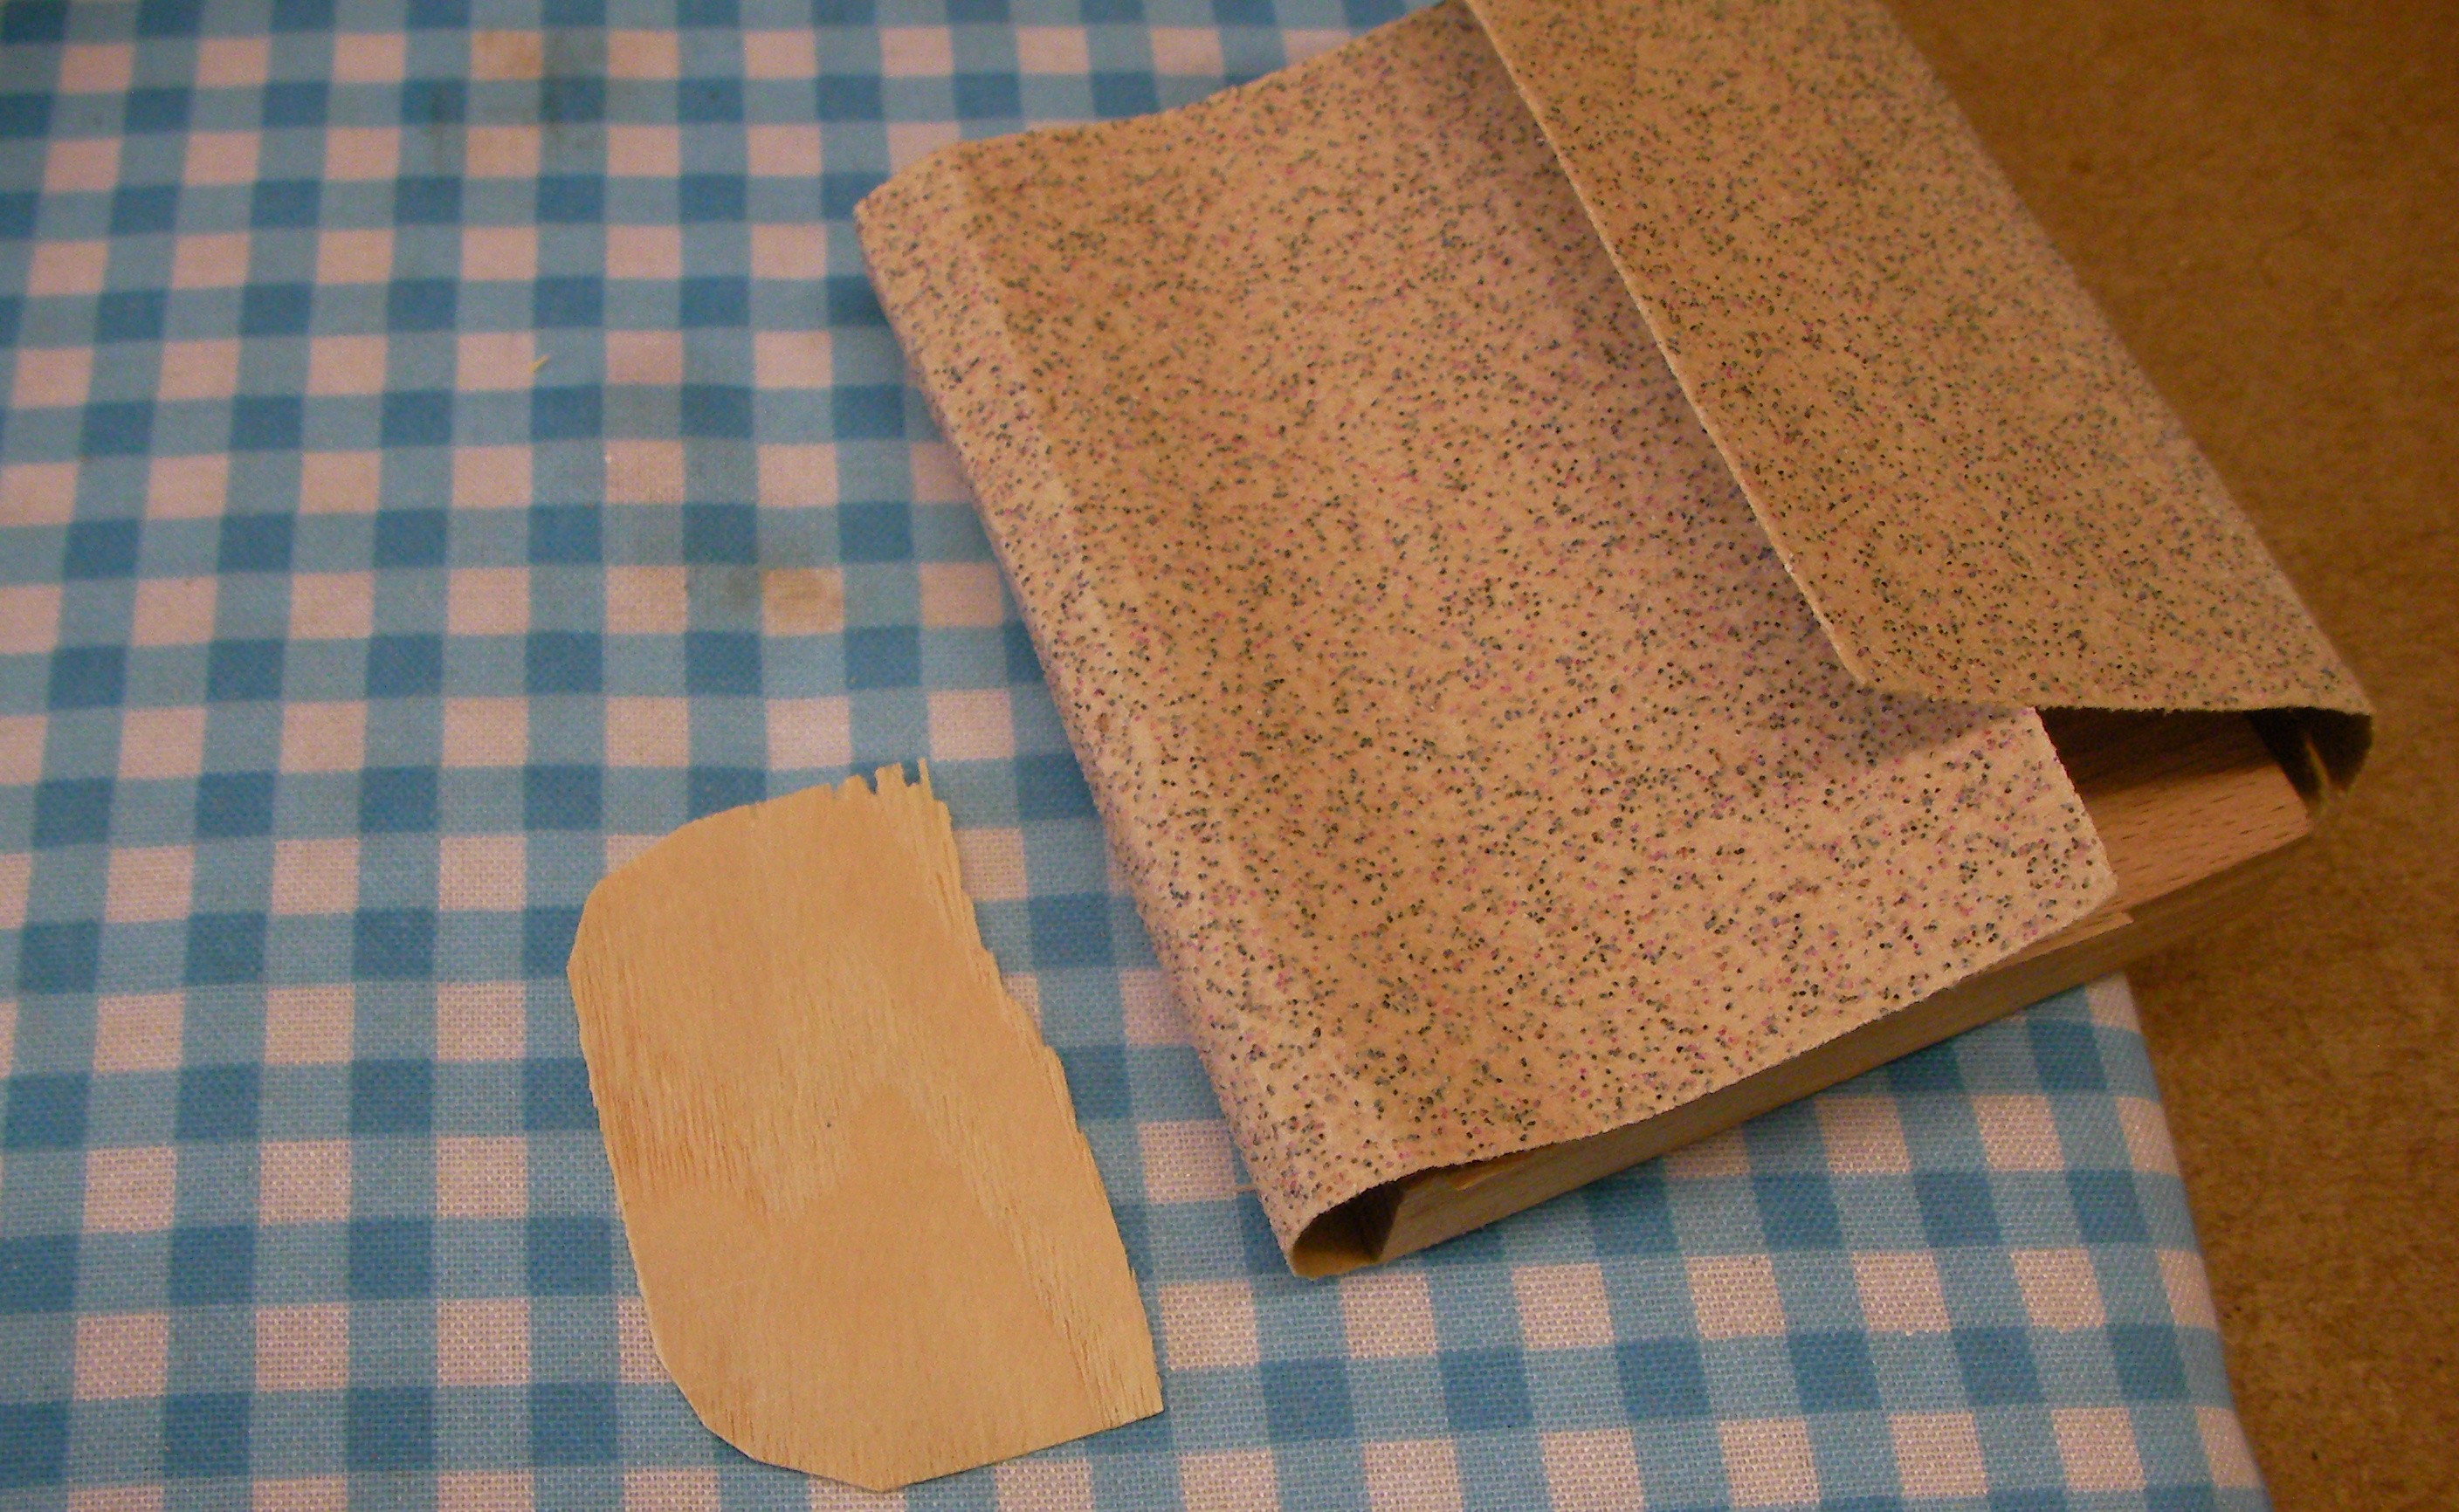
I used a hole punch to make sure the screws will pass through easily and not split the veneer.
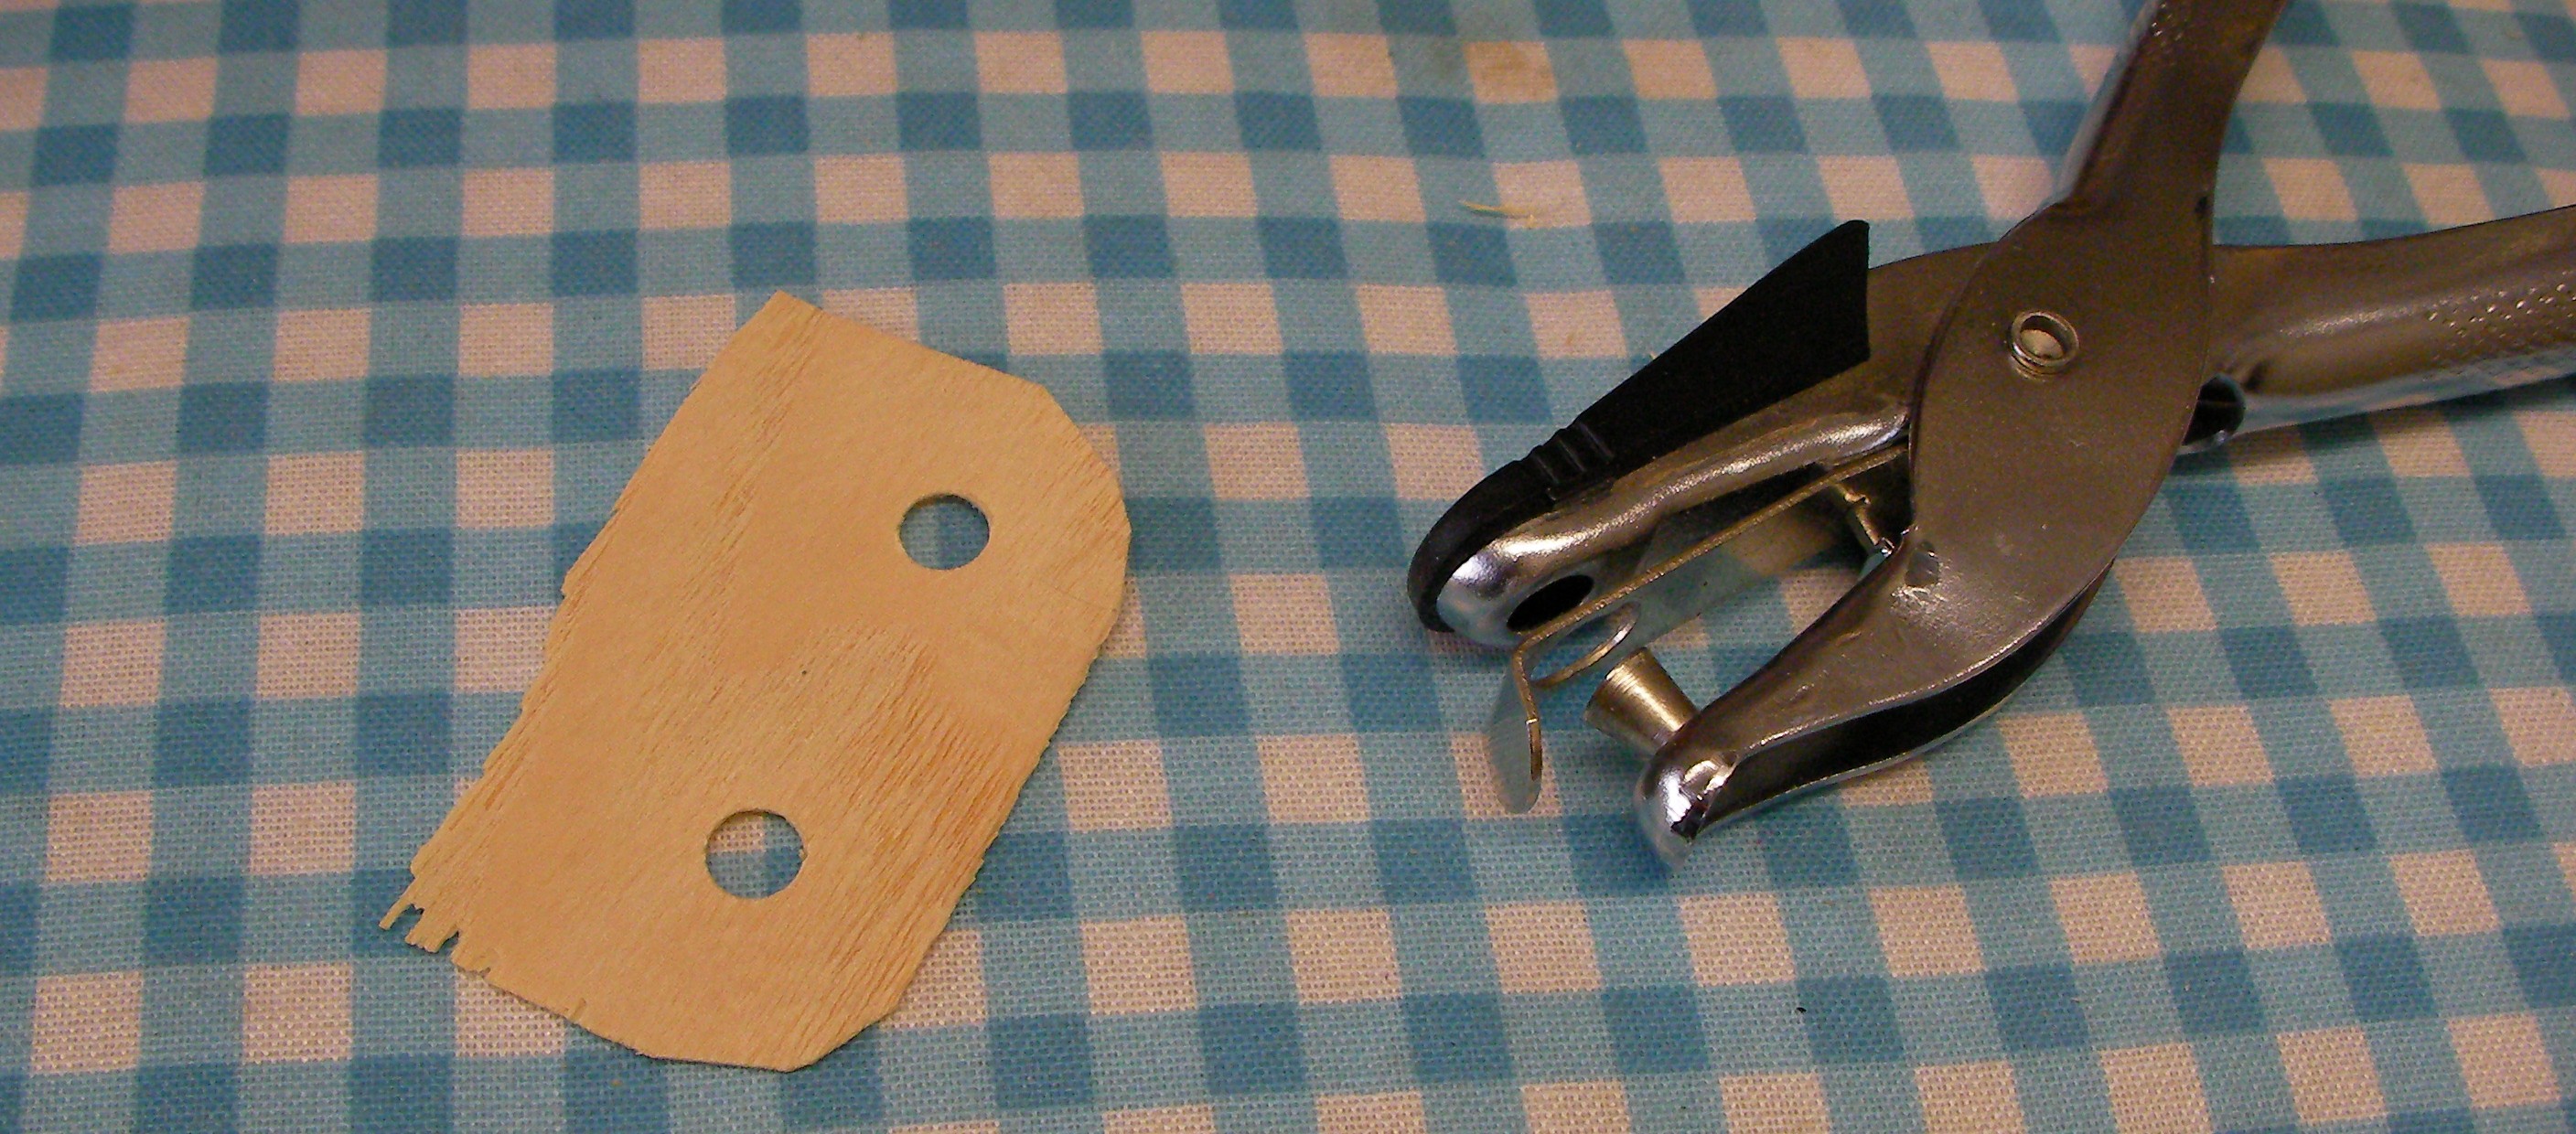
It doesn’t need to be a perfect fit, it just has to lift the back edge a little.
With the neck re-fitted and the strings back to tension the action height has come down just nicely.
All done. Rather an odd looking guitar but nice. It will sadly never really be a great guitar; the neck is very light and without a truss-rod doesn’t stay in tune very well. The slightest change in temperature of humidity is going to put it out of tune.
If you ever fancy something similar, or want to create your own guitar then I’ll be happy to sit down and work out what we can do.