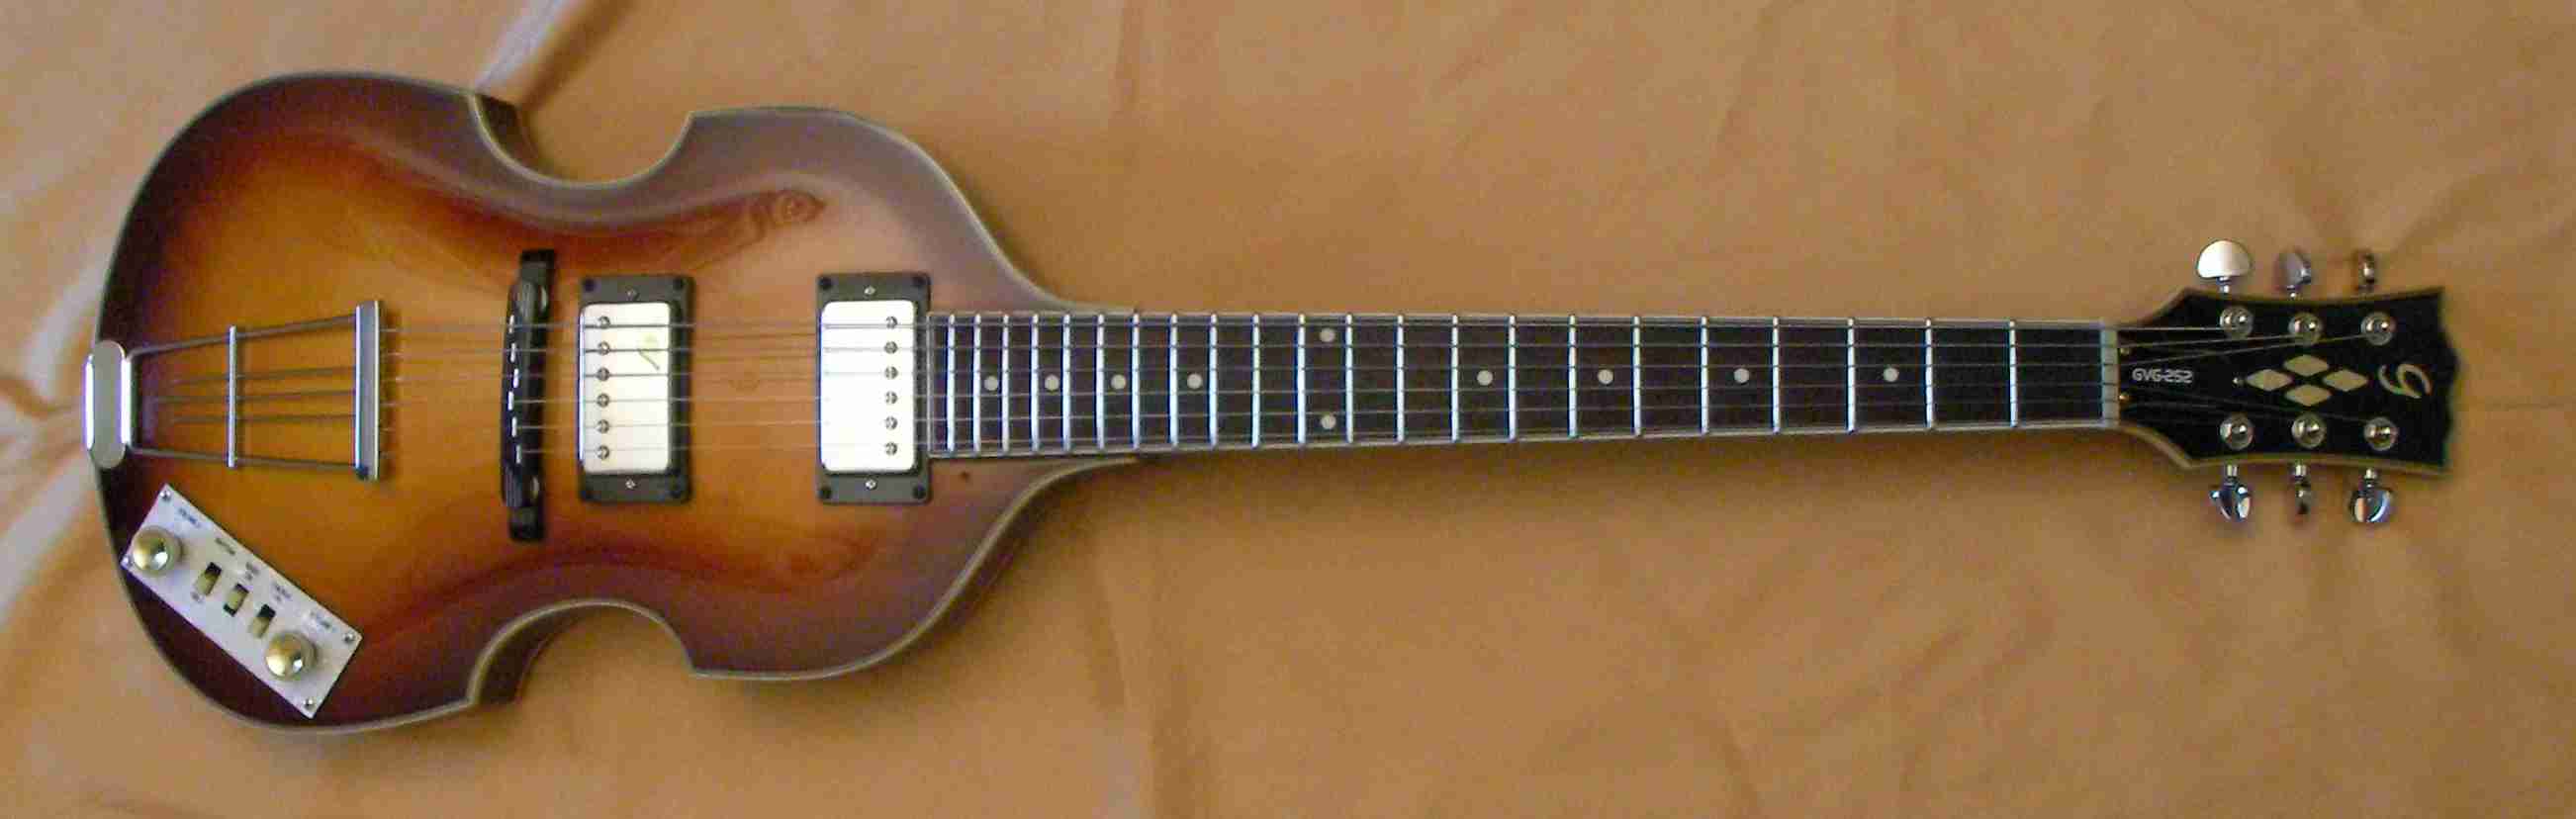
I’ve never come across one of these but I think I want one!
What a classic look, no Beatles fan should be without one. I played bass in a band many years ago, and as a Beatles fan had to try out a Hofner bass. I could never really get on with it though, I think I preferred Stu Sutcliffe’s choice, something to really get hold of.
Anyway as guitarist choice it’s still a classic look and I love it, it just needs a little work (well quite a bit) to really make the most of it.
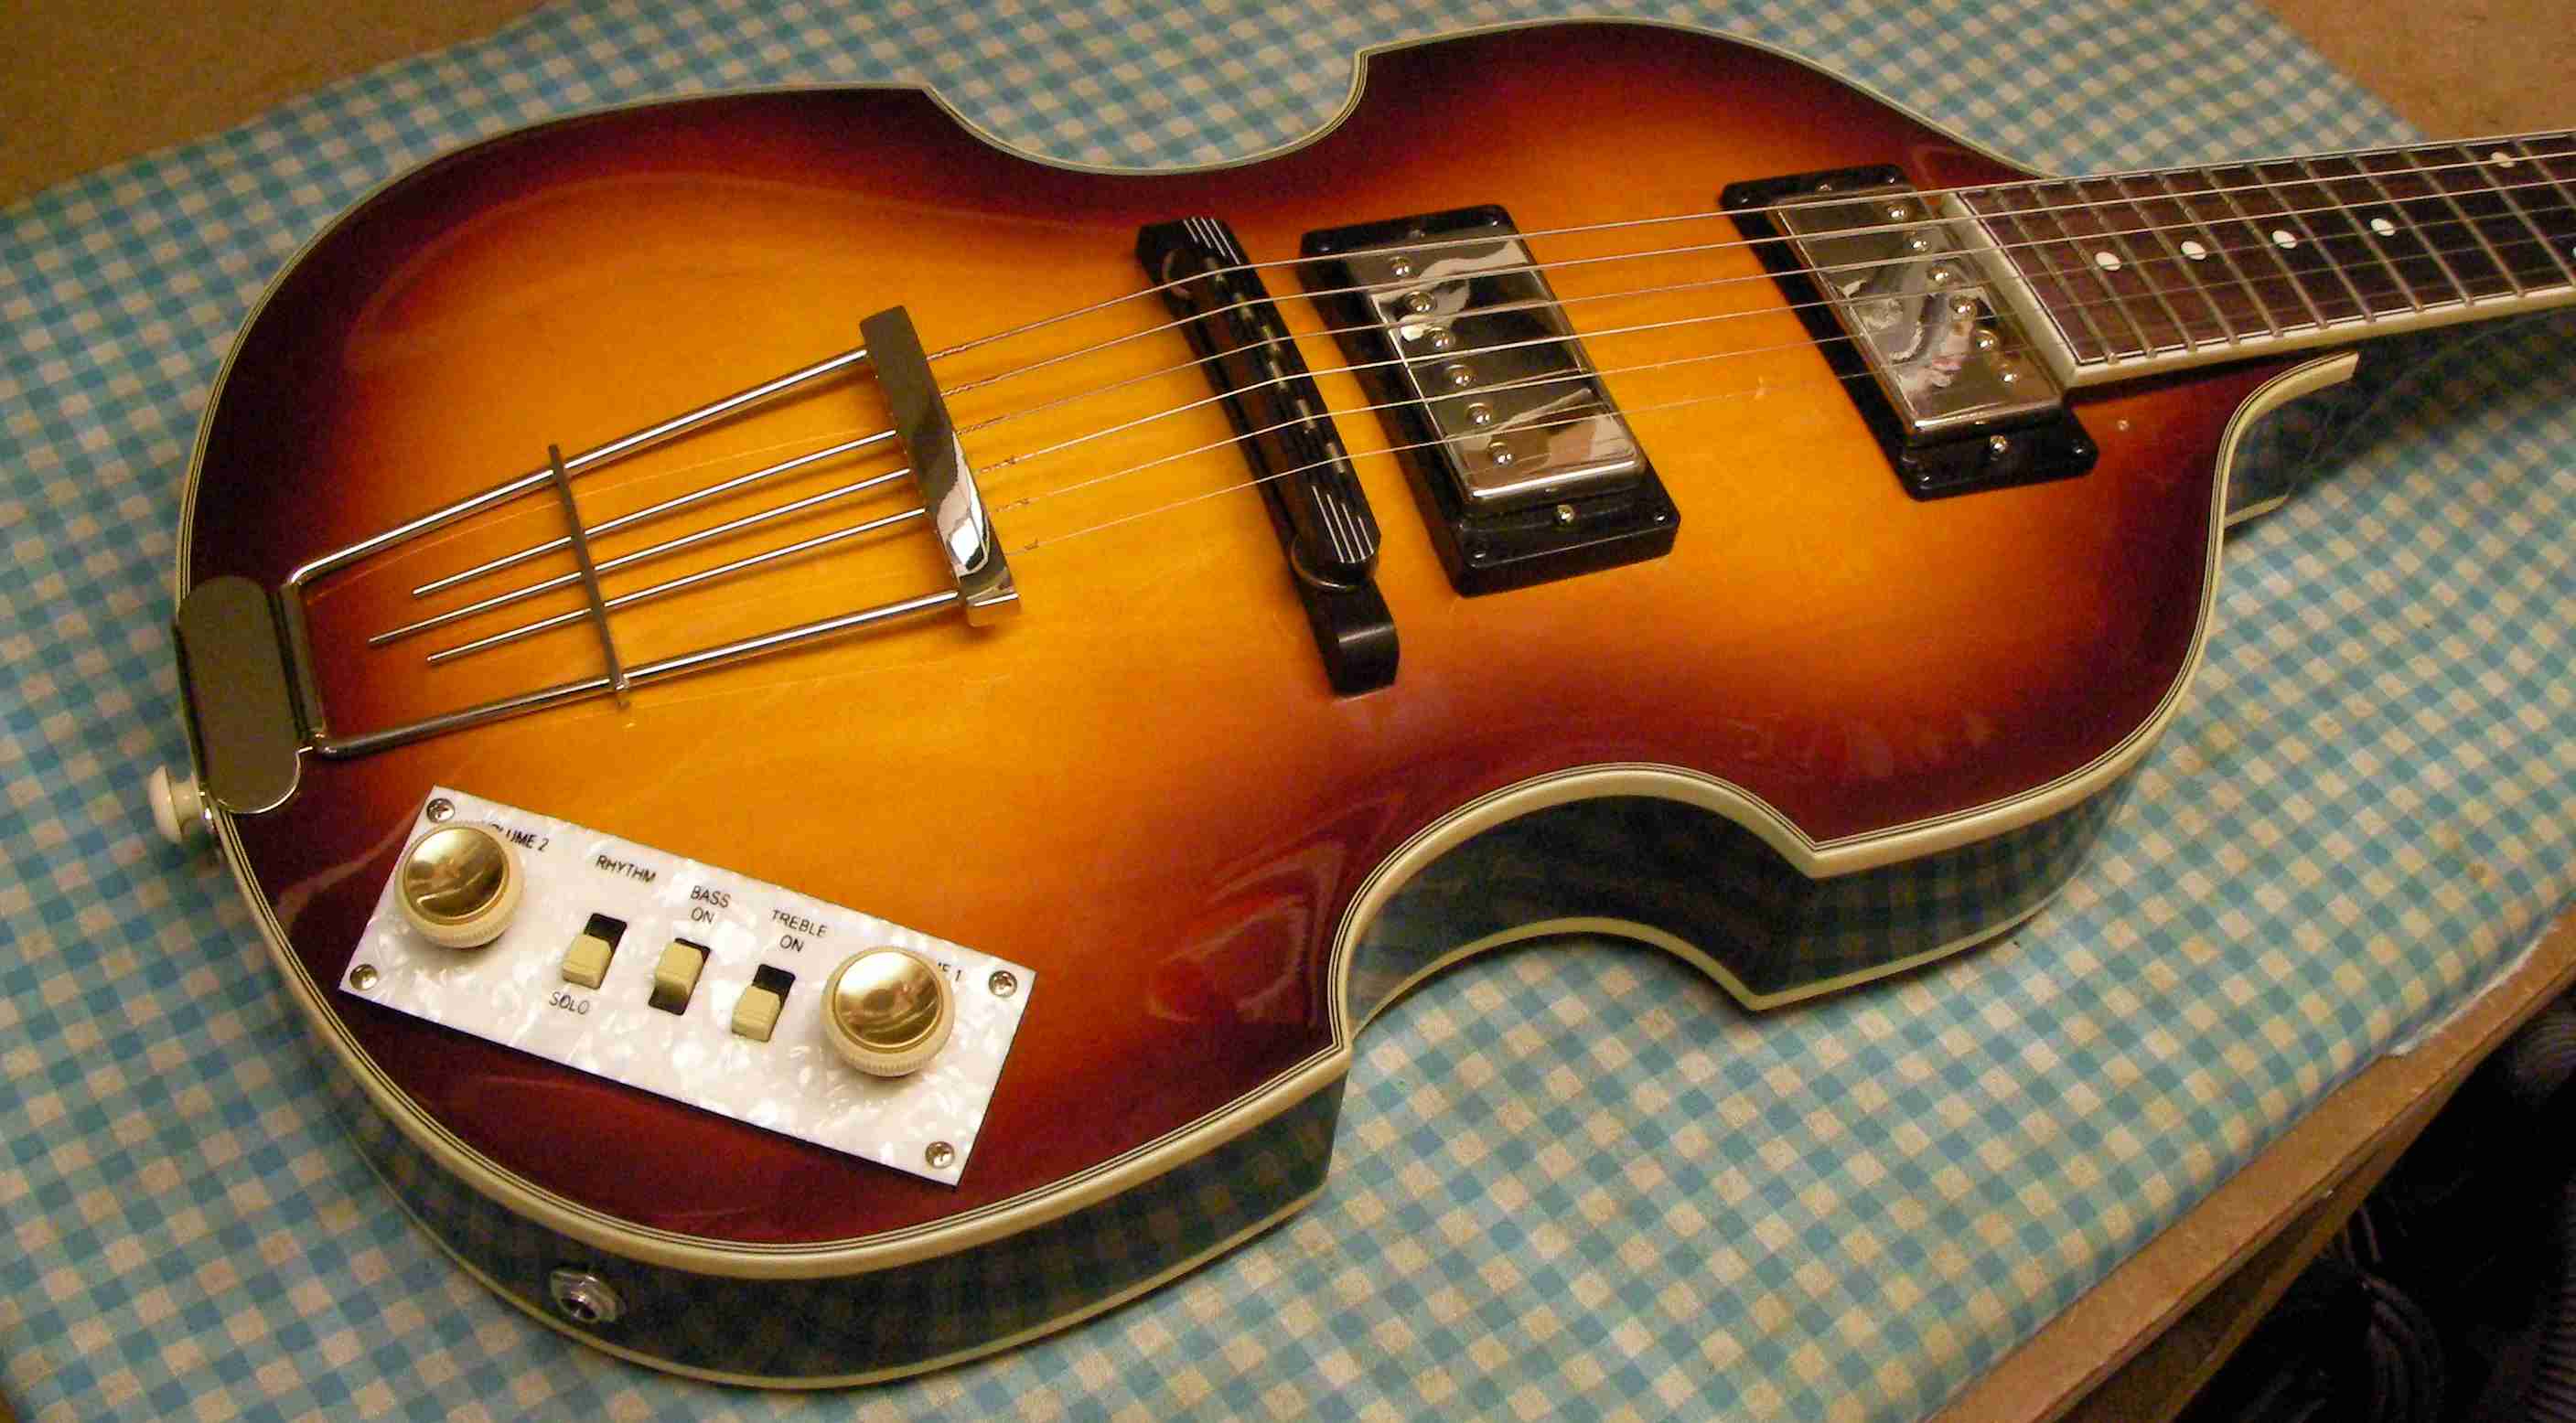
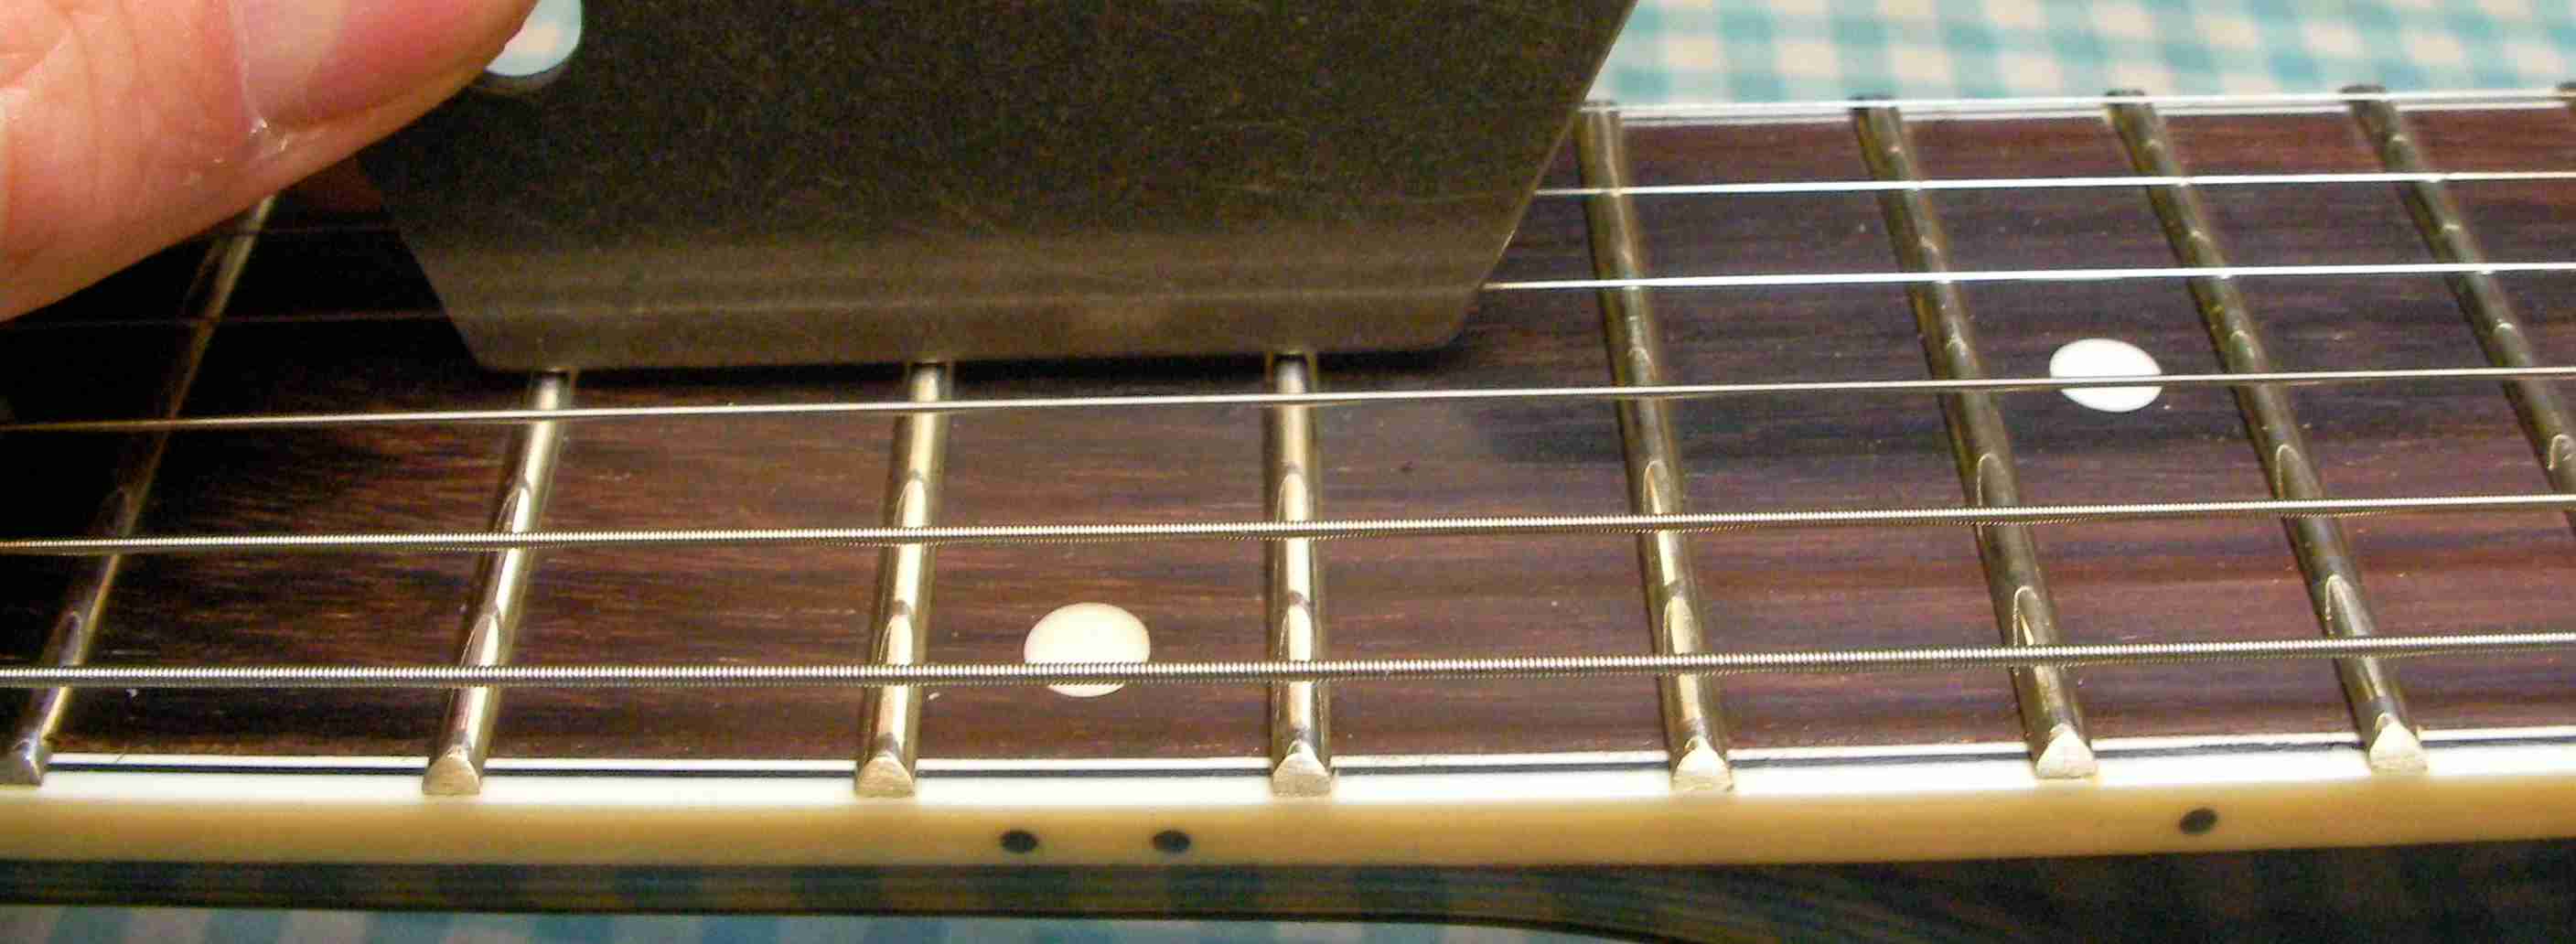
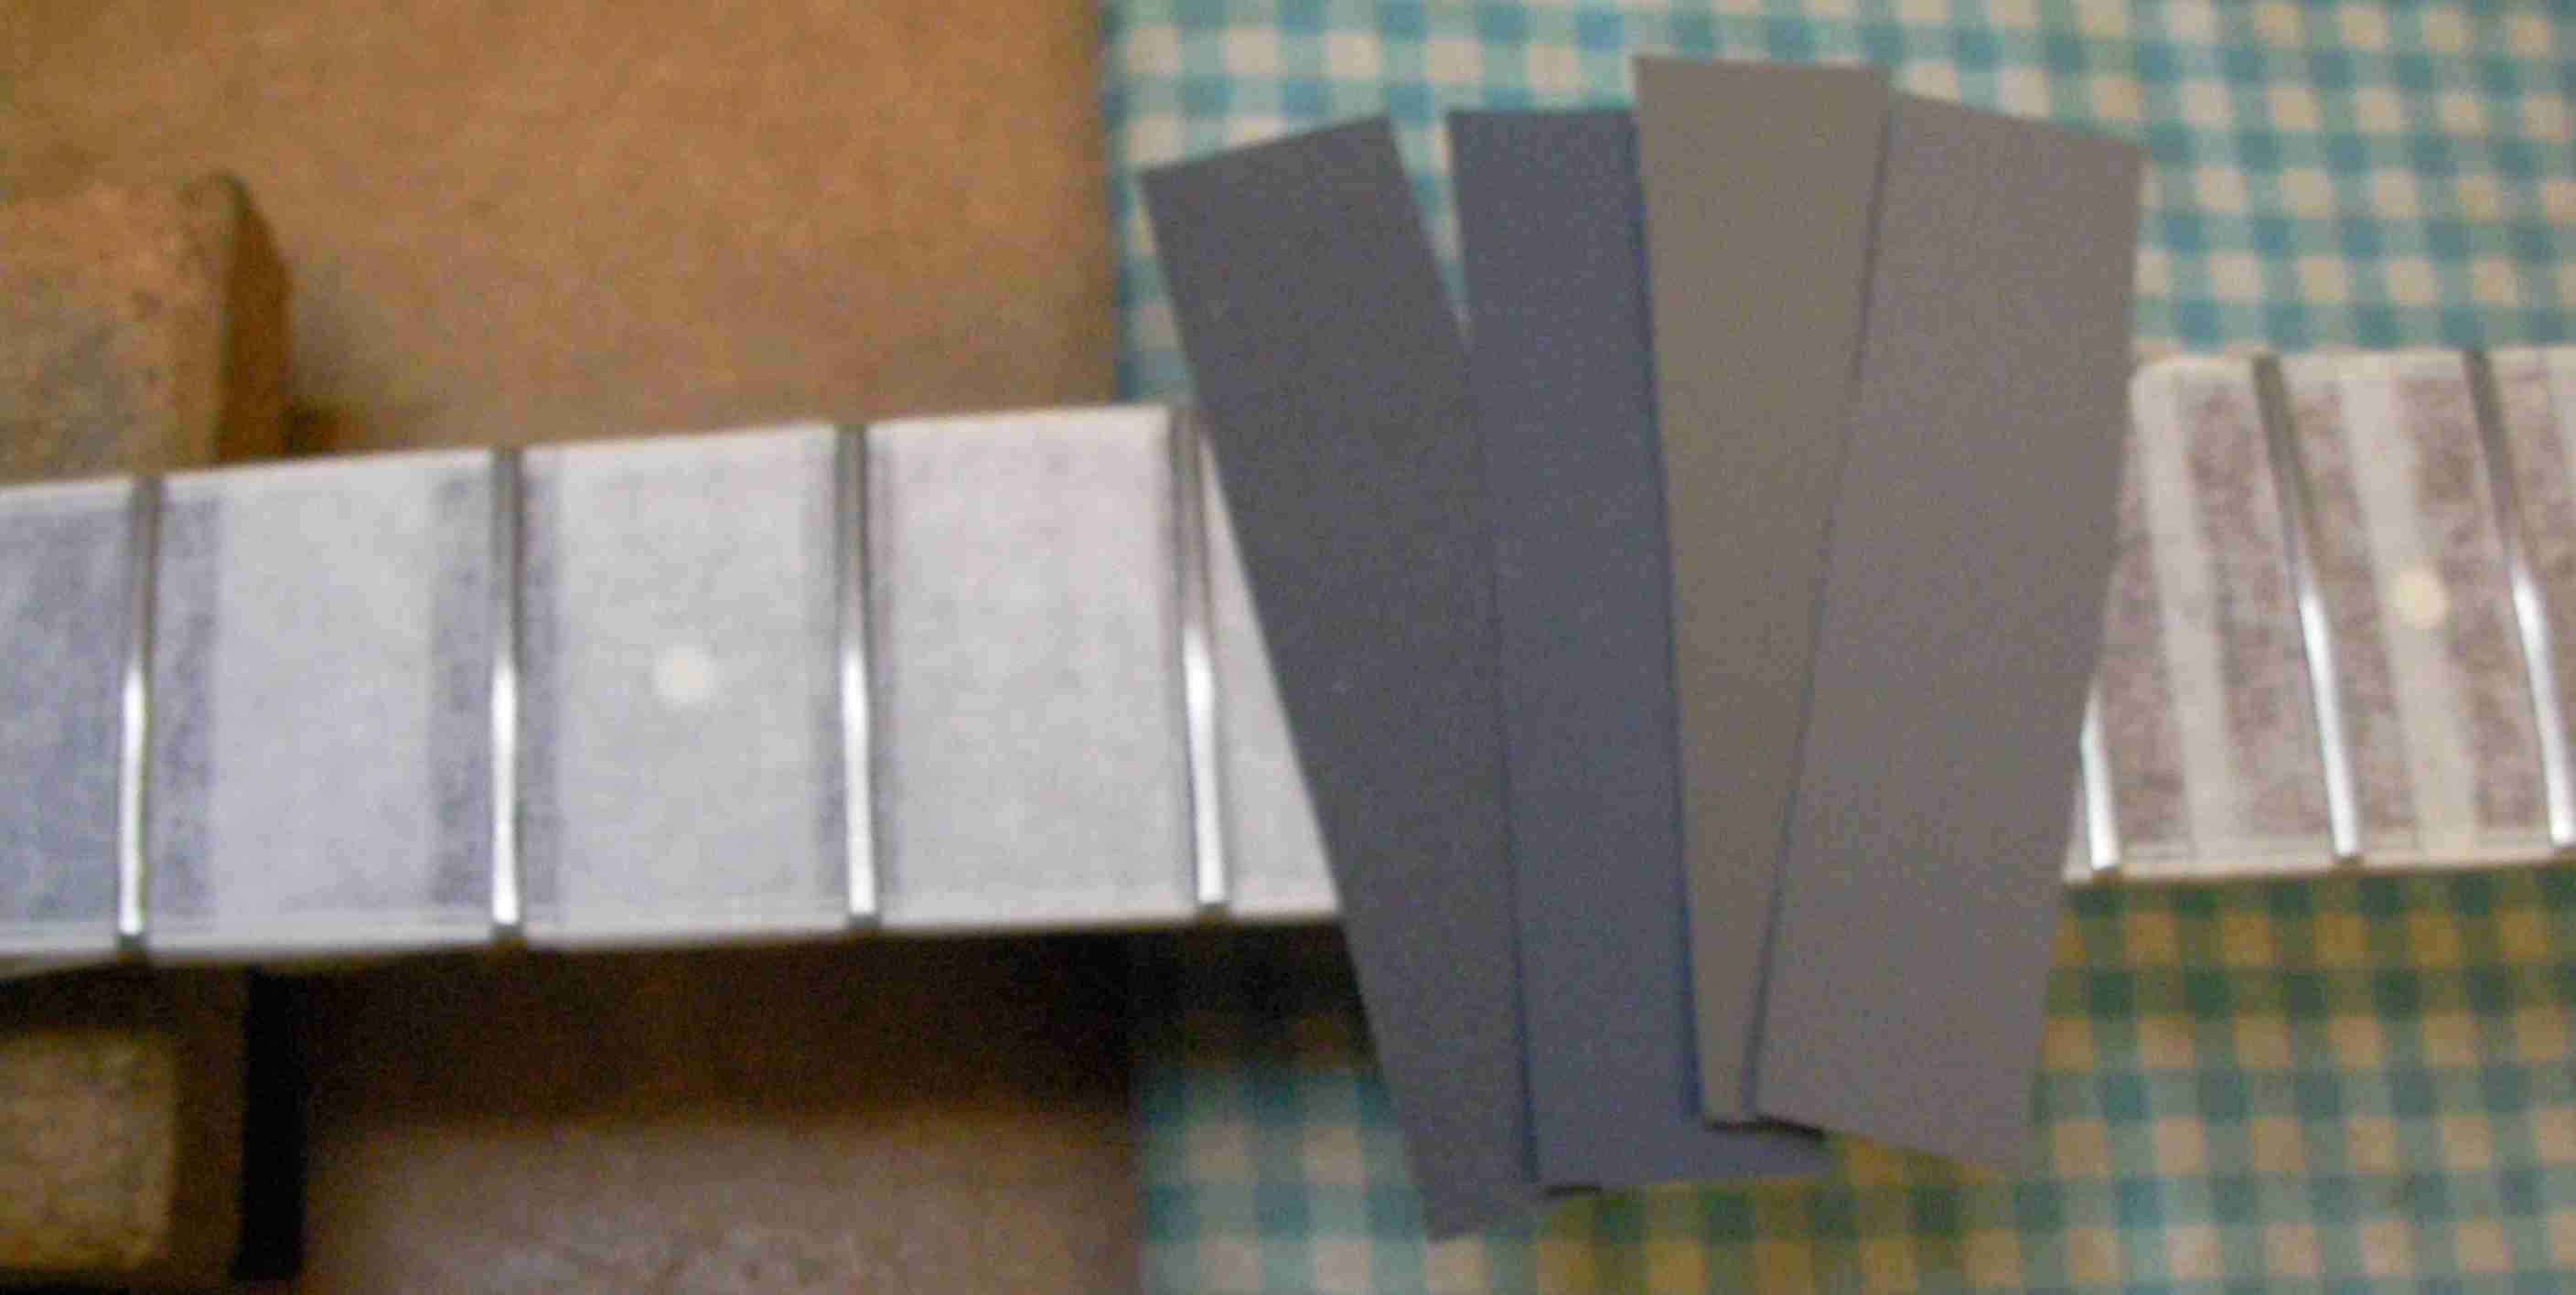
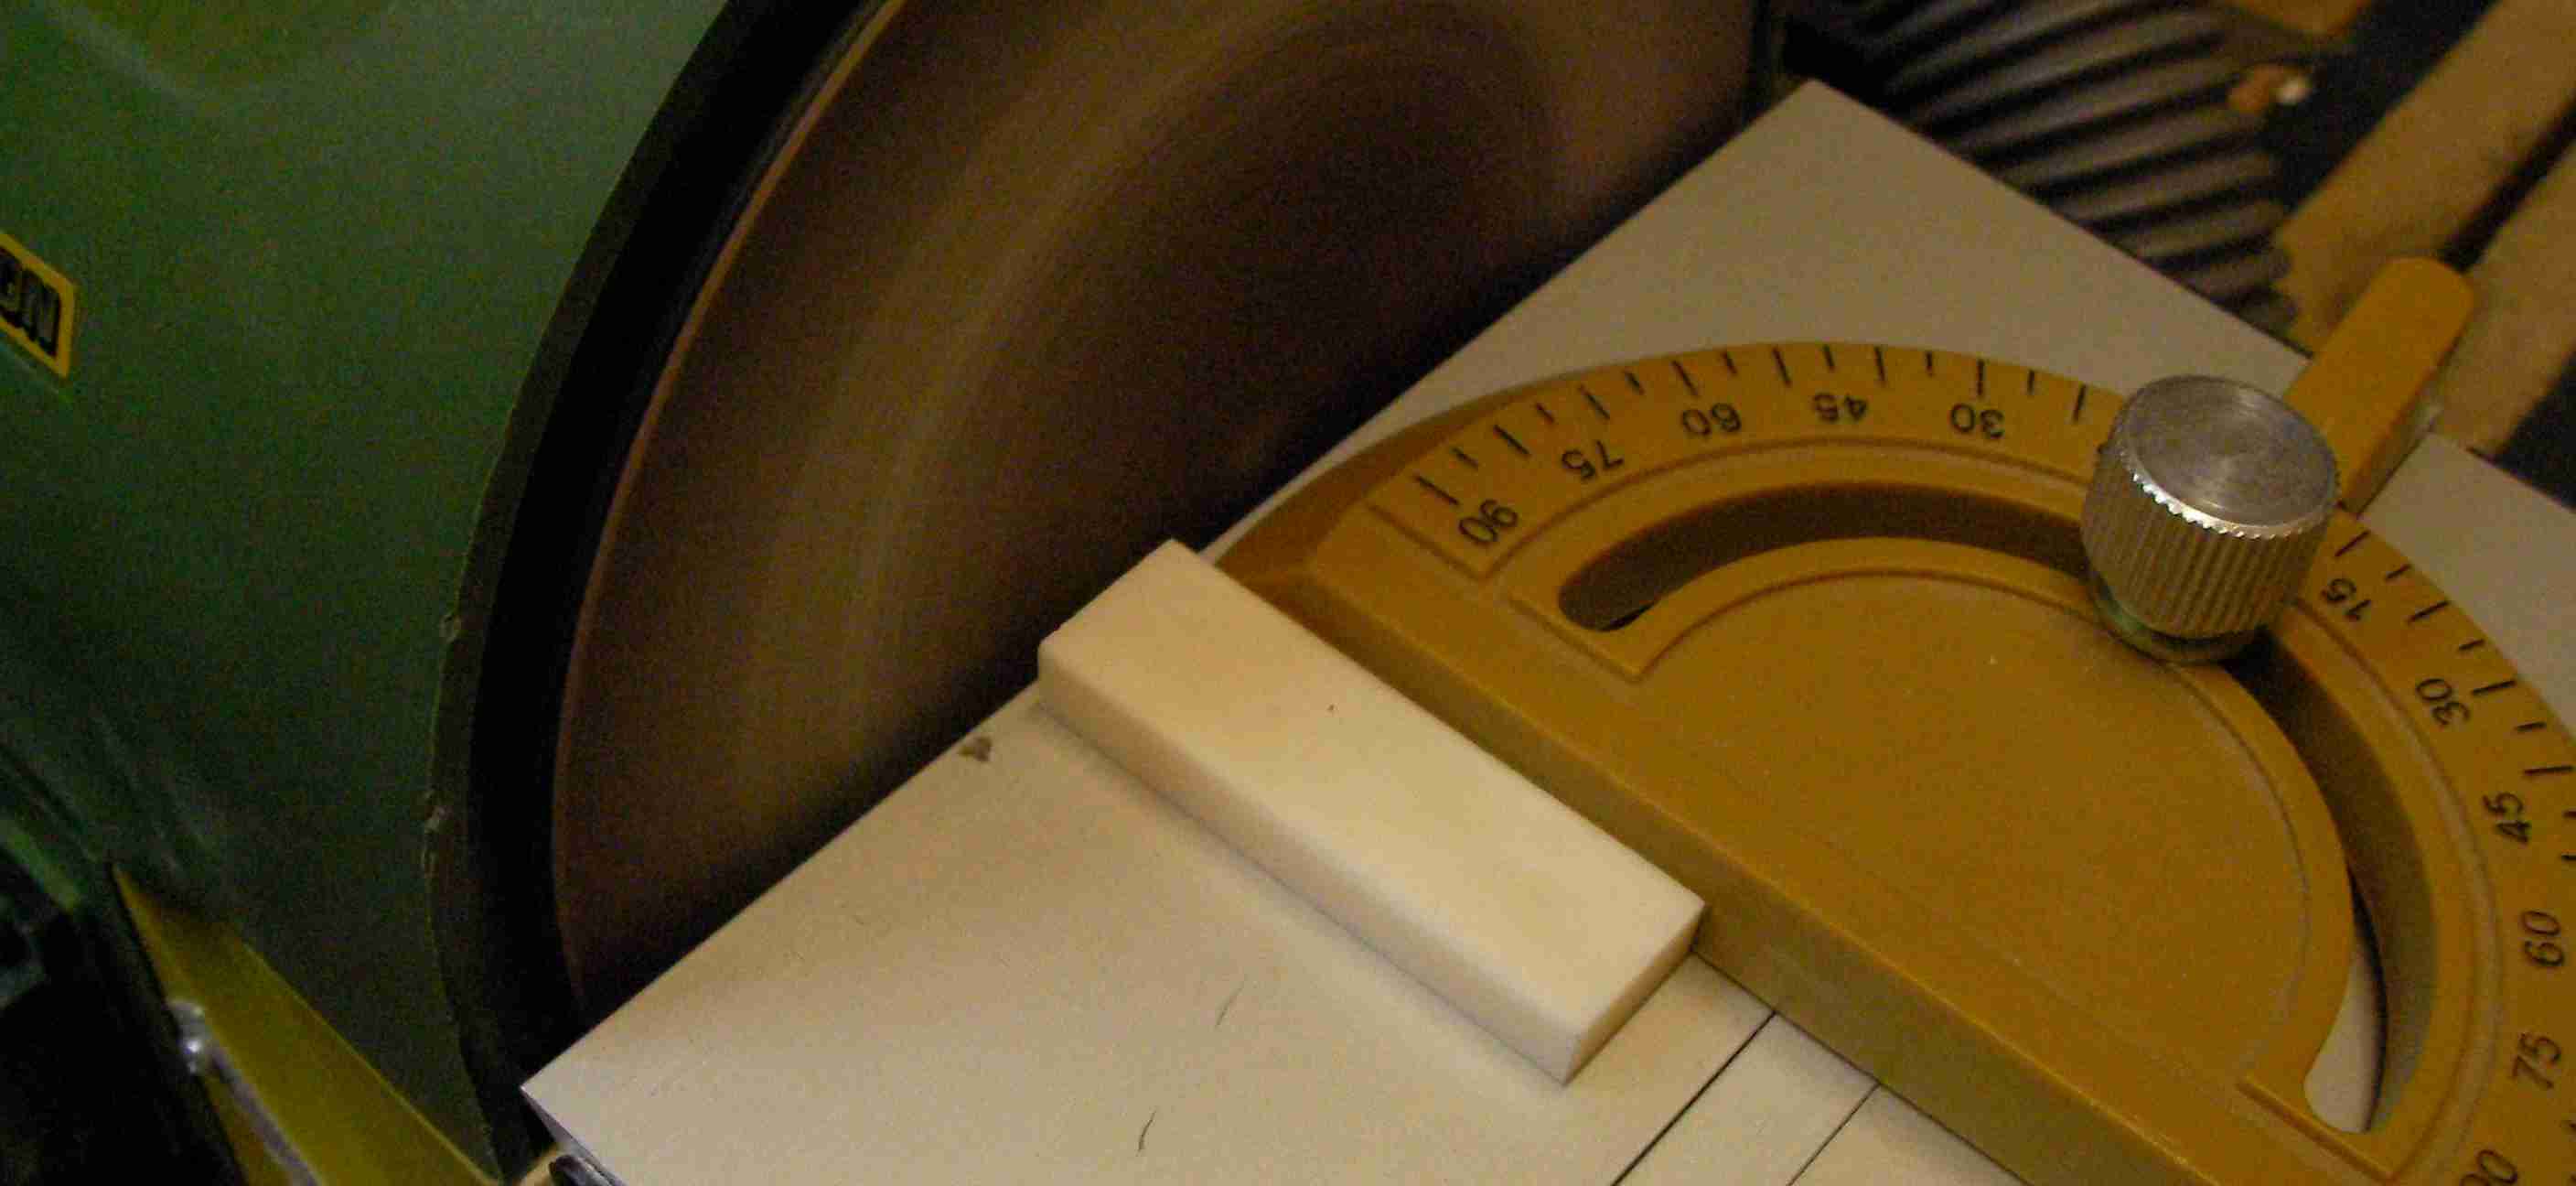
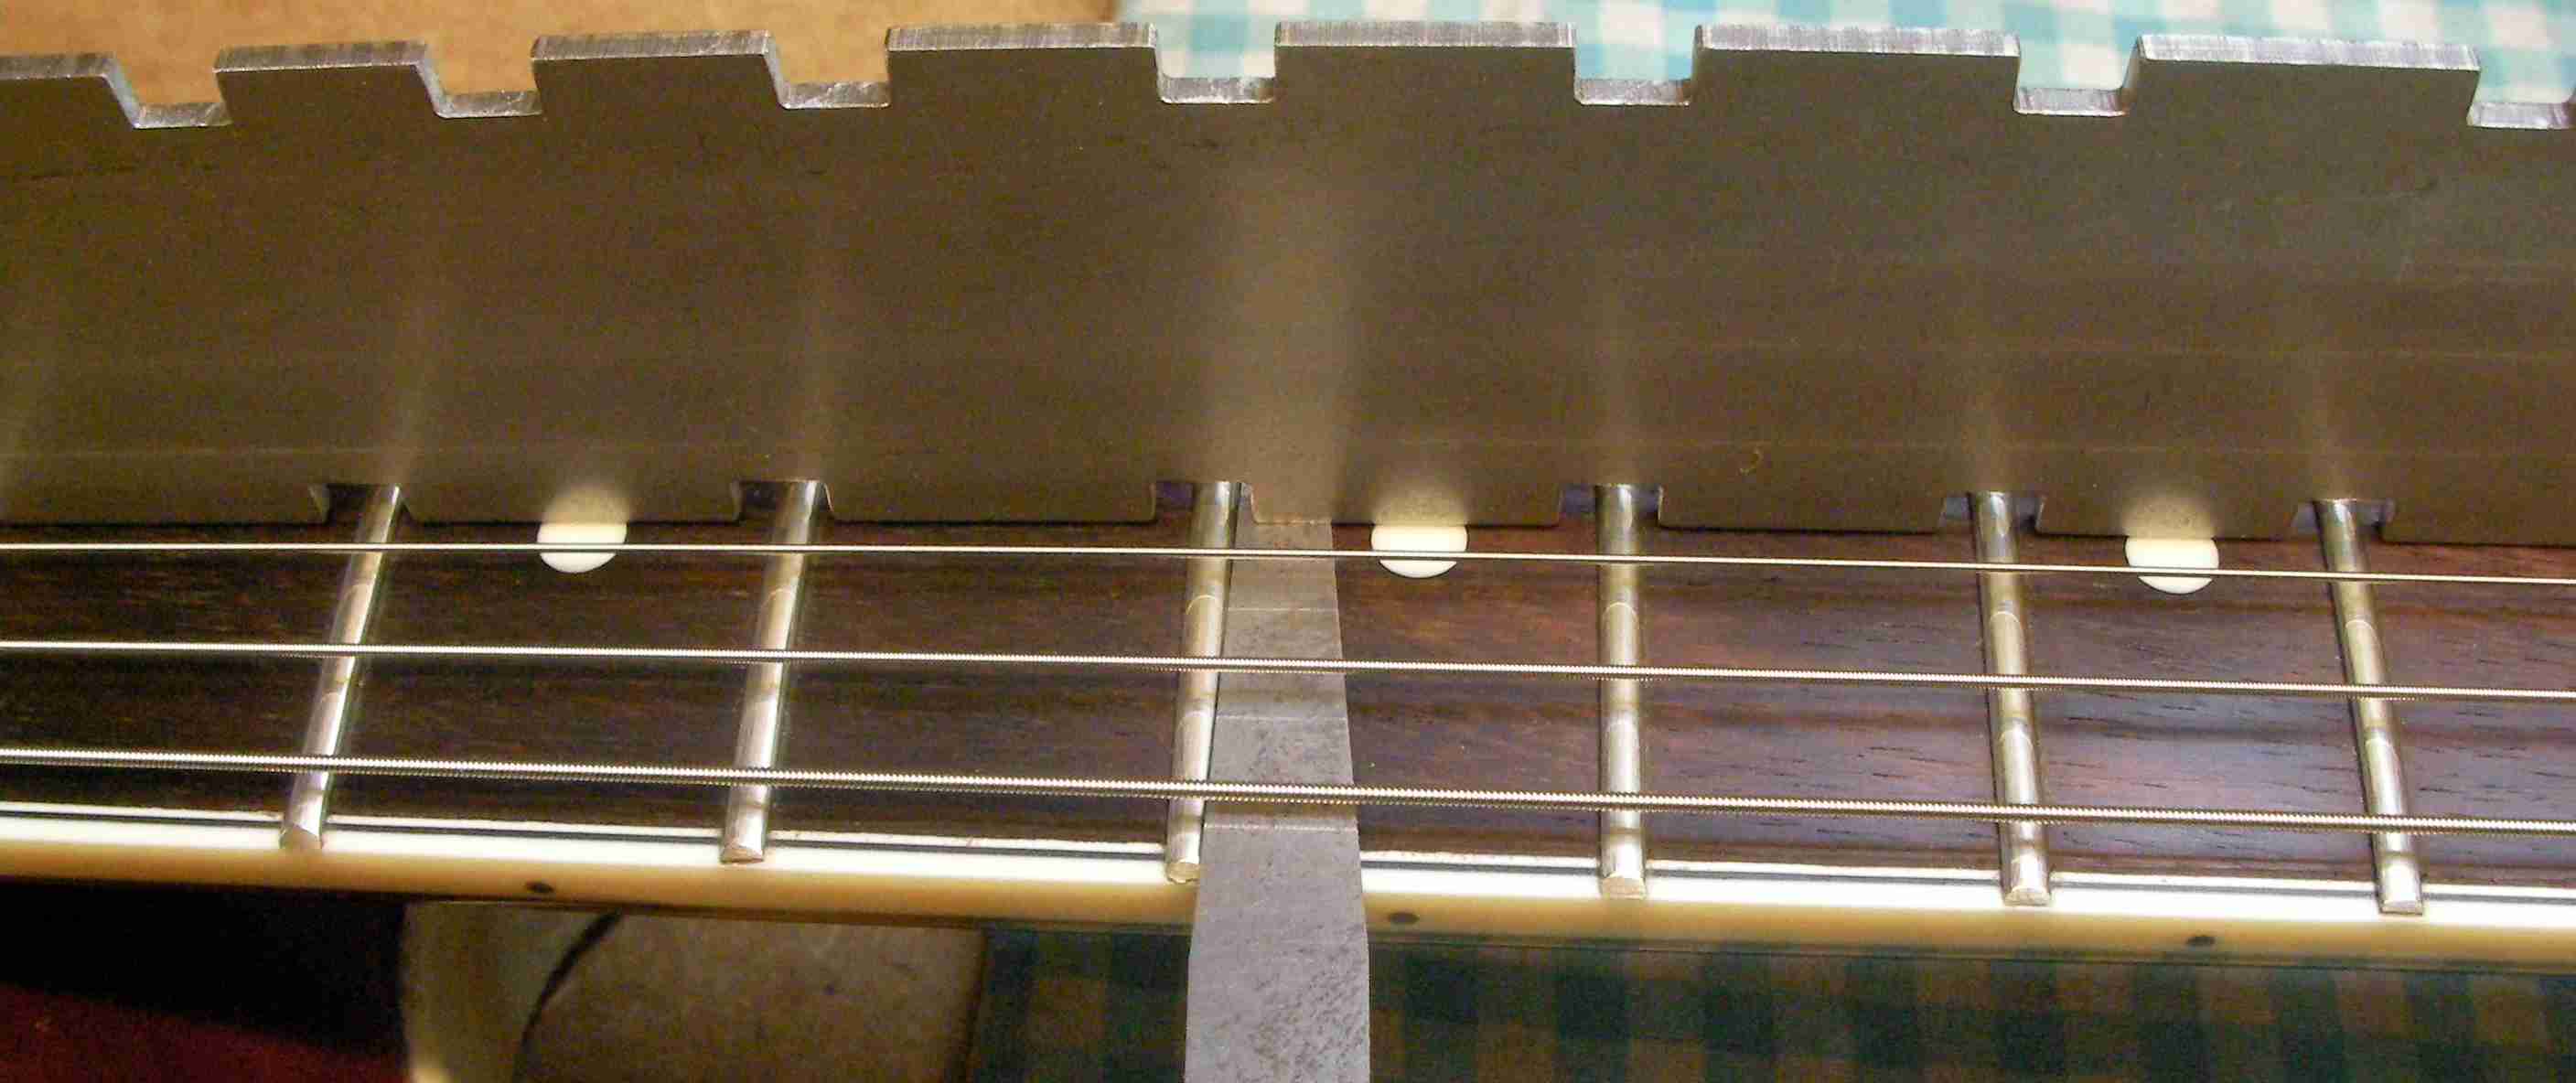
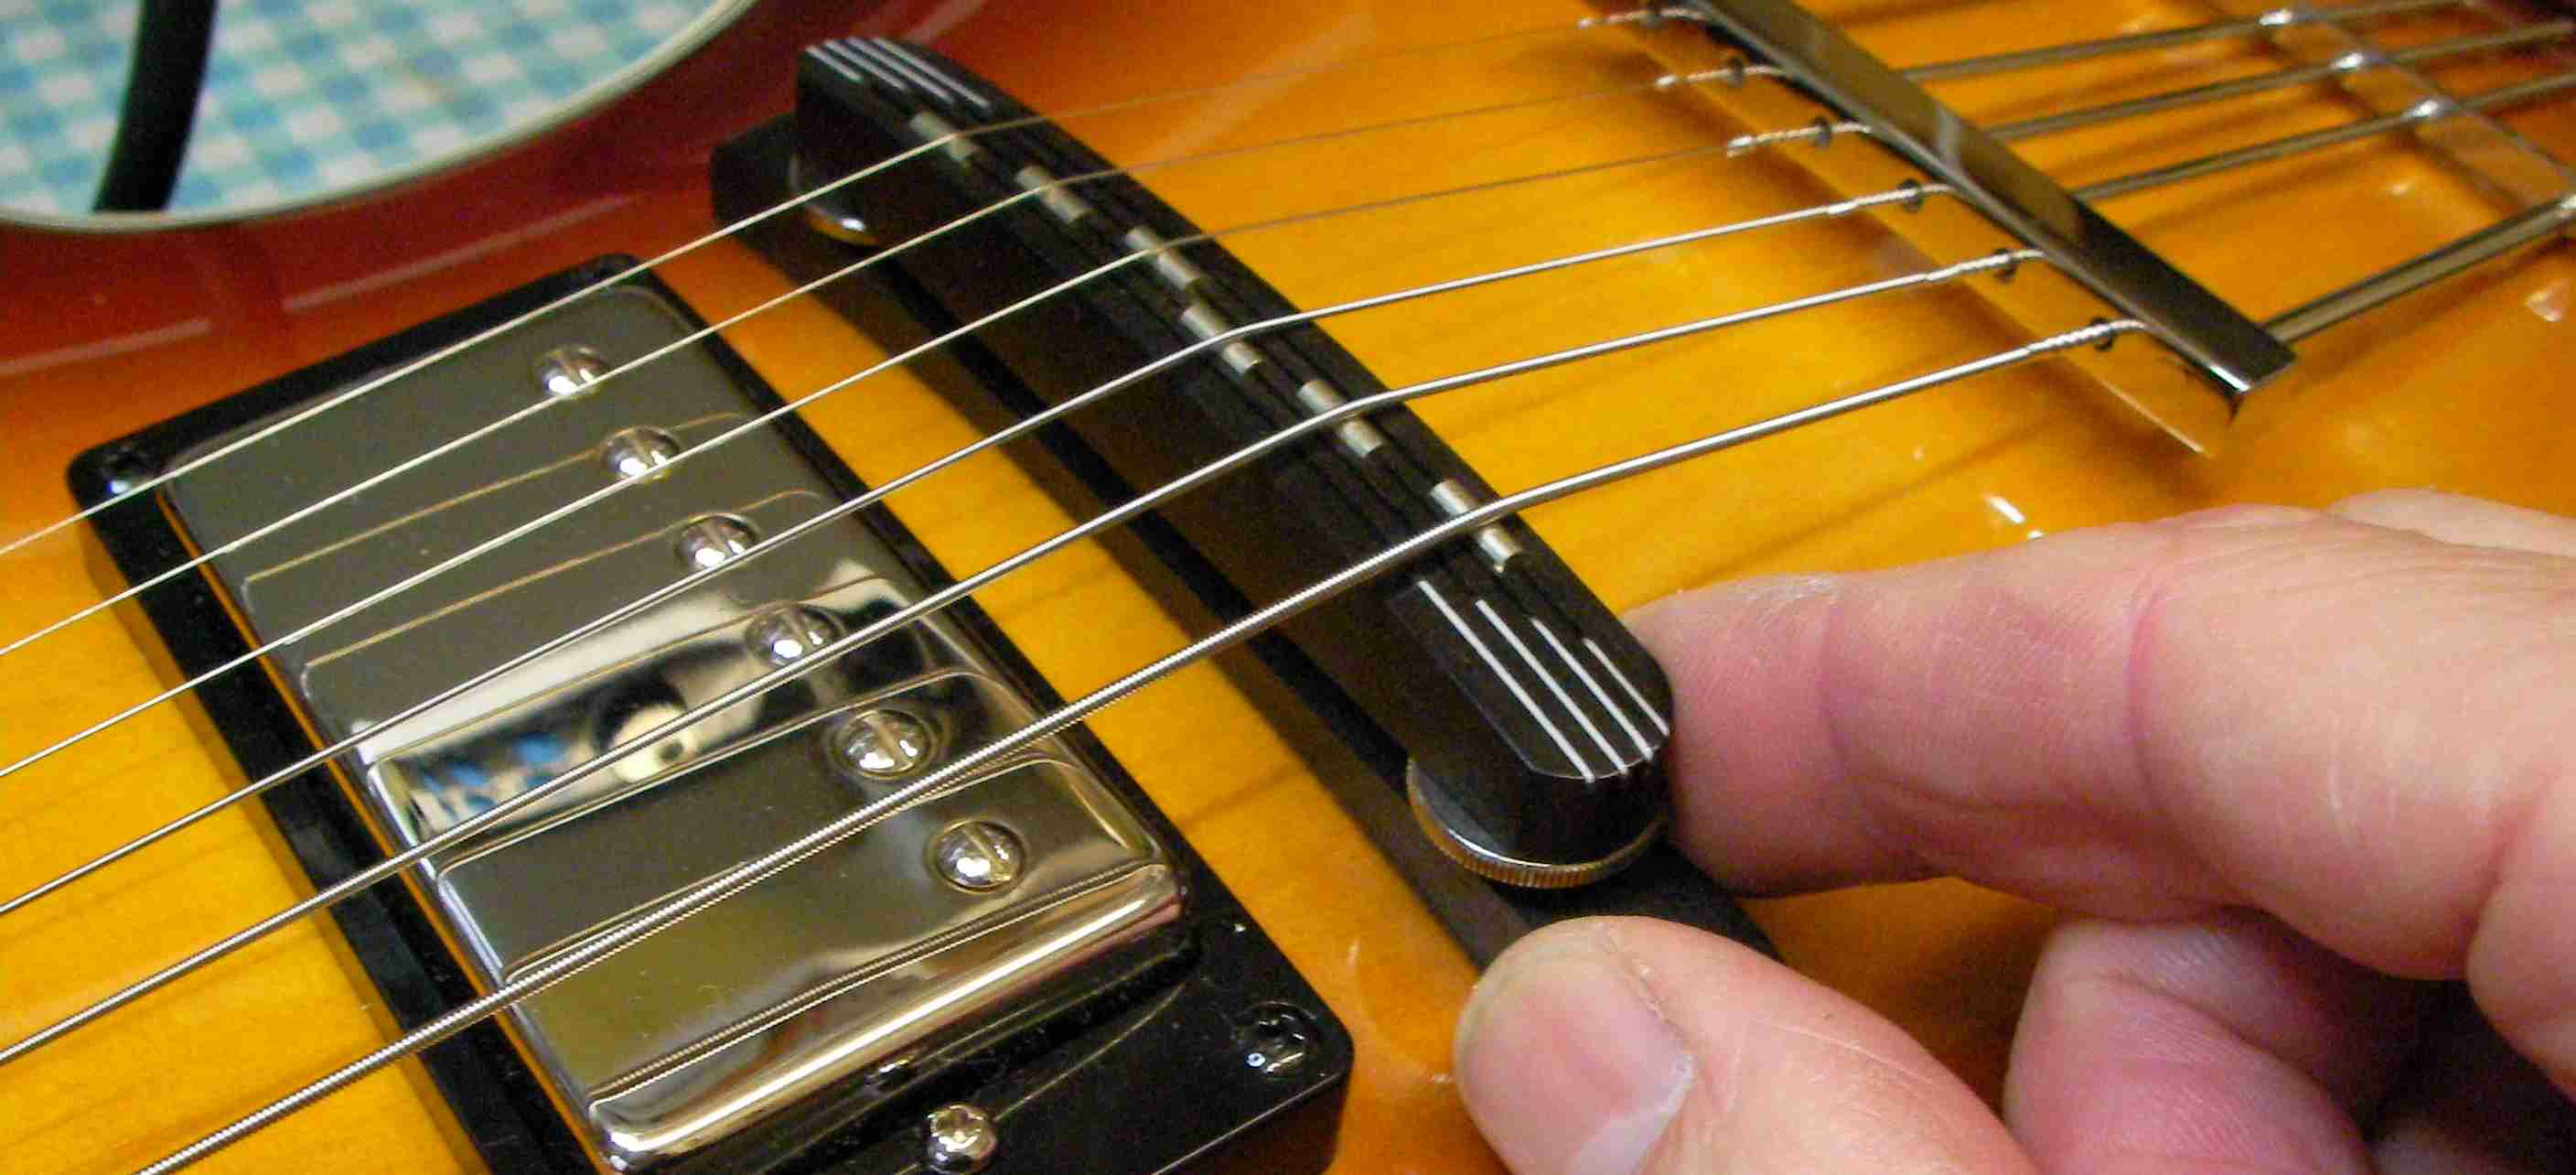
Perhaps the biggest problem are the frets, they’ve not been put in very consistently and there are some very low points…
Only one way to sort that out, dress them all. Before that it’s important to level the fretboard.
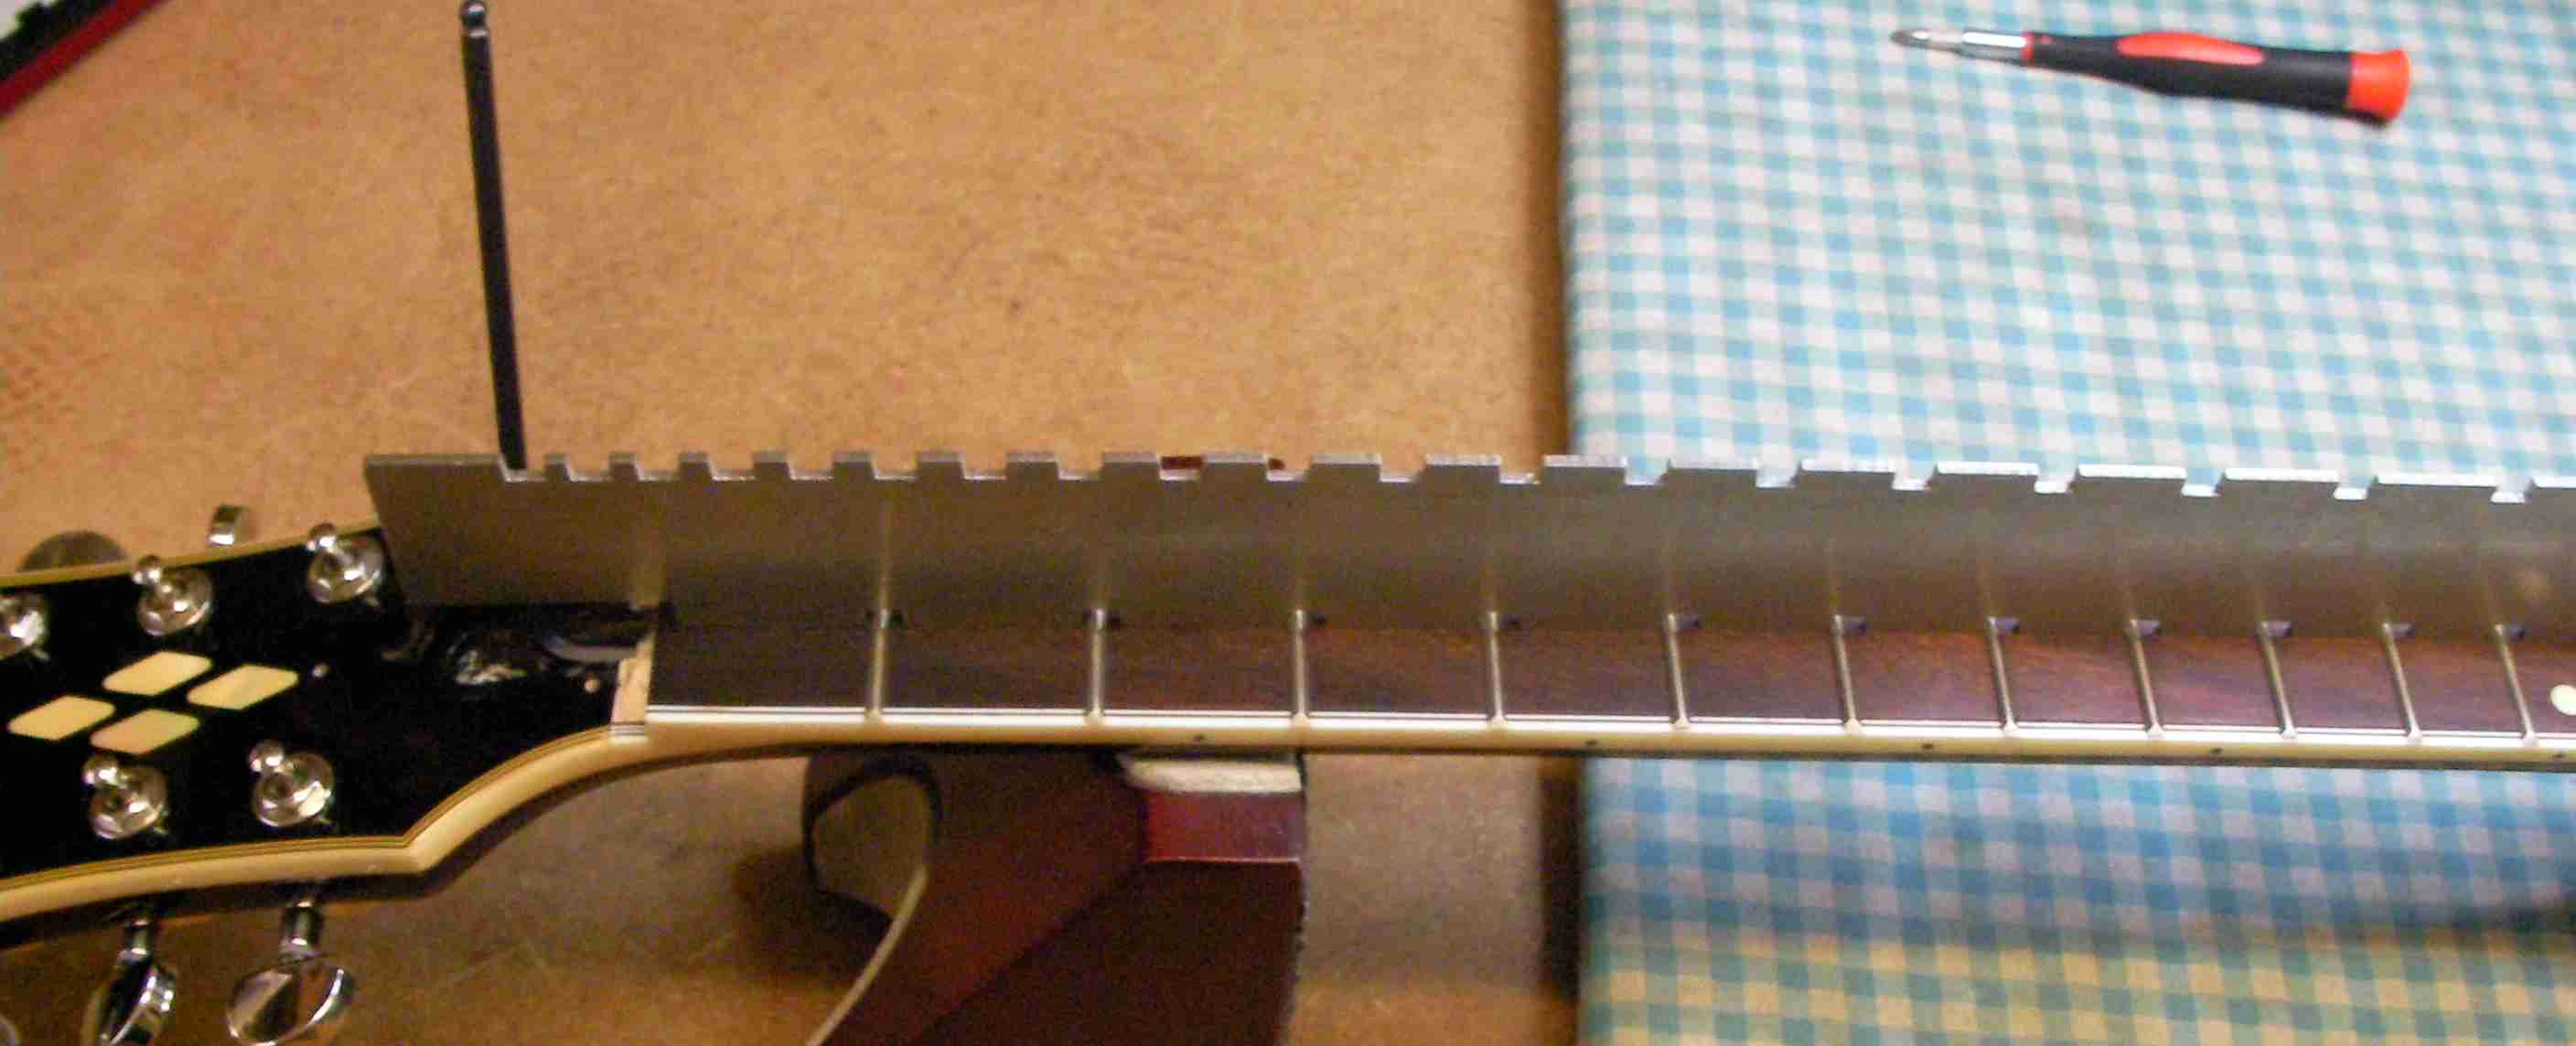
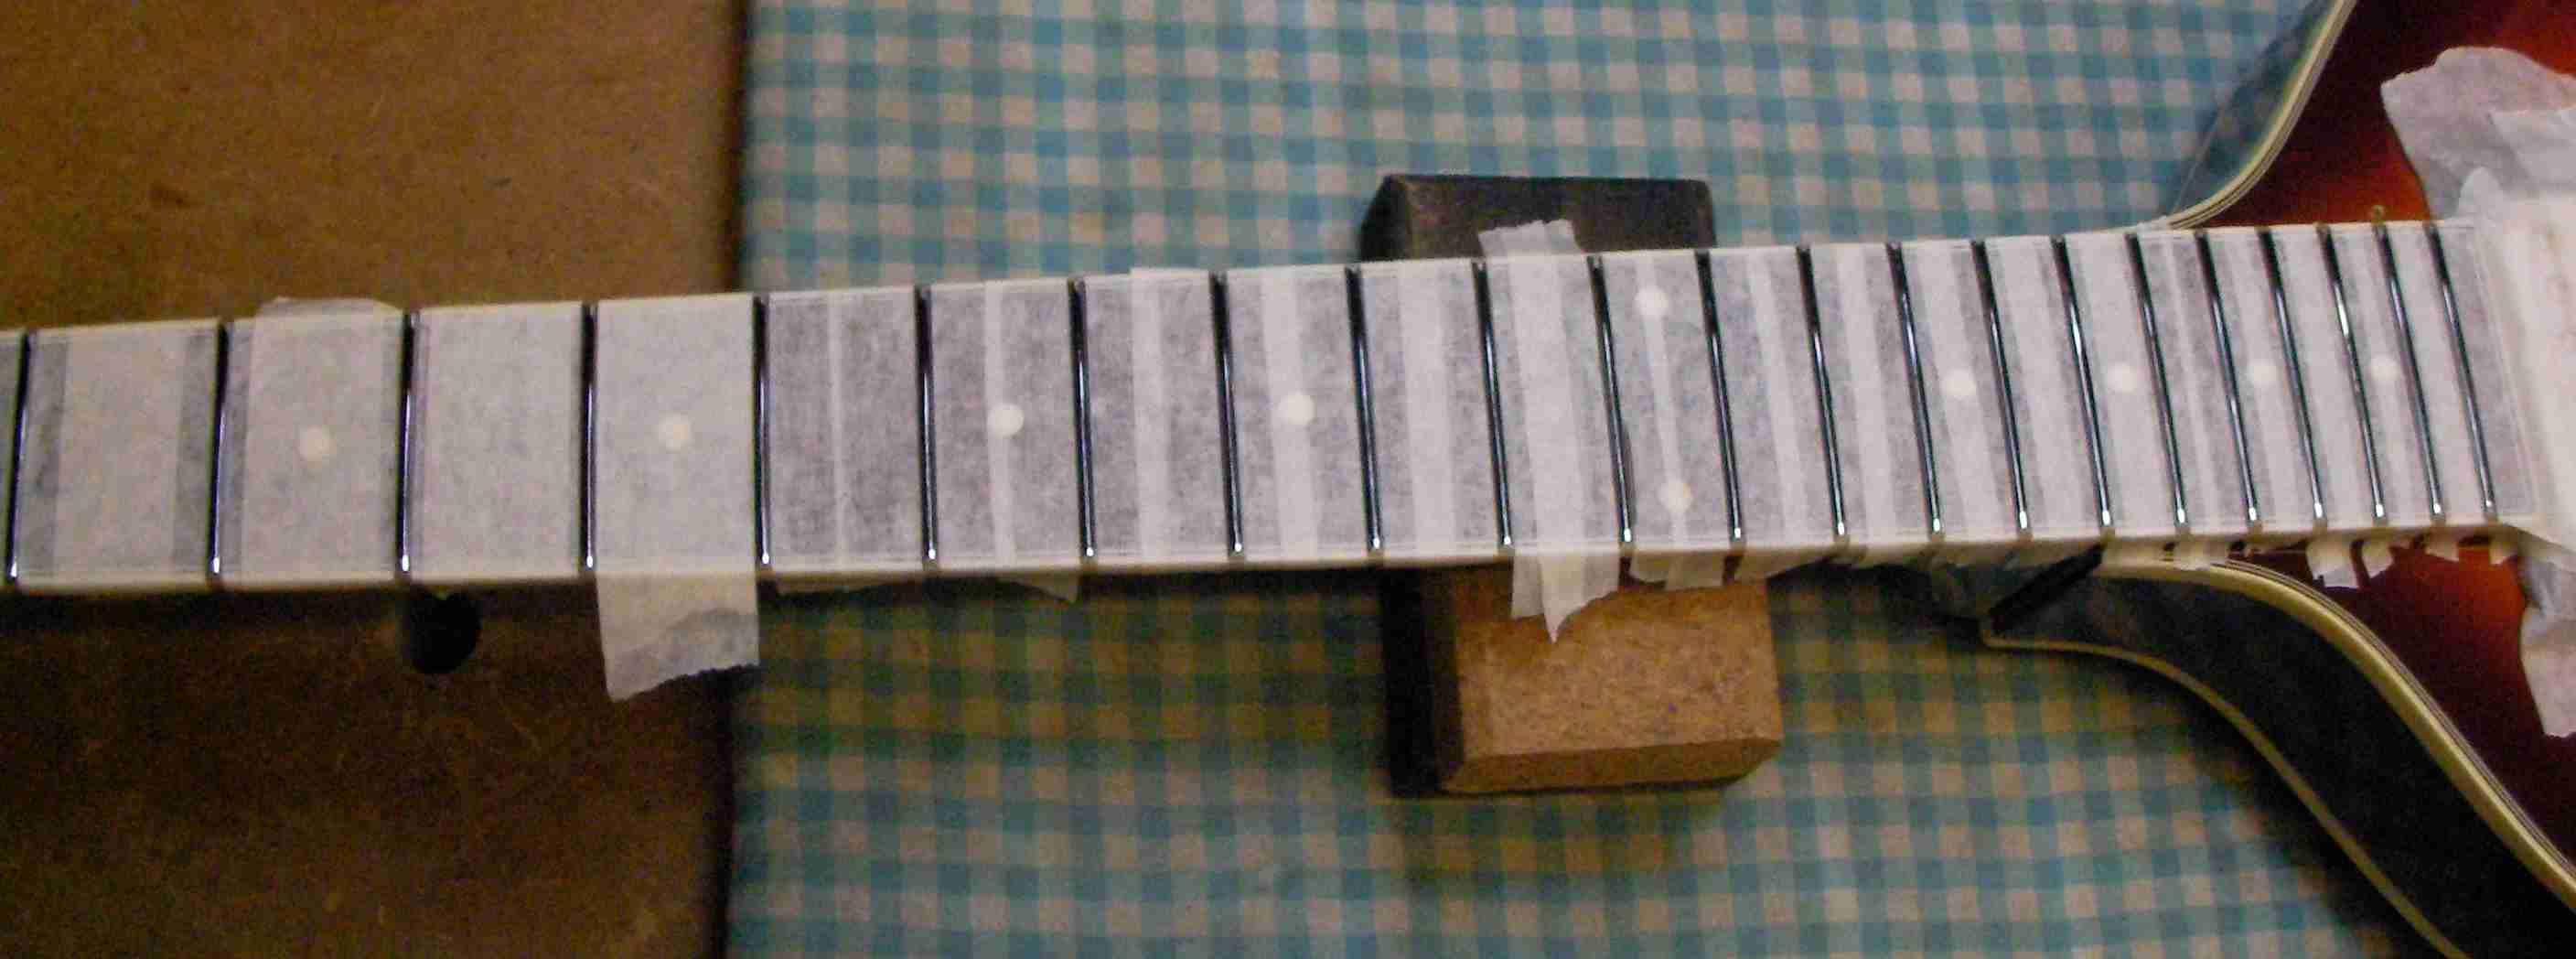
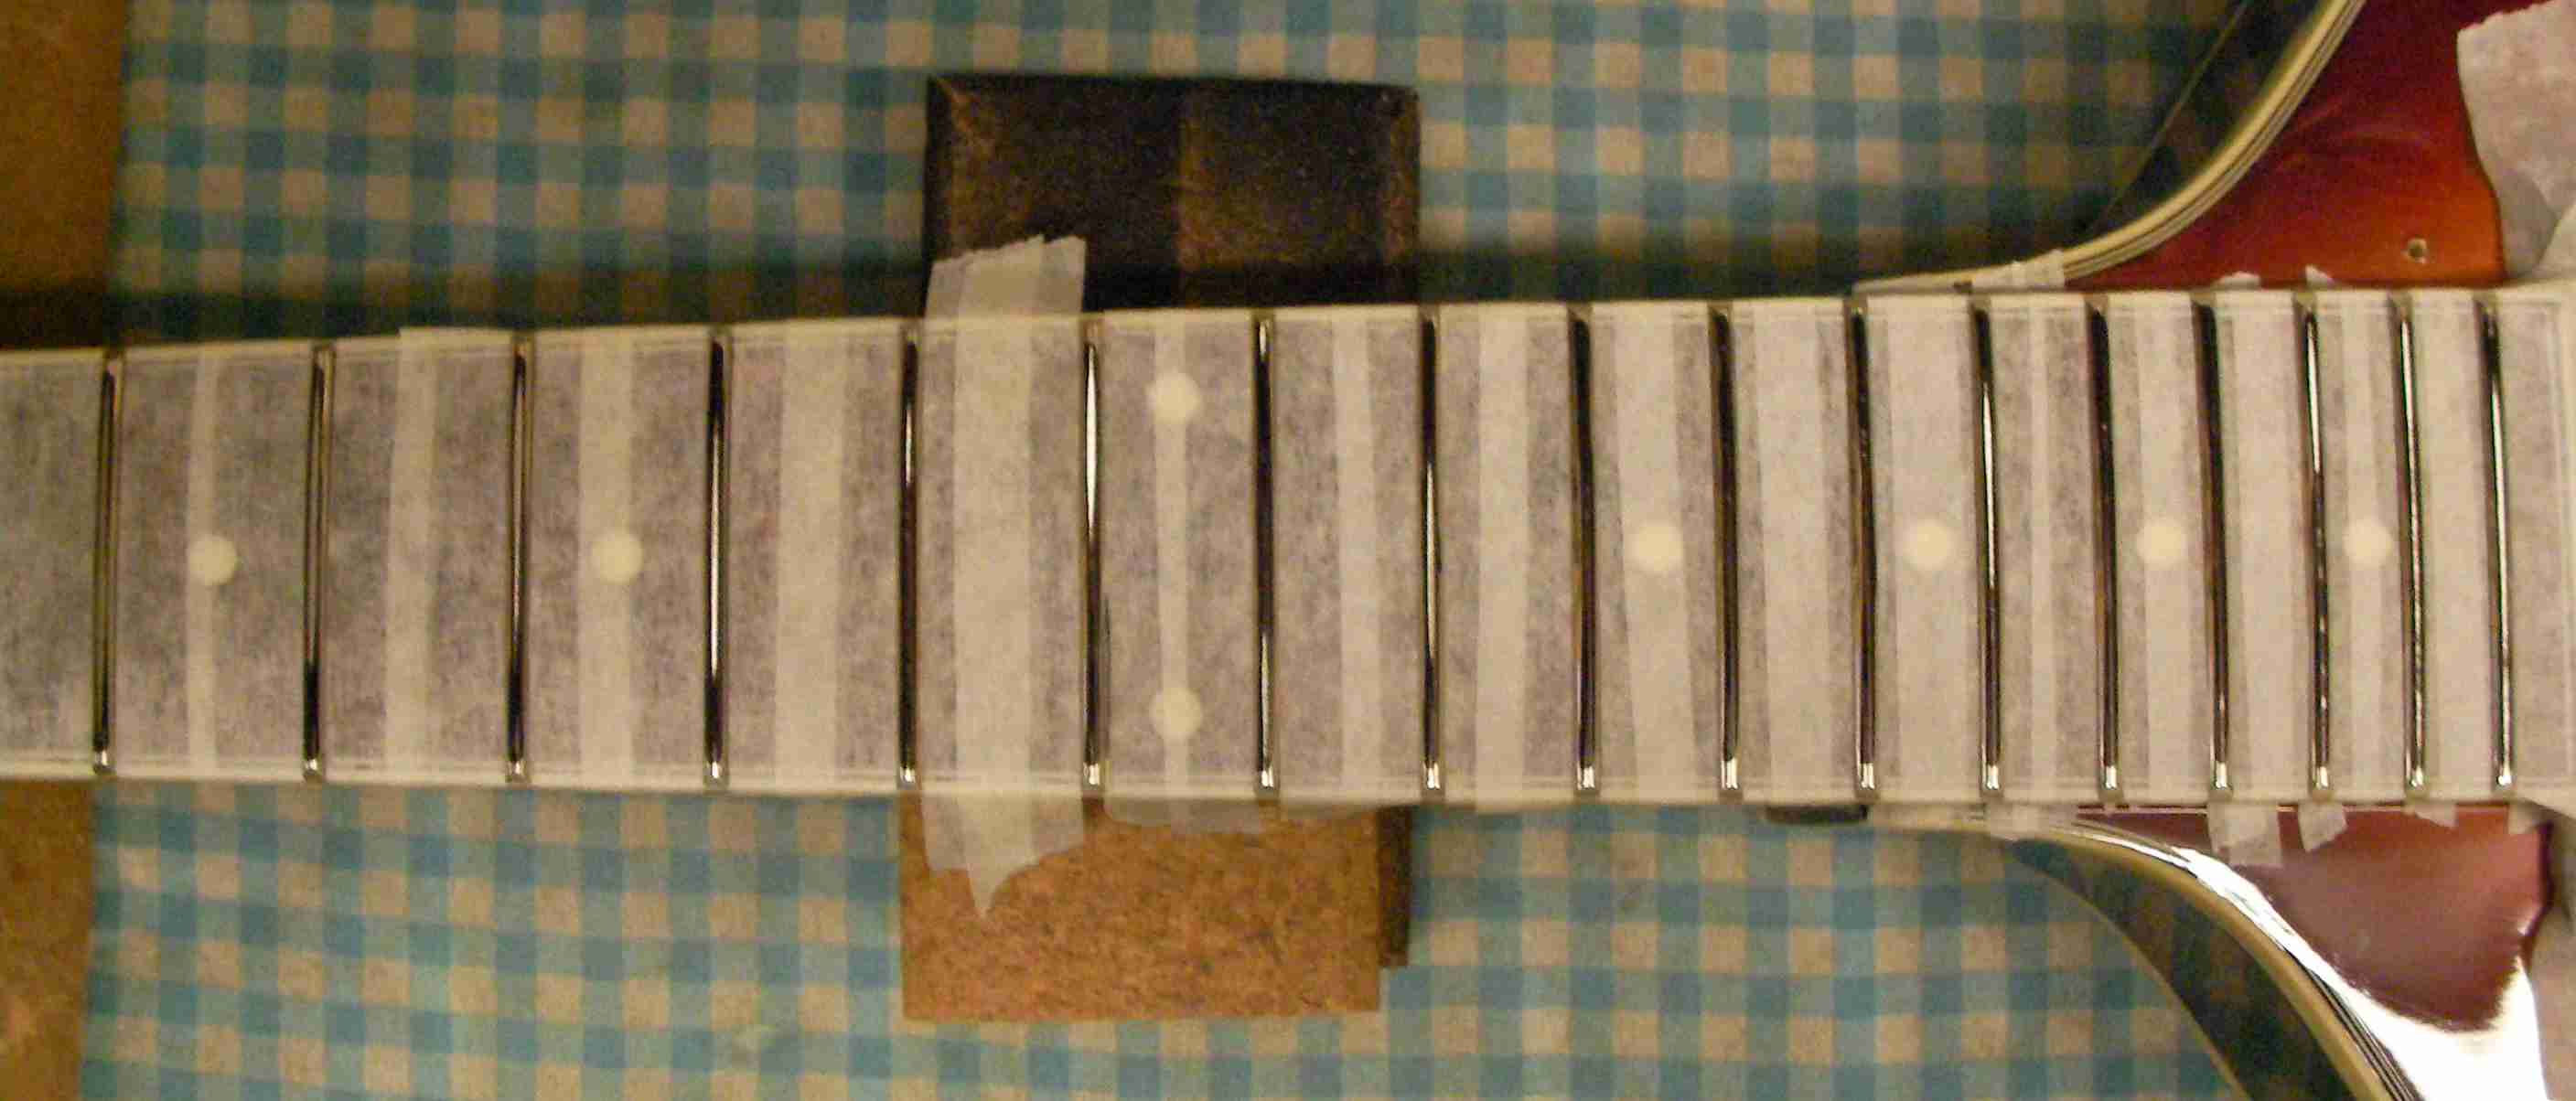
and tape it up to protect it.
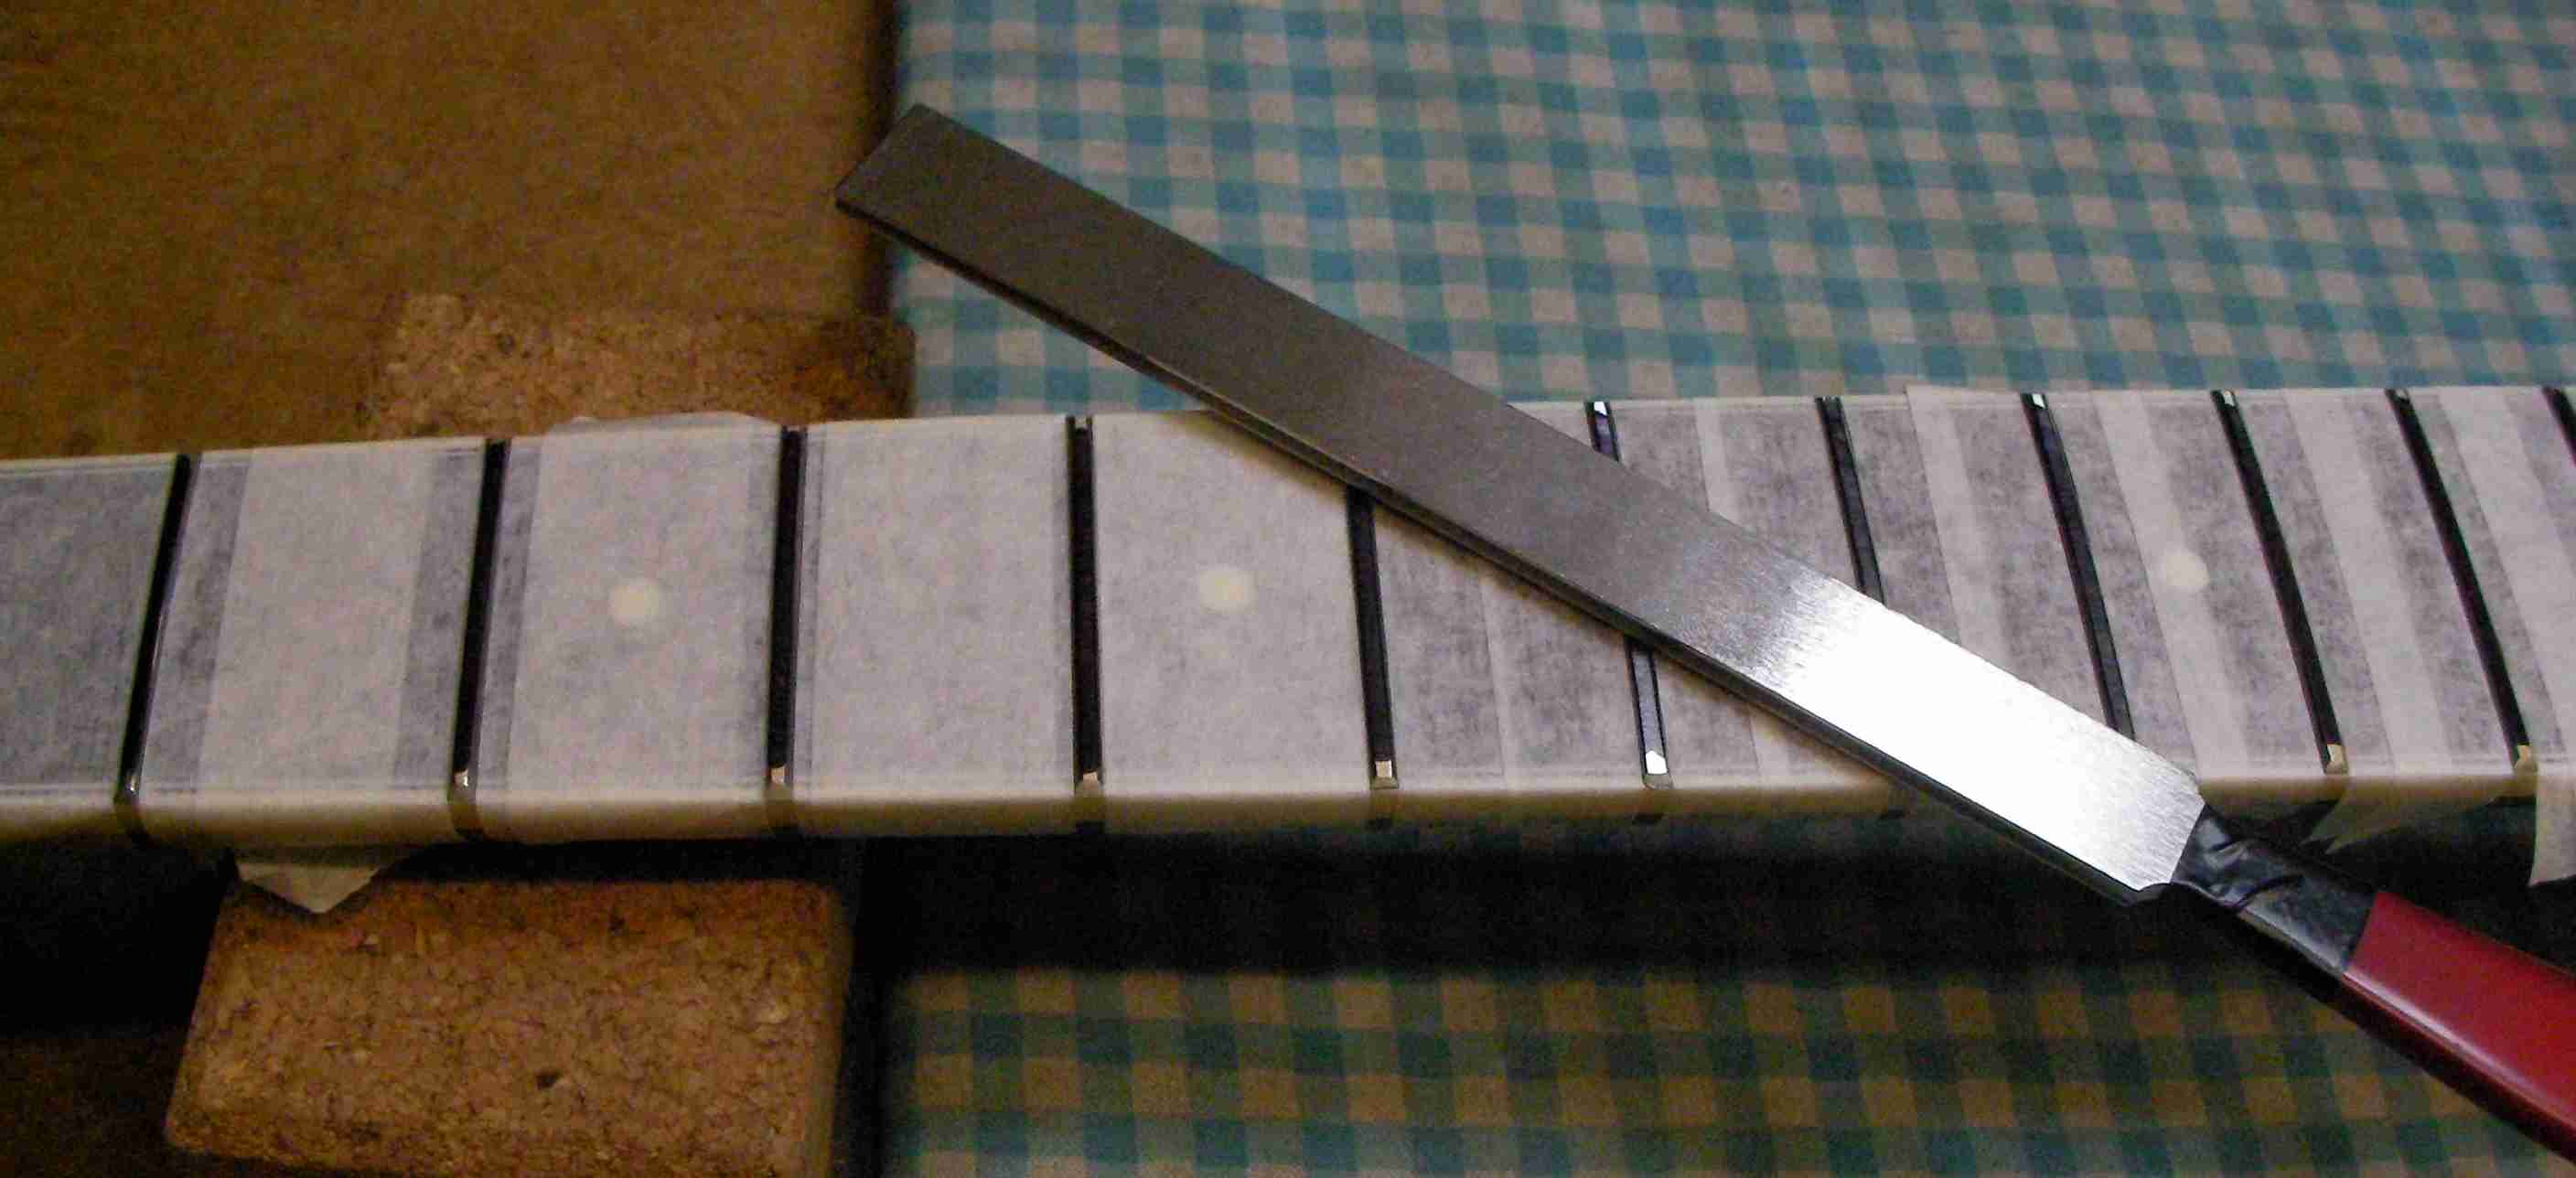
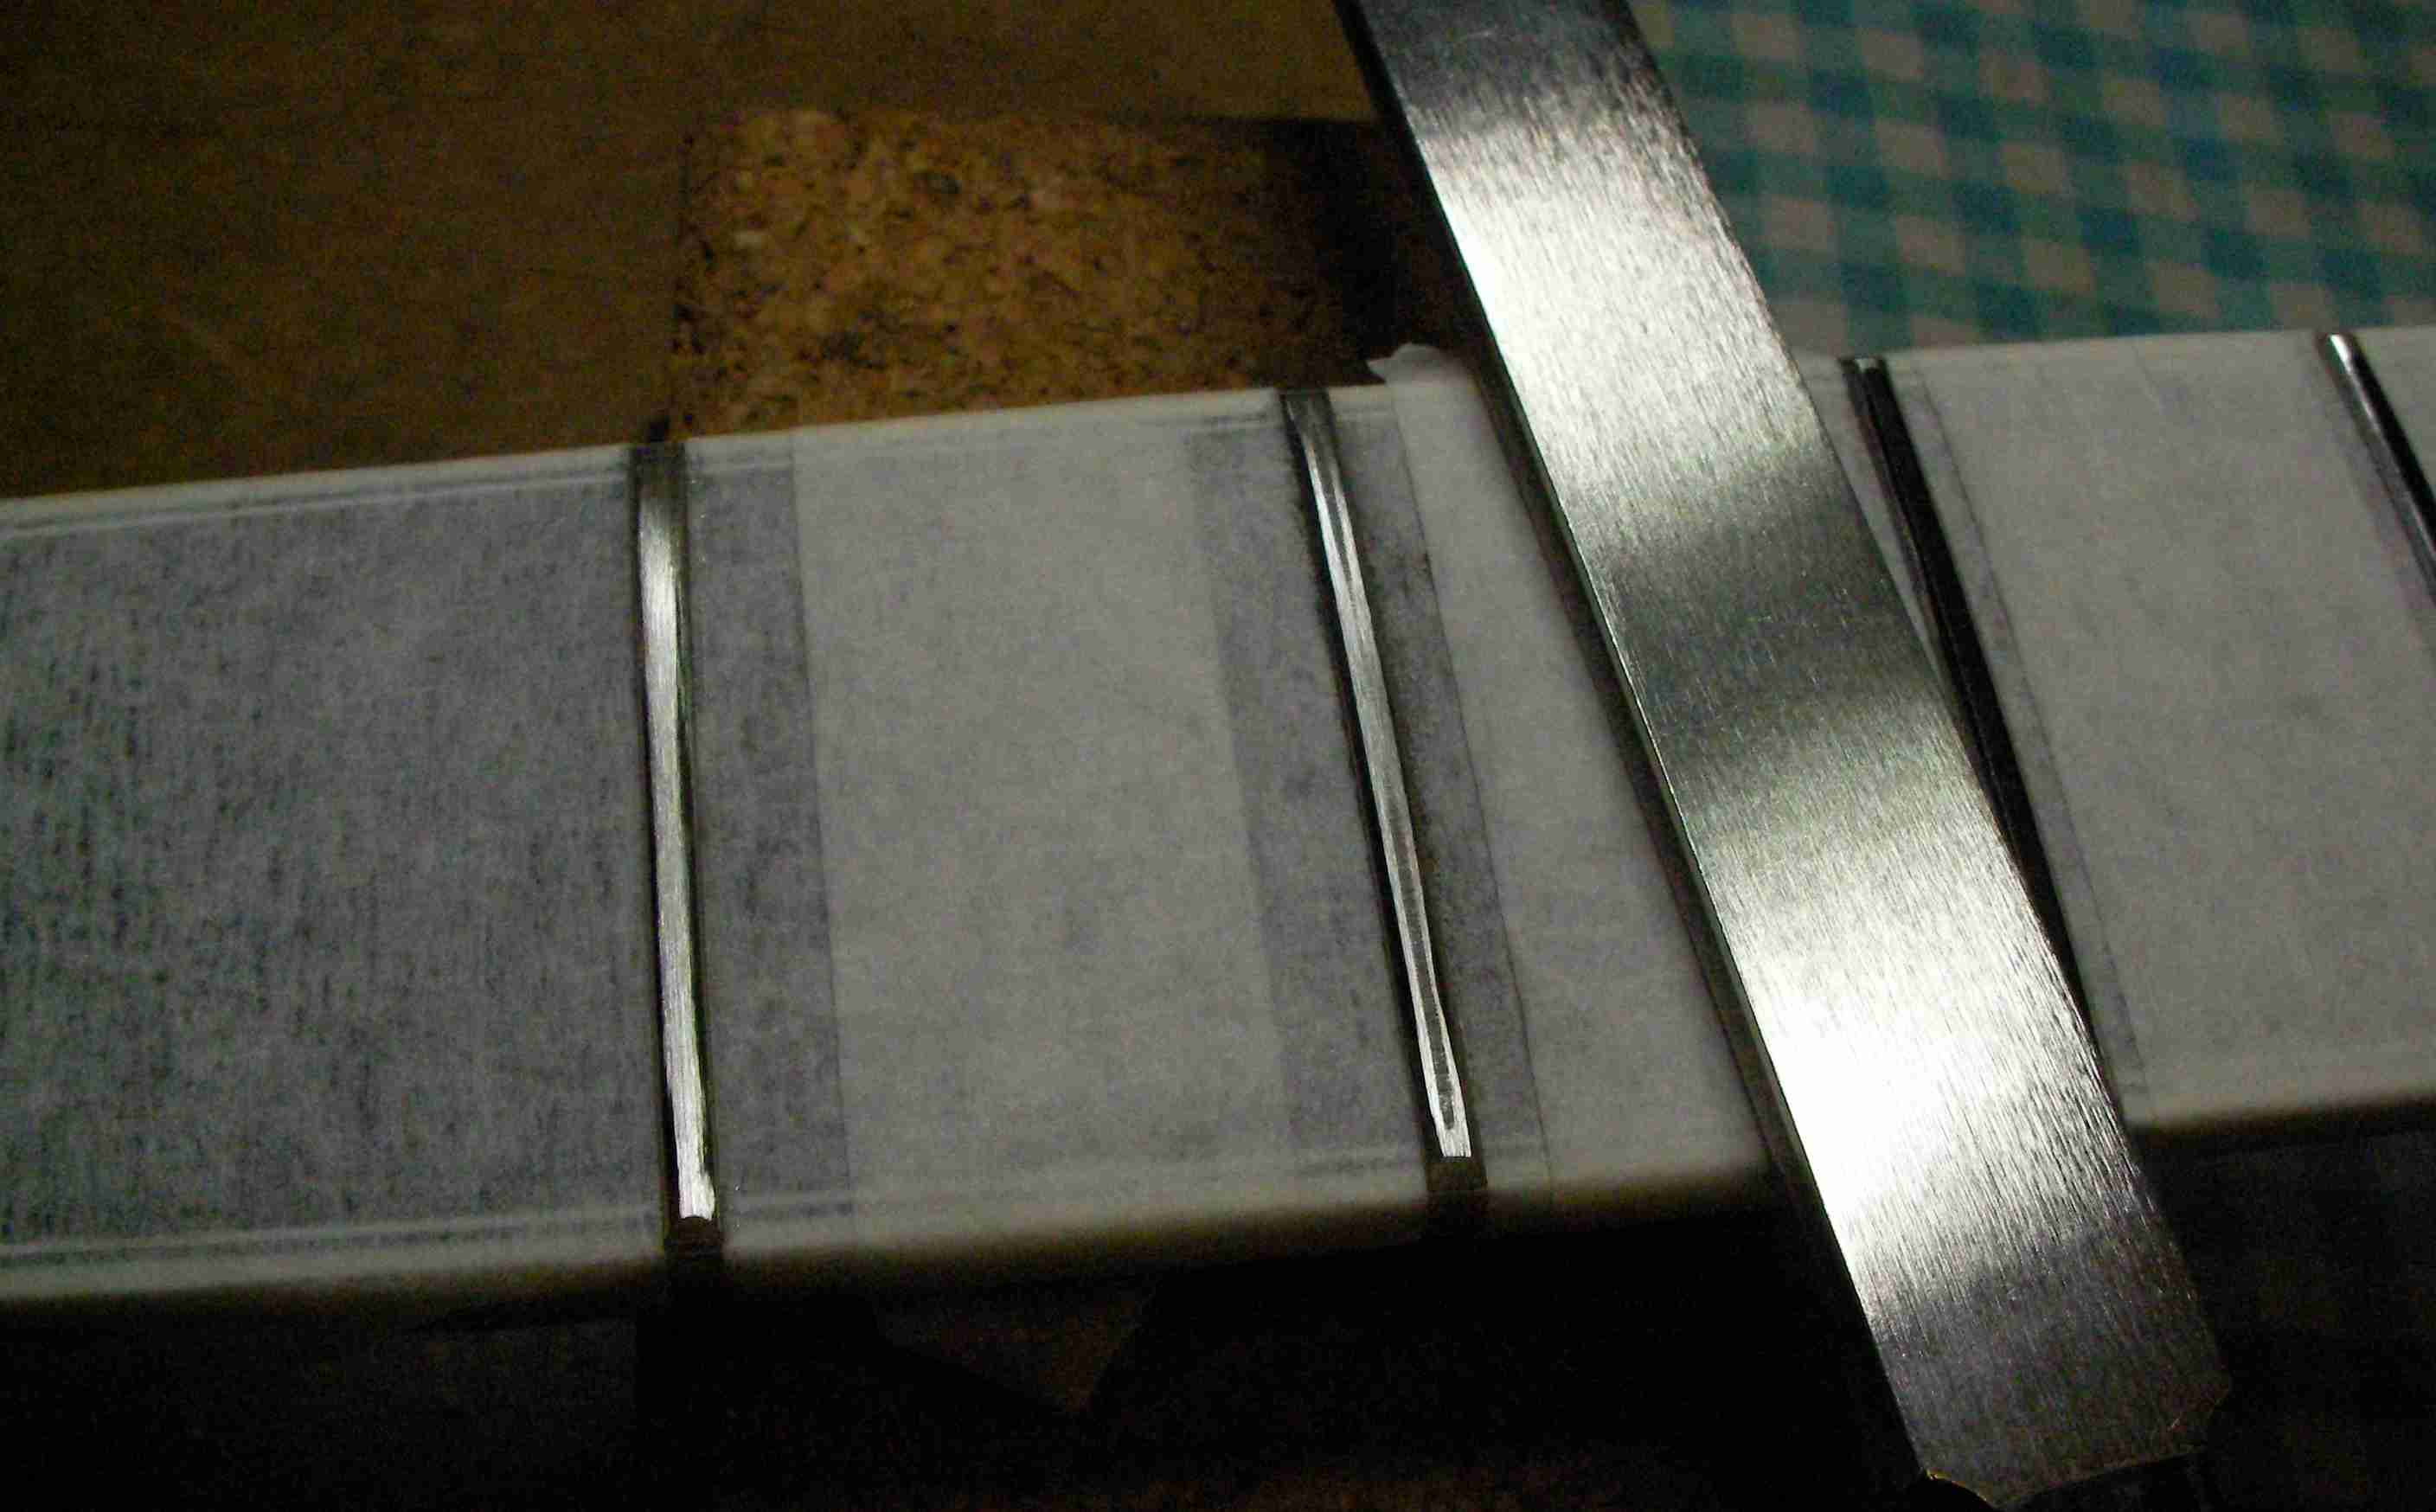
With a level fretboard grinding with a level beam means everything must end up completely even.
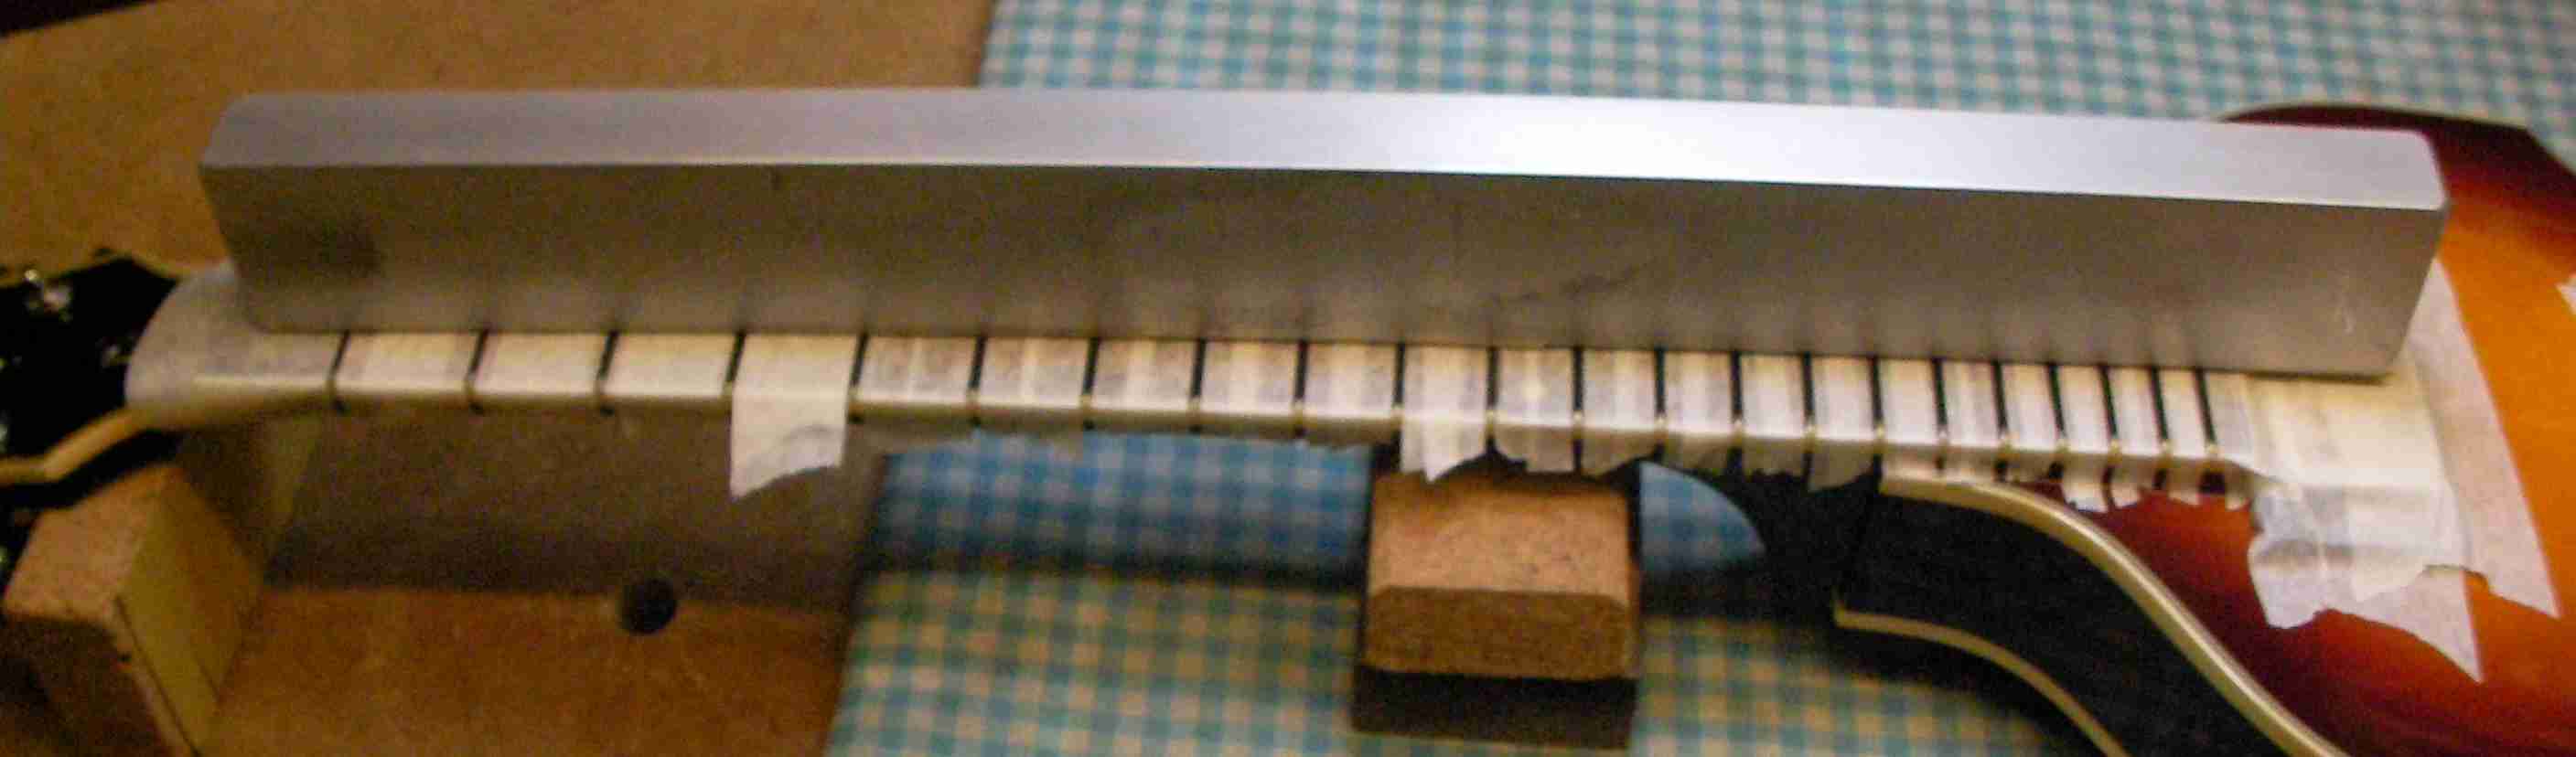
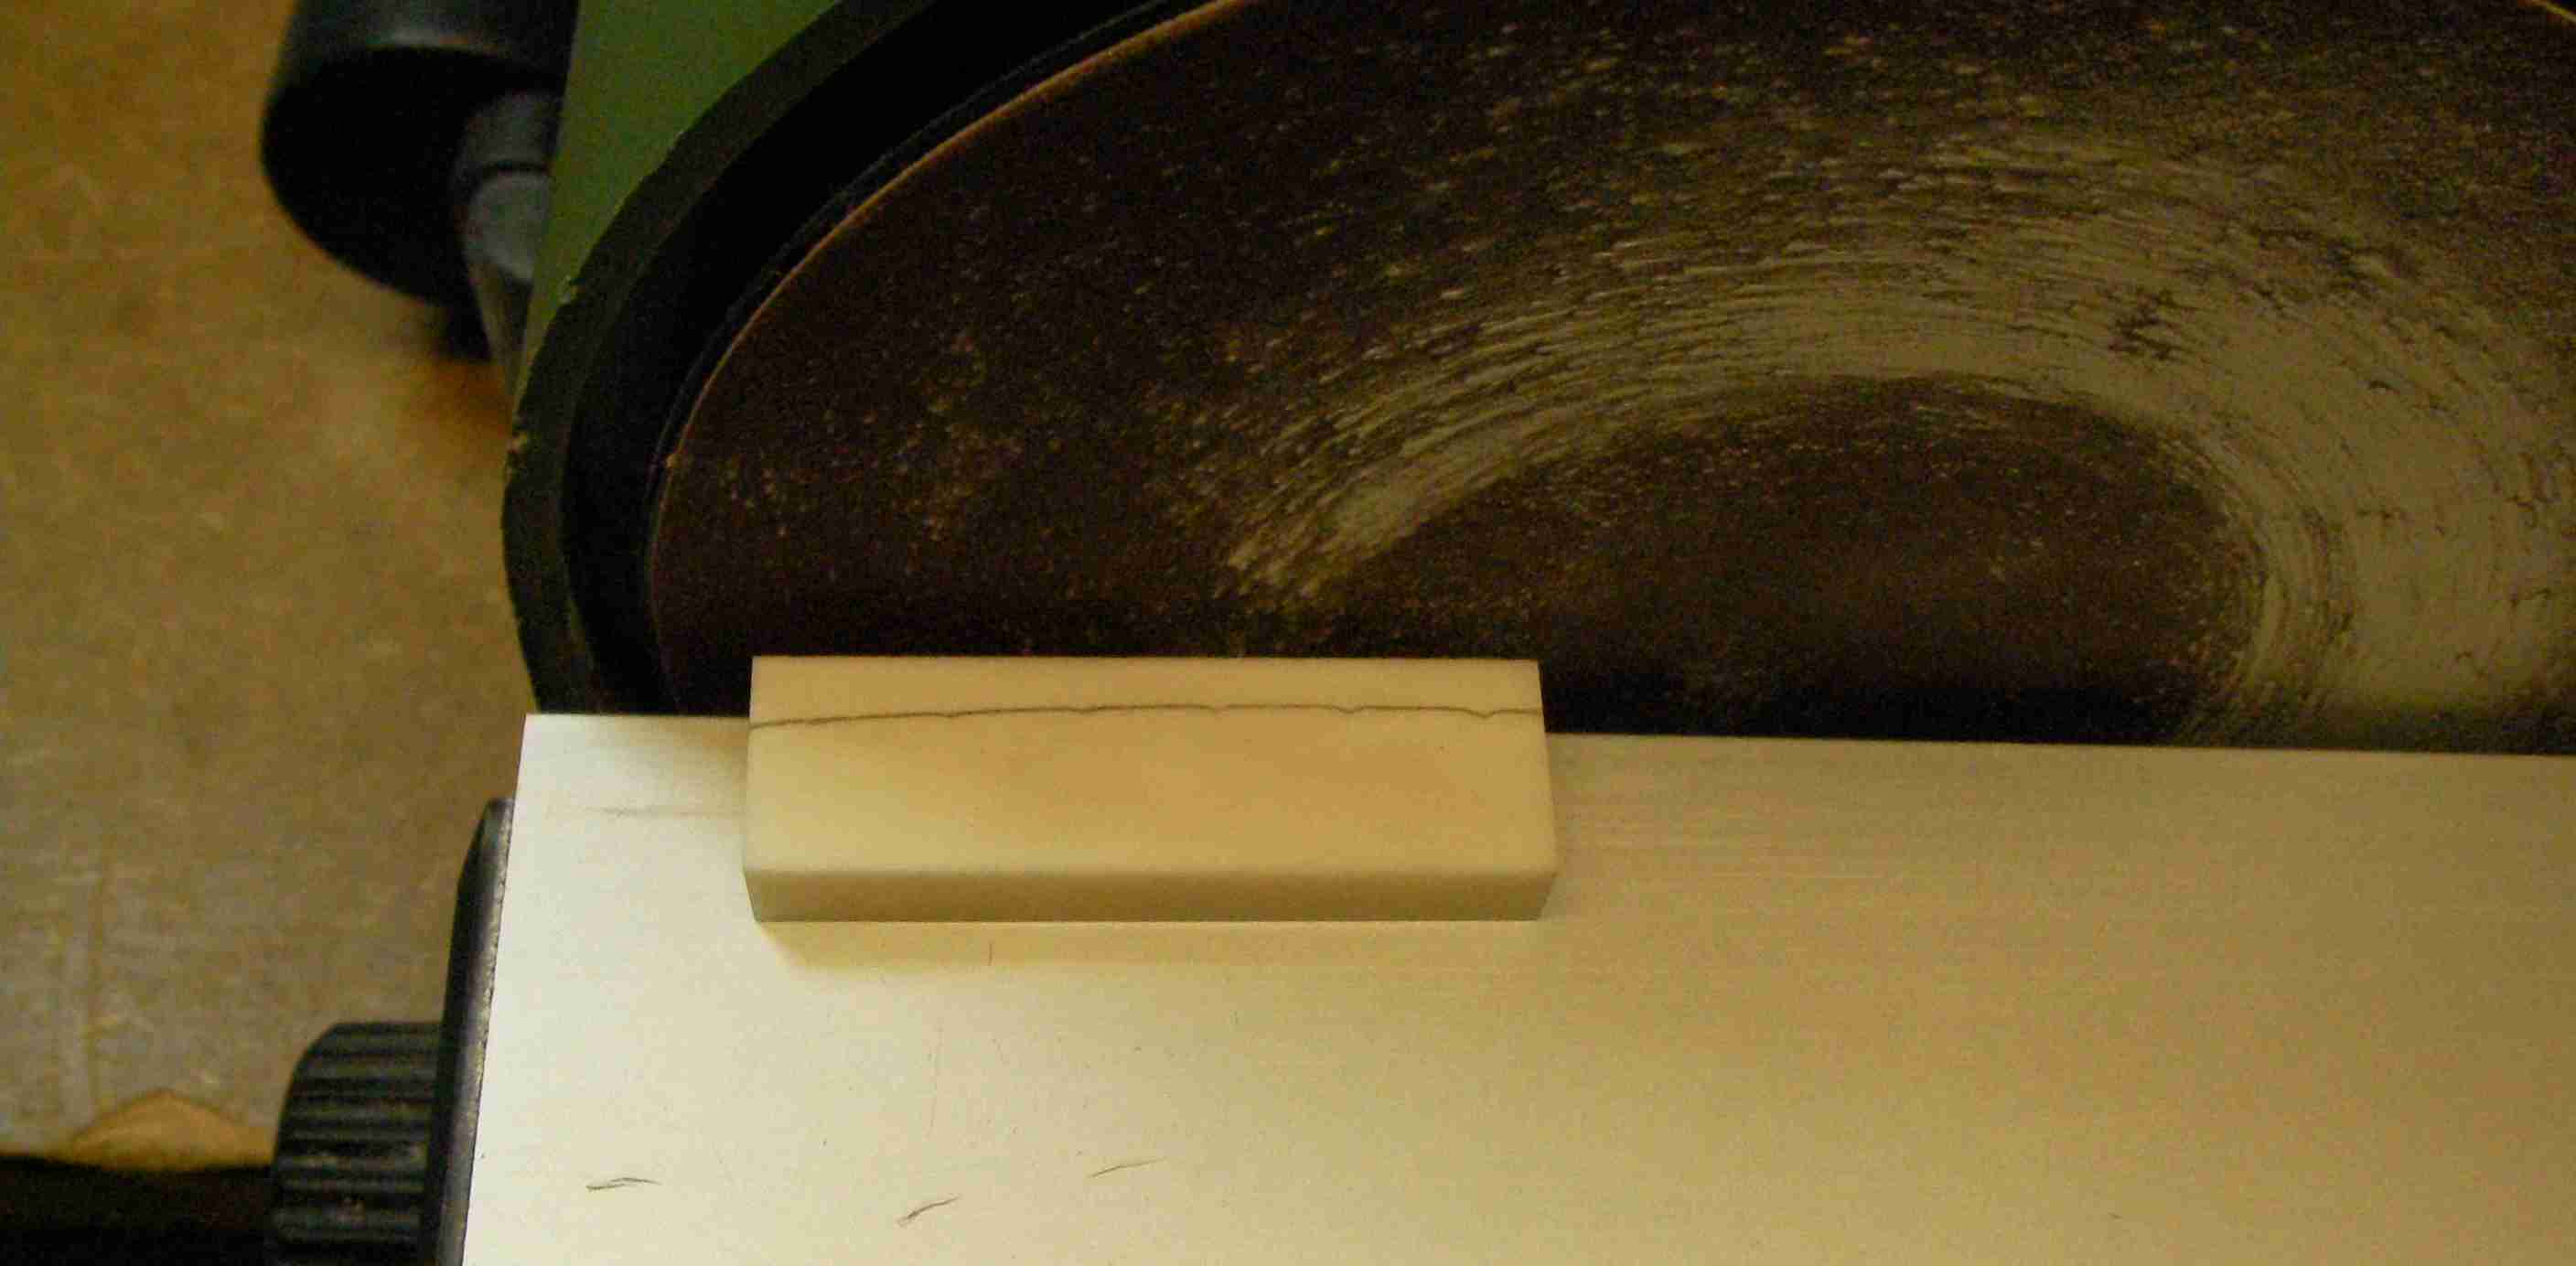
As I started you can see how uneven the frets were. The light spots are where the file is touching and the dark spots are the low areas.
With some very flat-topped frets I now need to round their tops off again.
The first one’s done and the second’s about half way through….
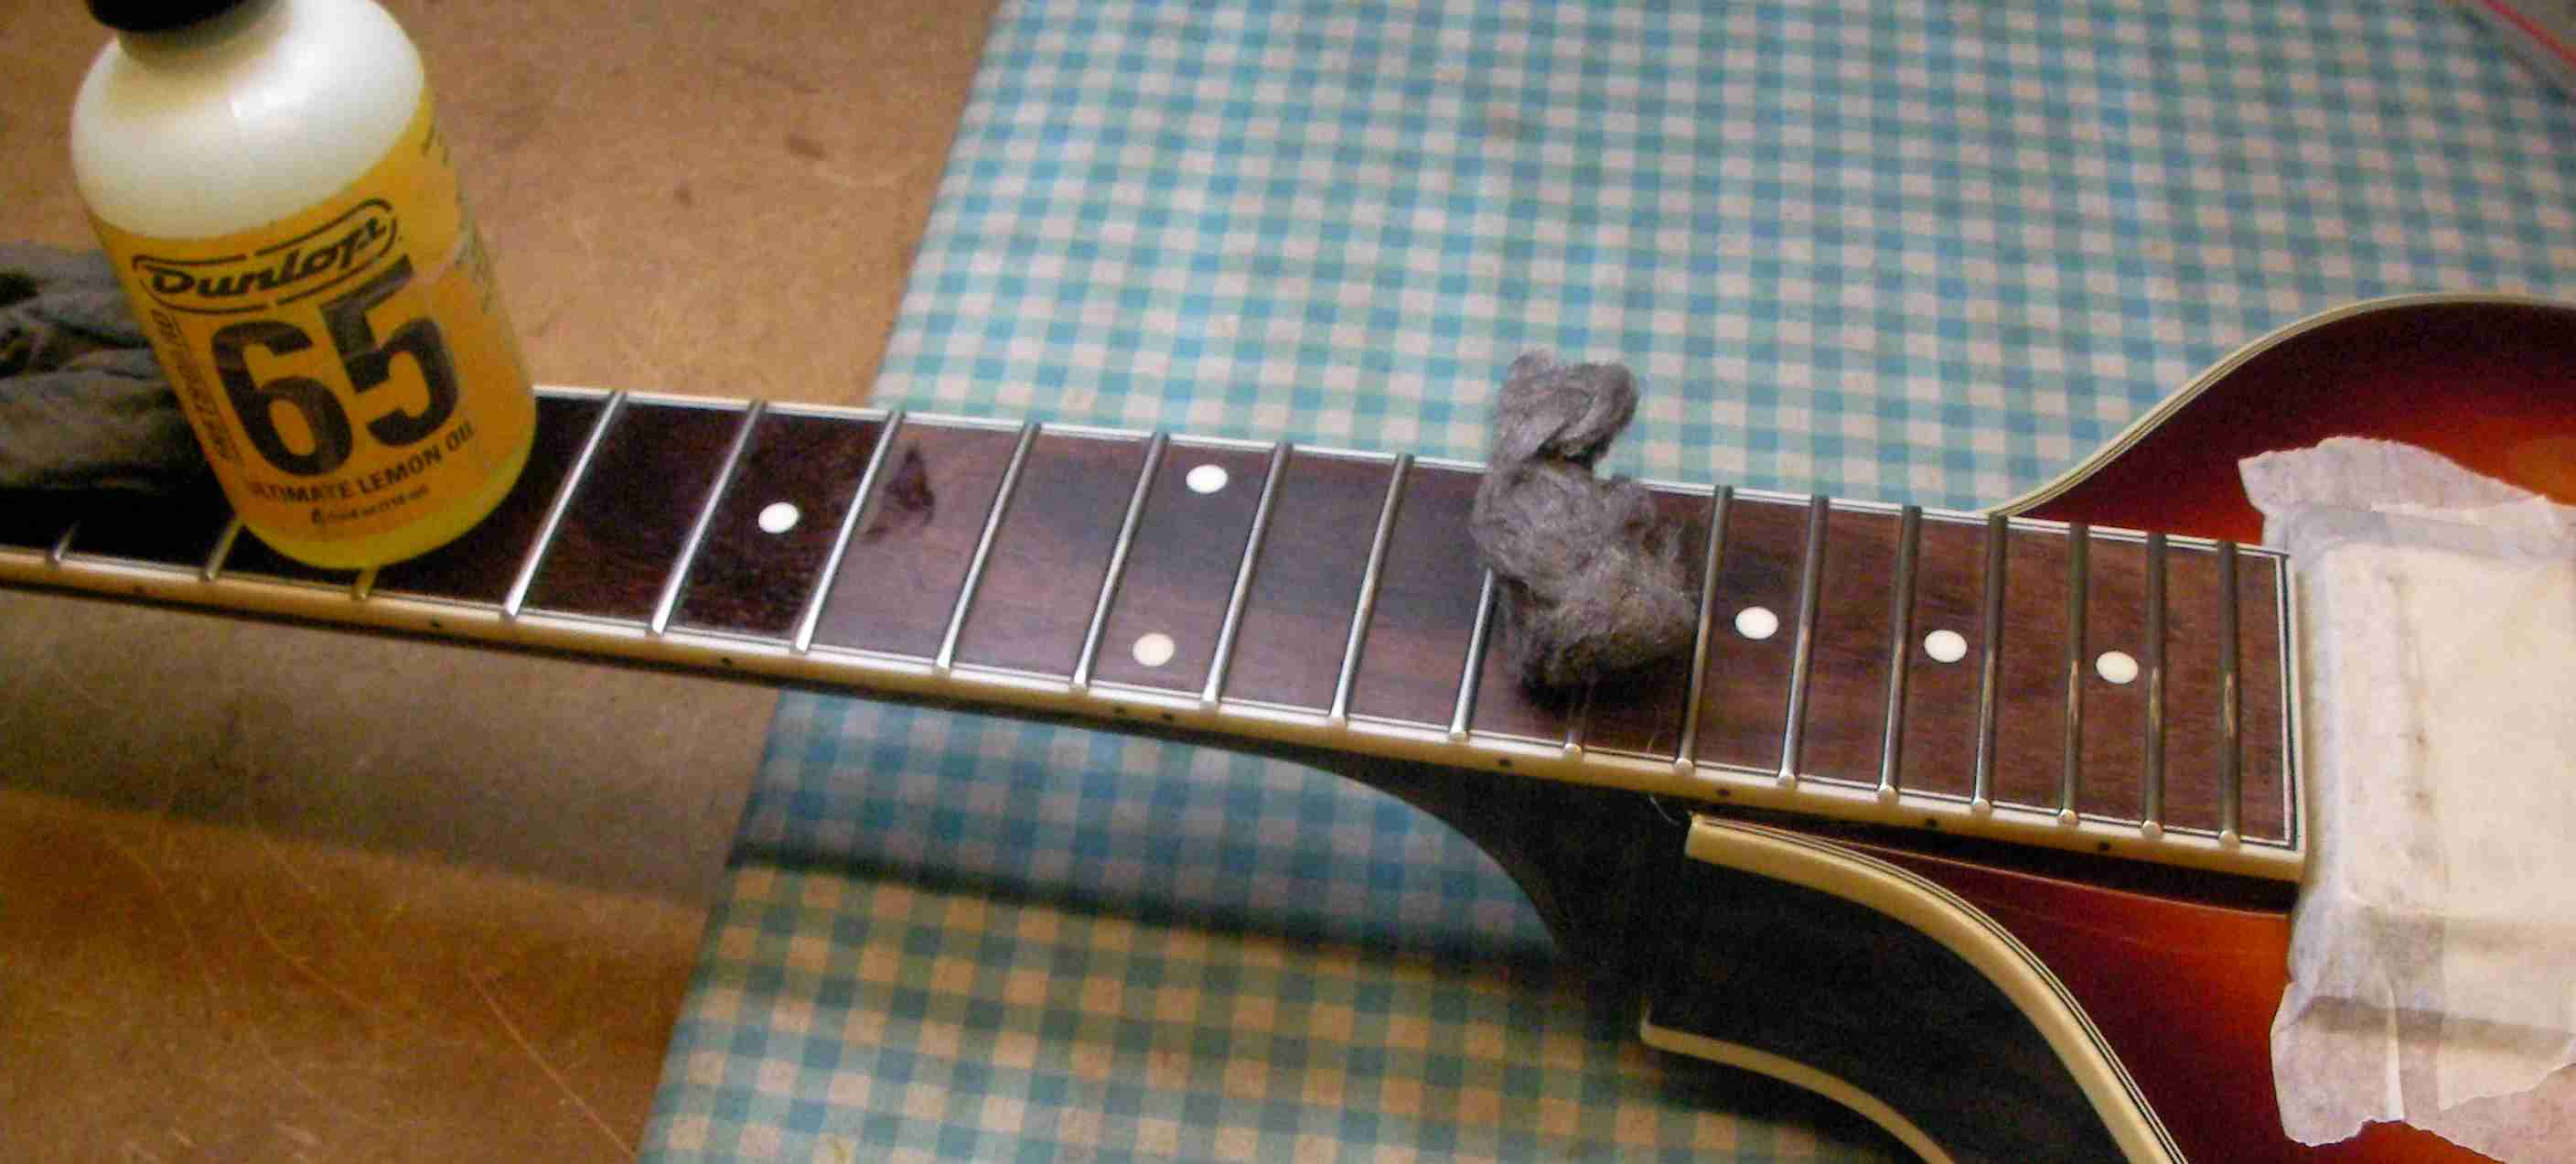
With the frets nice and even they now need re-polishing to bring back the shine.
While the strings are off it’s always worth giving the fretboard a bit of a clean and oil..
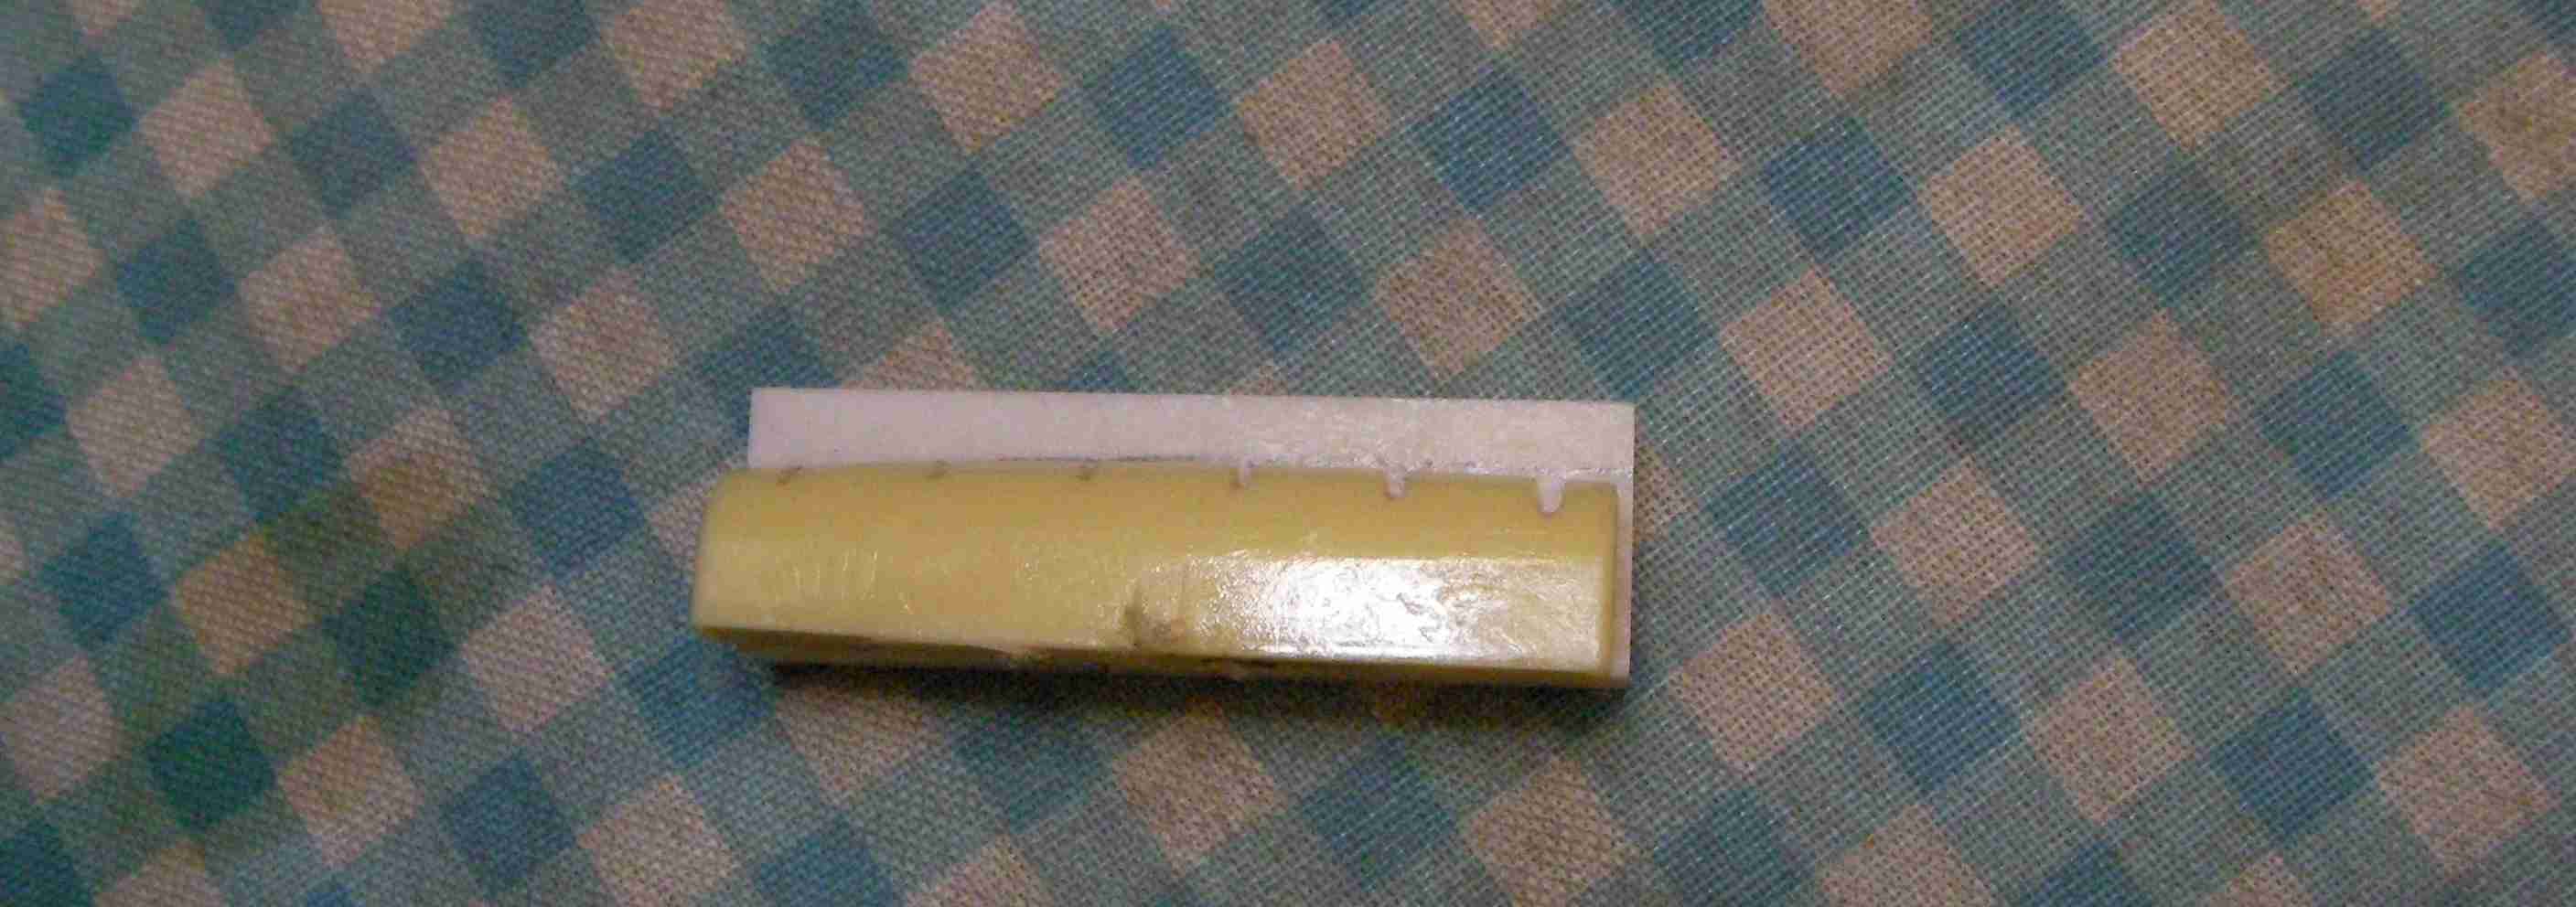
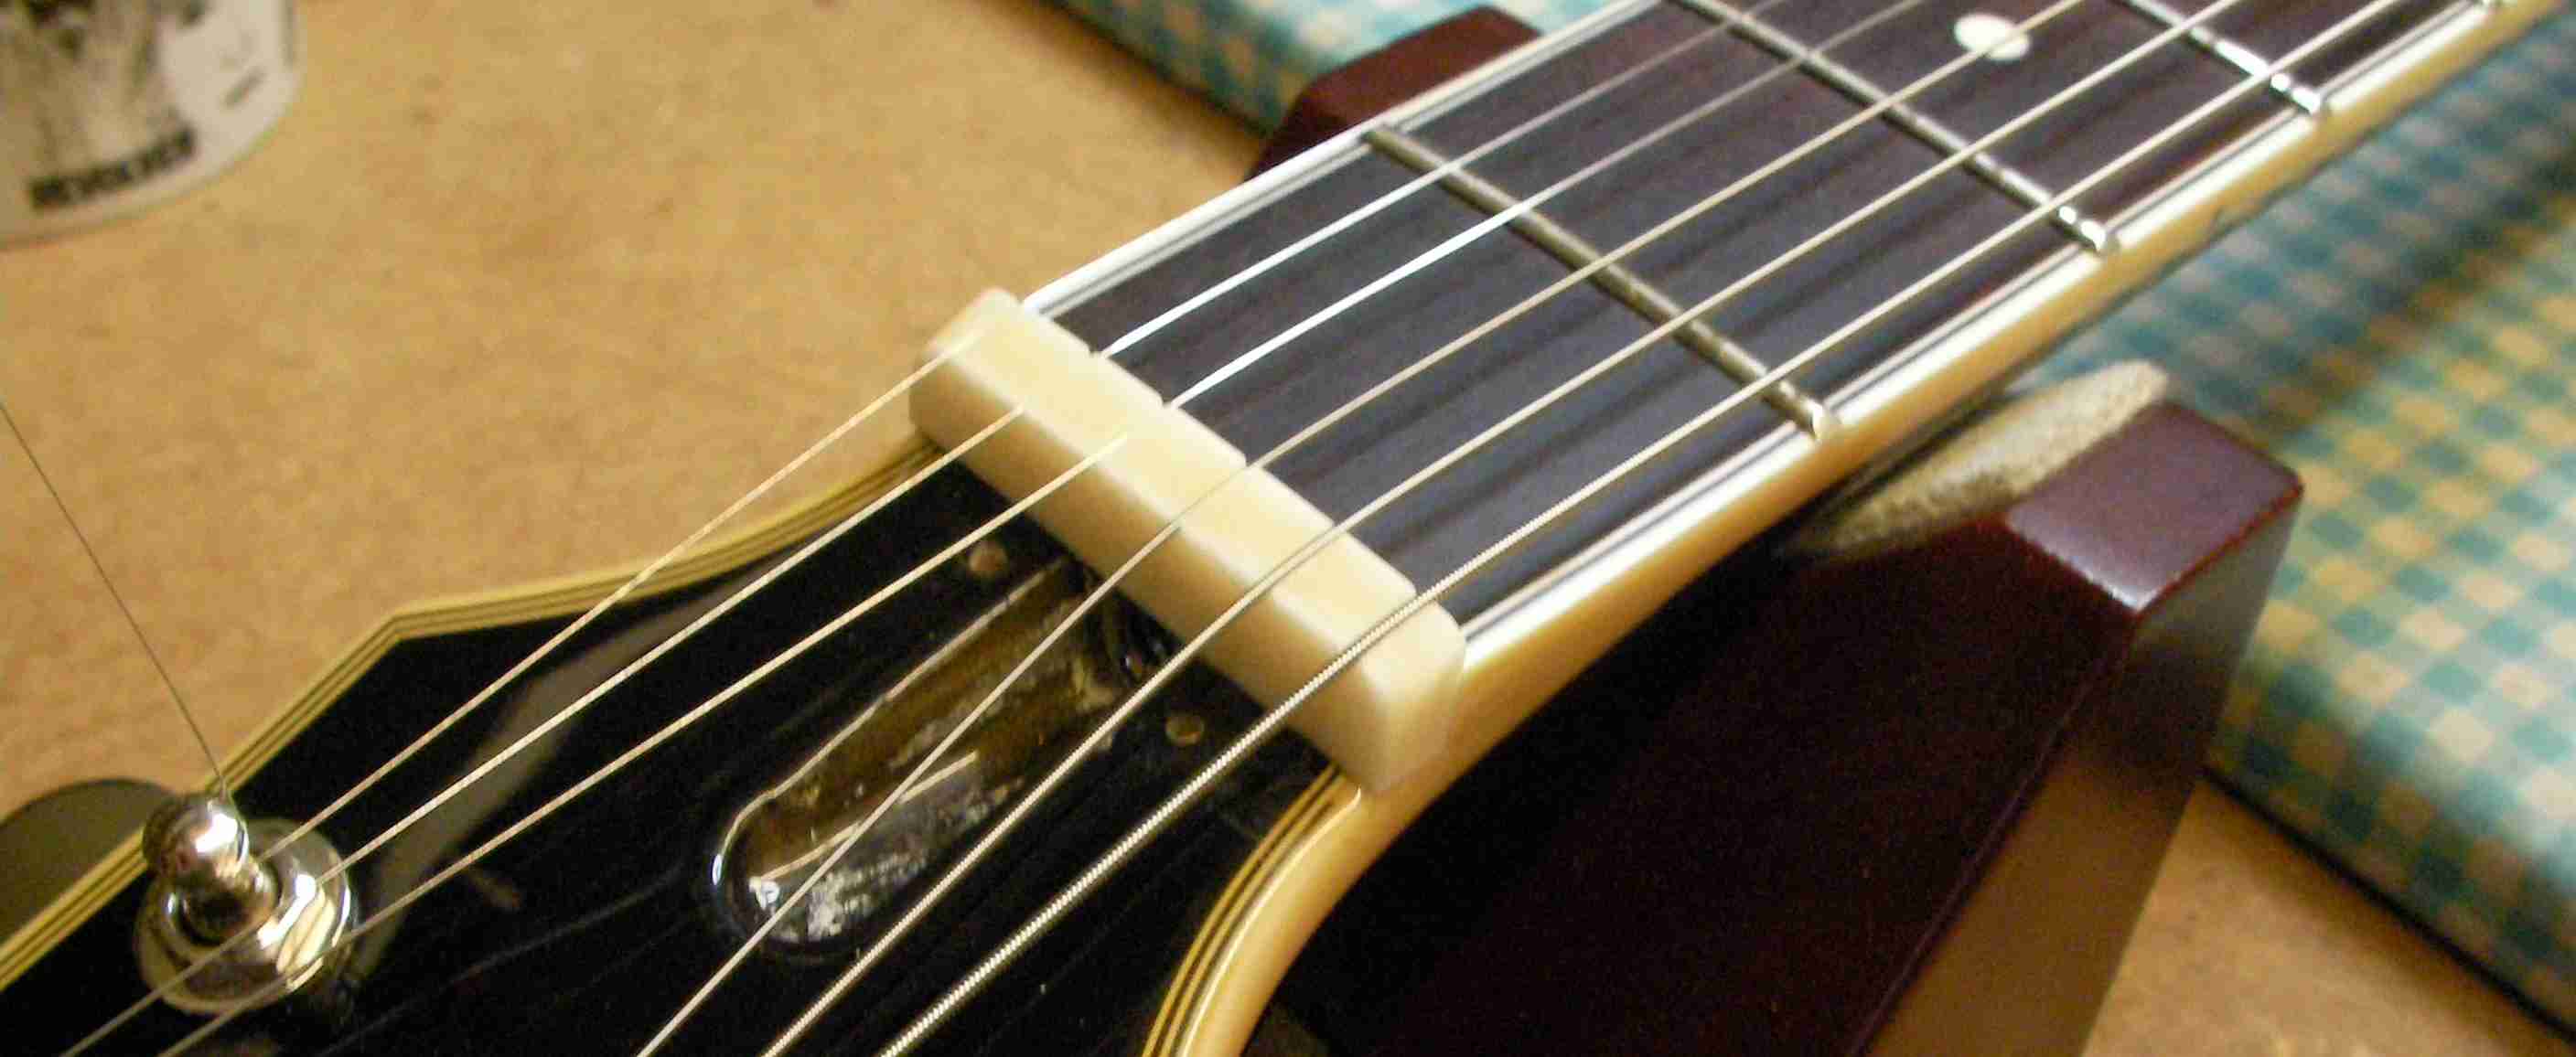
To improve the tone I’m also going to replace the plastic nut with bone one. I don’t have a pre-shaped one thick enough so I’m going to make a new one from a large blank…
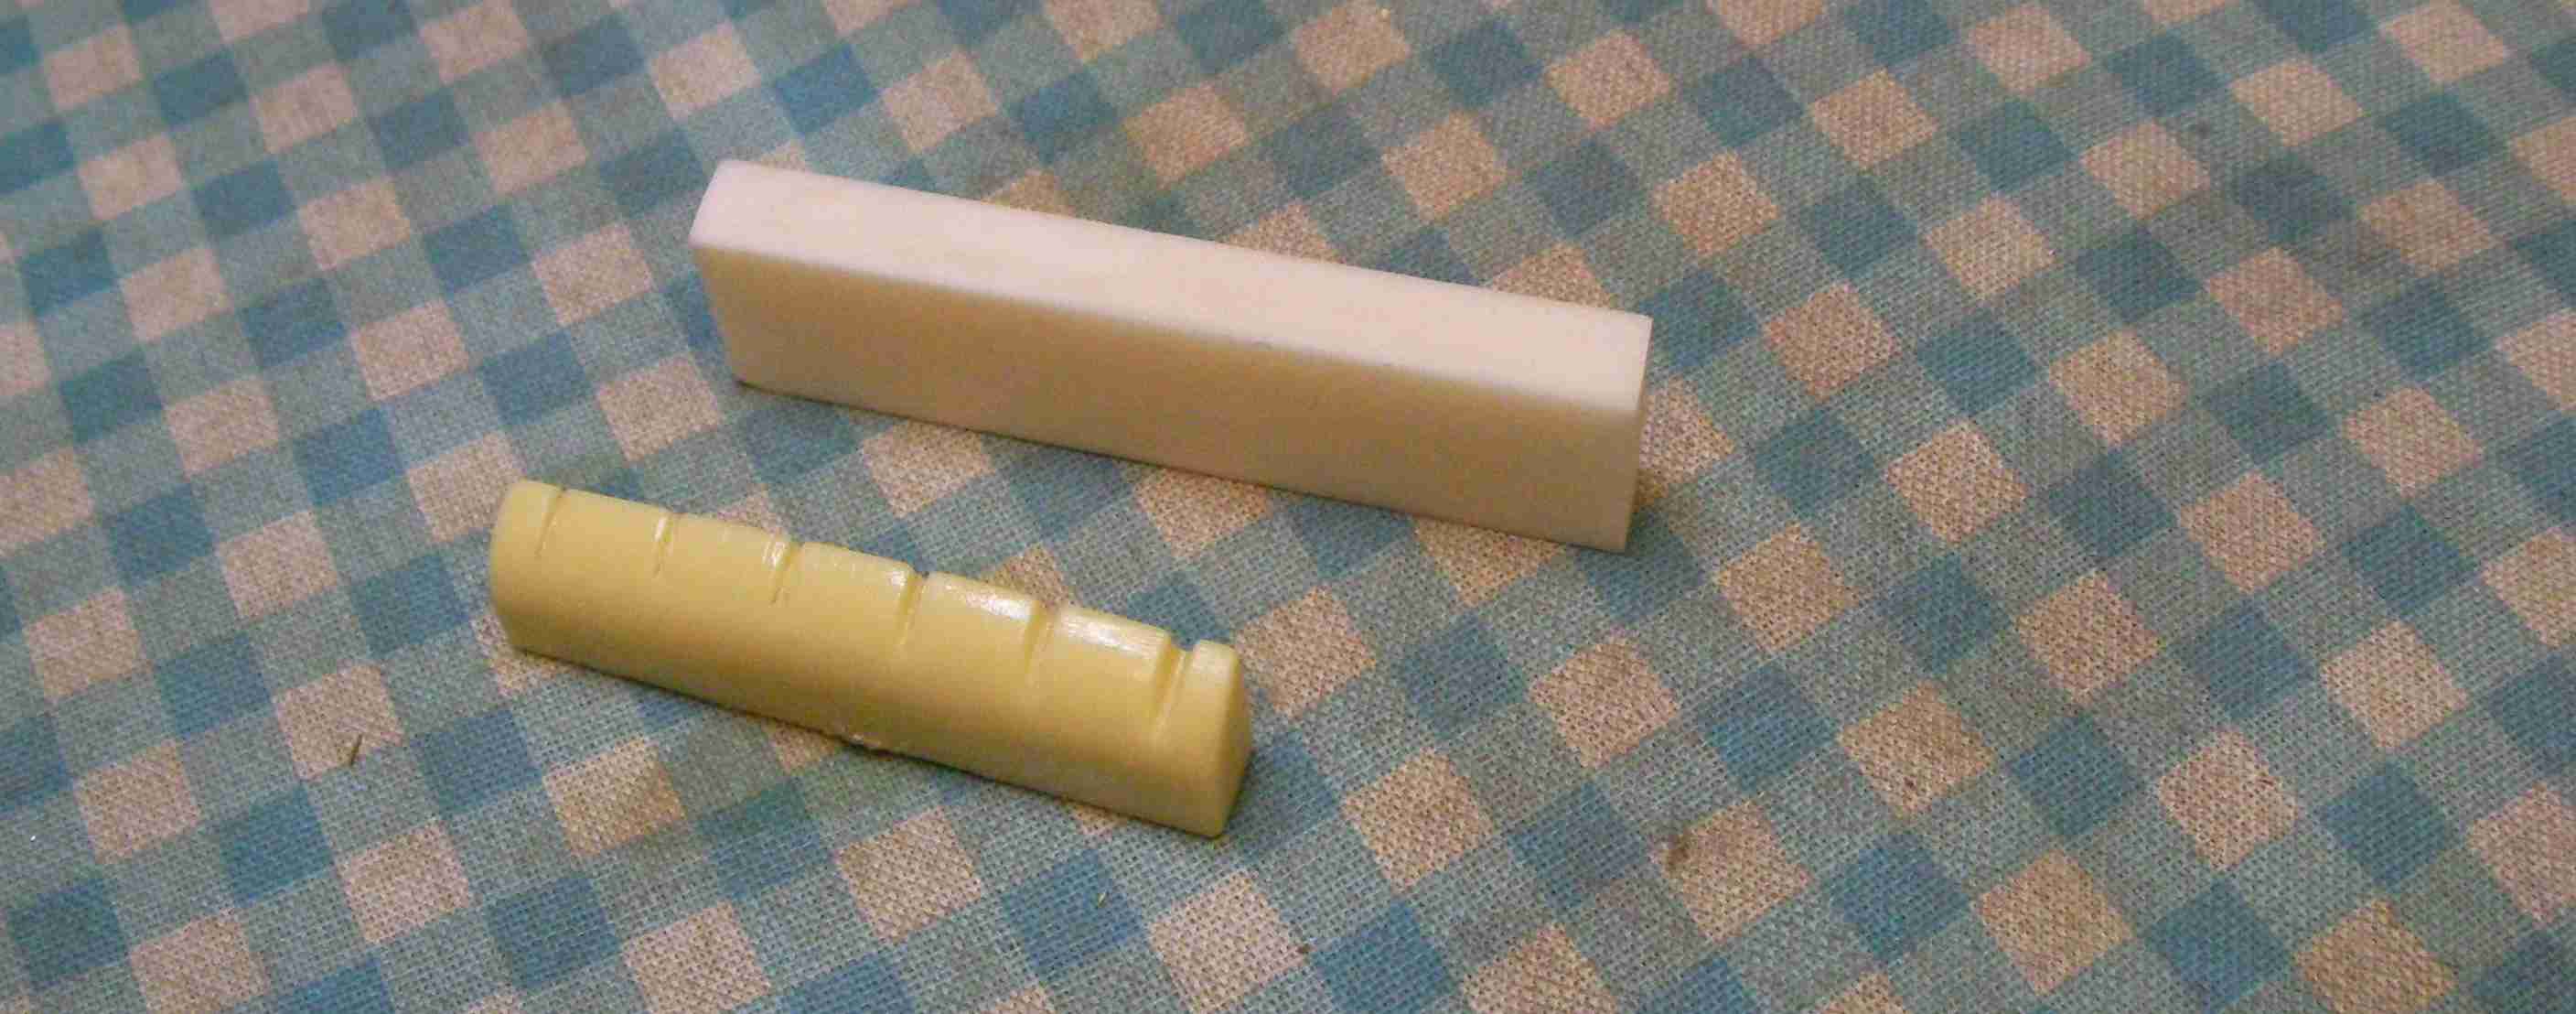
First I cut it to around the right length….
and then used the grinding wheel to get the ends to exactly the right shape.
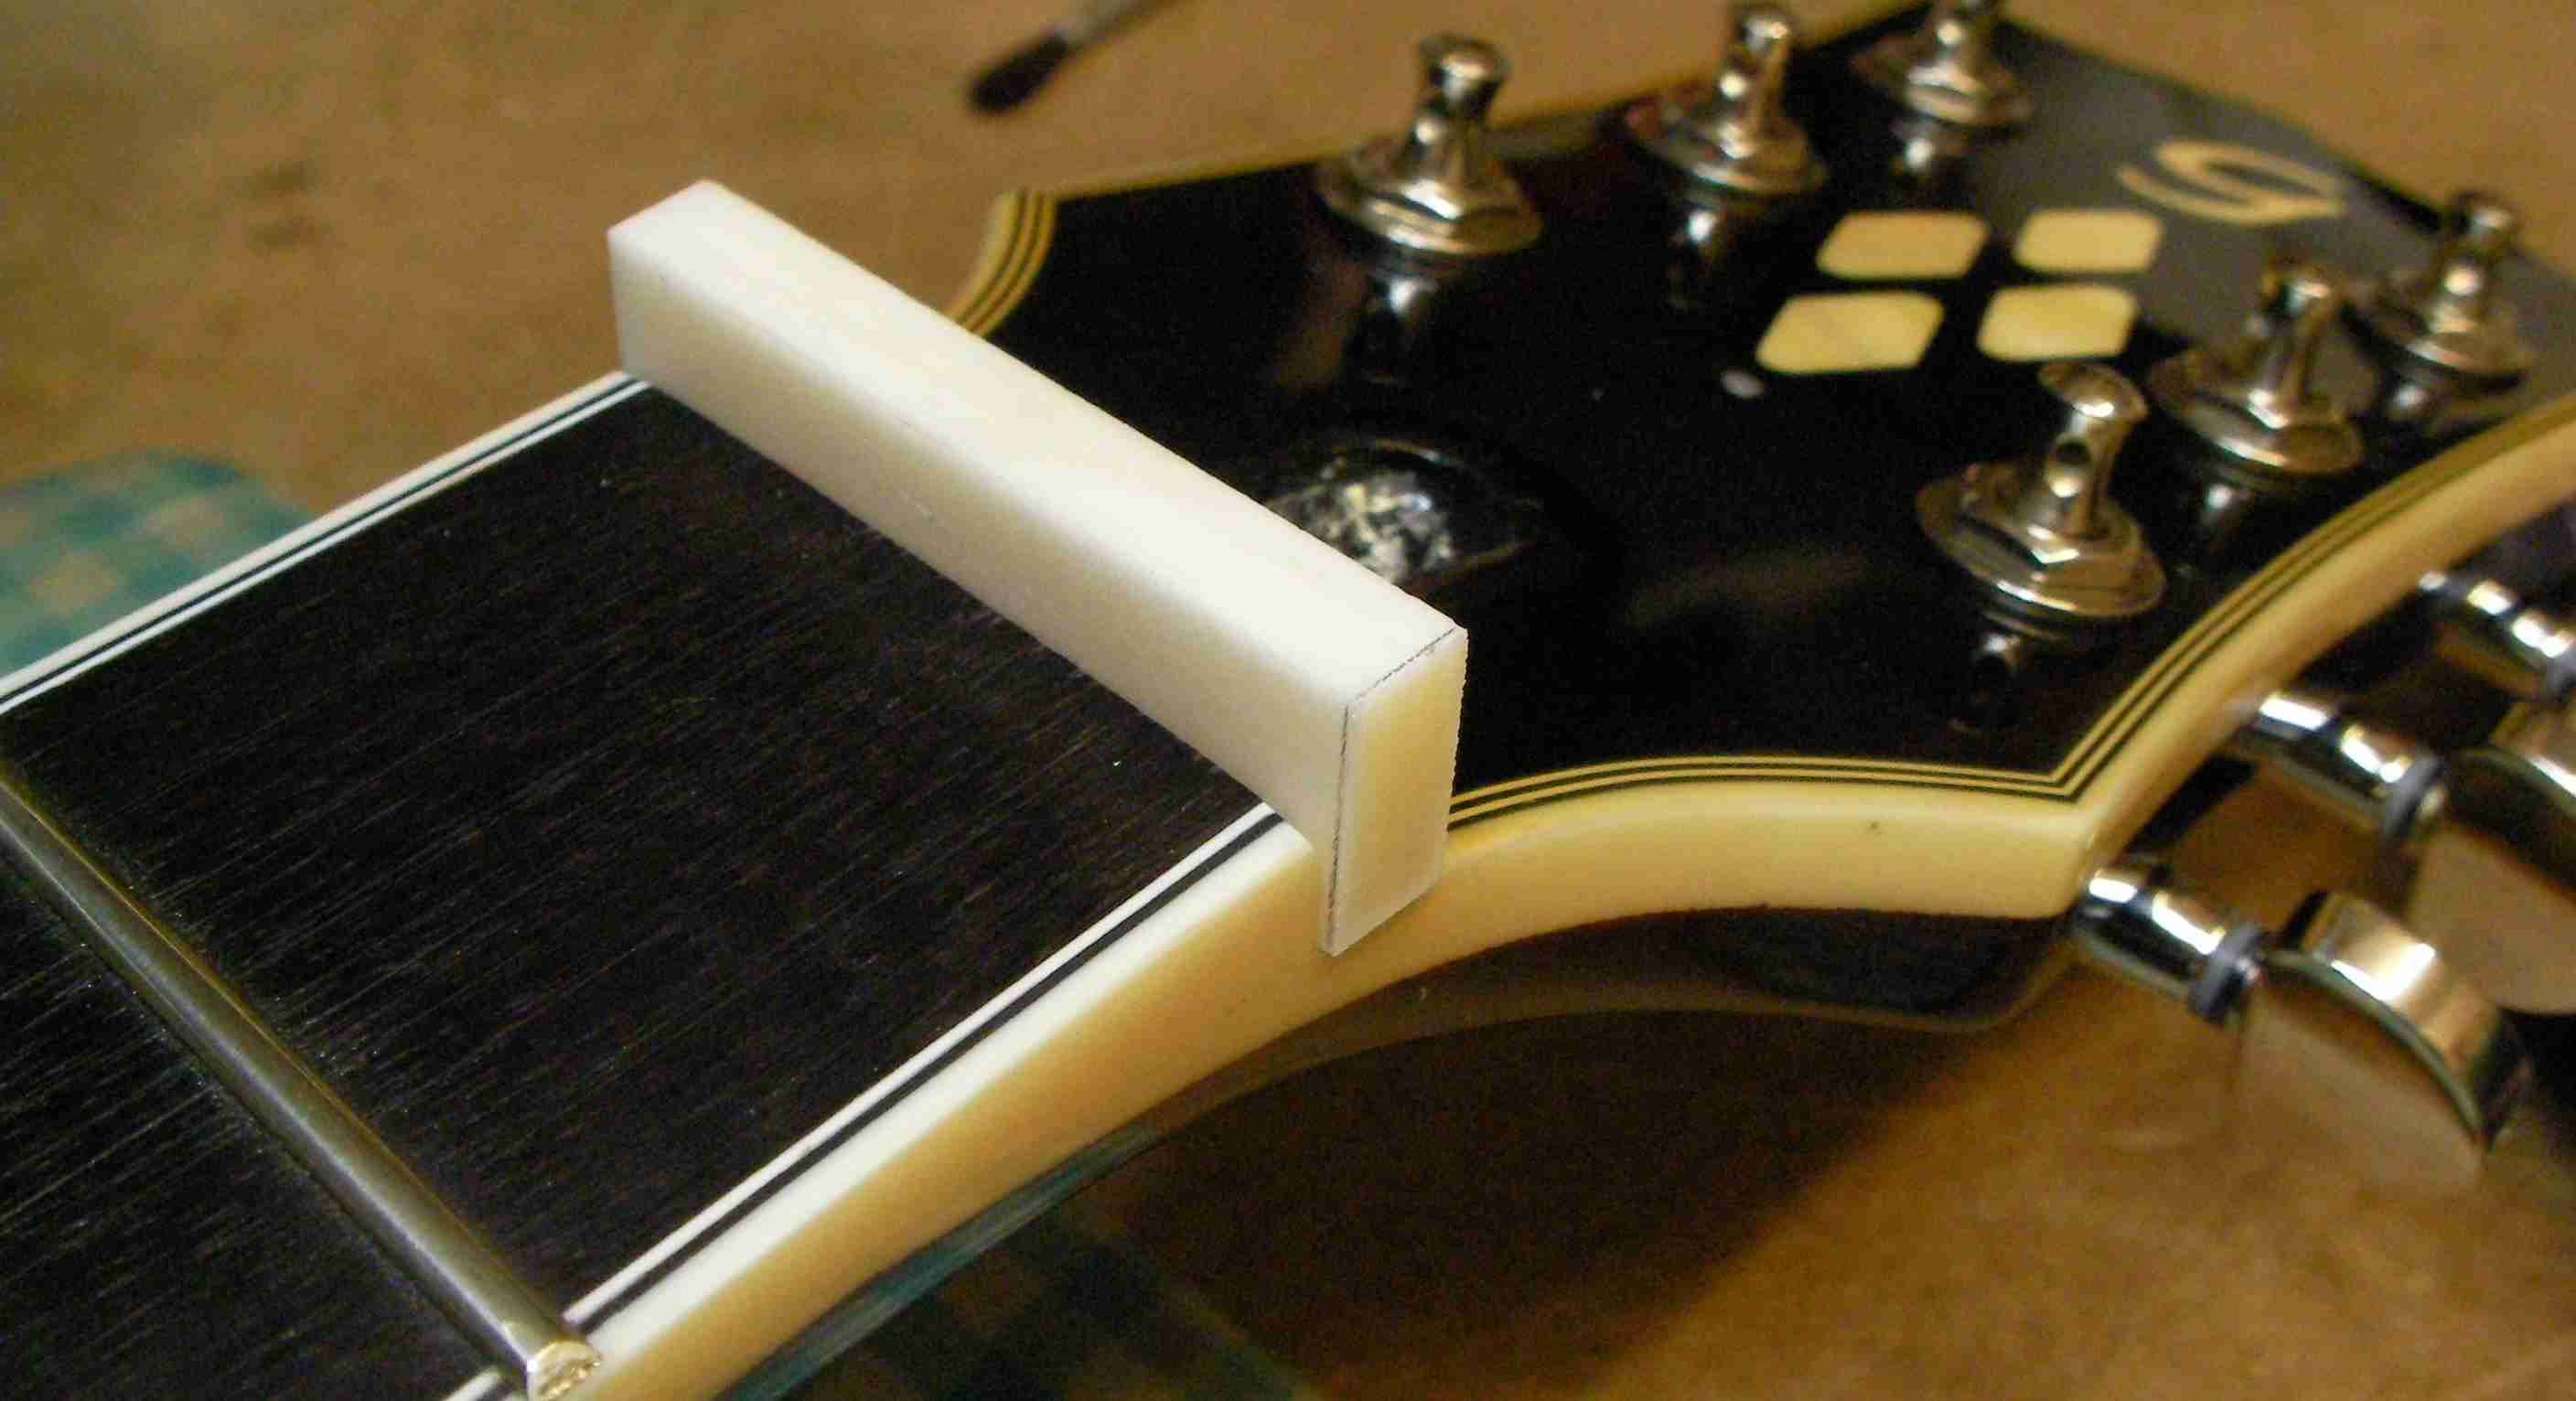
with it fitting in place nicely it’s time to shape the top….
Lightly glued in place, it needs to be easily removable in the future.
and there it is with the new strings fitted.
With all that done all in needs now is a standard 5 point setup.
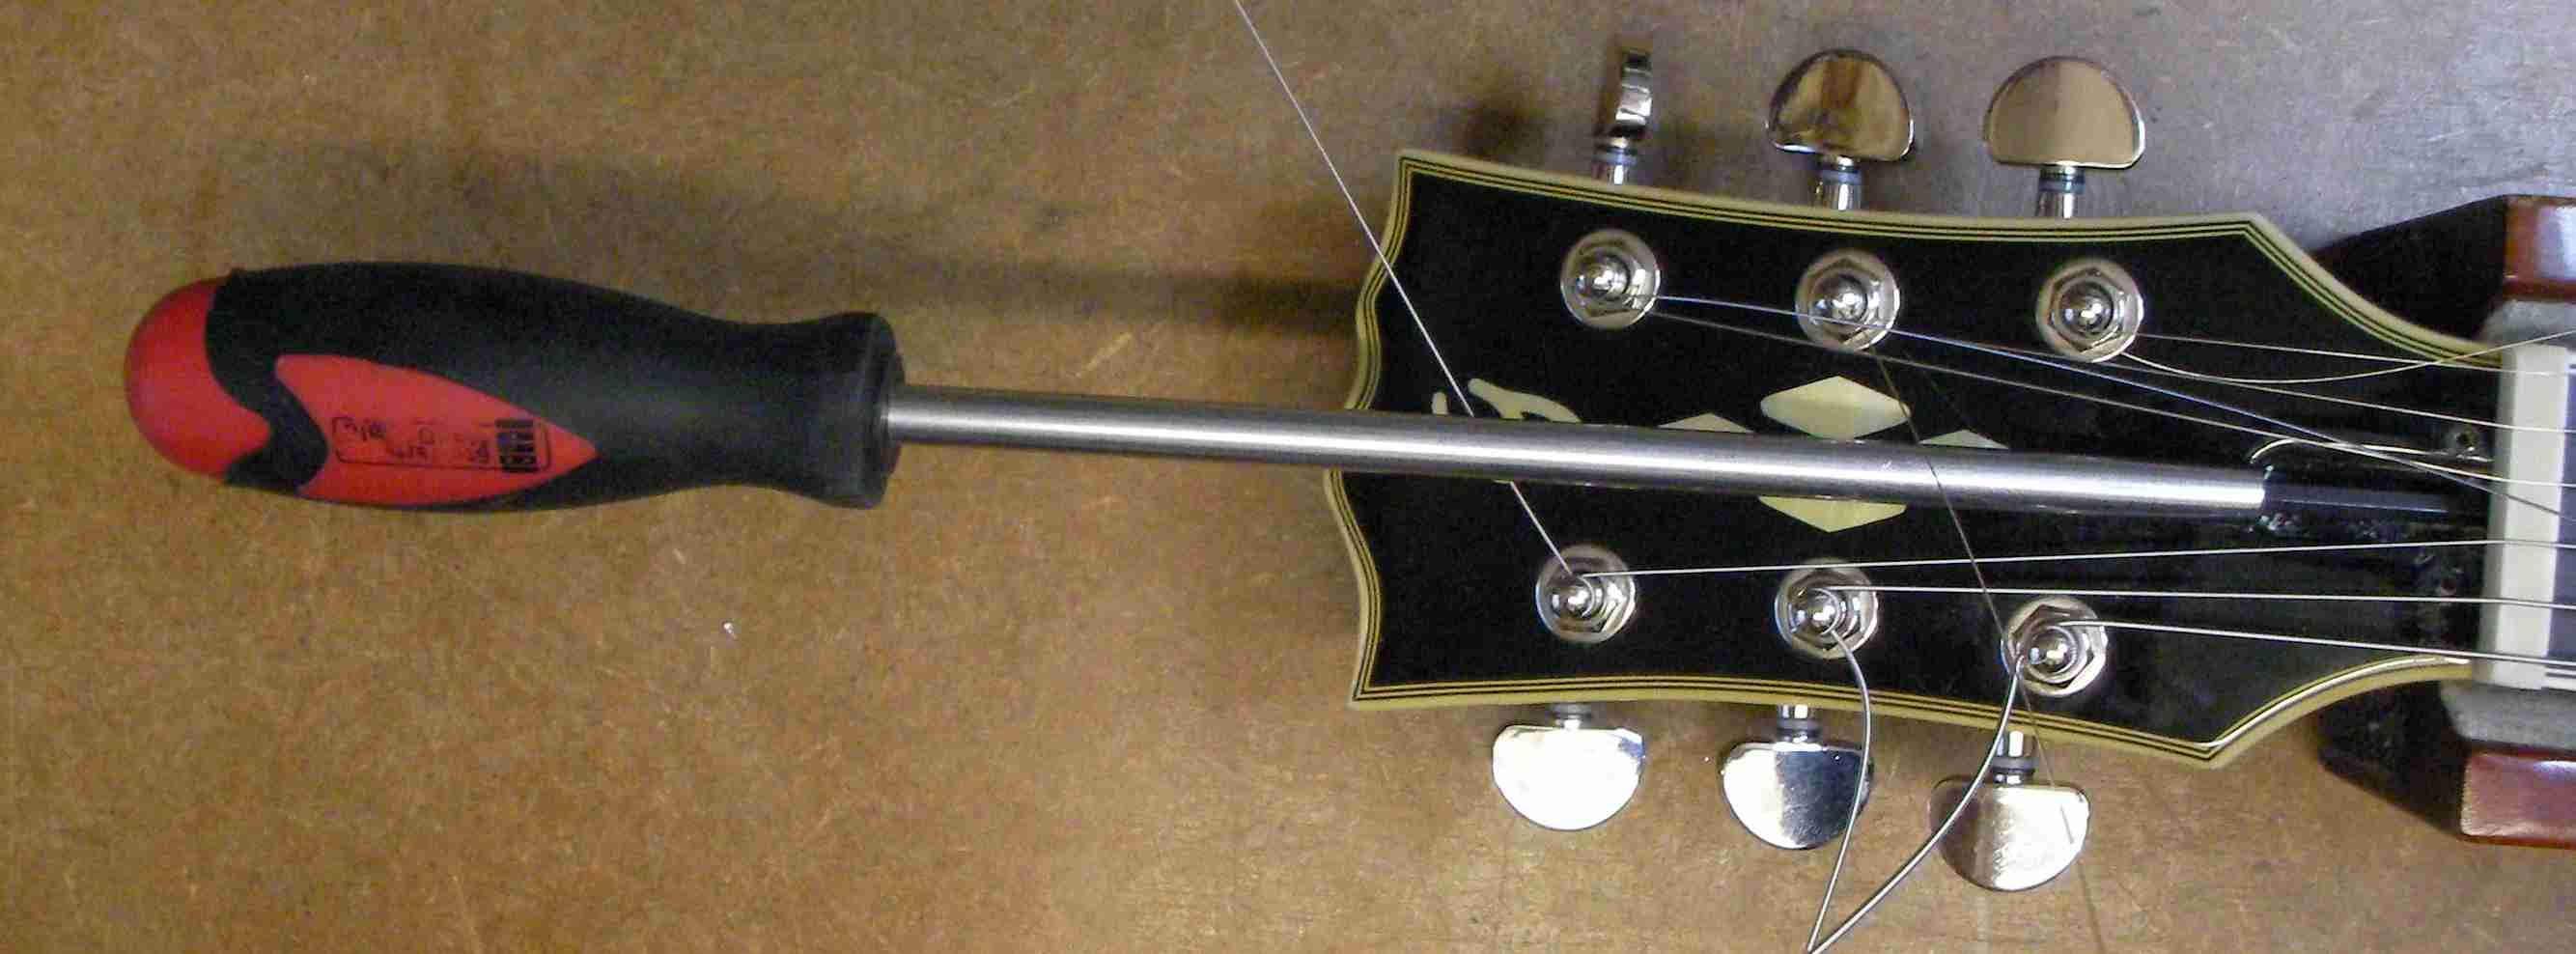
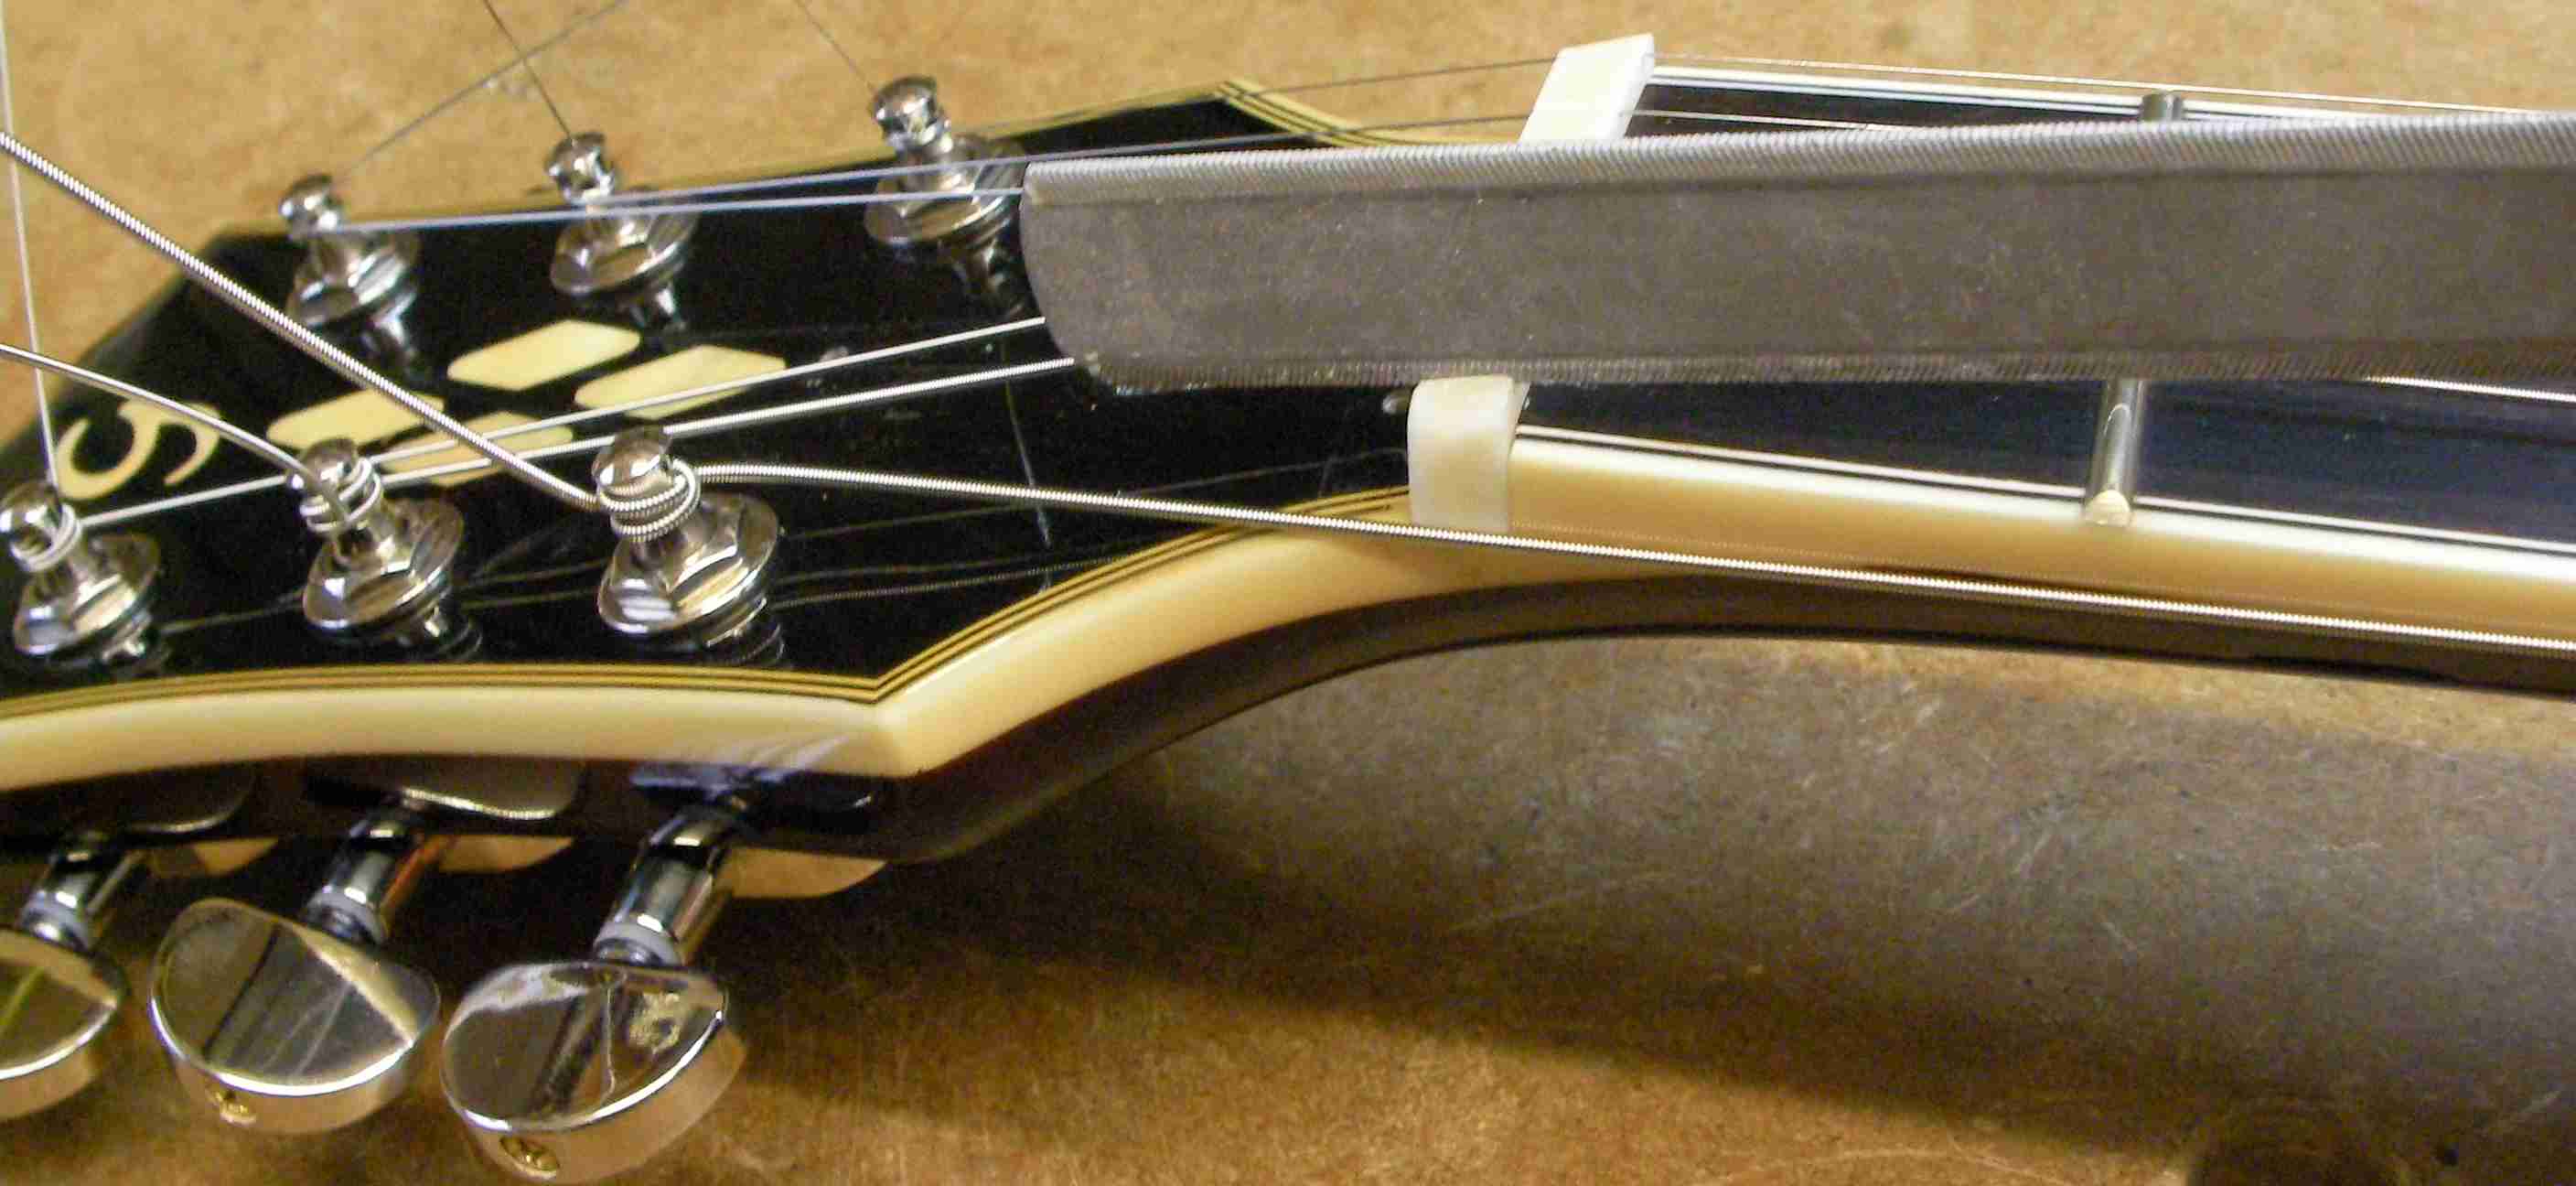
No1. The neck set….
a little high so tighten the truss-rod slightly…
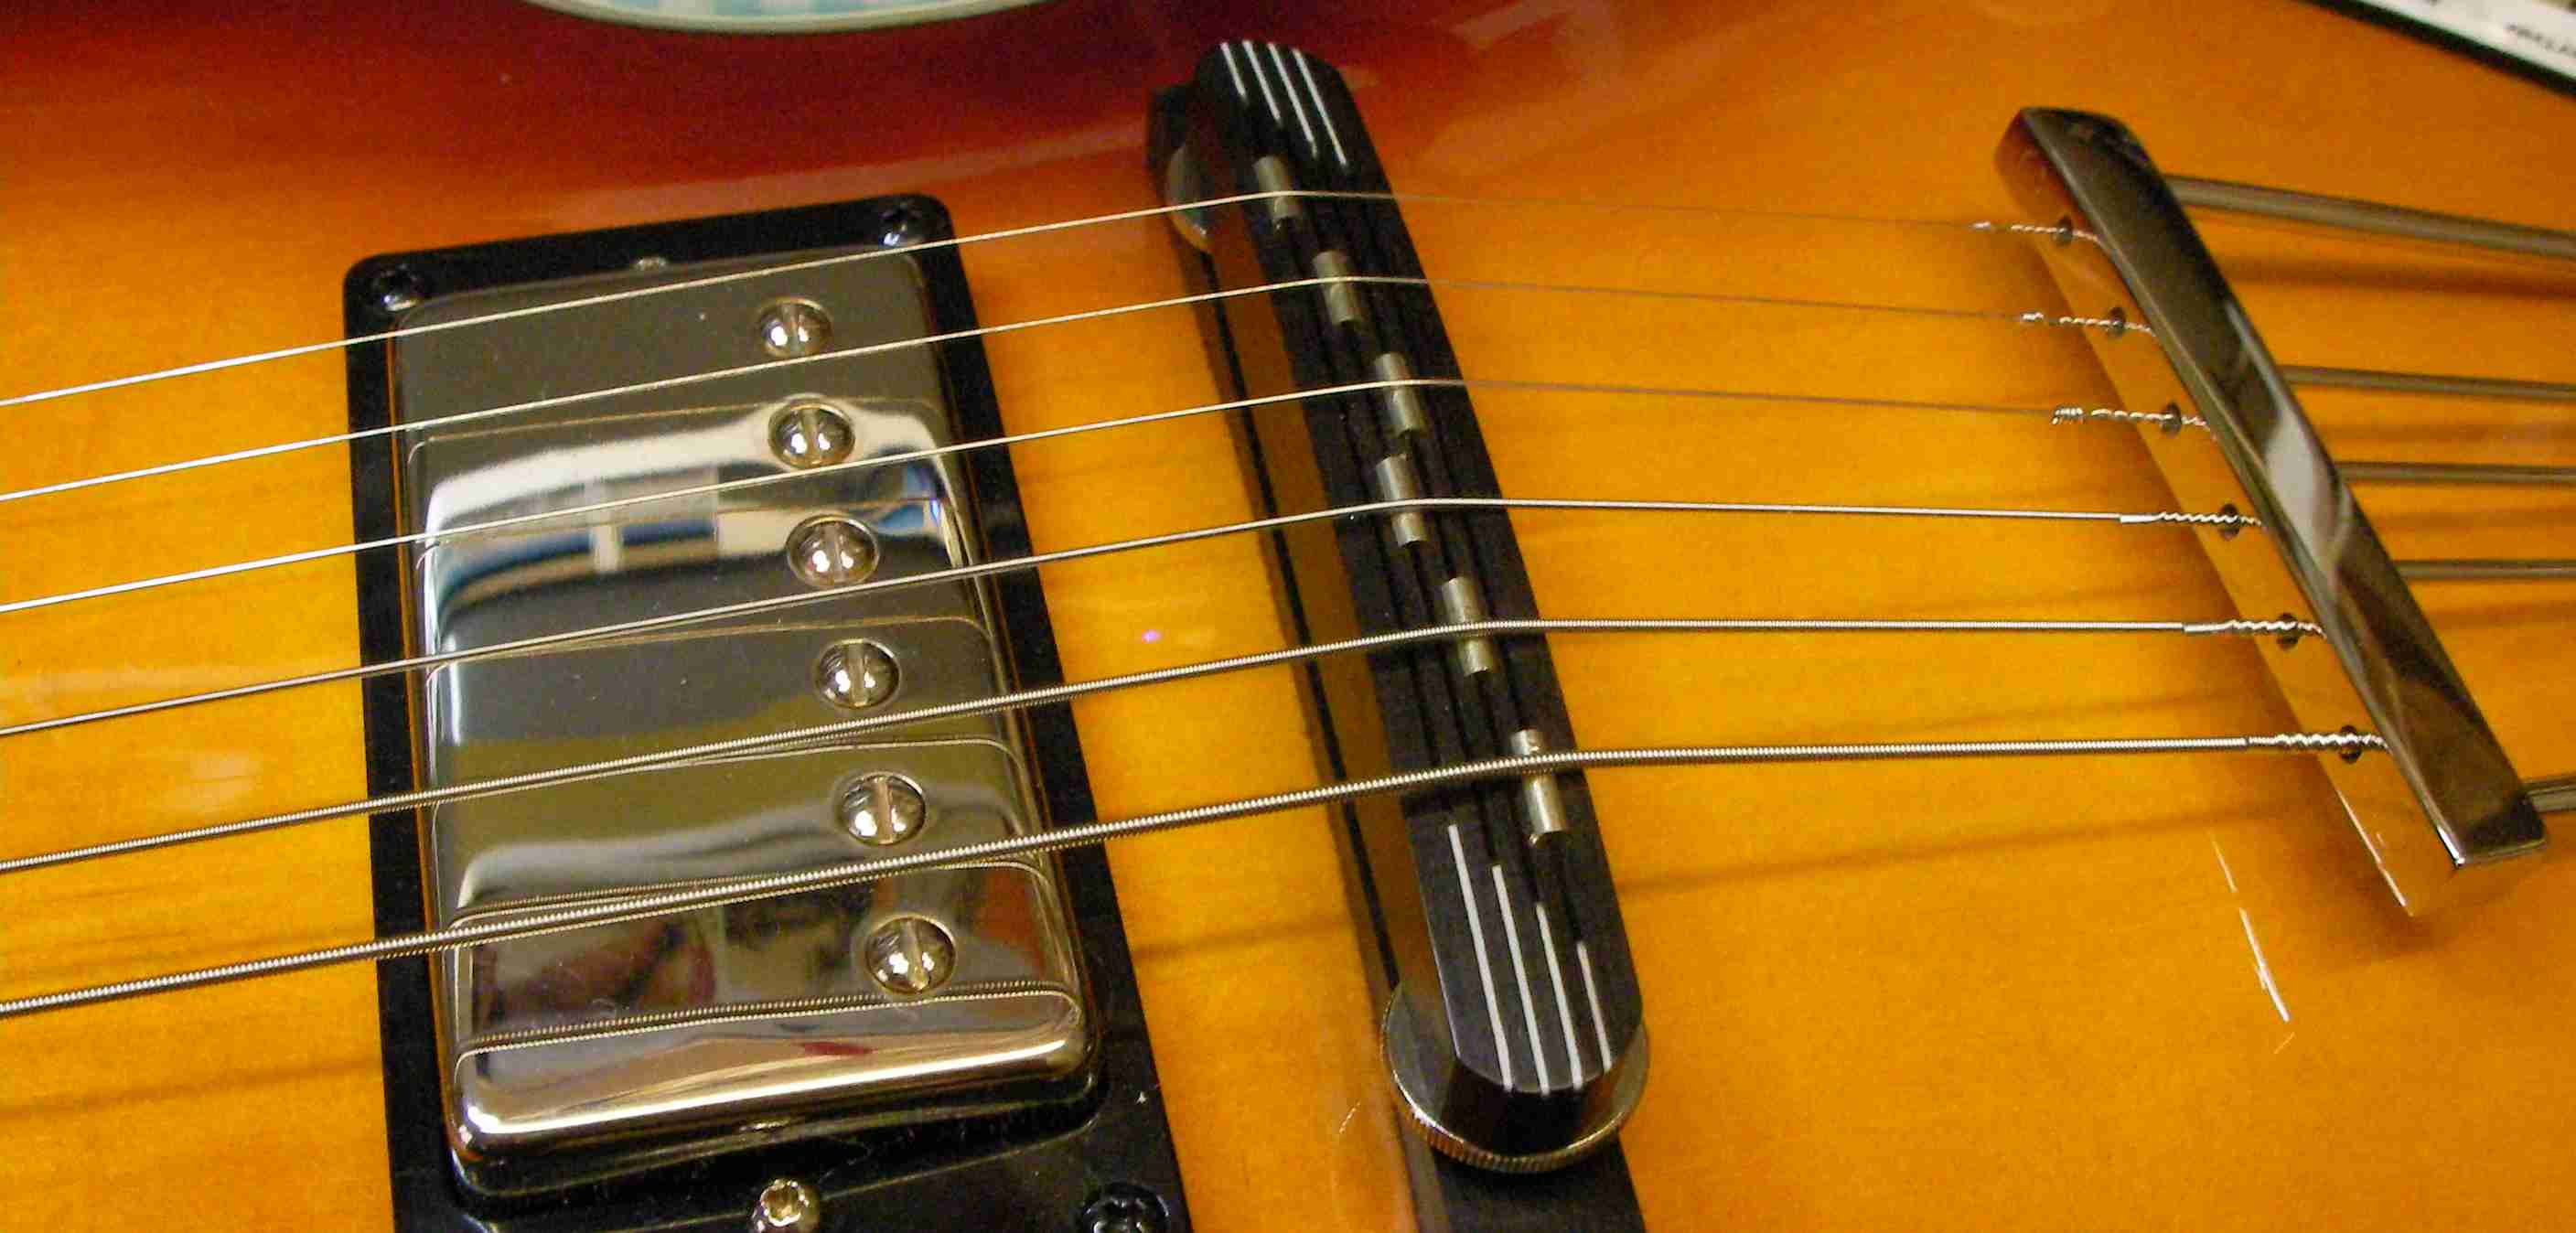
No.2 The action at the 12th fret. Very low…
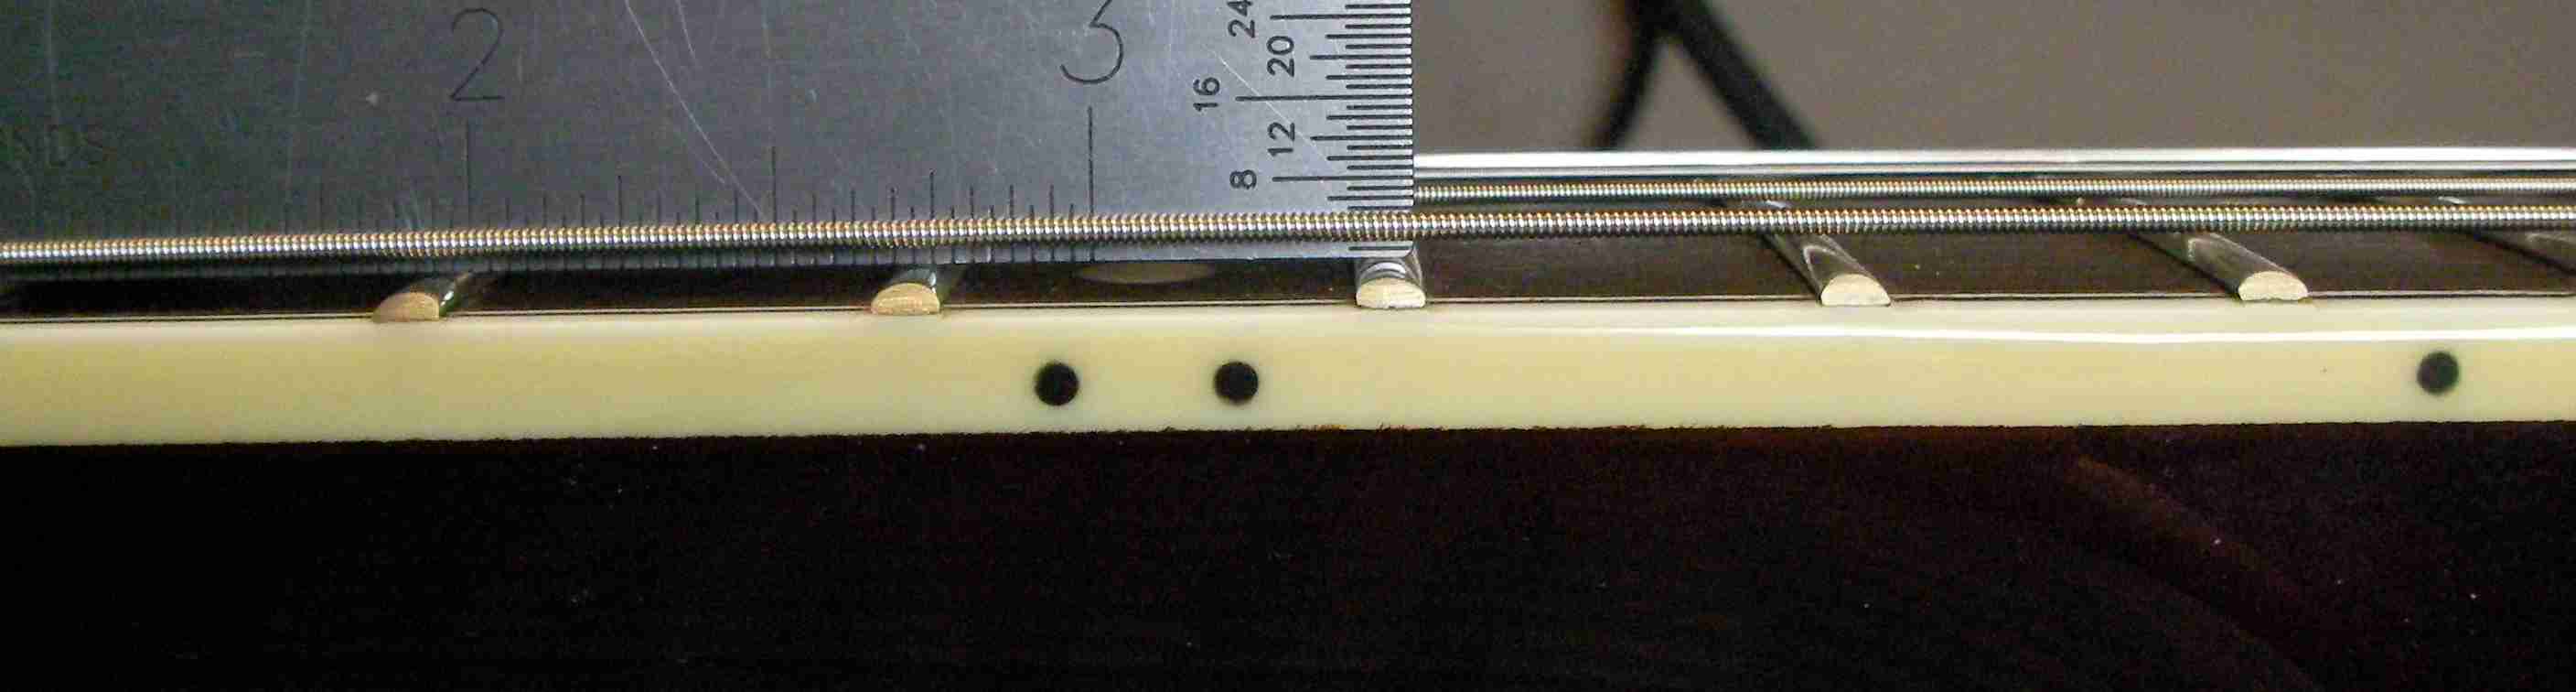
so raise the bridge…
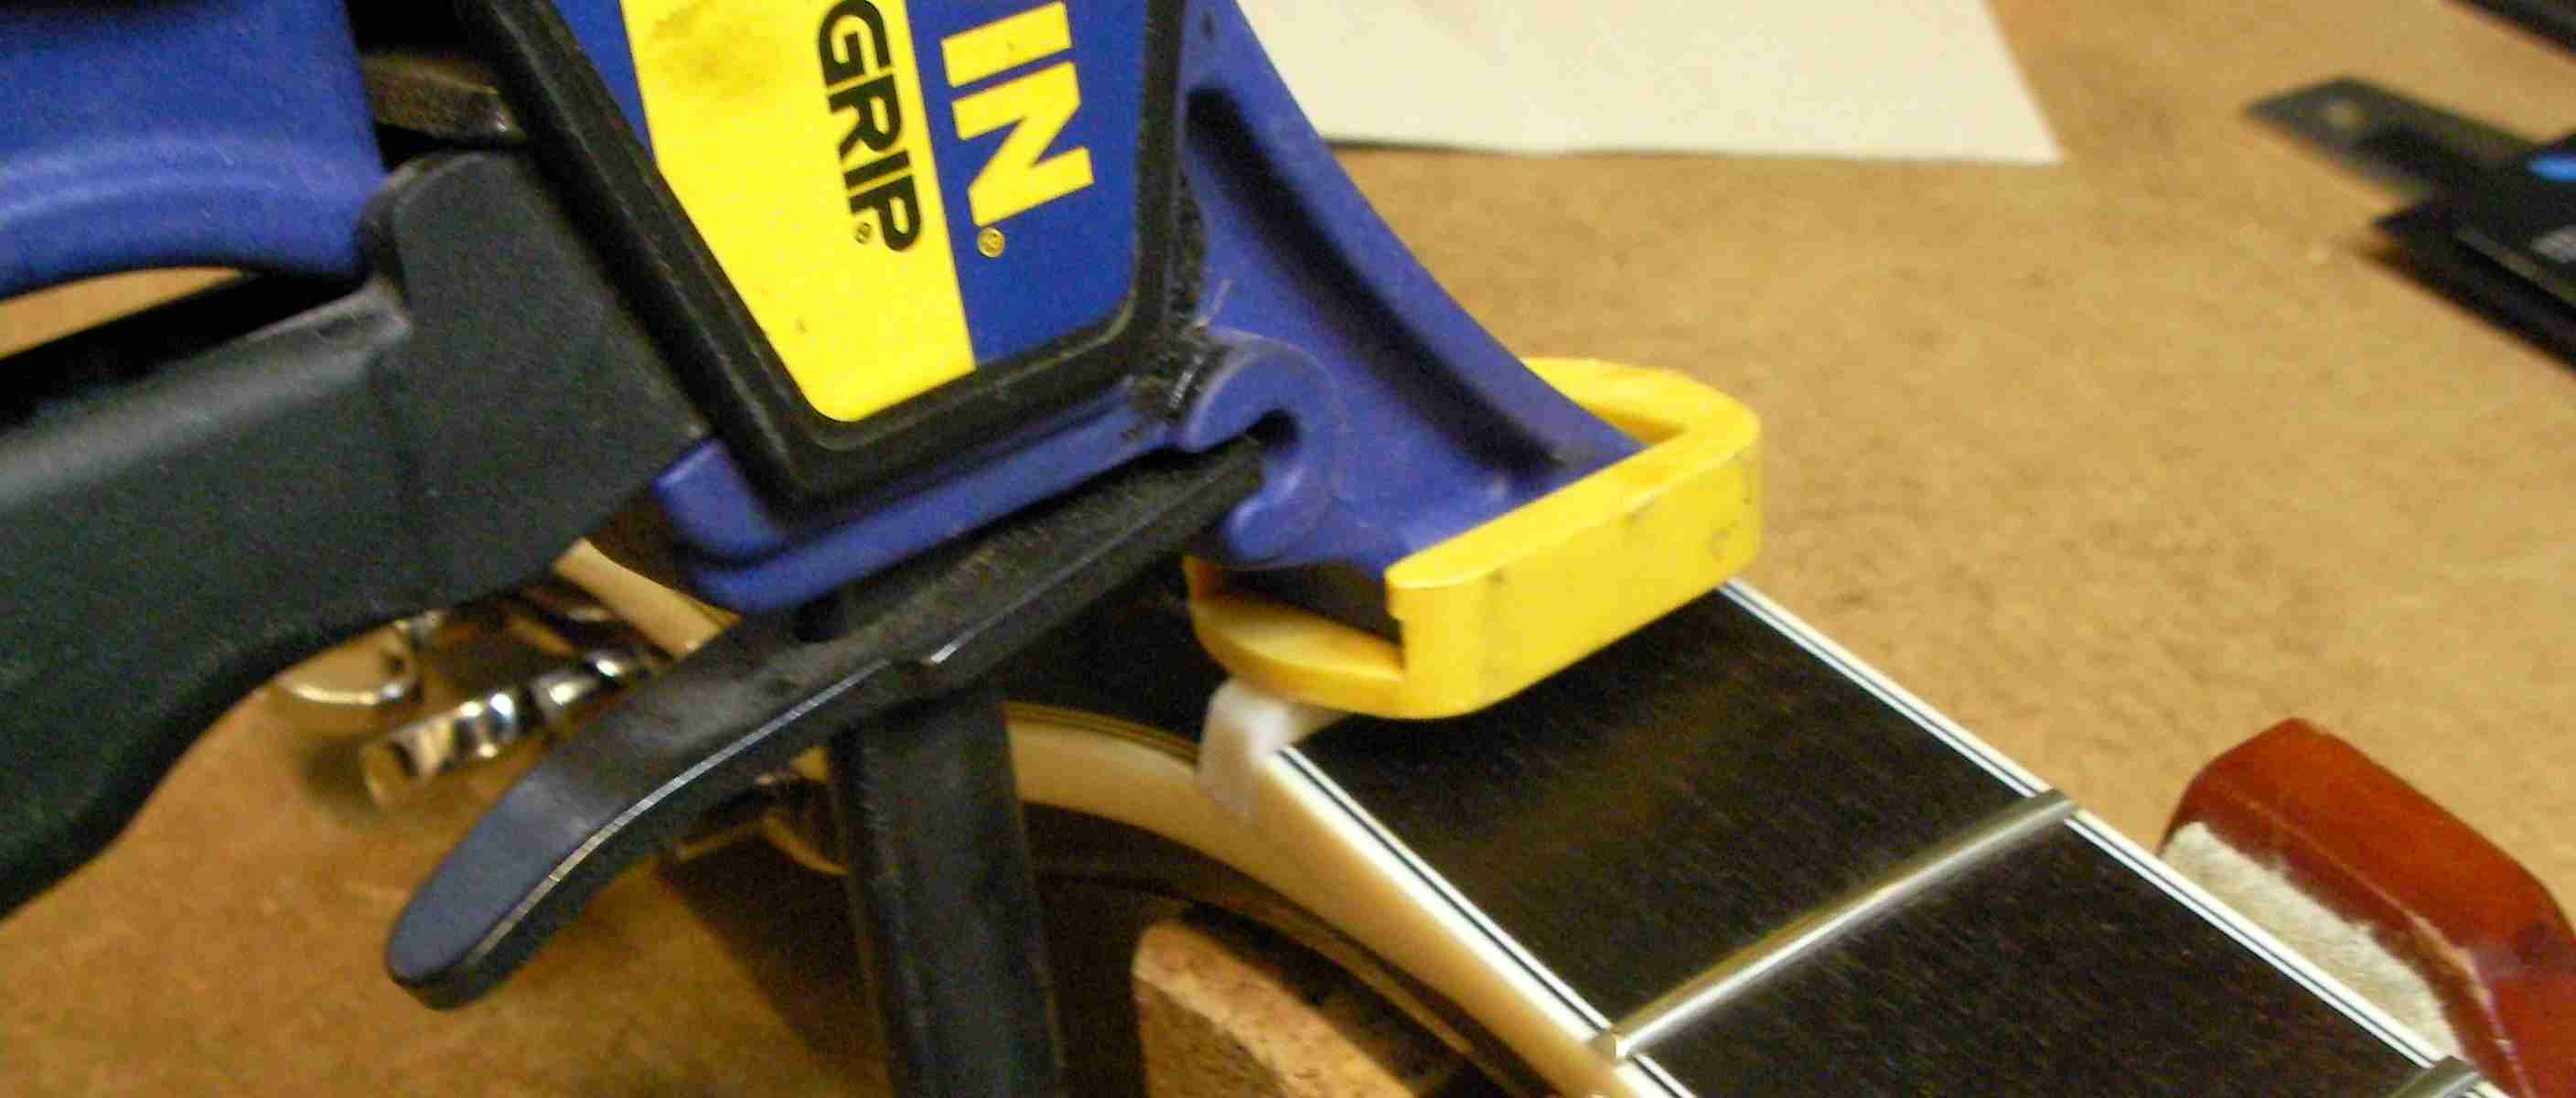
No.3 The action at the first fret. This was always going to be very high since I’ve only put light slots for the strings.
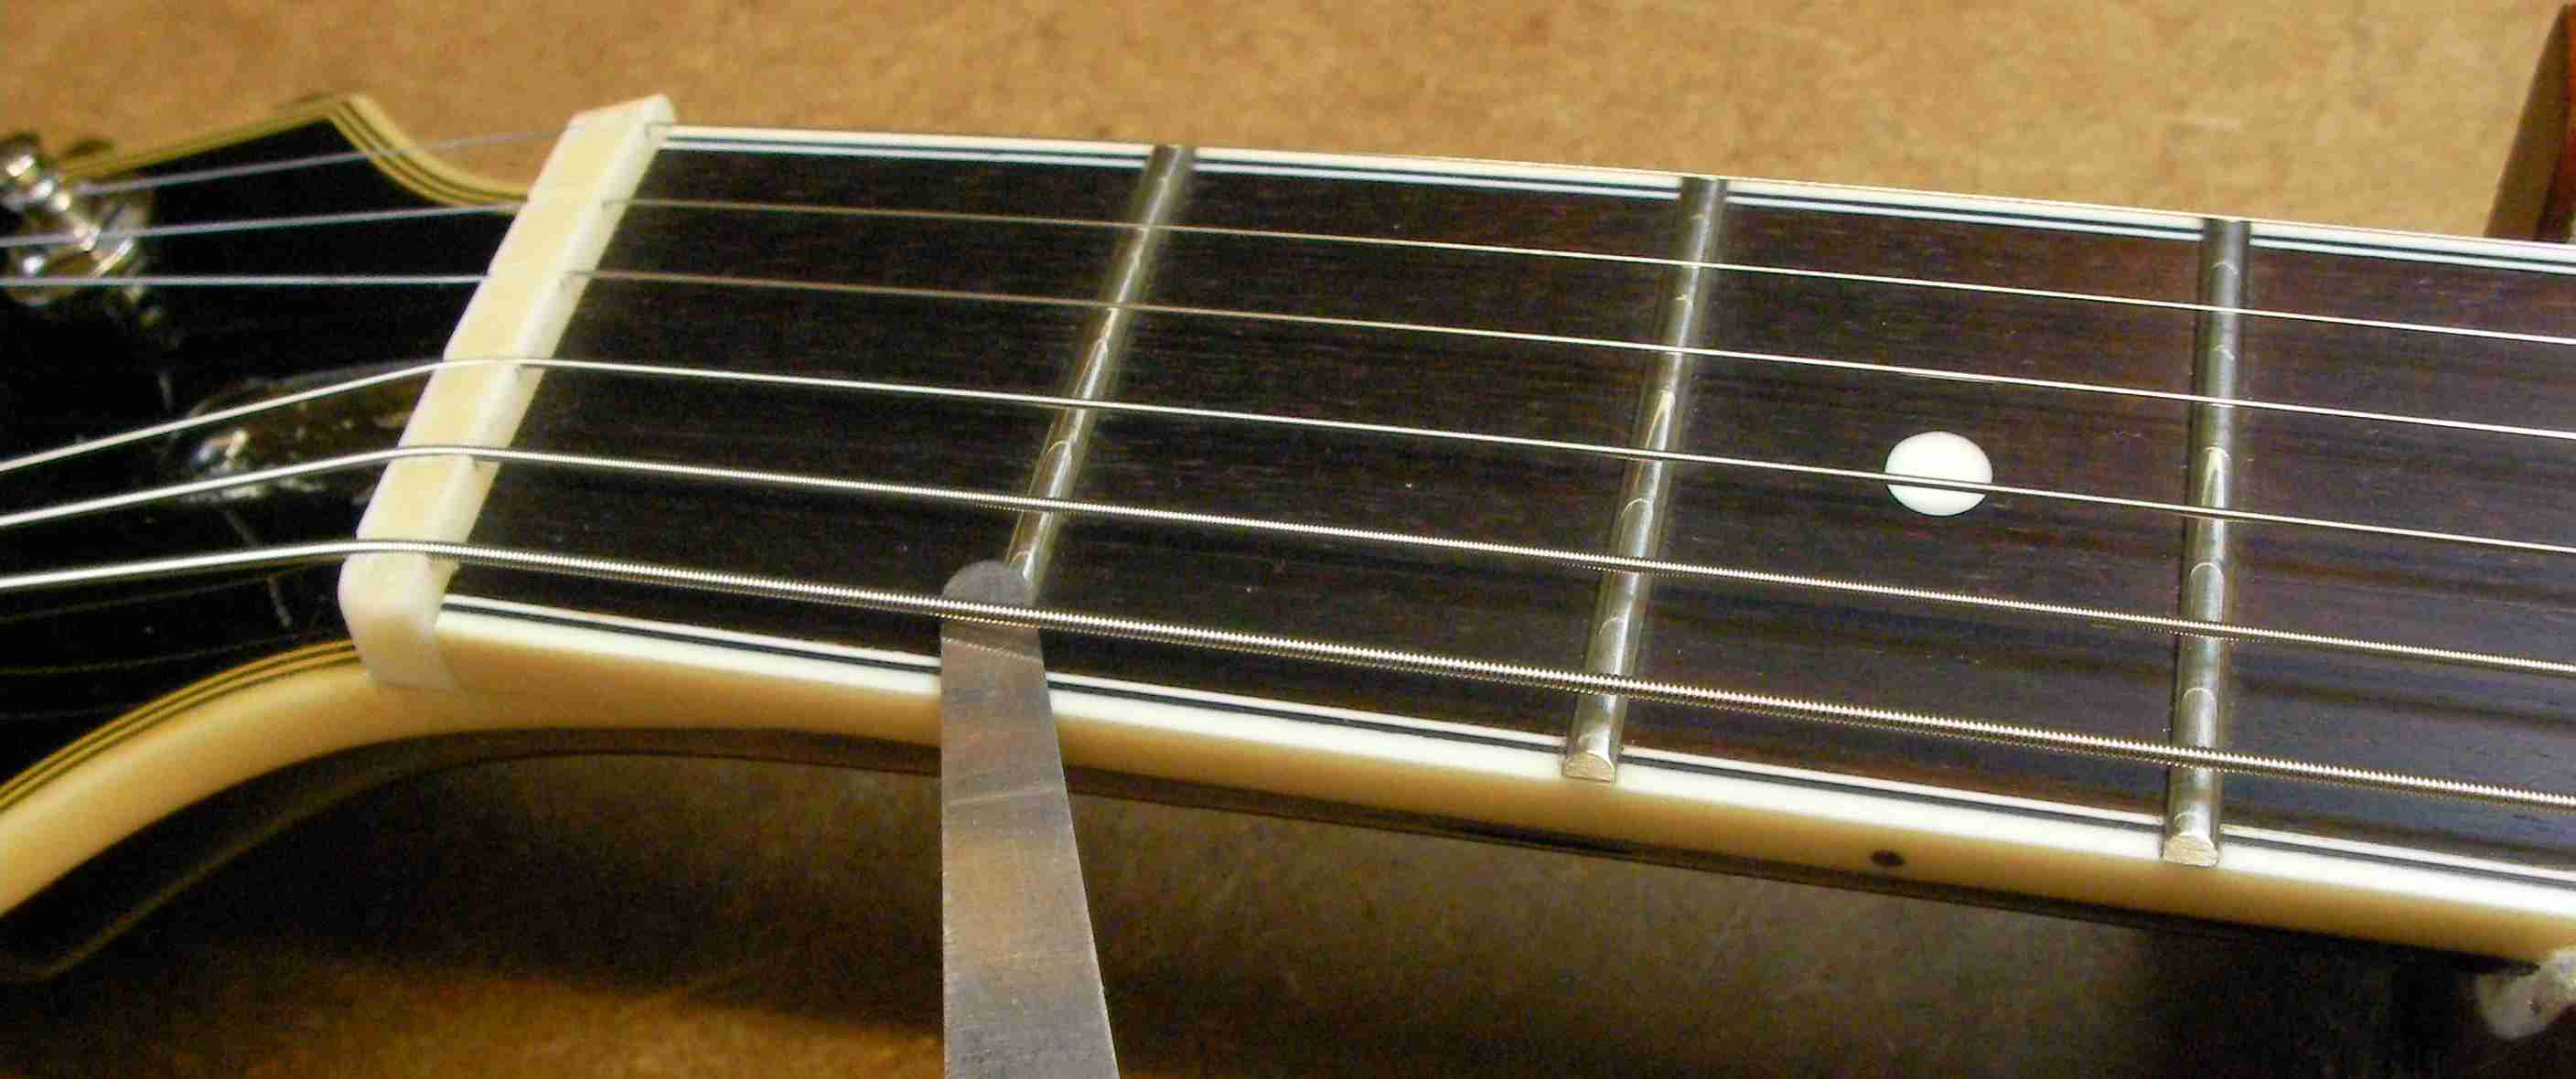
Cutting each slot down to achieve the right action.
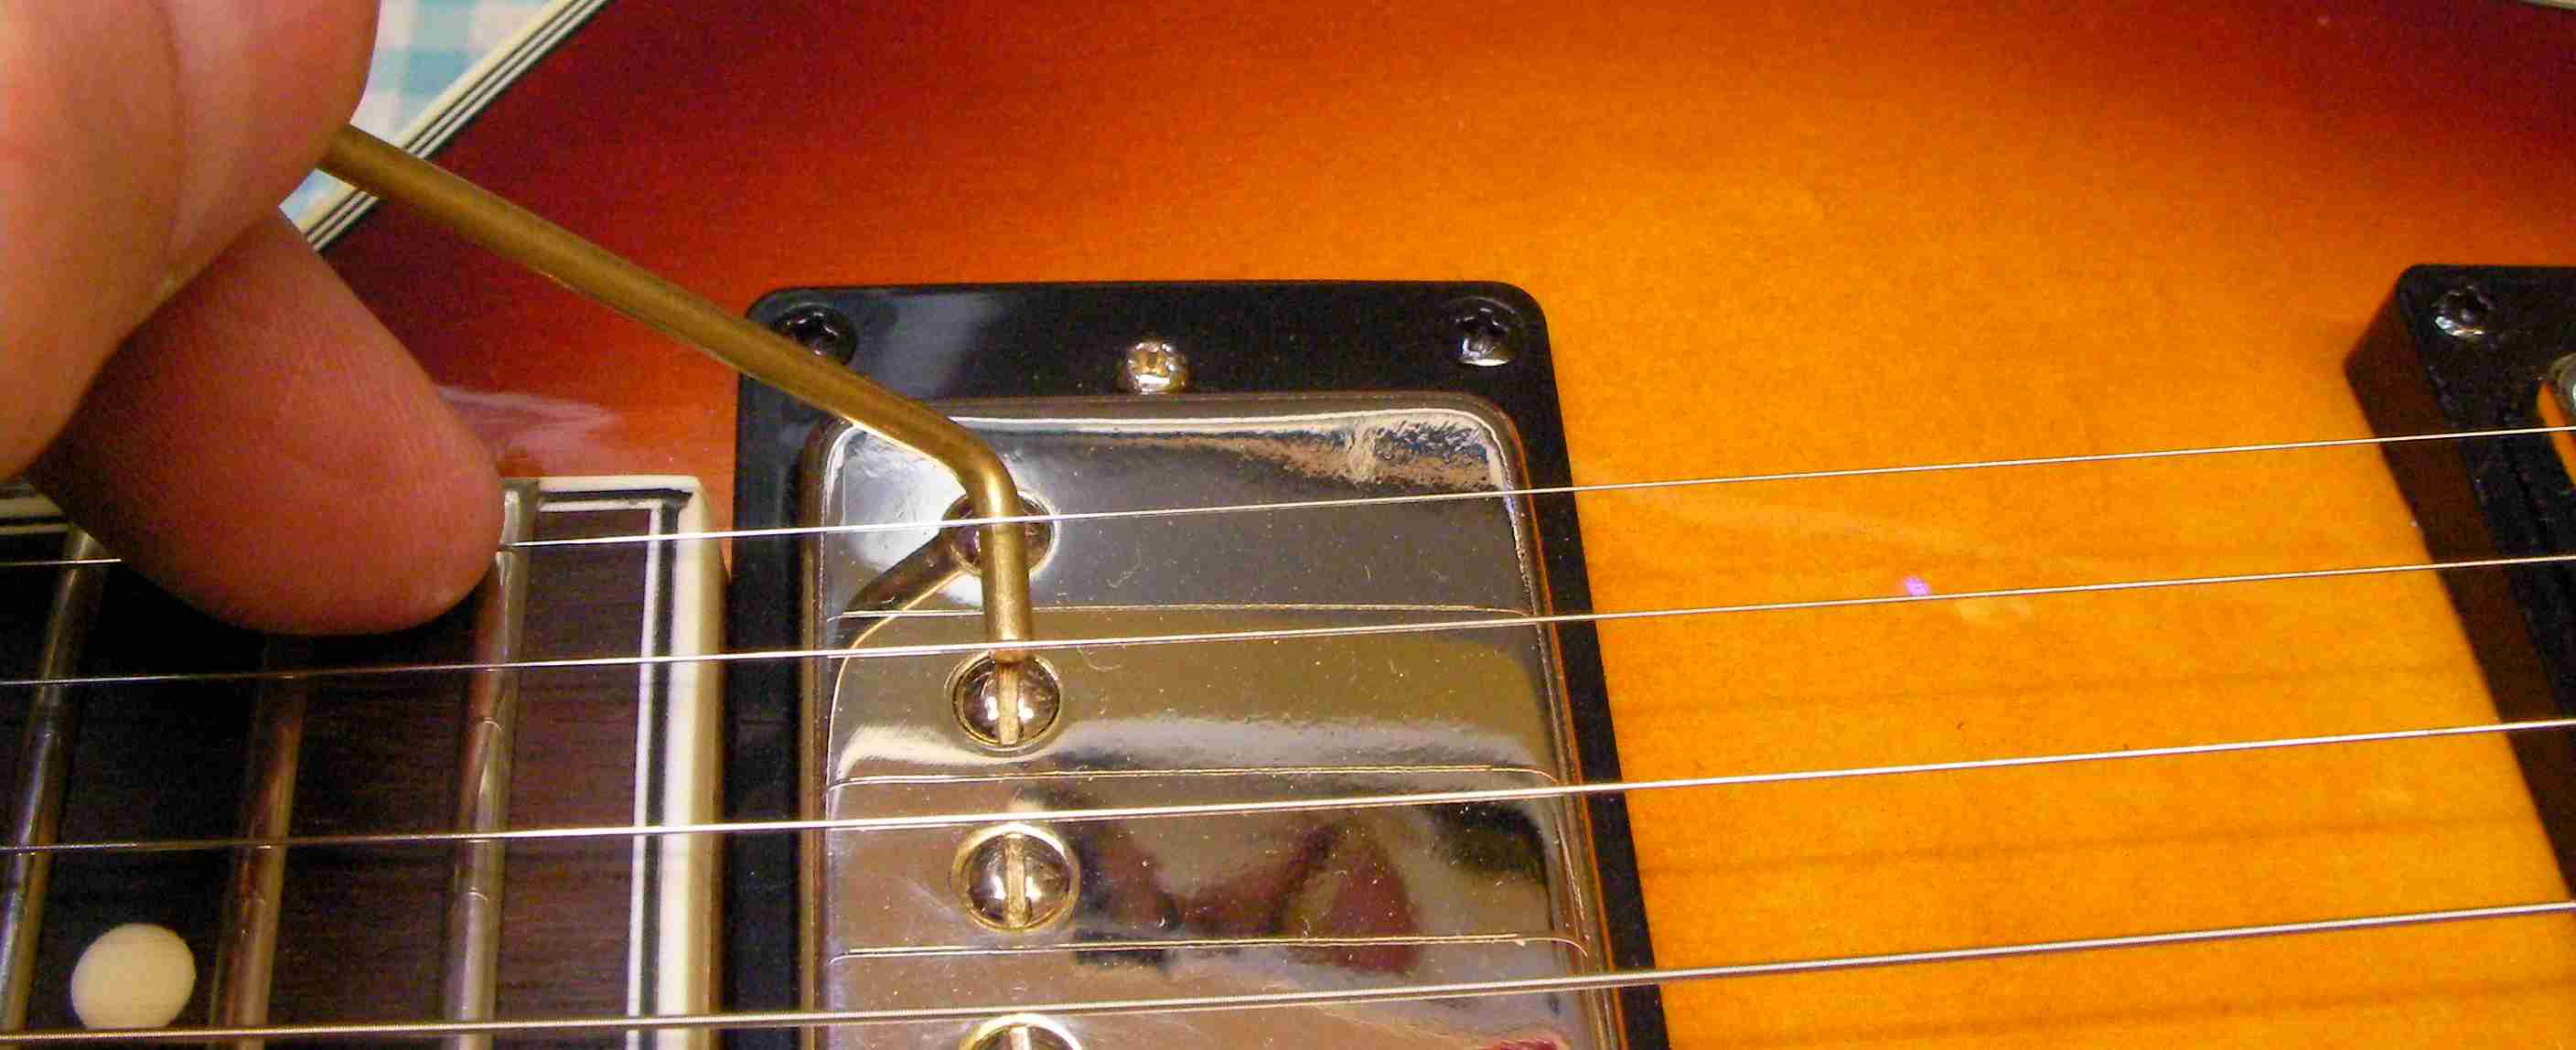
No.4 The intonation. Since it’s a floating bridge with no individual adjustments it’s just case of moving it to exactly the right place.
No.5 The pickup heights, making sure the outputs are roughly the same.
So there it is, now playing as good as it looks!
A word or 2 from the owner:
“I purchased this pretty Giannini guitar off eBay purely for its looks, which was just as well as it was the most difficult guitar to play I have ever owned; anyone playing it could be forgiven for believing it had simply been designed to hang on a wall. I fitted new tuning pegs, a Hofner bridge and tail piece which instantly improved its looks – and I have to admit it went from playing horribly to playing horribly and looking great.
A friend advised me to either replace the lower pick up with a clock and keep it on the wall or to get it set up by Guitar George, I chose the latter and I am so pleased with the result. George did a brilliant job, he changed the guitar from being at best a great stage prop to becoming a budget guitar that now out-performs many premium brands costing several times its initial purchase price, for a very reasonable set up cost.
George you’re a genius!
Thank you very much,
Steve”